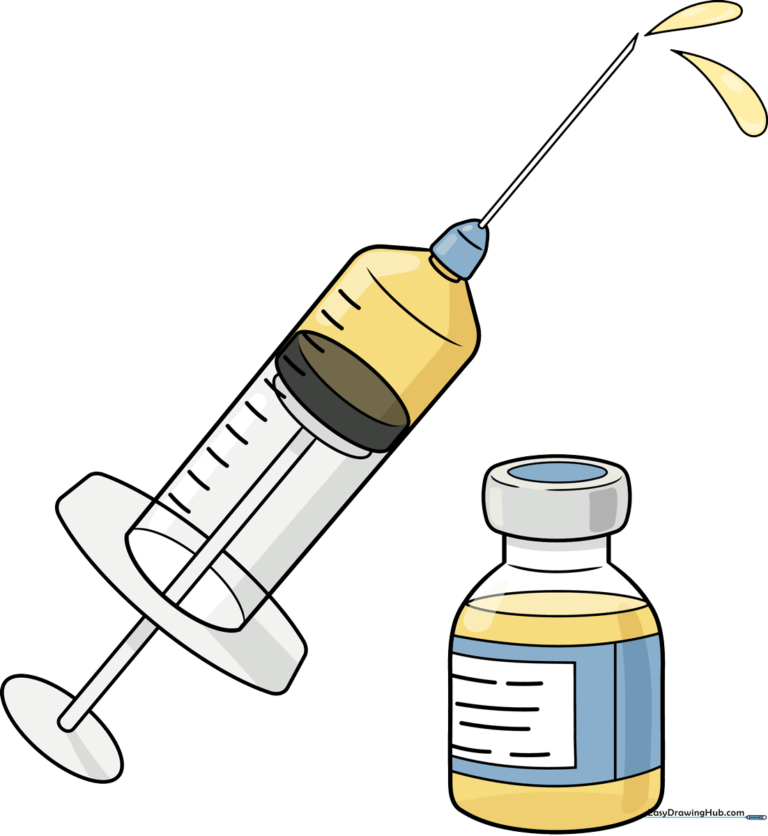
How to Draw a Vaccine: Easy 9-Step Guide for Kids
This simple, step-by-step tutorial is perfect for young learners and science enthusiasts ages 5 and up. You will need a pencil, an eraser, and your favorite markers to bring this medical illustration to life. Follow along to practice your geometric shapes and build confidence in your drawing skills.
🎯 Final Result
Step-by-Step Instructions
Step 1: Sketching the Medicine Bottle
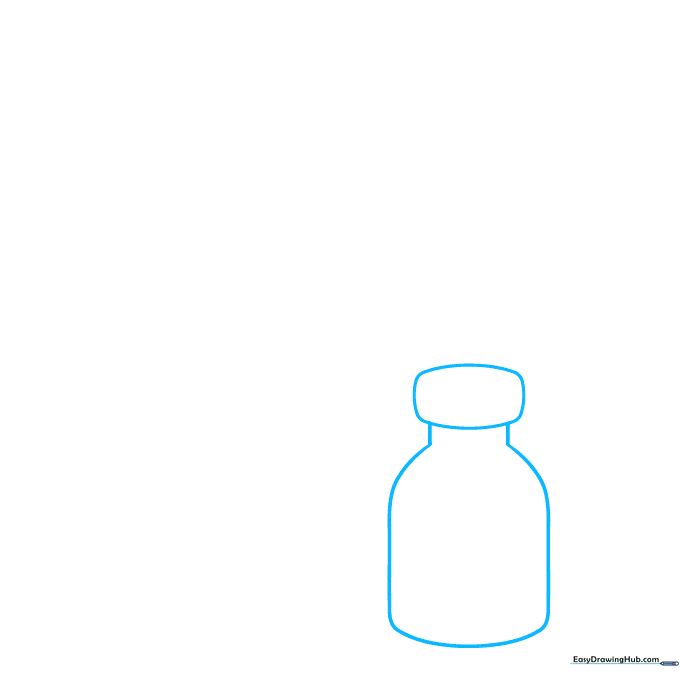
Start by drawing a rounded rectangle to form the bottle's cap. Connect a long, curved line downward and loop it back to create the main body of the vial. Teacher's Tip: Keep your pencil pressure light so you can easily adjust the shape if needed.
Step 2: Adding Bottle Details
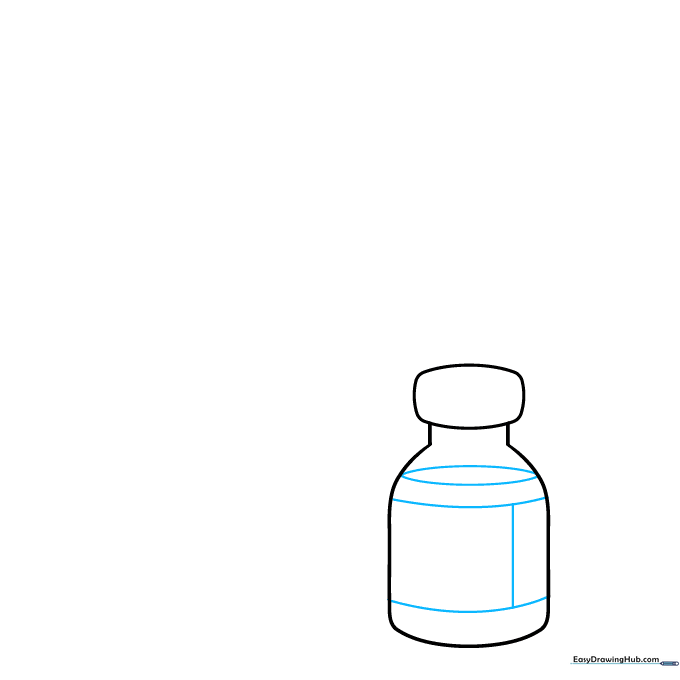
Add three horizontal curved lines at the top and bottom of the bottle to create the neck and base bands. Draw a horizontal line inside to represent the liquid level and a vertical line for the label. Teacher's Tip: Use short, quick strokes to keep your lines clean.
Step 3: Refining the Label
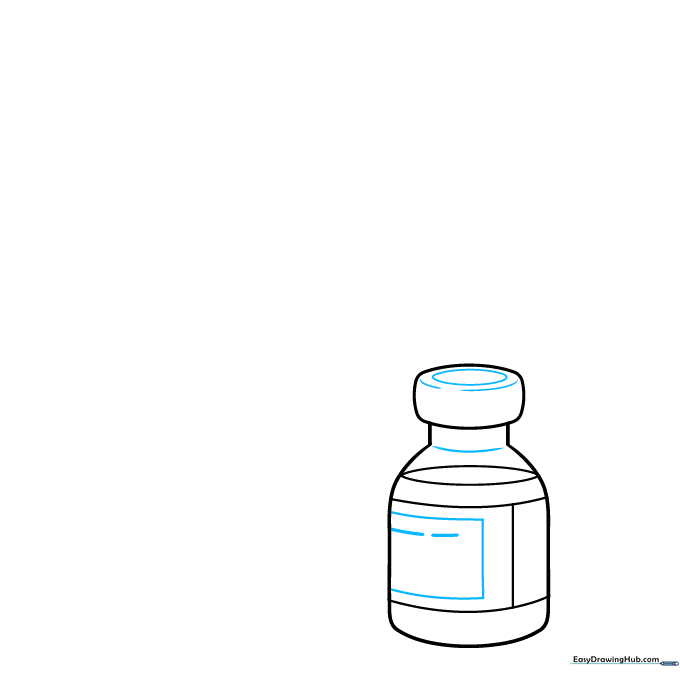
Draw a small oval on the cap and contour the neck with a curved line. Add a rectangular label on the front, using wavy lines to suggest text. Teacher's Tip: Don't worry about making the text legible; just focus on the rhythm of the lines.
Step 4: Starting the Syringe
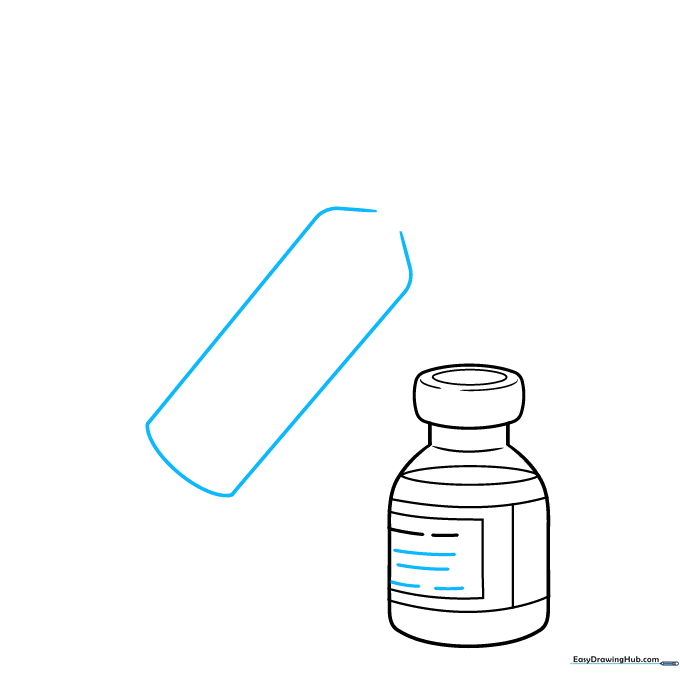
Add more curved lines to the label for texture. Next, draw a curved, open-ended rectangle extending from the side to begin the syringe body. Teacher's Tip: Keep the syringe parallel to the bottle for a balanced composition.
Step 5: Drawing the Needle
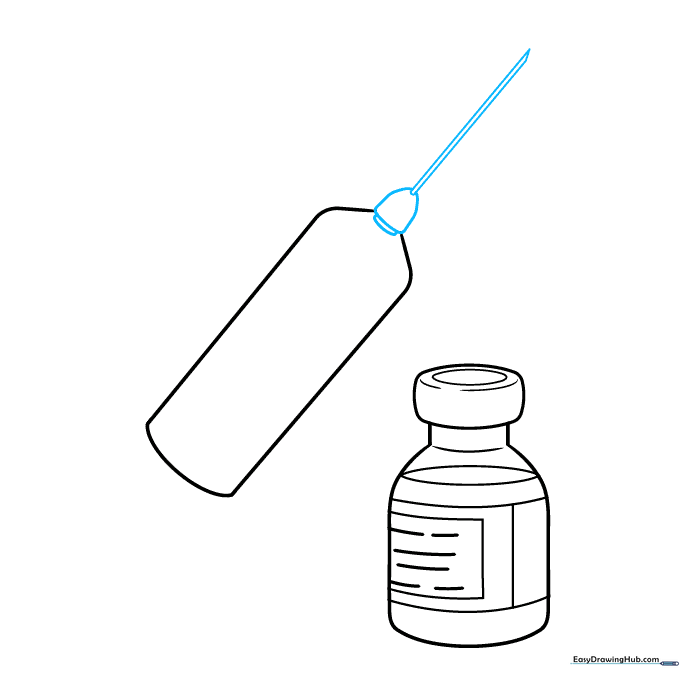
Draw a curved triangle at the syringe opening. Add a small rounded shape underneath, then use two straight, parallel lines to create the needle. Teacher's Tip: Use a ruler if you find it hard to keep the needle lines perfectly straight!
Step 6: Adding the Plunger
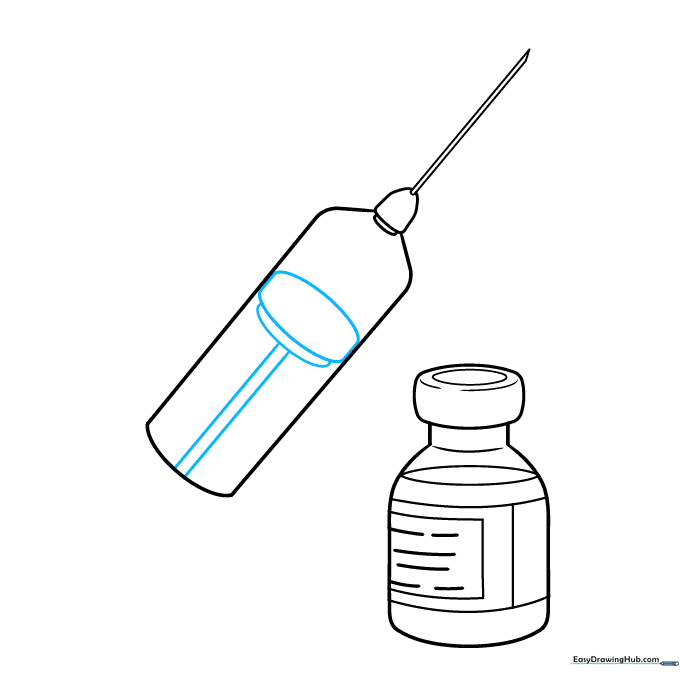
Draw an oval inside the syringe to represent the plunger stopper. Add a circular shape behind it, followed by two parallel lines for the plunger rod. Teacher's Tip: Focus on the overlapping shapes to give the syringe a 3D look.
Step 7: Detailing the Handle
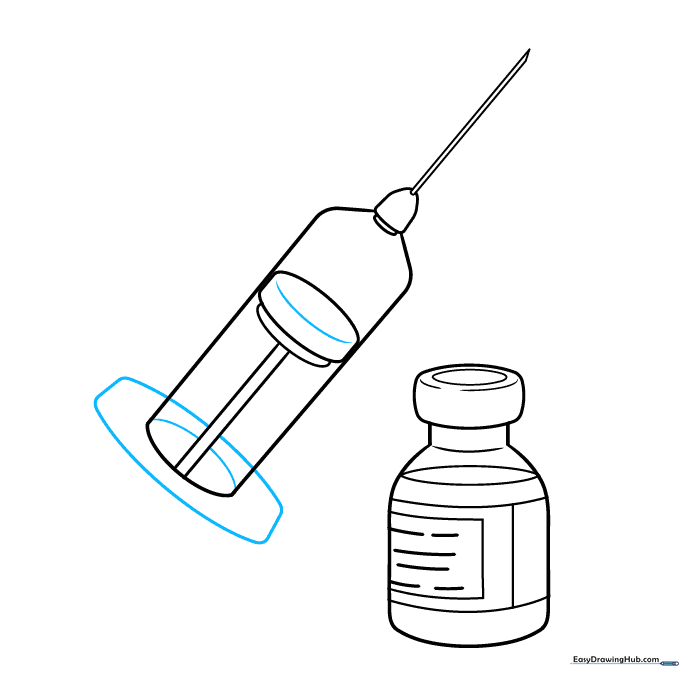
Draw a curved line across the plunger, then an oval at the very end. Enclose a curved rectangle around the end to finish the handle. Teacher's Tip: Make sure the handle looks sturdy by connecting the lines firmly.
Step 8: Adding Medicine Droplets
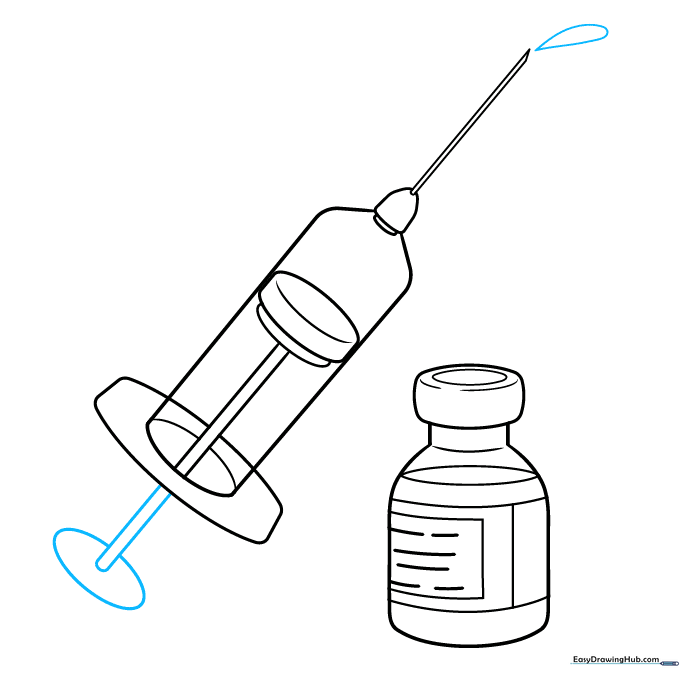
Extend the parallel lines of the needle slightly. Draw a teardrop shape above the needle to show a droplet of medicine. Teacher's Tip: Droplets are great for adding a sense of action to your drawing!
Step 9: Final Touches
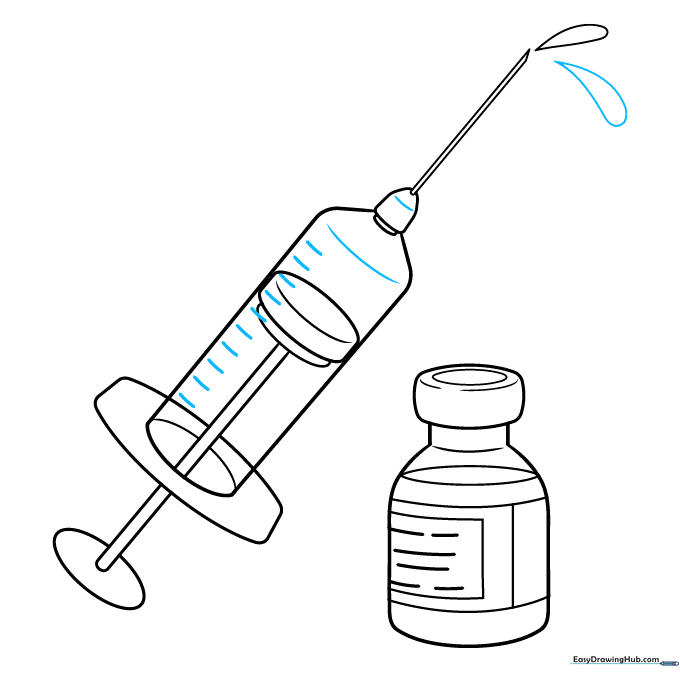
Add a second teardrop shape below the first. Draw curved lines along the syringe body to show the liquid levels inside. Teacher's Tip: Use different shades of blue or clear colors when you color the liquid to make it look realistic.
Step 10: Color Your Masterpiece
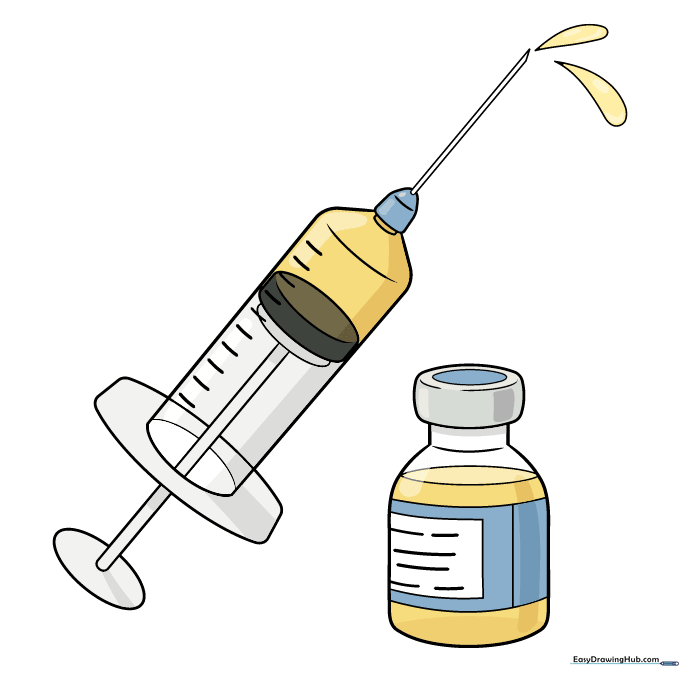
Your vaccine outline is complete! Use bright colors for the label and cool, translucent blues for the liquid inside the bottle and syringe. Teacher's Tip: Try coloring the metal parts with light grey to make them look shiny.
More Tutorials


