How to Draw a Unicorn Emoji: Easy 10-Step Guide
Bring your favorite magical emoji to life! This tutorial is perfect for artists ages 5 and up, requiring only a pencil, paper, and an eraser. Follow these simple steps to build confidence and master basic shapes while creating a whimsical unicorn character.
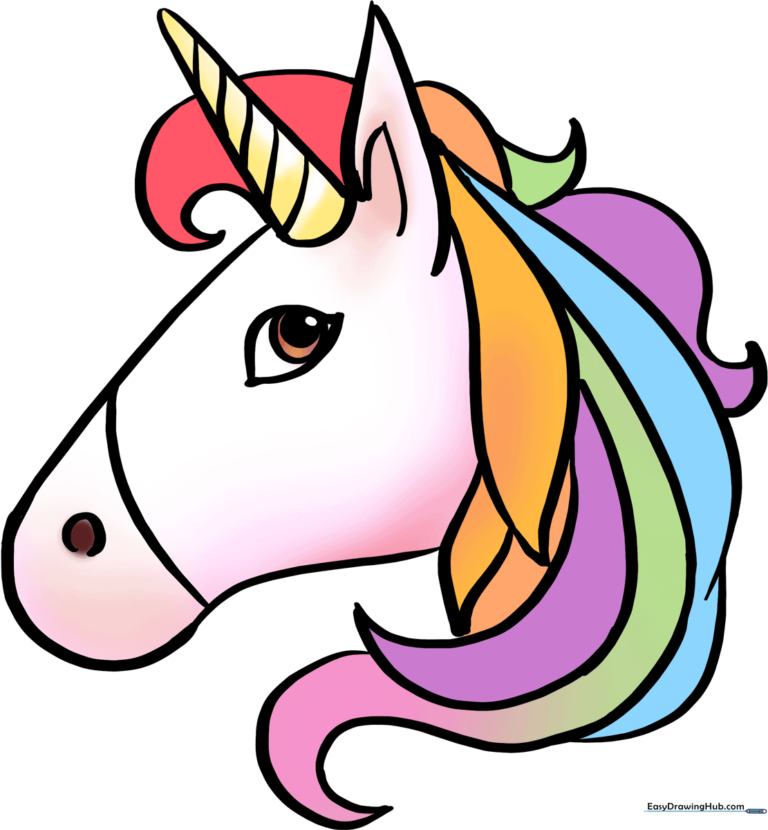
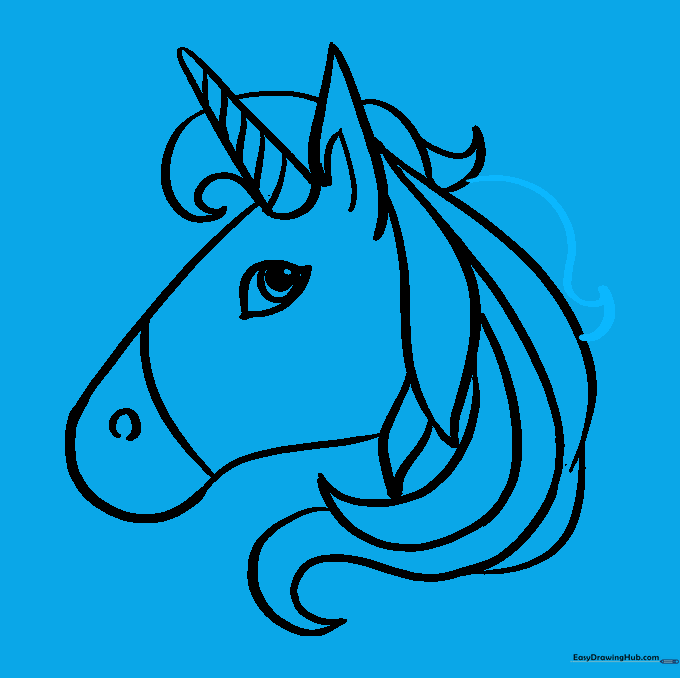
🎯 Final Result
Step-by-Step Instructions
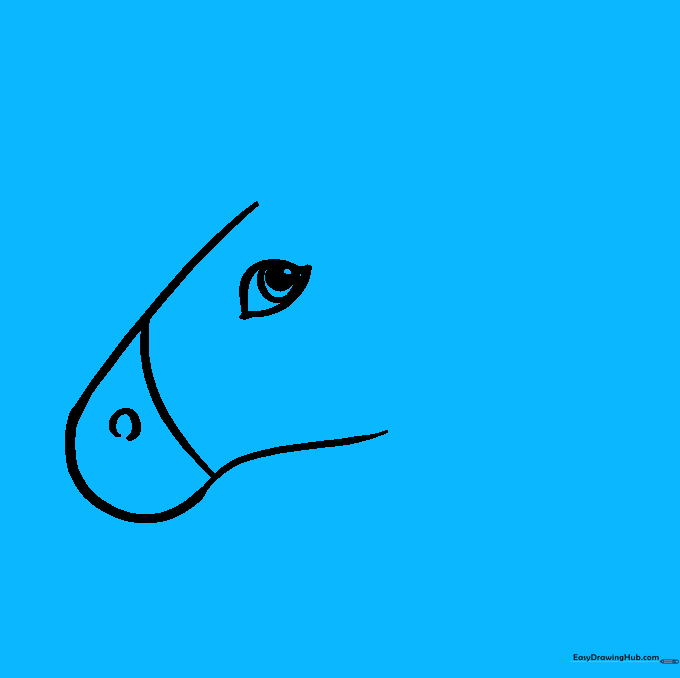
Step 1: Sketching the Face Outline

Draw a smooth, curved line that loops back to create the unicorn's face shape. Teacher's Tip: Keep your pencil pressure light so you can refine the shape later if needed.
Step 2: Adding Facial Features
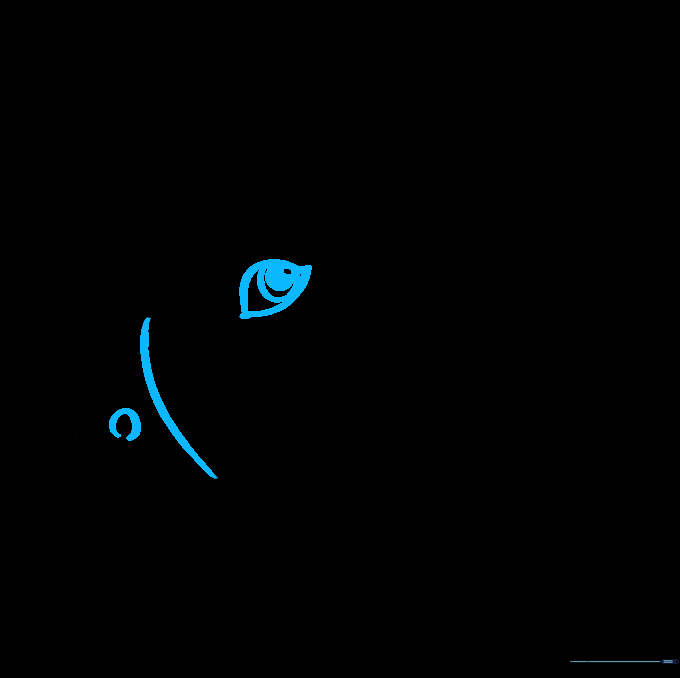
Define the snout with a curved line and add a small 'C' shape for the nostril. Draw a double-pointed teardrop shape for the eye, adding three circles inside to create the pupil. Teacher's Tip: Use a darker pencil stroke for the eye to make it the focal point.
Step 3: Drawing the Horn and Ear
Sketch a rounded triangle for the horn and add diagonal bands for texture. Draw the ear as a triangle shape with a curved inner line. Teacher's Tip: Ensure the horn points slightly upward to give the unicorn a proud look.
Step 4: Starting the Mane
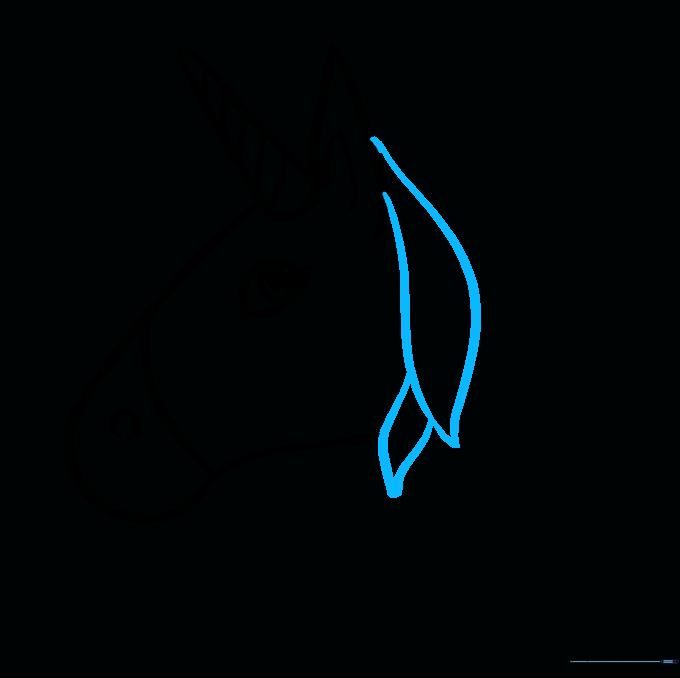
Begin drawing the flowing locks of the mane using curved lines that meet at sharp points. Teacher's Tip: Vary the size of the locks to make the hair look natural and voluminous.
Step 5: Developing the Mane
Add more long, swirling lines to the mane, allowing them to overlap. Teacher's Tip: Think of these as ribbons flowing in the wind.
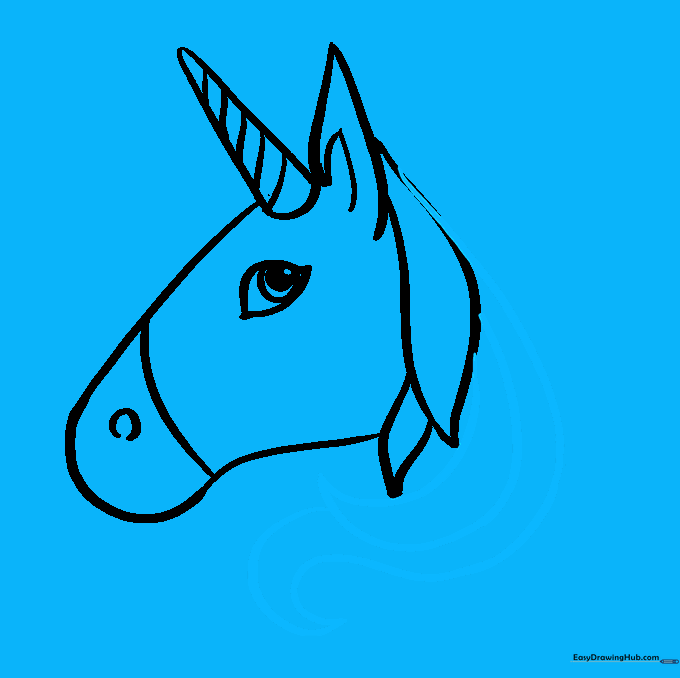
Step 6: Adding Volume
Use a long, sweeping curved line to enclose another section of the mane near the neck. Teacher's Tip: Keep your wrist loose to create smooth, flowing curves.
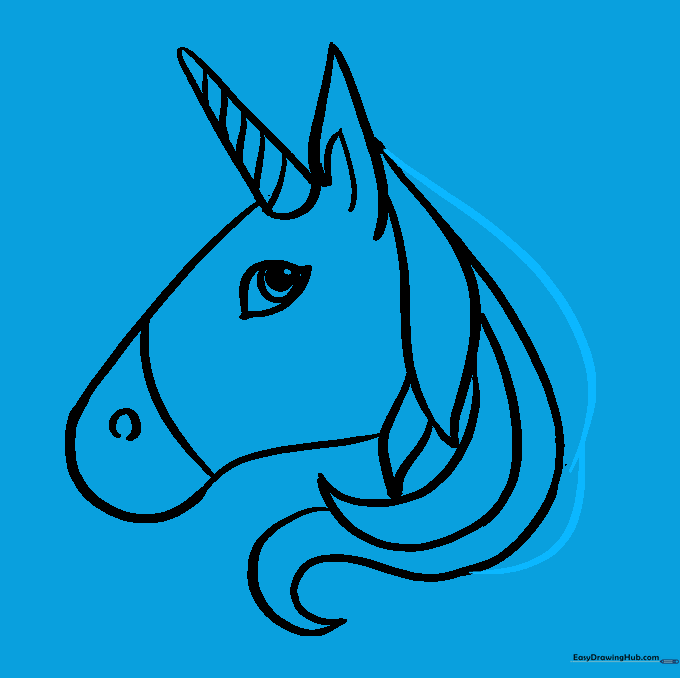
Step 7: Front Mane Detail
Draw a lock of hair swirling forward above the forehead. Teacher's Tip: This adds a playful, dynamic feel to your character.
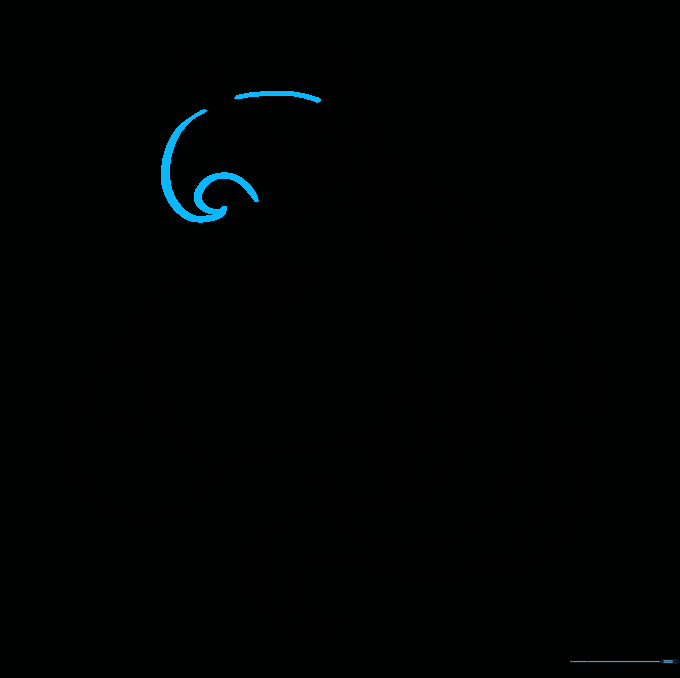
Step 8: Back Mane Detail
Add a few more locks at the back of the head to complete the silhouette. Teacher's Tip: Ensure the lines connect cleanly to the existing mane.
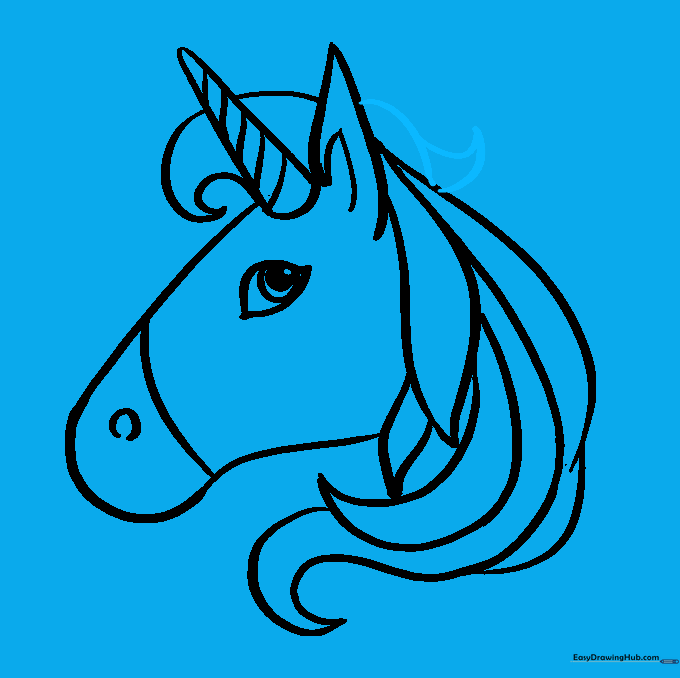
Step 9: Final Touches
Fill in any empty gaps with small, curved lines to make the mane look full. Teacher's Tip: Check your drawing for any stray lines and erase them now.
Step 10: Coloring Your Creation

Bring your unicorn to life with color! Use rainbow shades for the mane and a bright gold for the horn. Teacher's Tip: Use light pressure with your colored pencils to create smooth, even gradients.
More Tutorials


