How to Draw a UFO: Easy 10-Step Guide for Kids
Blast off into creativity with this fun UFO drawing tutorial! Designed for young artists ages 5 and up, this project uses basic shapes to build a complex-looking spacecraft. All you need is a pencil, an eraser, and your favorite markers to bring this interstellar vehicle to life.
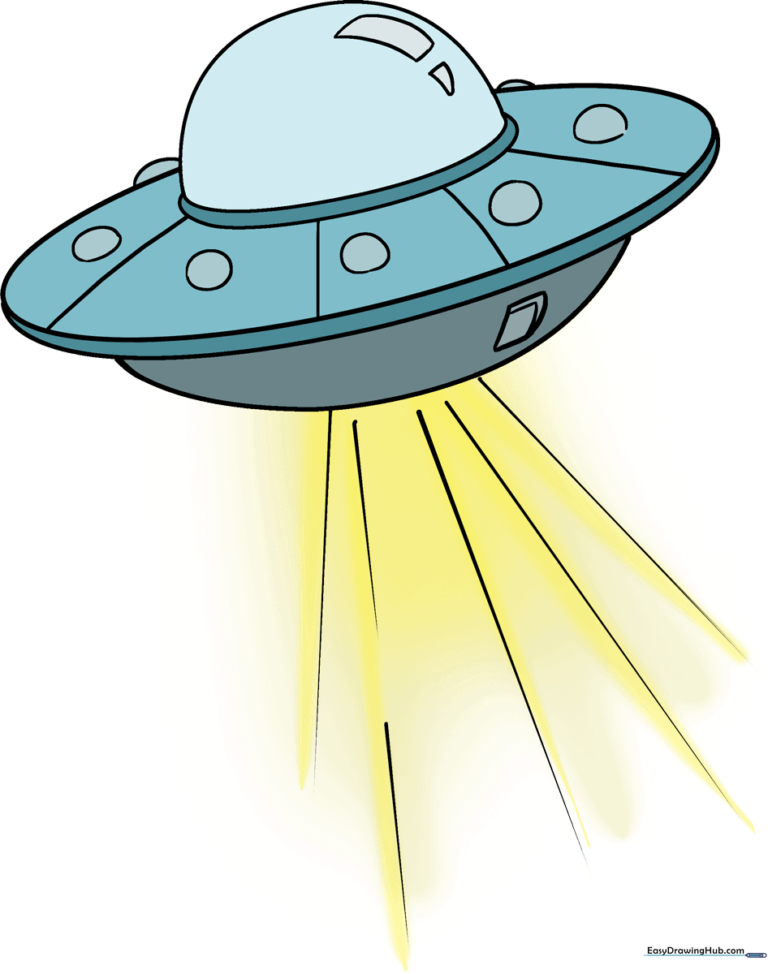
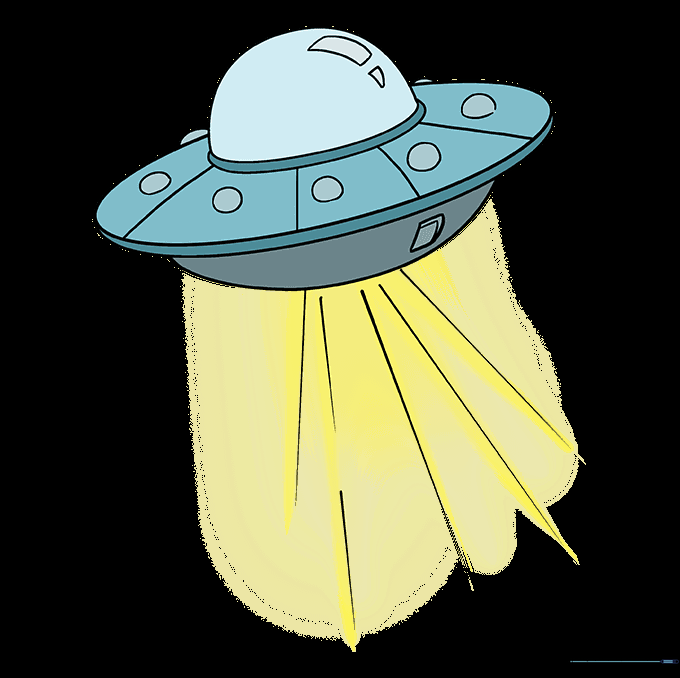
🎯 Final Result
Step-by-Step Instructions
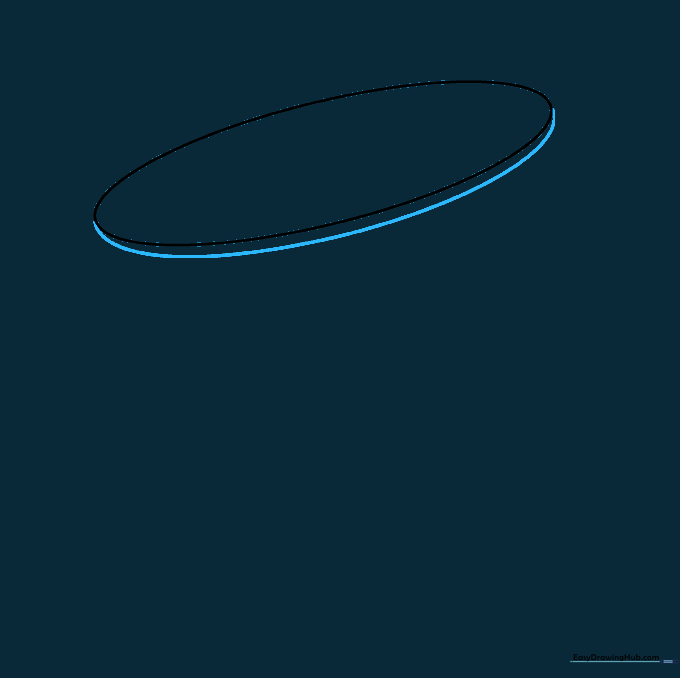
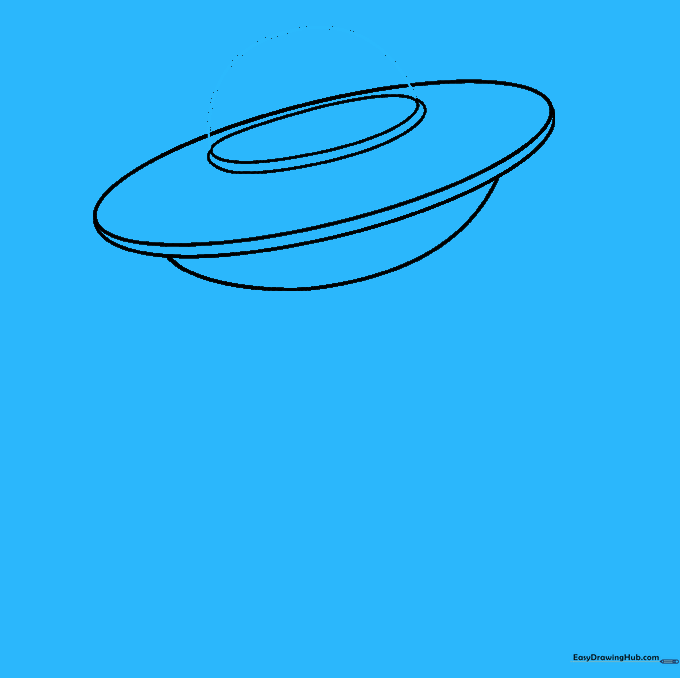
Sketching the Central Body

Start by drawing a narrow, slanted oval. Teacher's Tip: Keep this shape light and loose; it acts as the anchor for the entire ship, so don't worry if it isn't perfect on the first try!
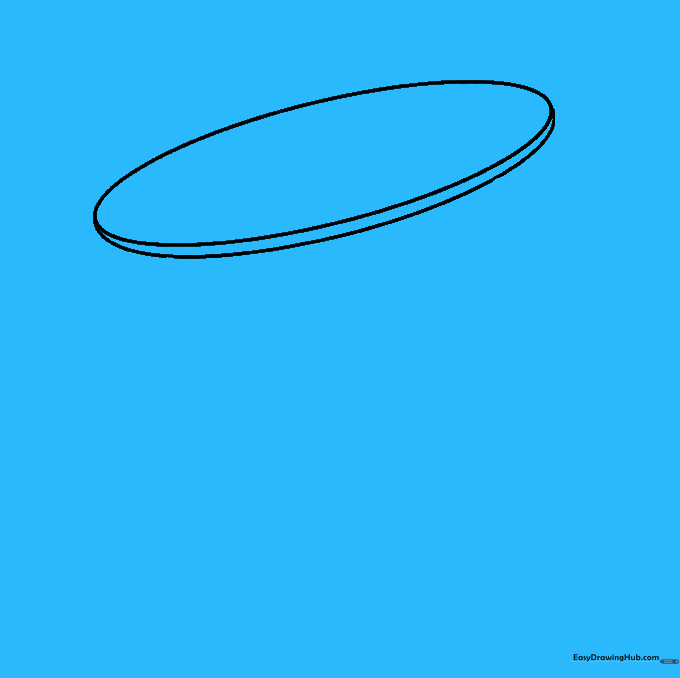
Adding Volume to the Hull
Draw a long, curved line beneath the oval, connecting it to both sides. This creates a 3D effect. Tip: Imagine you are drawing the bottom of a bowl to get the curve just right.
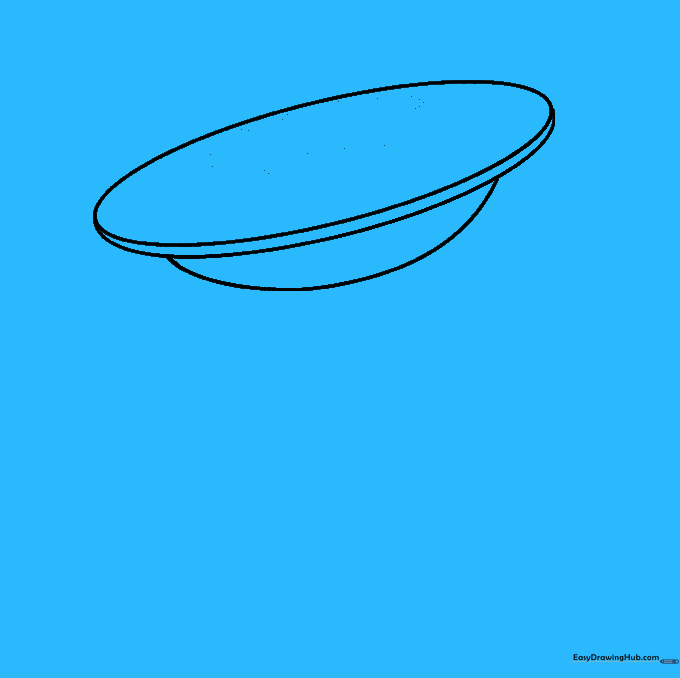
Defining the Base
Enclose a semicircle on the bottom side of your shape. This forms the landing base. Tip: Keep your wrist relaxed to make this long, sweeping curve smooth.
Creating the Cockpit Frame
Draw a smaller oval inside the first one, then add a curved line across the bottom to create a 'lip.' This adds depth to the cockpit area.
Drawing the Glass Dome
Add a semicircle above the smaller oval, connecting it to the sides. This is where the alien pilot sits! Tip: Make sure the dome is centered for a balanced look.
Cleaning Up Your Lines
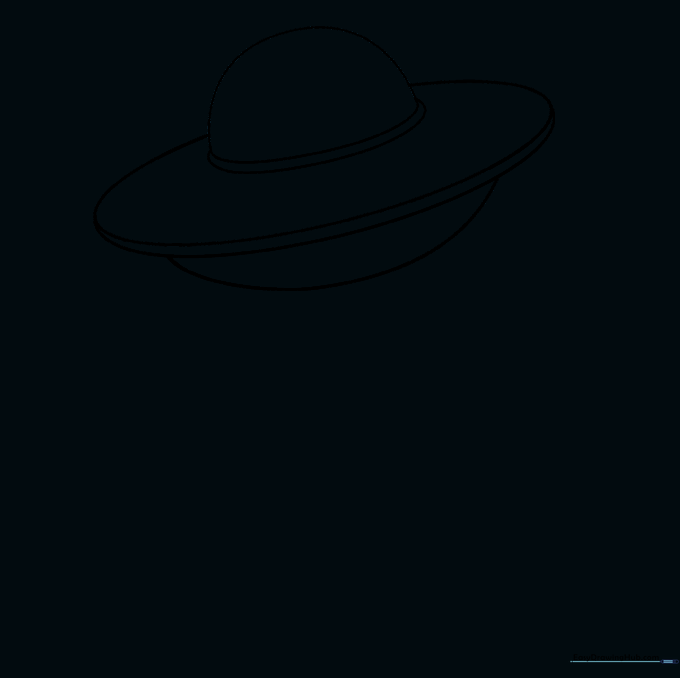
Carefully erase the overlapping guide lines inside the dome. Tip: Use a clean eraser and gentle pressure so you don't smudge your work.
Adding Mechanical Details

Add small circles along the middle section and a reflection on the dome using a small rectangle and triangle. Tip: These small details make the ship look like it's made of shiny metal.
Creating the Tractor Beam
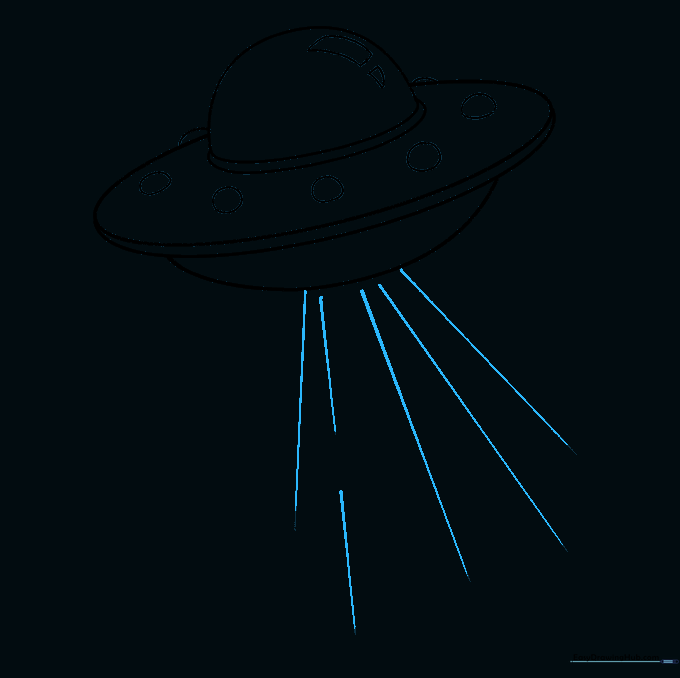
Draw long, straight lines extending from the base. These represent the iconic UFO lights. Tip: Use a ruler if you want the lines to look perfectly straight and futuristic.
Finalizing the Hatch
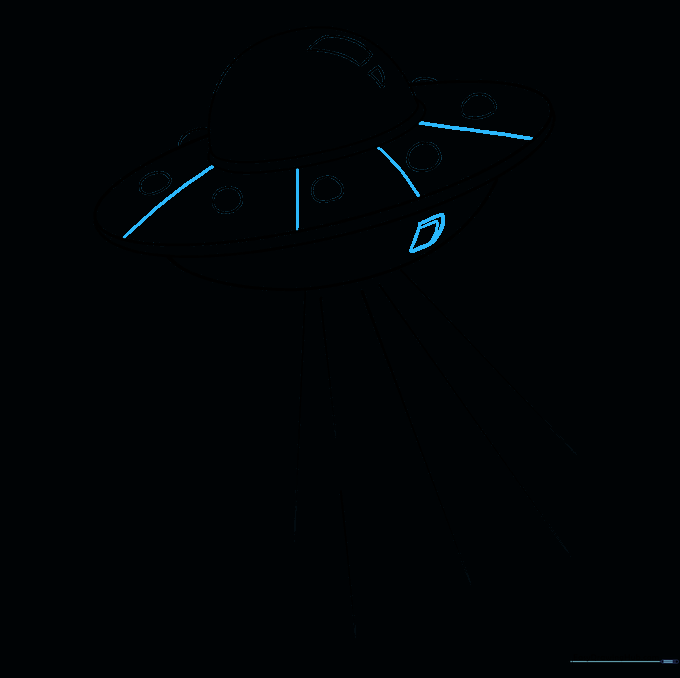
Add a small square hatch on the base. This is where the aliens come out! Tip: Add a small curved line to the hatch to give it a sense of thickness.
Adding Color
Bring your UFO to life with metallic silvers, glowing blues, or neon greens. Tip: Use lighter colors for the dome to make it look like transparent glass.
More Tutorials


