How to Draw a Turtle: Easy 9-Step Guide for Kids
Ready to bring a sea turtle to life? This tutorial is perfect for young artists ages 5 and up. You’ll only need a pencil, an eraser, and a piece of paper to practice these foundational shapes and build your confidence as an illustrator.
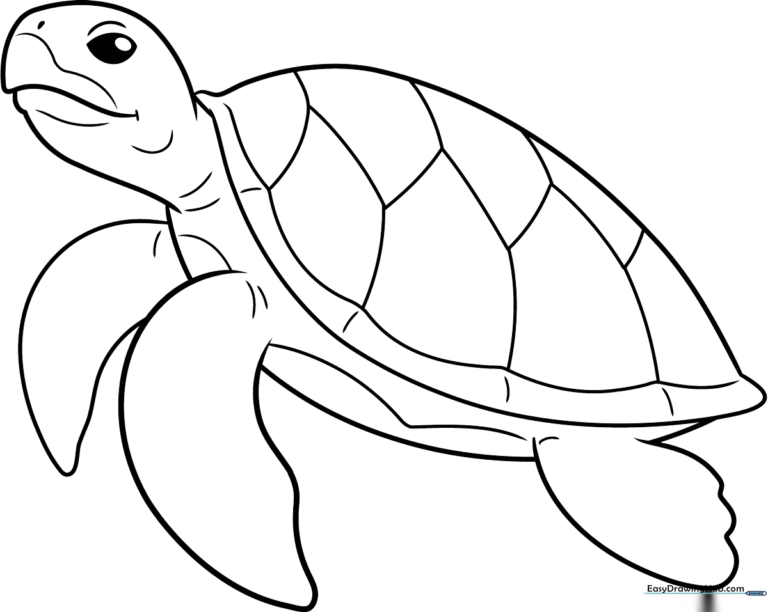
🎯 Final Result
Step-by-Step Instructions
Step 1: Sketching the Head
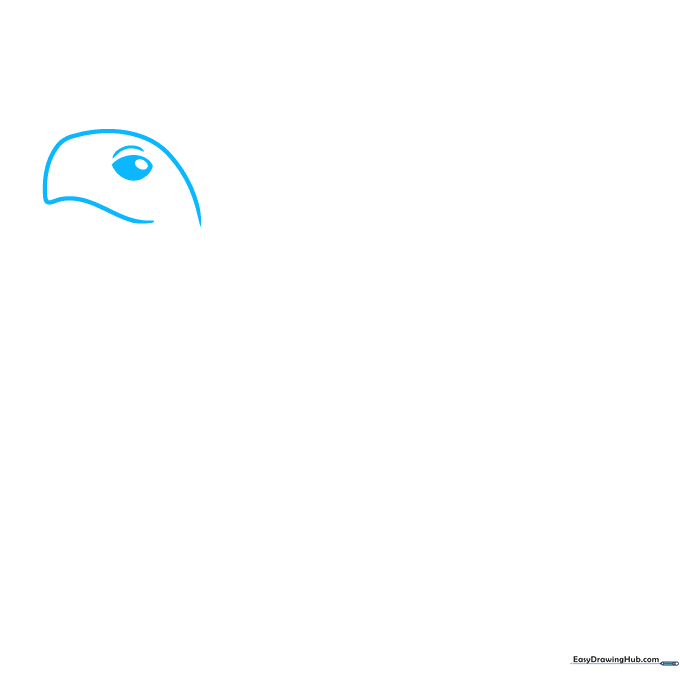
Draw a long, curved line that doubles back on itself to create the turtle's beak. Inside, add a small oval for the eye and shade around it. Teacher's Tip: Keep the beak shape slightly rounded so your turtle looks friendly, not sharp!
Step 2: Defining the Jaw
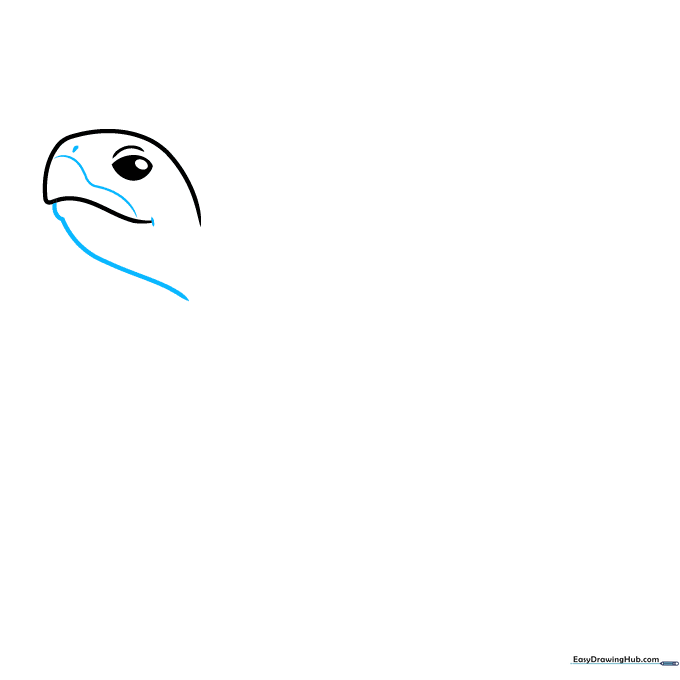
Extend the beak line to form the lower jaw and add a tiny dot for the nostril. Tip: A small, wavy line at the corner of the mouth gives your turtle a gentle, smiling expression.
Step 3: Creating the Neck and Shell Base
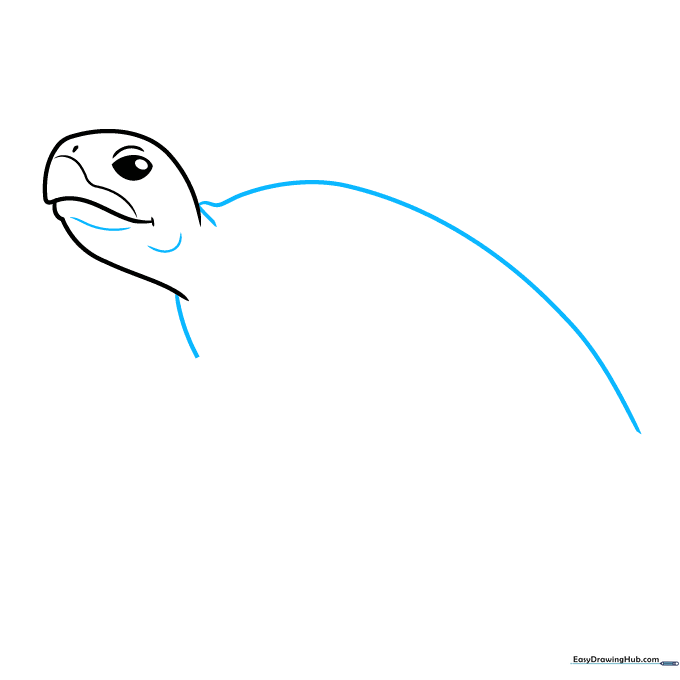
Draw two lines extending from the head to create the neck, then start the large curve of the shell. Tip: Use long, sweeping motions with your wrist rather than short, choppy strokes for a smoother shell line.
Step 4: Adding the Front Flipper
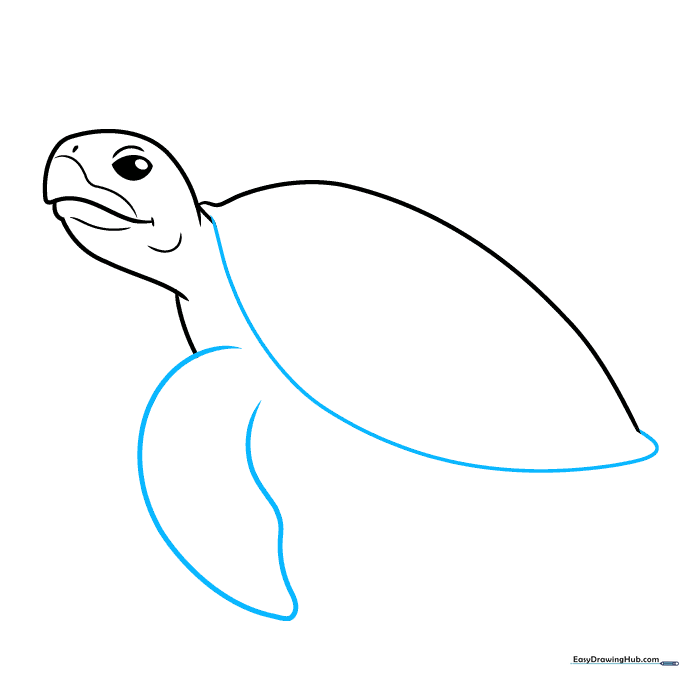
Complete the shell curve and draw a long, tapered shape for the front flipper. Tip: Imagine the flipper is like a bird's wing—it should be wide at the base and narrow at the tip.
Step 5: Drawing the Rear Flipper
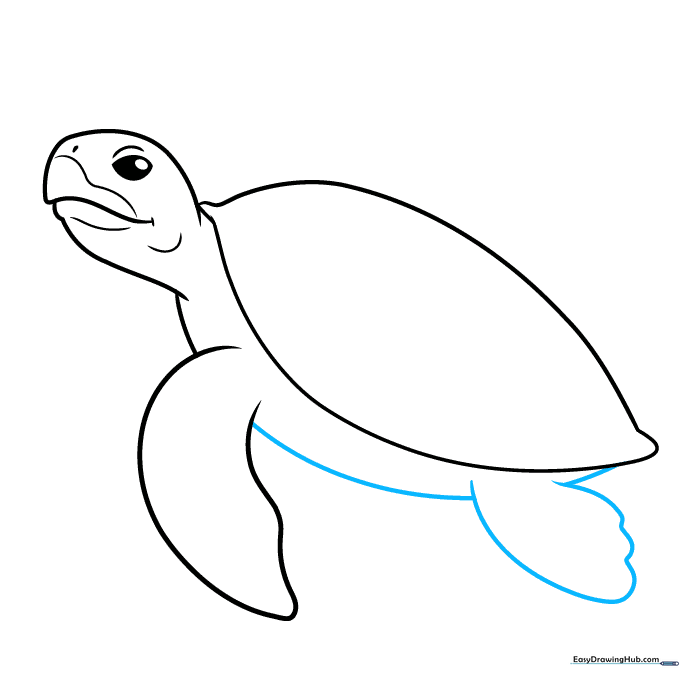
Draw the rear flipper with a scalloped edge to show movement. Connect it back to the shell. Tip: The scalloped edge creates a sense of texture, making the flipper look more realistic.
Step 6: Completing the Body
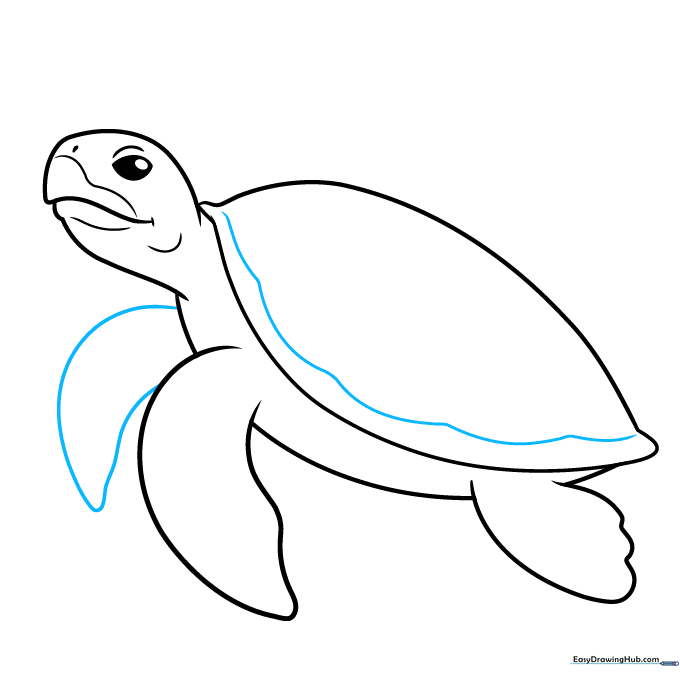
Add a scalloped edge to the shell and draw the second front flipper peeking out from the other side. Tip: Drawing the second flipper slightly smaller creates a nice sense of depth.
Step 7: Shell Patterns
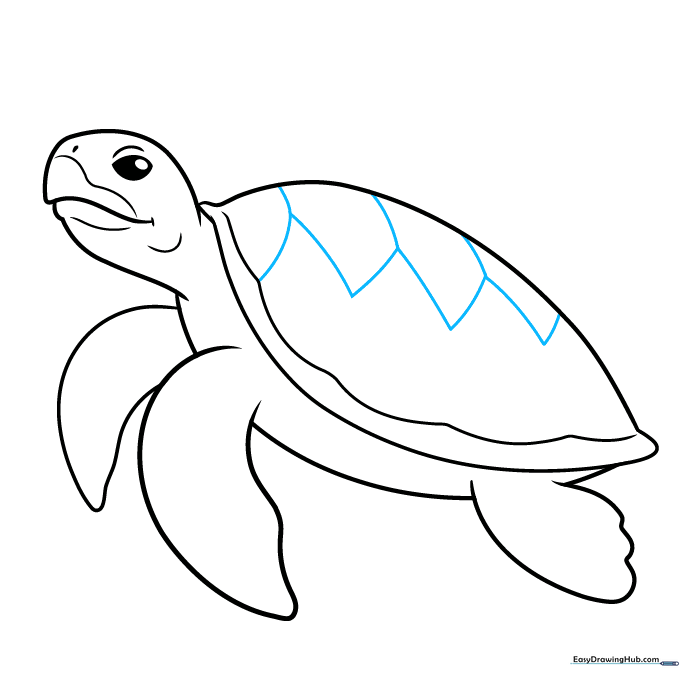
Sketch pentagon shapes across the shell. Don't worry about them being identical—nature is rarely perfectly symmetrical! Tip: Use light pressure so you can adjust the shapes if they look too crowded.
Step 8: Finalizing Details
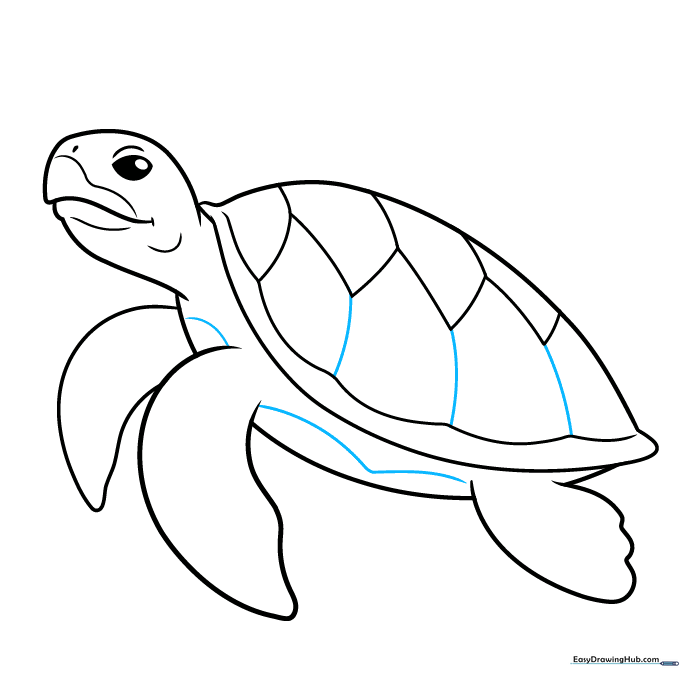
Connect the pentagon points to the shell edge and add curved lines to the belly area. Tip: These lines help define the turtle's form and make it look 3D.
Step 9: Adding Texture
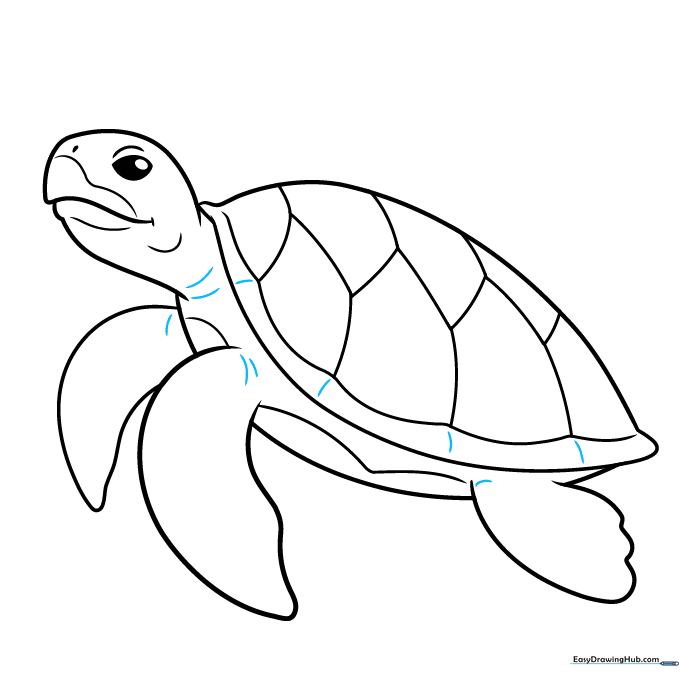
Use short, quick curved lines around the joints and shell edges to add a leathery texture. Tip: Less is more! A few well-placed lines are better than too many messy ones.
Step 10: Color Your Masterpiece
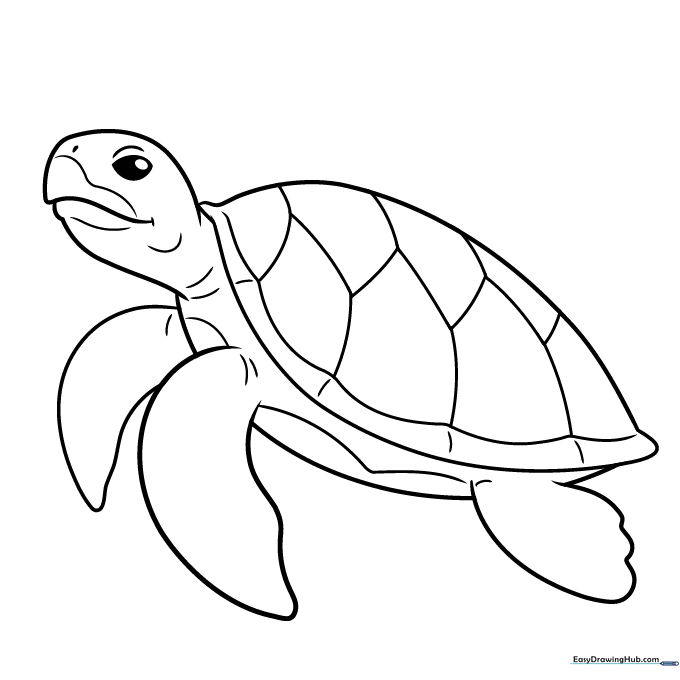
Time to bring your turtle to life! Use shades of green, brown, and yellow. Tip: Try using a darker green for the shell patterns and a lighter yellow for the belly to create contrast.
More Tutorials


