How to Draw a Turkey: Easy 10-Step Guide for Kids
This turkey drawing tutorial is perfect for children ages 5 and up. You only need a pencil, an eraser, and a piece of paper to get started. Follow these simple steps to build confidence in your drawing skills and create a festive bird for your Thanksgiving projects.
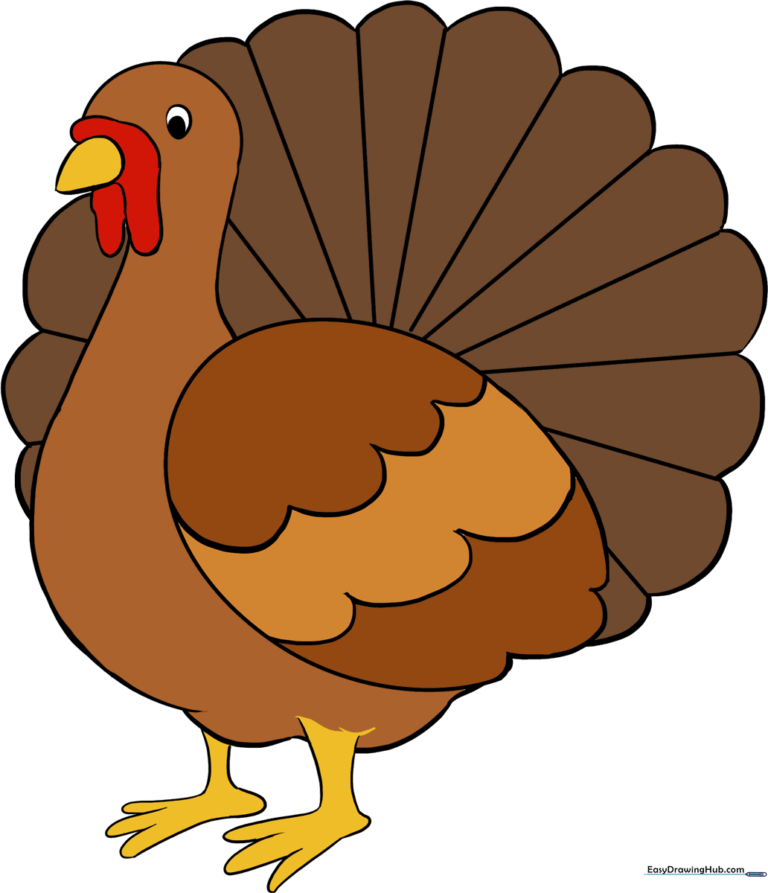
🎯 Final Result
Step-by-Step Instructions
Step 1: Sketching the Head and Wing

Draw a small circle for the head and a larger oval for the wing. Teacher's Tip: Keep these shapes light and loose; they are just guides to help you place the body parts correctly.
Step 2: Defining the Body

Connect the head and wing using long and short curved lines to form the neck and torso. Teacher's Tip: Imagine the neck is a gentle 'S' curve to give your turkey a natural posture.
Step 3: Adding Wing Feathers
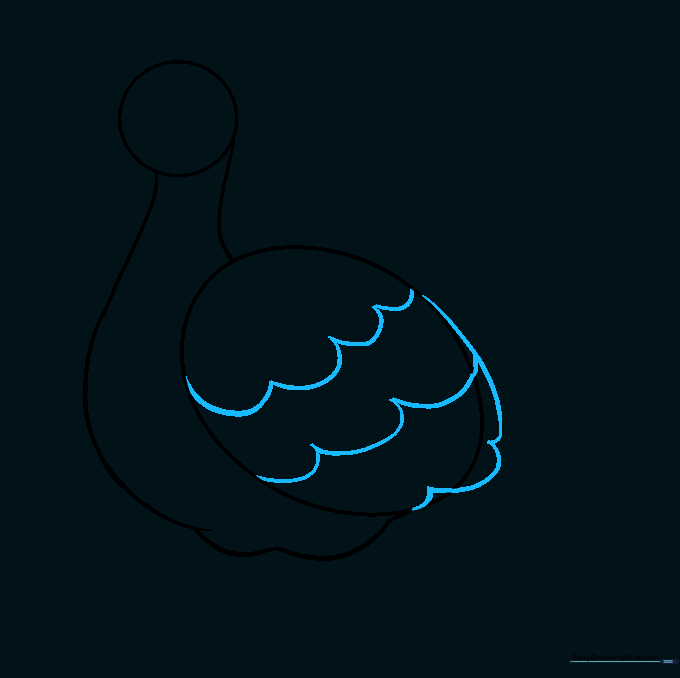
Draw several scalloped, curved lines across the wing to represent feathers. Teacher's Tip: Make your scallops different sizes to give the wing a more realistic, textured look.
Step 4: Drawing the Face
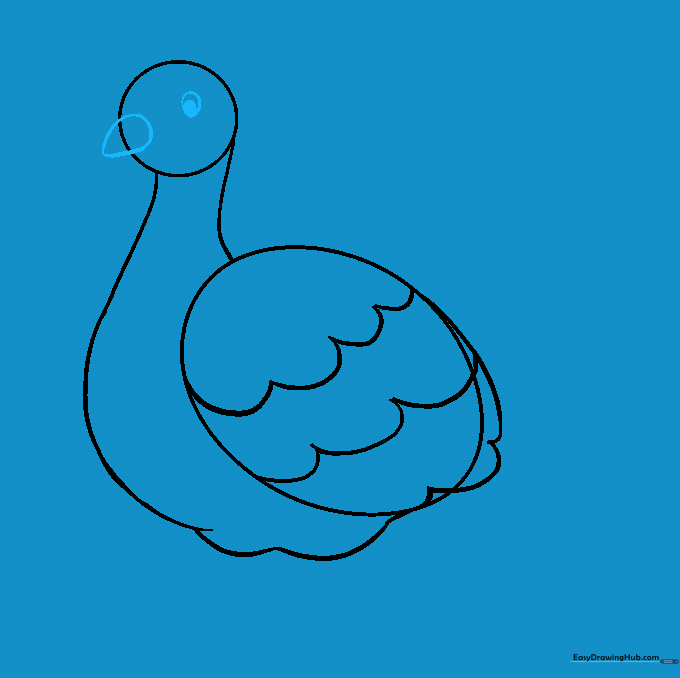
Create a rounded triangle for the beak and a circle for the eye with a shaded pupil. Teacher's Tip: Leave a tiny white dot inside the pupil when shading to make the eye look bright and alive.
Step 5: Cleaning Up

Gently erase the overlapping guide lines inside the beak and wing. Teacher's Tip: Use a soft eraser and hold the paper down firmly so it doesn't crinkle while you clean up your lines.
Step 6: Adding Wattle and Feet
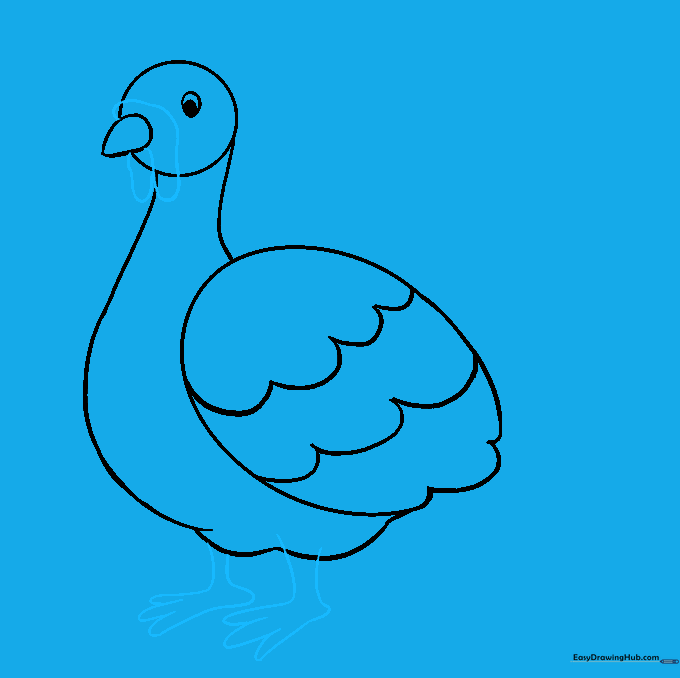
Draw the wattle with irregular shapes near the beak and add legs with 'U' shaped toes. Teacher's Tip: Turkeys have strong feet; make sure the toes look sturdy and wide.
Step 7: Final Cleanup

Erase any remaining guide lines from the legs and wattle area. Teacher's Tip: Check your drawing for any stray pencil marks to keep your final piece looking professional.
Step 8: Drawing the Tail
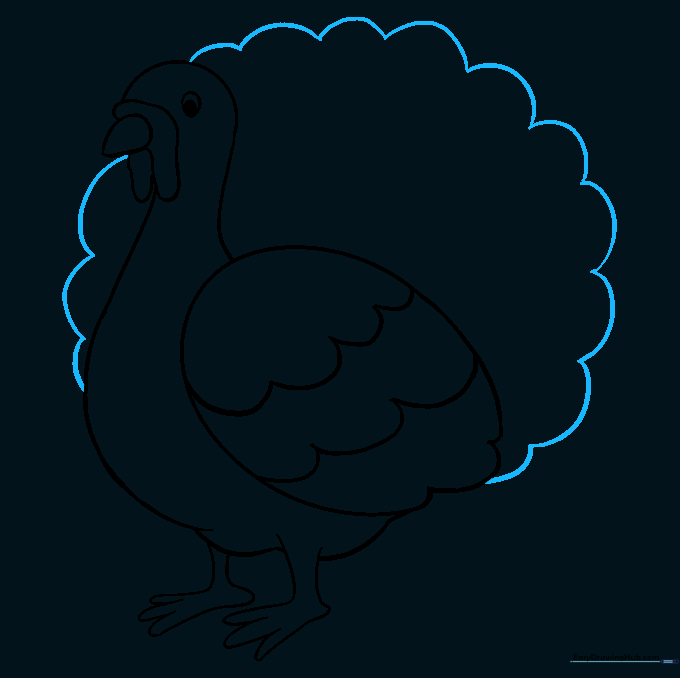
Draw a large, scalloped fan shape behind the turkey for the tail. Teacher's Tip: Start the fan from the center of the back to ensure it looks balanced.
Step 9: Detailing the Feathers
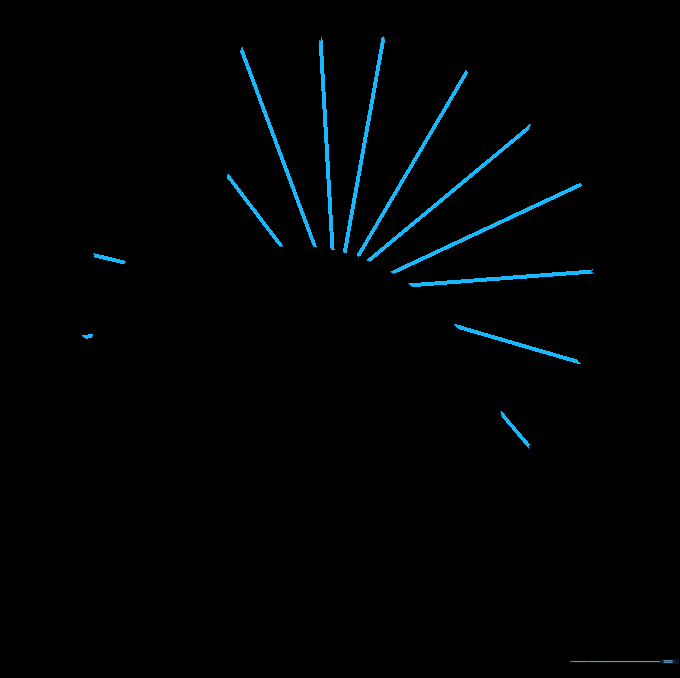
Add straight lines from the base of the tail to each scallop point to define individual feathers. Teacher's Tip: Keep these lines straight to contrast with the curved edges of the tail.
Step 10: Adding Color
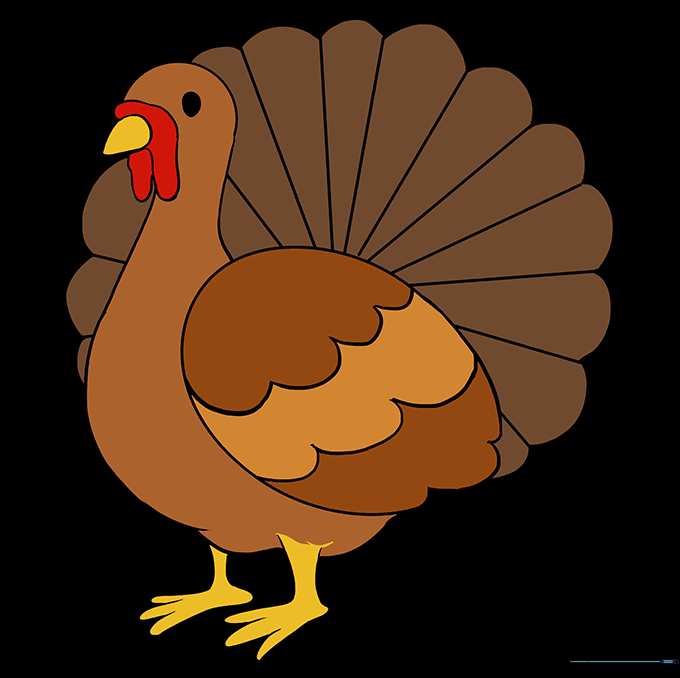
Color your turkey using browns, oranges, and reds. Teacher's Tip: Use light brown for the body and darker brown for the tail to create depth and shadow.
More Tutorials


