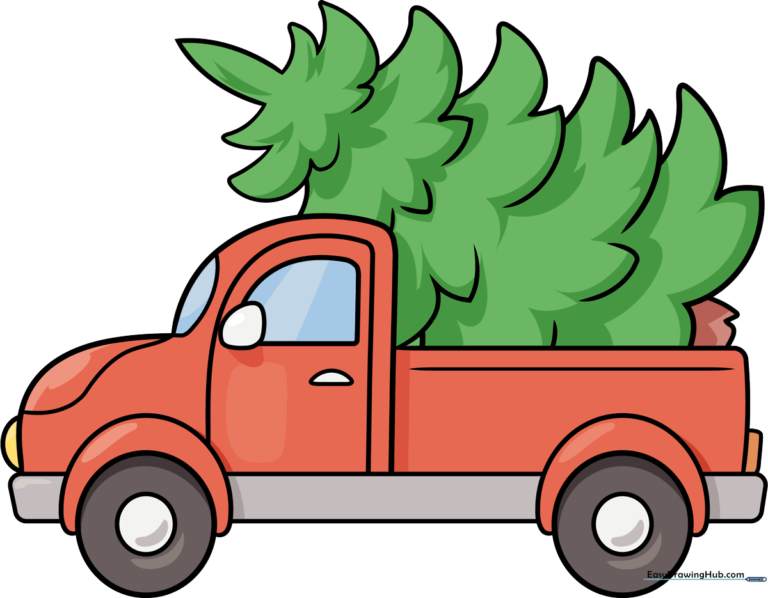
How to Draw a Christmas Truck: Easy 10-Step Guide
Perfect for ages 5 and up, this festive drawing project helps children build confidence with geometric shapes and spatial awareness. All you need is a pencil, an eraser, and some markers or crayons to bring this holiday scene to life. Follow along to create a charming vintage-style truck hauling a fresh evergreen tree.
🎯 Final Result
Step-by-Step Instructions
Step 1: Sketching the Truck Body
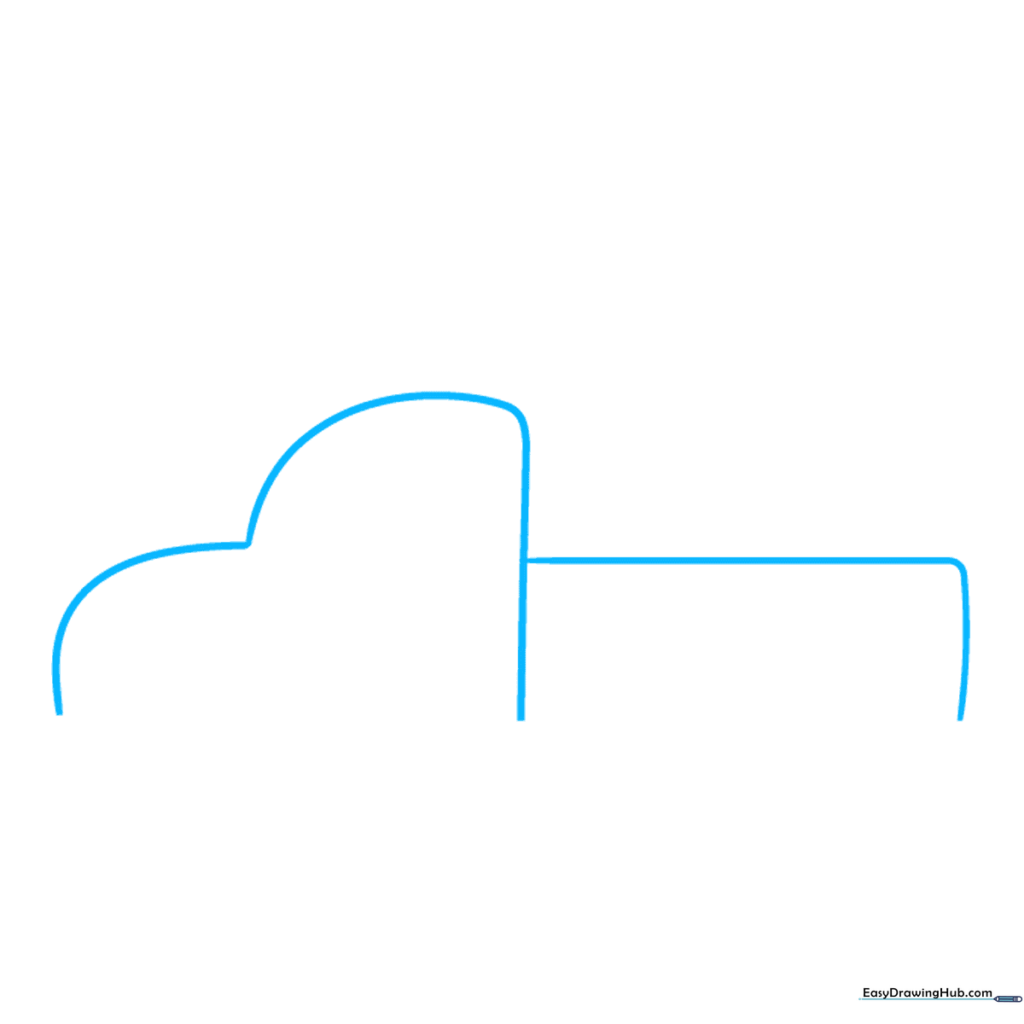
Start by drawing the main body of the pickup truck. Use a curved line for the cab and a rounded rectangle for the truck bed. Teacher's Tip: Keep your pencil pressure light here; you'll be layering more details on top soon.
Step 2: Adding the Front Fender
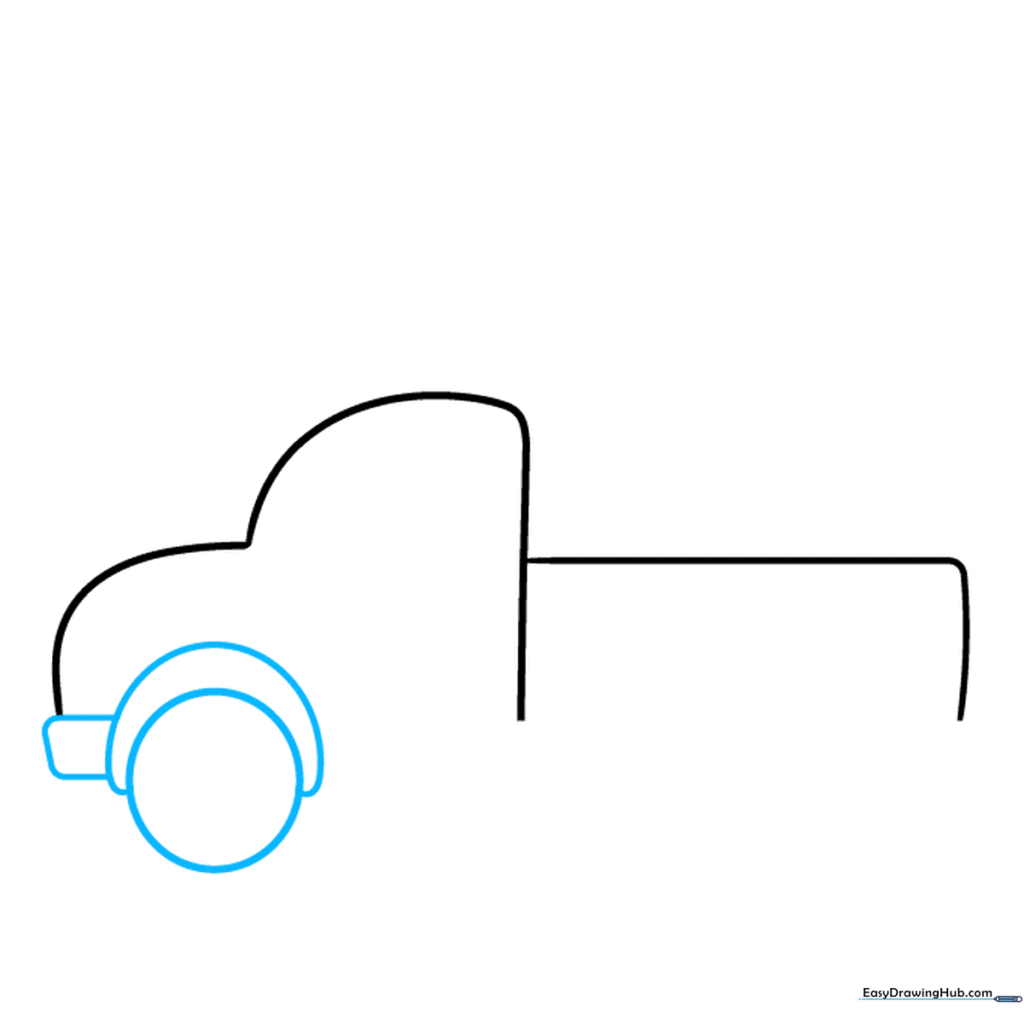
Draw a circle for the front wheel, then wrap a half-circle over it to create the fender. Add a small rounded rectangle at the very front for the bumper. Teacher's Tip: Use a circular object like a coin if you struggle to keep your wheels perfectly round.
Step 3: Sketching the Wheels
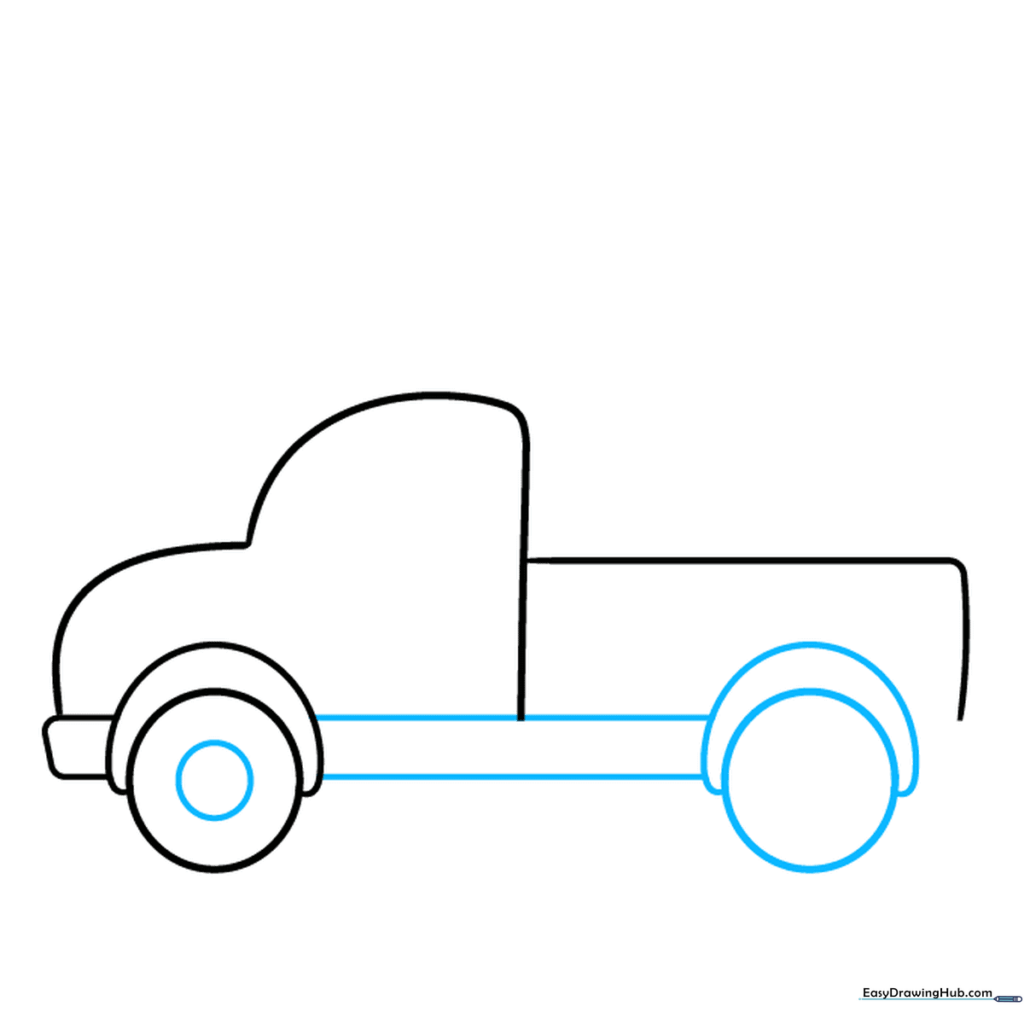
Add a smaller circle inside the front wheel for the rim. Repeat the wheel and fender process for the back of the truck, then connect the two wheel wells with a straight horizontal line. Teacher's Tip: Ensure your wheels are aligned at the same height so the truck doesn't look like it's tipping over!
Step 4: Defining the Hood and Windshield
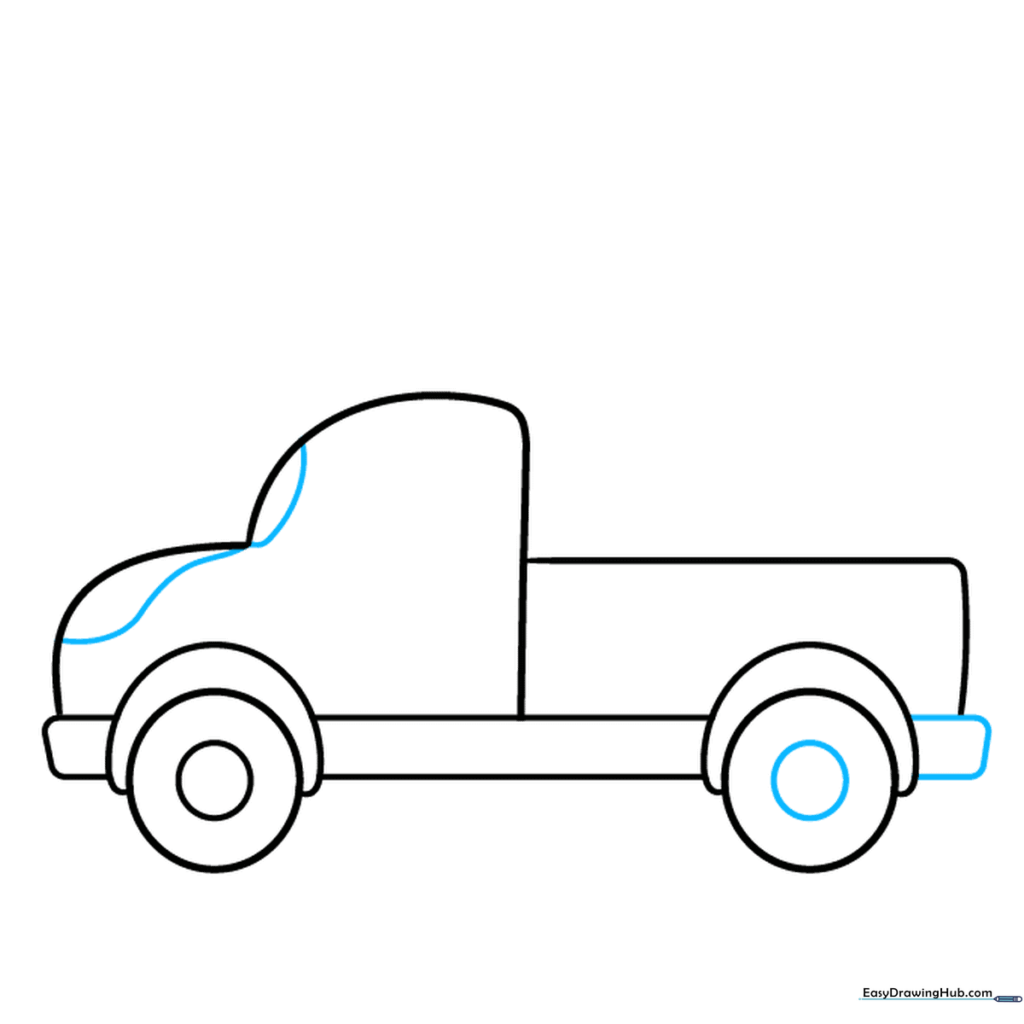
Use smooth, curved lines to define the hood and the windshield area. Add a small circle to the rear wheel for the rim. Teacher's Tip: Think of the hood as a gentle slope—don't make it too steep or the truck will look like a sports car!
Step 5: Adding the Door and Mirror
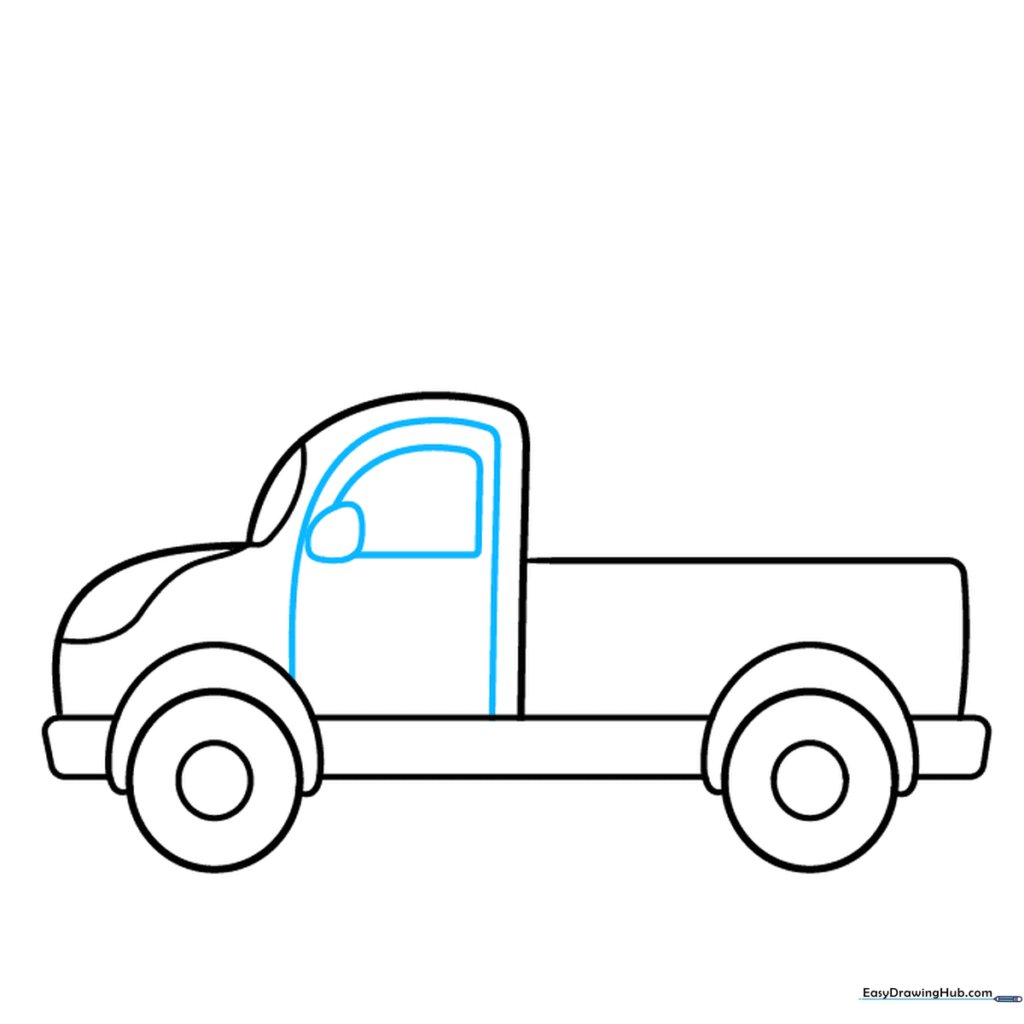
Draw a vertical line and a curve to outline the door. Add a smaller shape inside for the window and a tiny oval on the side for the rearview mirror. Teacher's Tip: Keep the mirror small so it doesn't distract from the main truck shape.
Step 6: Headlights and Tree Base
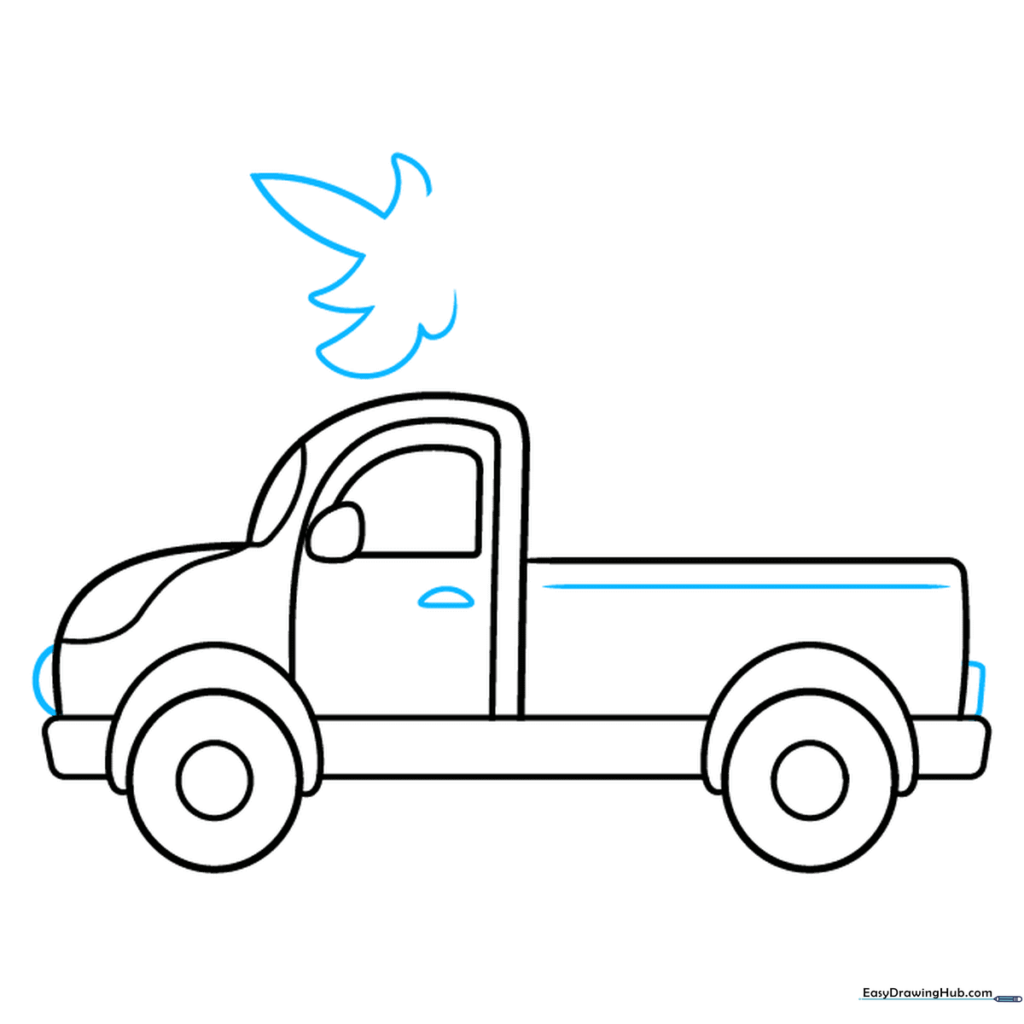
Add half-circles for headlights and a small rectangle for the tailgate. Now, start the tree by drawing a jagged, star-like shape above the cab. Teacher's Tip: Use short, quick strokes for the tree to give it a 'pine needle' texture.
Step 7: Building the Tree Layers
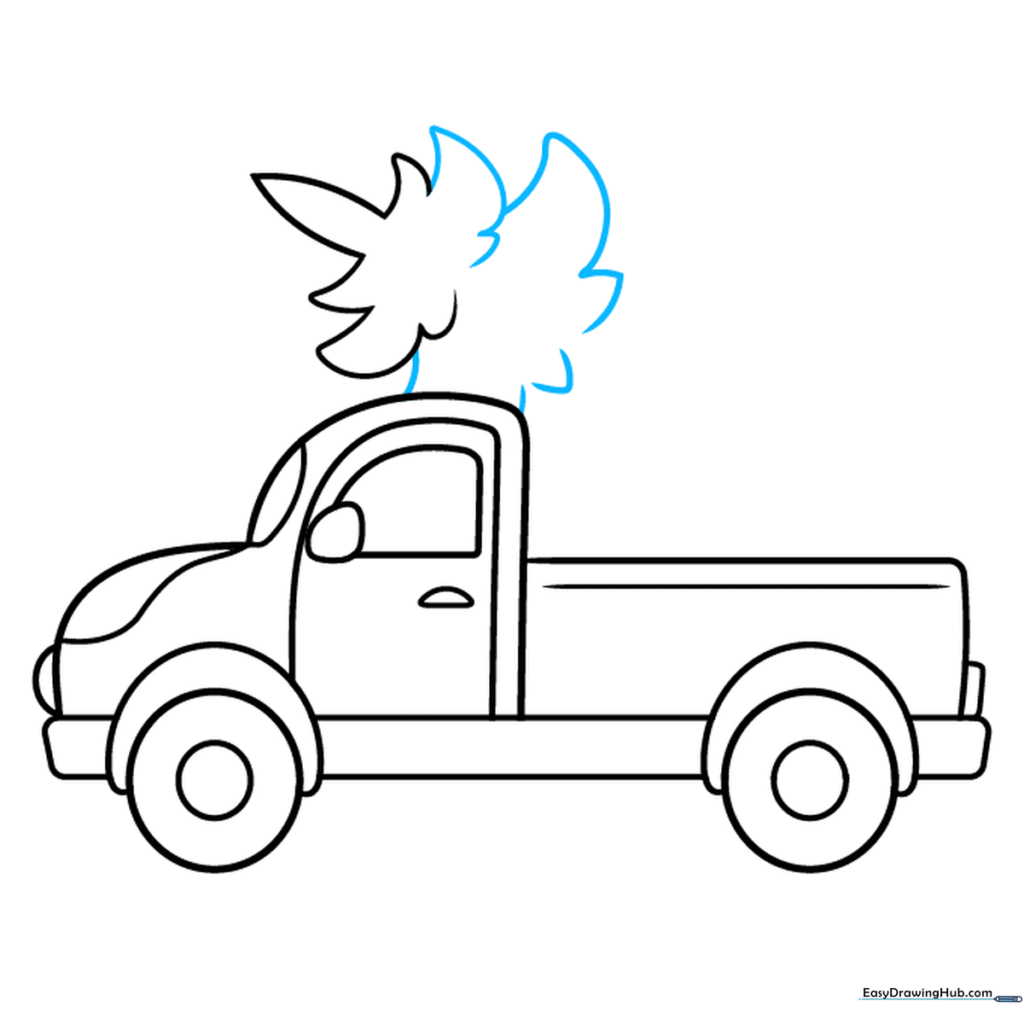
Continue drawing the tree by adding a second layer of jagged, overlapping curves. Teacher's Tip: Make each layer slightly wider than the one above it to create a realistic triangular shape.
Step 8: Expanding the Tree

Keep adding more jagged layers to the tree until it reaches the truck bed. Teacher's Tip: Don't worry if the lines aren't perfectly symmetrical; real trees are naturally irregular!
Step 9: Finalizing the Tree Base
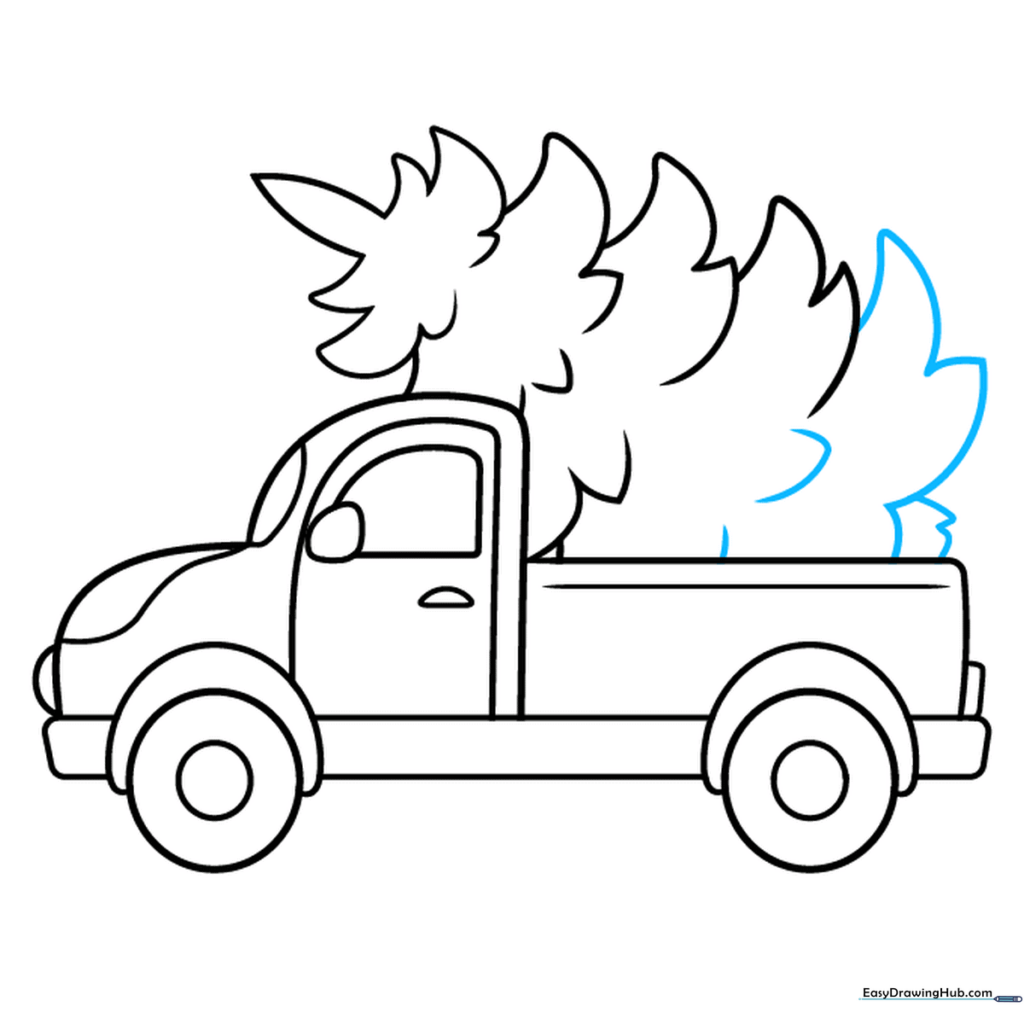
Complete the tree by drawing a small, jagged rectangular stump at the bottom. Erase any overlapping lines inside the tree to make it look like it's sitting inside the truck bed. Teacher's Tip: Use a clean eraser to remove those internal lines for a polished look.
Step 10: Coloring Your Creation
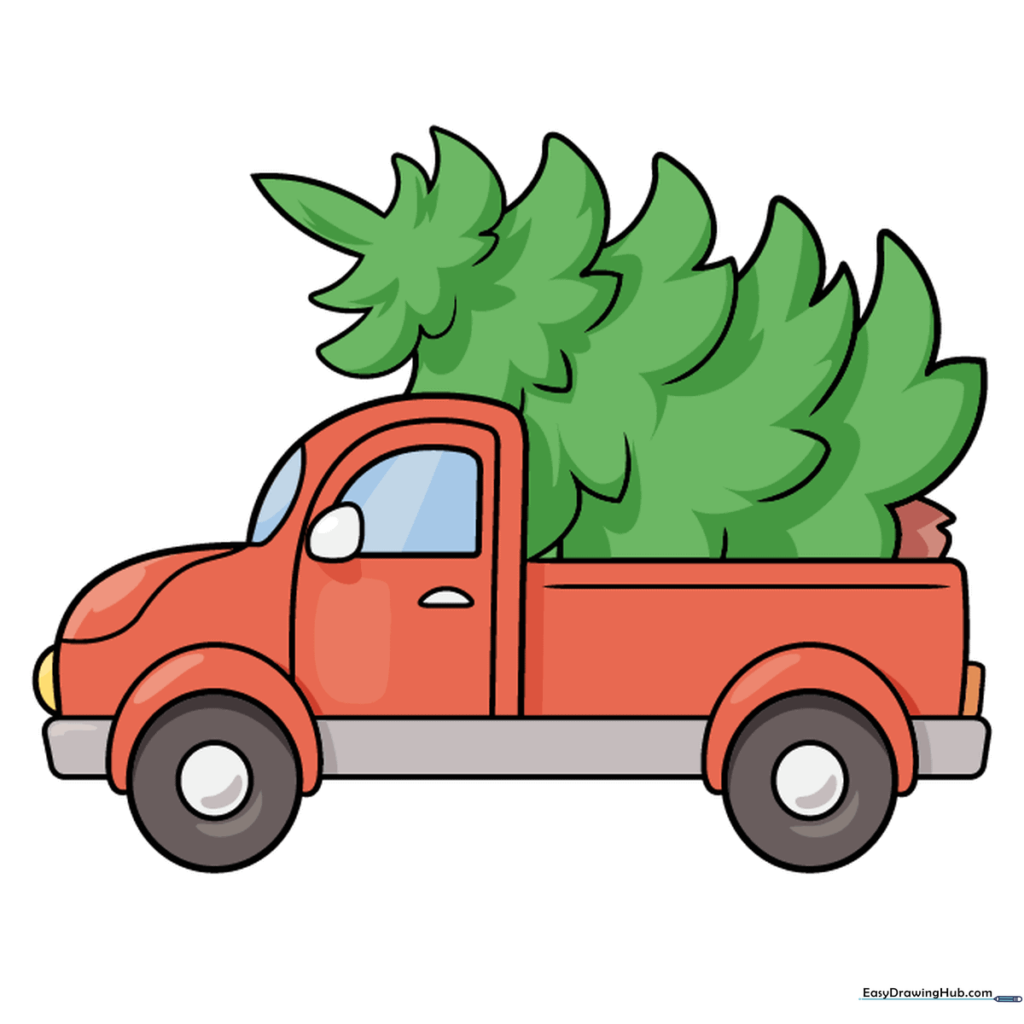
Your outline is ready! Color the tree a vibrant green and choose a festive color for your truck. Red, blue, or even metallic silver look great. Teacher's Tip: Use light pressure with your crayons to create a soft, blended look, or press hard for bold, bright colors.
More Tutorials


