How to Draw a Triceratops: Easy 10-Step Guide for Kids
Bring the prehistoric world to life with this simple Triceratops drawing guide, perfect for young artists ages 5 and up. You only need a pencil, an eraser, and a piece of paper to get started. Follow these steps to build your dinosaur from basic shapes into a detailed, friendly herbivore.
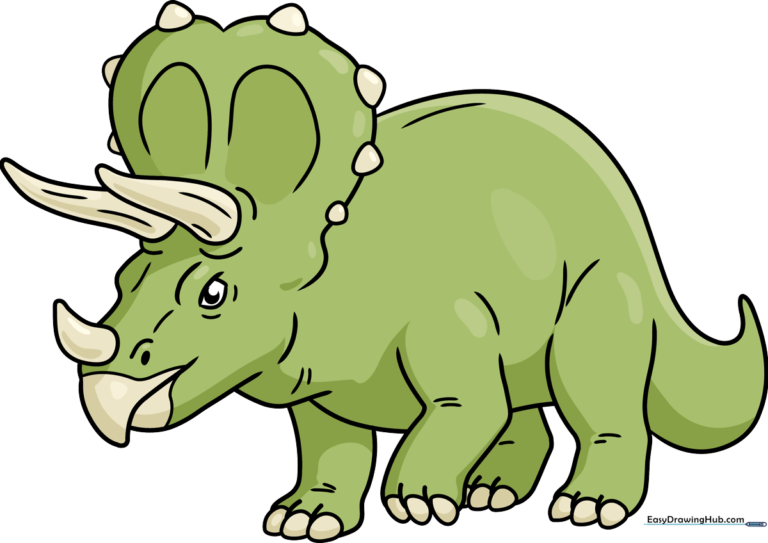
🎯 Final Result
Step-by-Step Instructions
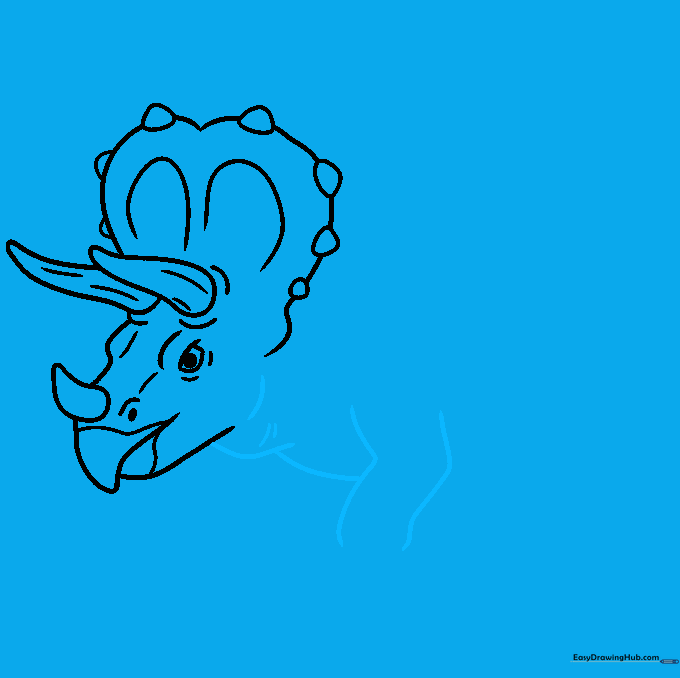
Step 1: Sketching the Head and Eye

Draw a curved triangle on the left side of your paper to form the head. Add an elongated S-shape on top and a short curve at the bottom. For the eye, sketch a downward-curving line with a larger curve underneath, then add a circle inside. Teacher's Tip: Keep your pencil lines light so you can easily erase any overlapping marks later.
Step 2: Adding the Horns and Beak
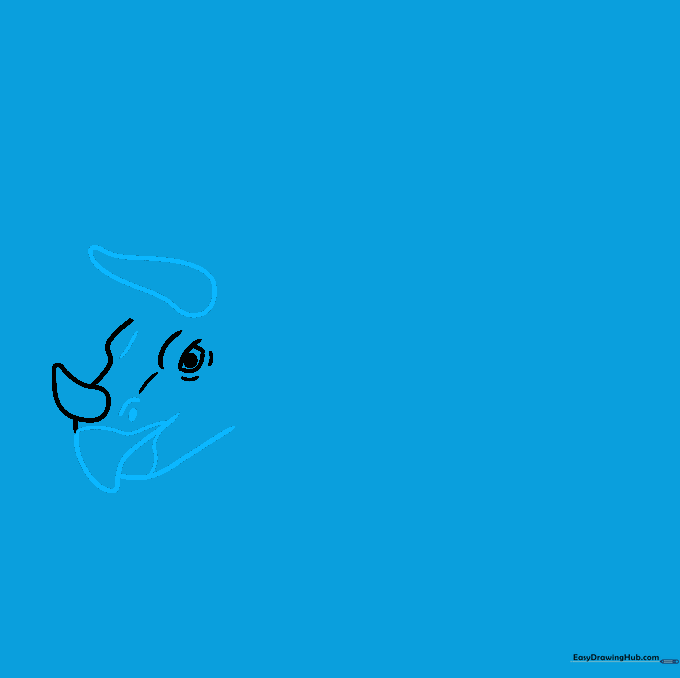
Draw a large curved triangle for the top horn. Below it, add a downward-pointing triangle and a curve for the lower jaw. Complete the beak with small curved lines and add a circle for the nostril. Teacher's Tip: Triceratops beaks are blunt, so don't worry about making the lines perfectly sharp.
Step 3: Defining the Frill
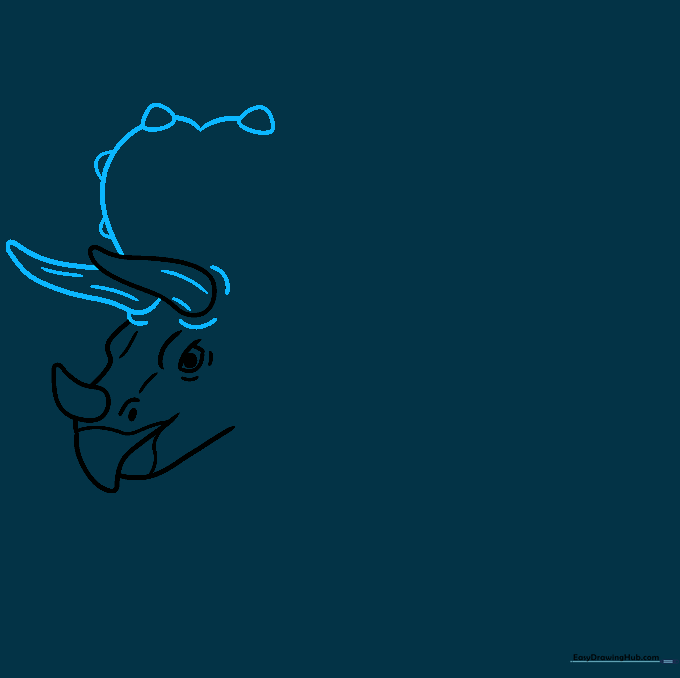
Draw an elongated triangle for the left horn, adding lines inside for texture. Above the head, sketch a tall heart shape to serve as the base for the dinosaur's iconic frill, then add rounded triangles along the top. Teacher's Tip: Use a light touch for the frill outline so you can adjust the size if it looks too small.
Step 4: Refining the Frill Details
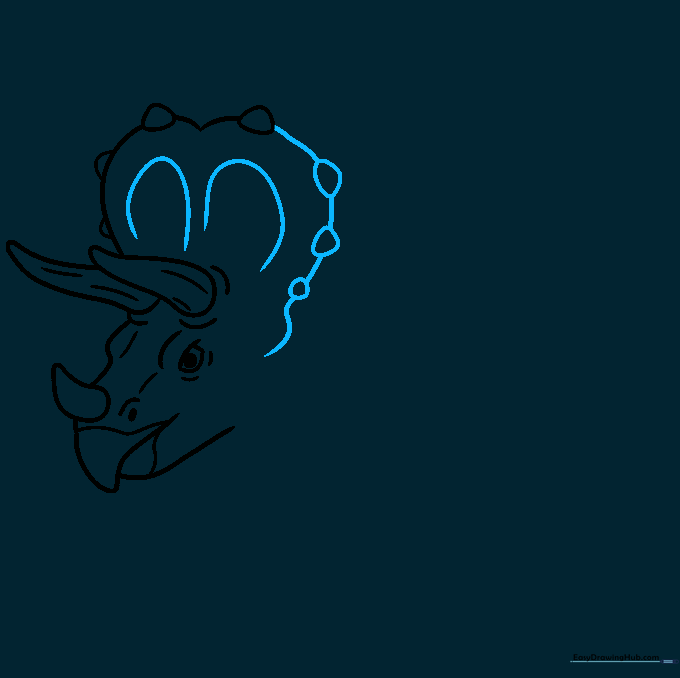
Complete the heart shape outline and add more rounded 'gumdrop' shapes along the edge of the frill. Sketch two large hook shapes inside the frill to add dimension. Teacher's Tip: These hooks represent the bony ridges found on a real Triceratops skull.
Step 5: Starting the Body and Legs
Draw two parallel arrow-like shapes for the front leg. Use smooth curves to connect the head to the underside of the body. Teacher's Tip: Keep the body curves rounded to give your dinosaur a friendly, cartoonish appearance.
Step 6: Drawing the Back Leg
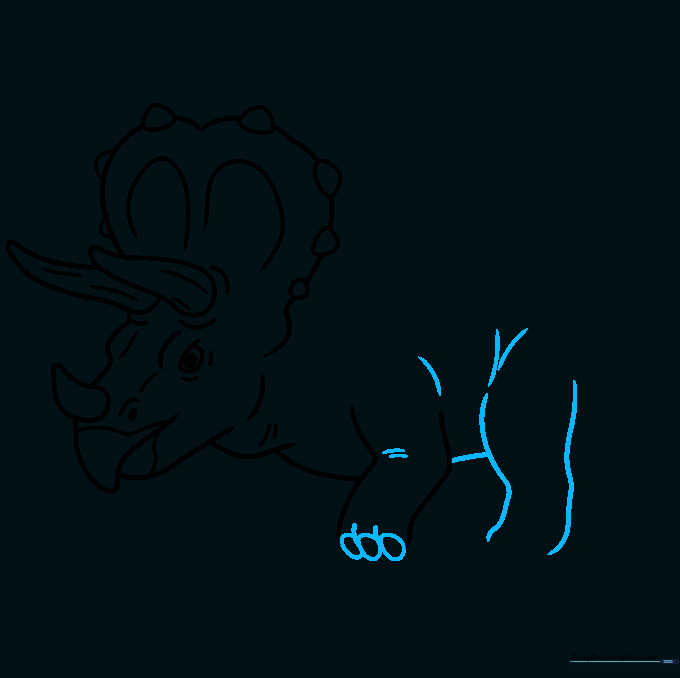
Create three oval shapes for the toes. Use loose, uneven lines for the back leg, adding a V-shape at the top to create a rounded, muscular look like a chicken drumstick. Teacher's Tip: Don't worry about perfect lines; dinosaur skin is naturally bumpy and textured.
Step 7: Adding More Toes
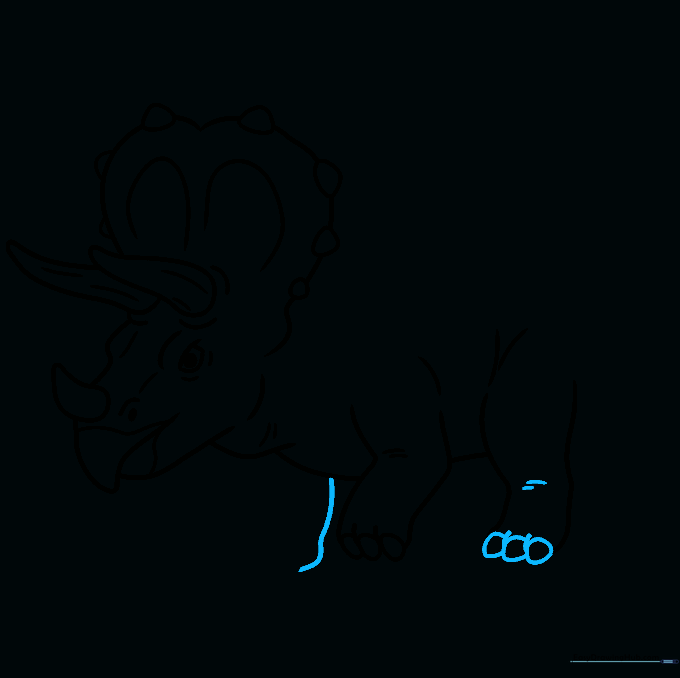
Add round triangle shapes for the toes on the back leg. Begin sketching the front left leg using an uneven, natural-looking line. Teacher's Tip: Varying the size of the toes adds a sense of perspective to your drawing.
Step 8: Completing the Legs
Draw three more oval shapes for the front toes and connect the leg to the body with a smooth curve. Start the final leg with an angular line pointing to the right. Teacher's Tip: Ensure the legs look sturdy to support the dinosaur's heavy body.
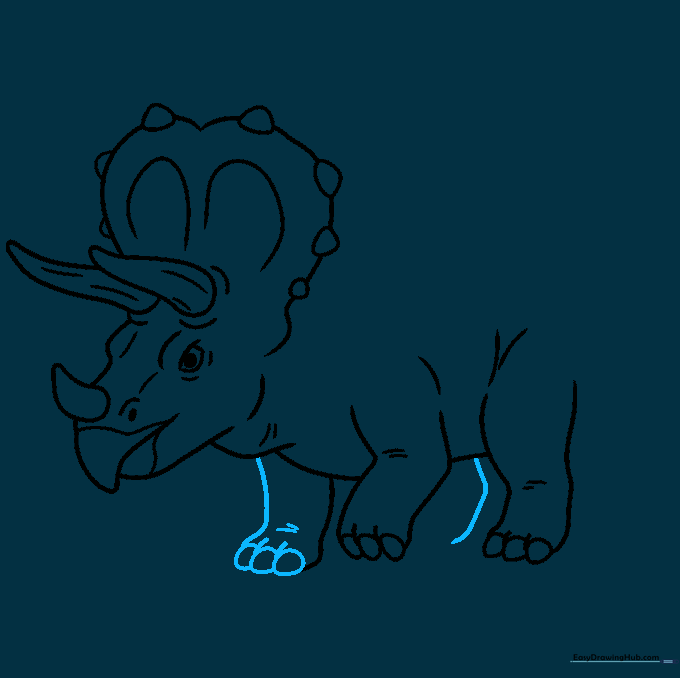
Step 9: The Back and Tail
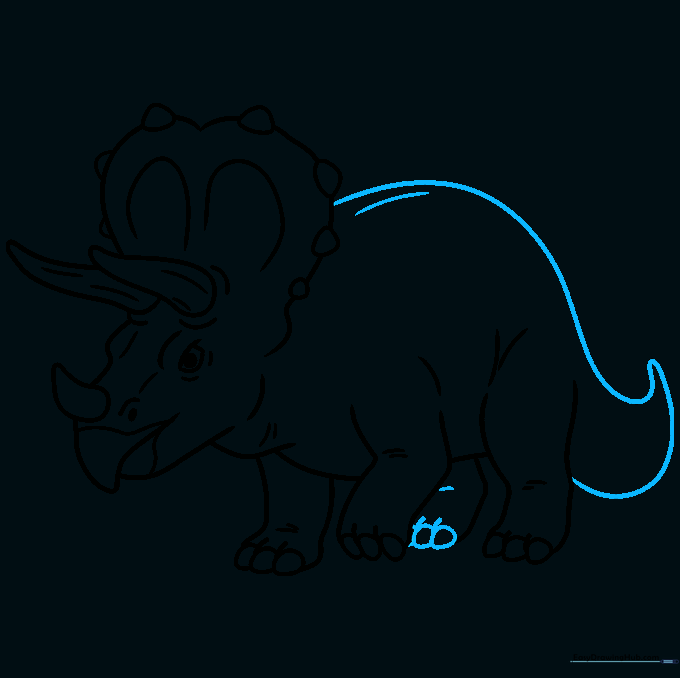
Draw a swooping curve for the back that tapers into a point for the tail. Connect this line back to the body. Finish the last leg with three overlapping toes and a few short lines for detail. Teacher's Tip: A slightly curved tail adds movement to your drawing.
Step 10: Outlining and Coloring
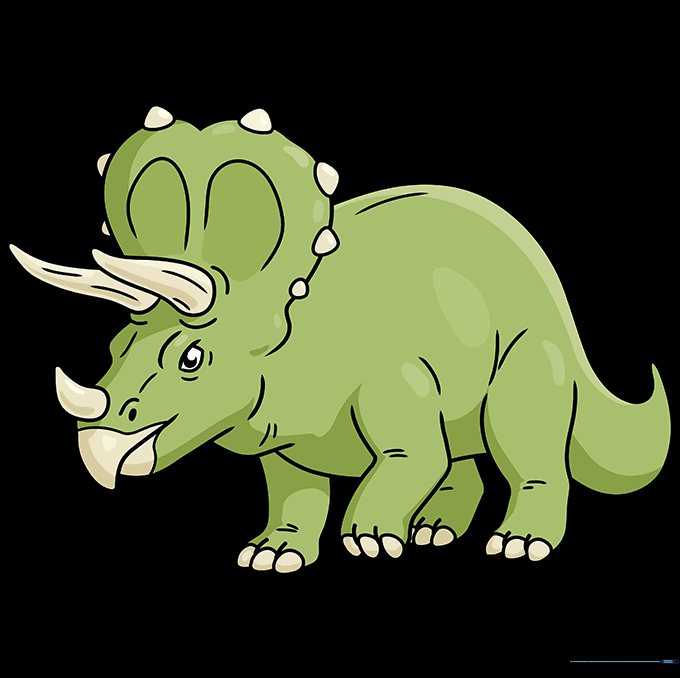
Trace your drawing with a black pen or marker and erase your pencil guidelines. For coloring, use a light green base, darker green for shadows, and off-white for the horns and beak. Teacher's Tip: Add small white highlights to the skin to make your dinosaur look like it's standing in the sun!
More Tutorials


