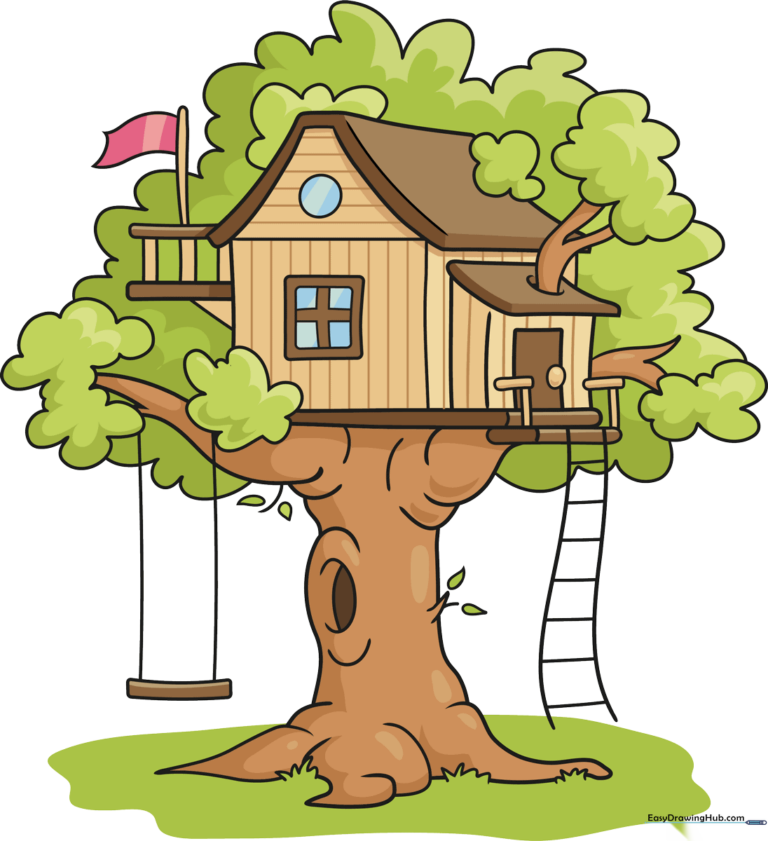
How to Draw a Tree House: Easy 10-Step Guide for Kids
Bring your imagination to life with this fun tree house drawing project, perfect for young artists ages 5 and up. You will only need a pencil, an eraser, and your favorite coloring supplies to build your own backyard hideaway. Follow these simple steps to master basic shapes and perspective while creating a whimsical forest scene.
🎯 Final Result
Step-by-Step Instructions
Step 1: Sketching the Strong Roots

Start by drawing the base of your tree using overlapping curved lines to create a sturdy, knarled trunk. Teacher's Tip: Make the roots wide at the bottom to give your tree a solid, grounded look on the page.
Step 2: Establishing the Foundation
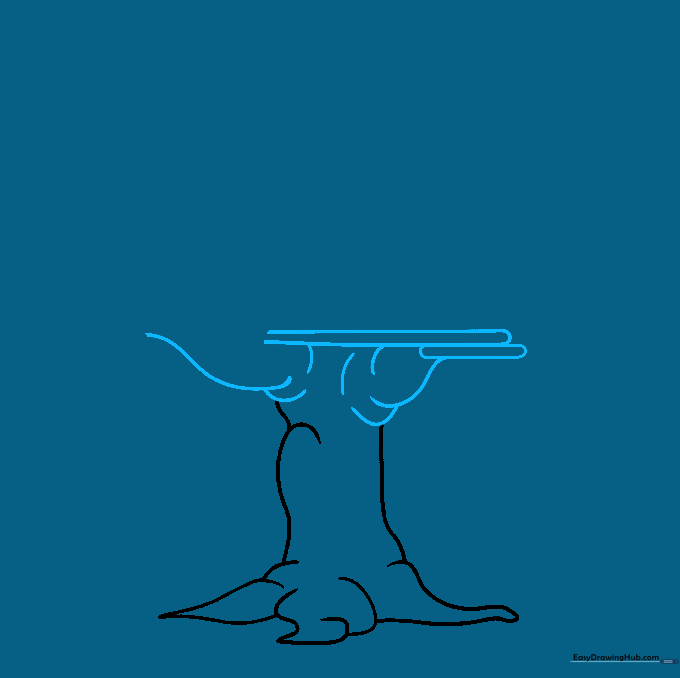
Draw the sturdy branches extending from the trunk, then add a narrow rectangular shape between them to serve as the floor of your tree house. Teacher's Tip: Use a ruler if you struggle with straight lines, but freehand lines add a more organic, 'nature-made' feel.
Step 3: Building the Walls and Roof

Sketch the walls using square and rectangular shapes, then add a slanted parallelogram for the roof. Use 'U' shaped lines to suggest leafy foliage nearby. Teacher's Tip: Keep your shapes simple; a tree house is meant to look a bit rustic and cozy!
Step 4: Adding Architectural Details

Refine the roof with a three-dimensional edge and add a square window. Draw small rounded rectangles for the front handrails. Teacher's Tip: Adding these small details helps the drawing look more realistic and inviting.
Step 5: Doors and Decking
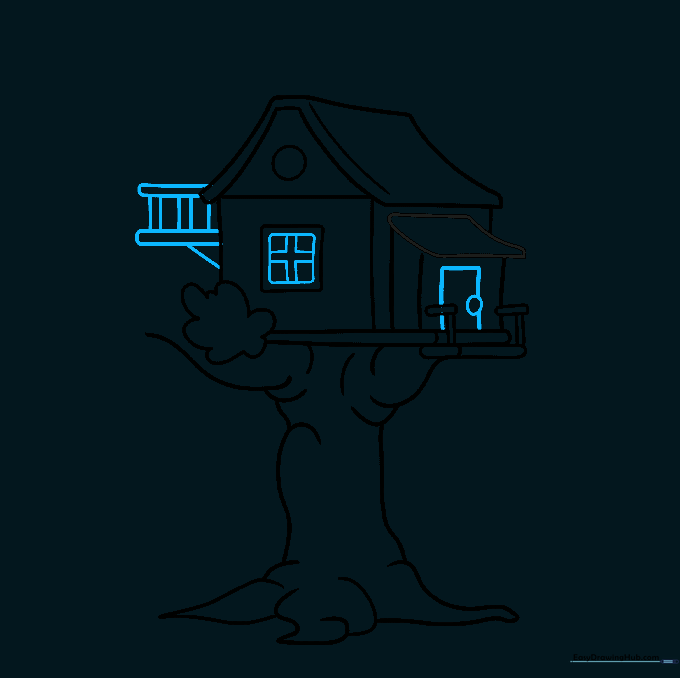
Draw a rectangular door with a simple oval knob, and add a small back deck with vertical railing slats. Teacher's Tip: Use short, even strokes for the railing to keep it looking tidy.
Step 6: Adding Fun Accessories
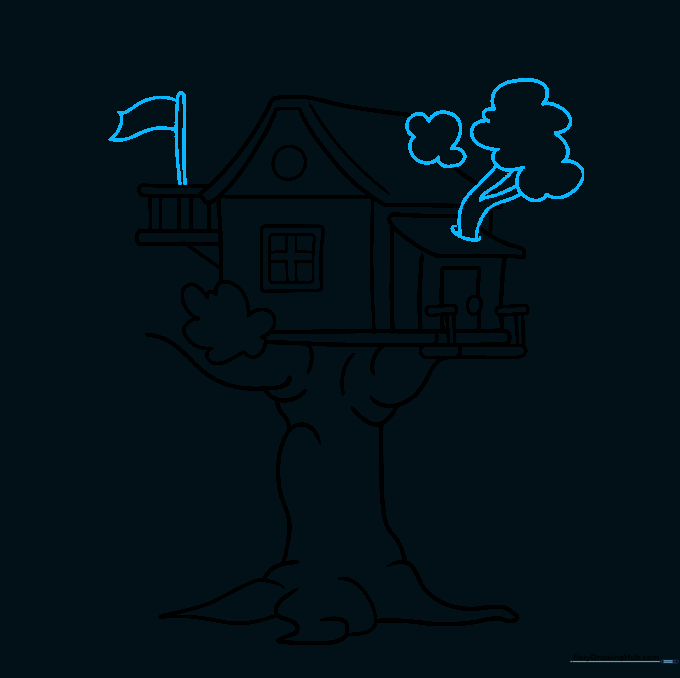
Draw a flagpole on the porch and sketch branches weaving through the roof. Teacher's Tip: Don't worry if the branches look a bit messy; trees in nature are rarely perfectly symmetrical!
Step 7: Growing the Canopy
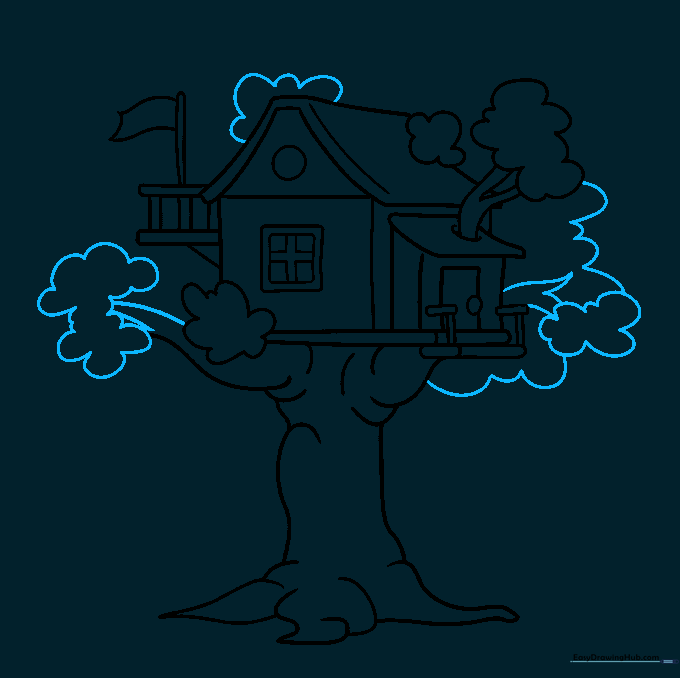
Use loose, curved lines to add more branches and leafy boughs around the house. Teacher's Tip: Vary the size of your leaf clusters to make the tree look full and healthy.
Step 8: The Rope Ladder
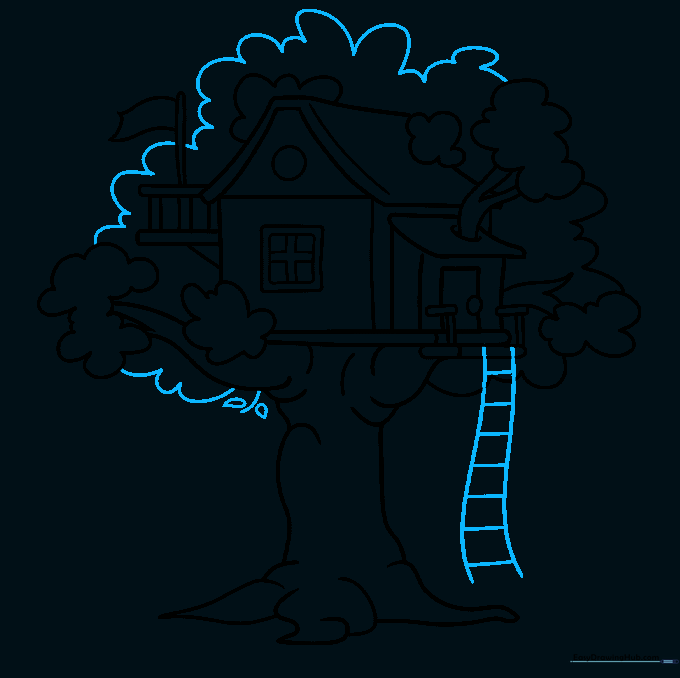
Add a rope ladder hanging from the house using two parallel lines connected by small horizontal rungs. Teacher's Tip: Make the rungs slightly uneven to give the ladder a realistic, worn-in look.
Step 9: Final Touches and Swing
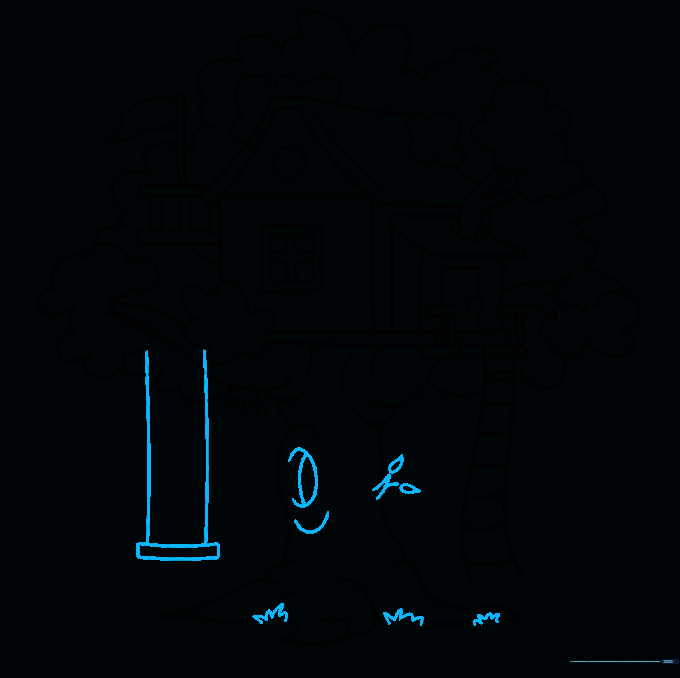
Add a swing hanging from a branch and sketch some grass at the base of the tree. Teacher's Tip: Use quick, flicking motions with your pencil to create the look of natural grass blades.
Step 10: Bring It to Life with Color
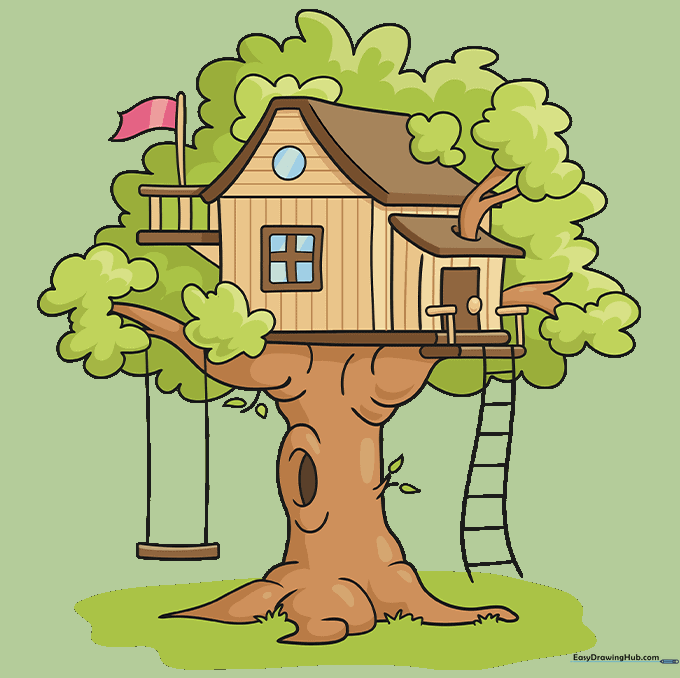
Fill in your tree house with earthy browns, vibrant greens for the leaves, and any colors you like for the house itself. Teacher's Tip: Use light and dark shades of green to create depth in the foliage.
More Tutorials


