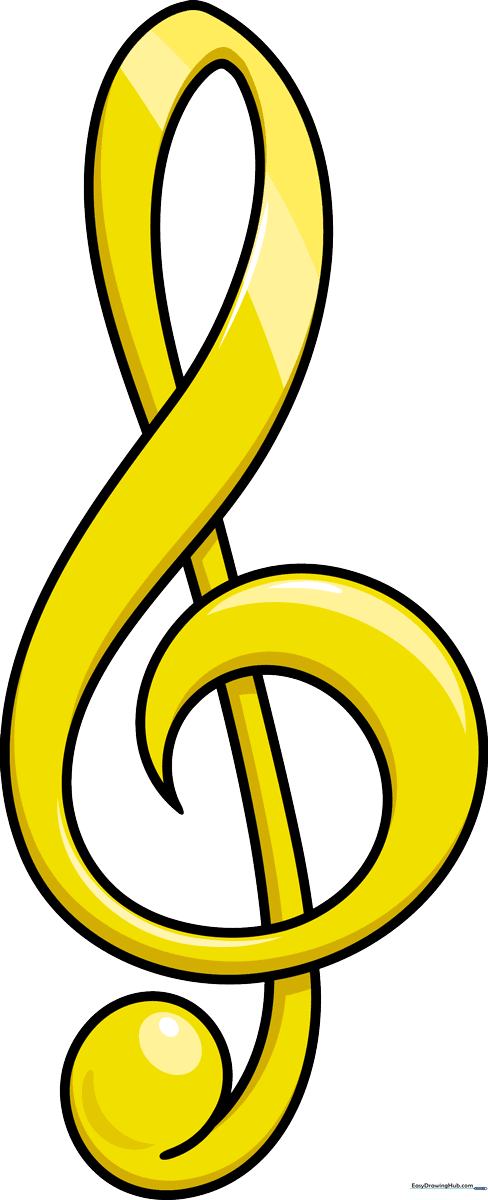
How to Draw a Treble Clef: Easy 10-Step Guide for Kids
Bring the beauty of music to your sketchbook with this simple treble clef tutorial, designed specifically for ages 6 and up. You only need a pencil, an eraser, and a piece of paper to get started. By following these clear steps, you will master the elegant curves of this musical symbol while improving your hand-eye coordination.
🎯 Final Result
Step-by-Step Instructions
Step 1: Starting the Spiral
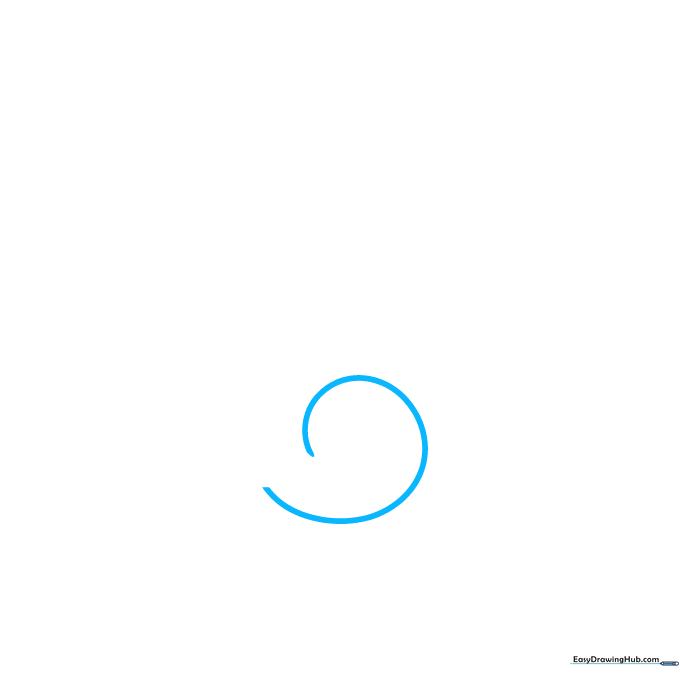
Begin by drawing a small, tight spiral near the center of your page. Teacher's Tip: Think of this as the 'eye' of the clef; keep it small to ensure you have enough room for the rest of the body.
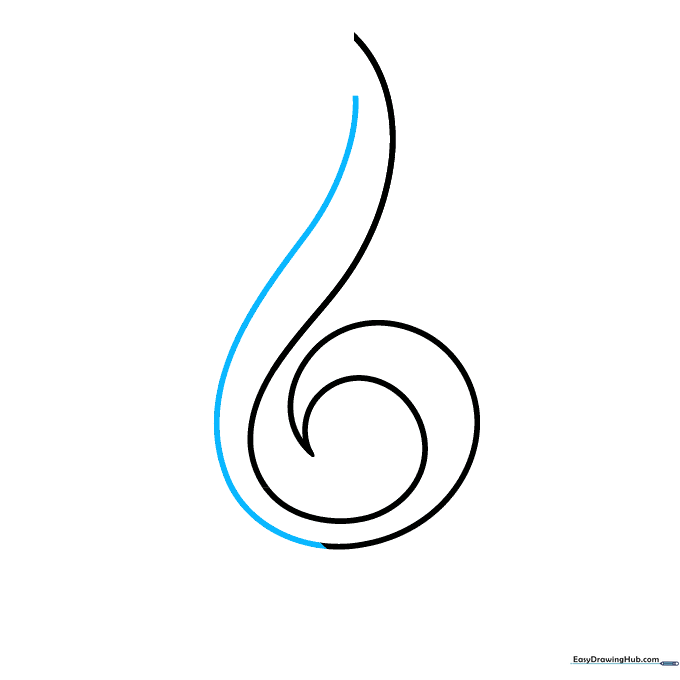
Step 2: Creating the Inner Curve
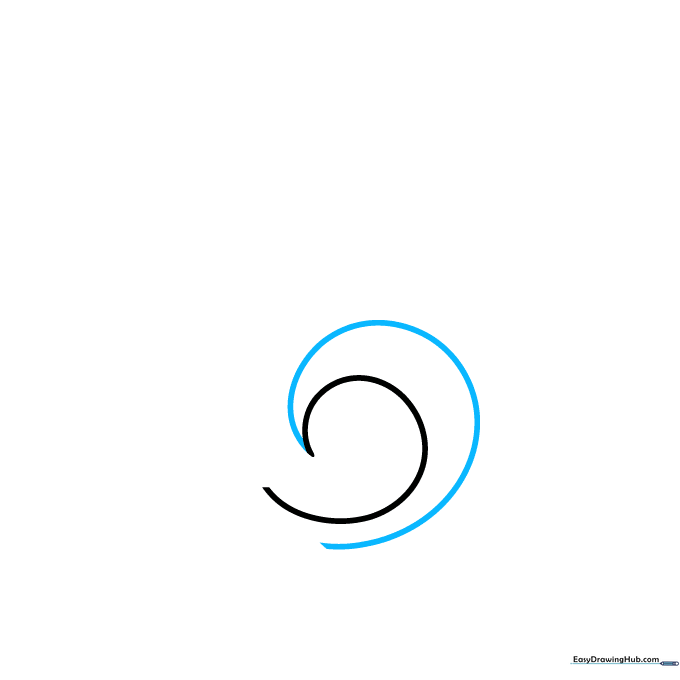
Draw a curved line that starts from the spiral and sweeps downward. Teacher's Tip: Use a 'hook' motion with your wrist to get that smooth, elegant curve.
Step 3: The Upper Loop
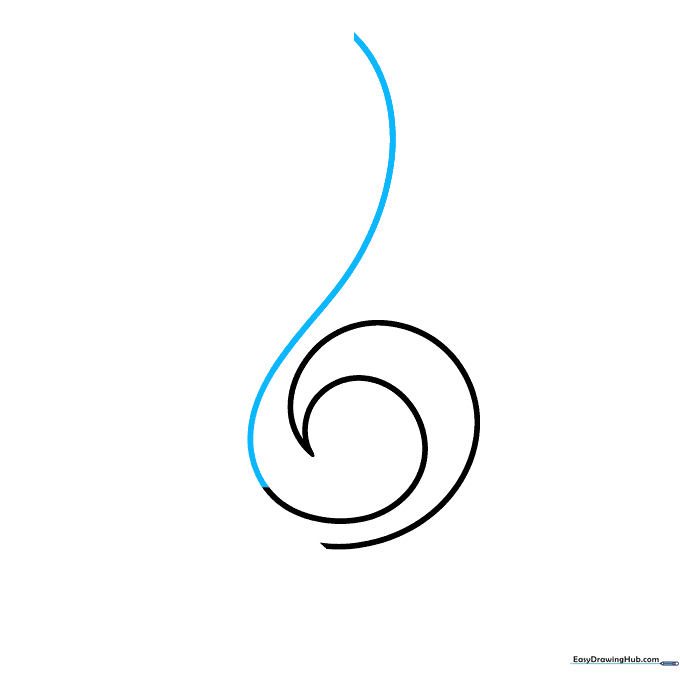
Extend the top of your spiral line upward, arching it over the top like a rainbow. Teacher's Tip: Keep your pencil moving continuously to maintain a smooth, flowing line.
Step 4: Adding Thickness
Draw a second line parallel to the first to create the body of the clef. Teacher's Tip: Don't worry if it's not perfectly even; the treble clef is a handwritten symbol, so slight variations look natural.
Step 5: Closing the Top
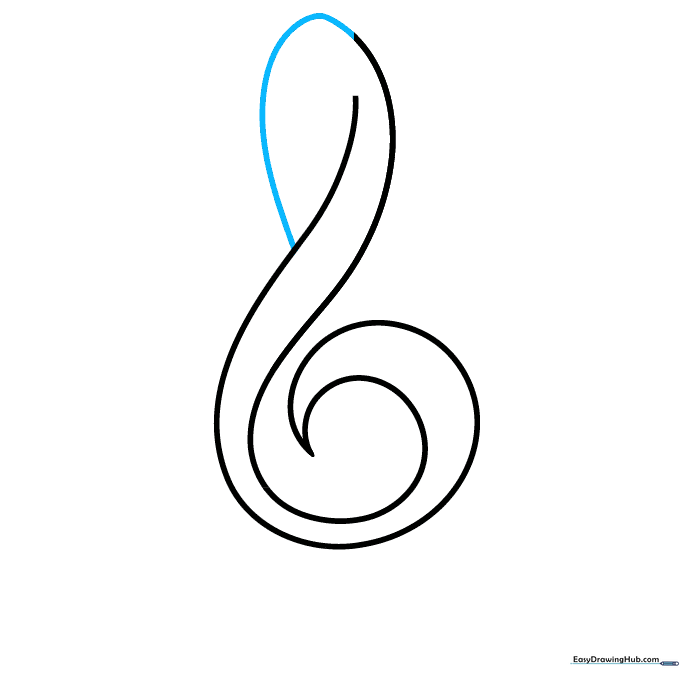
Fold the top line back on itself to create the characteristic loop at the top of the clef. Teacher's Tip: Imagine you are drawing a teardrop shape that is slightly tilted.
Step 6: Refining the Curves
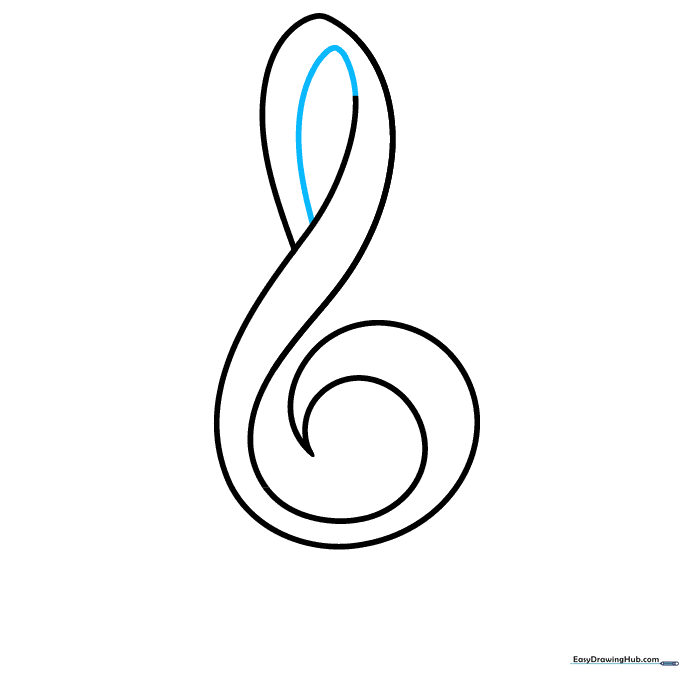
Continue the second line downward, ensuring it follows the flow of the first. Teacher's Tip: Keep your hand relaxed to allow for a smooth, sweeping motion.
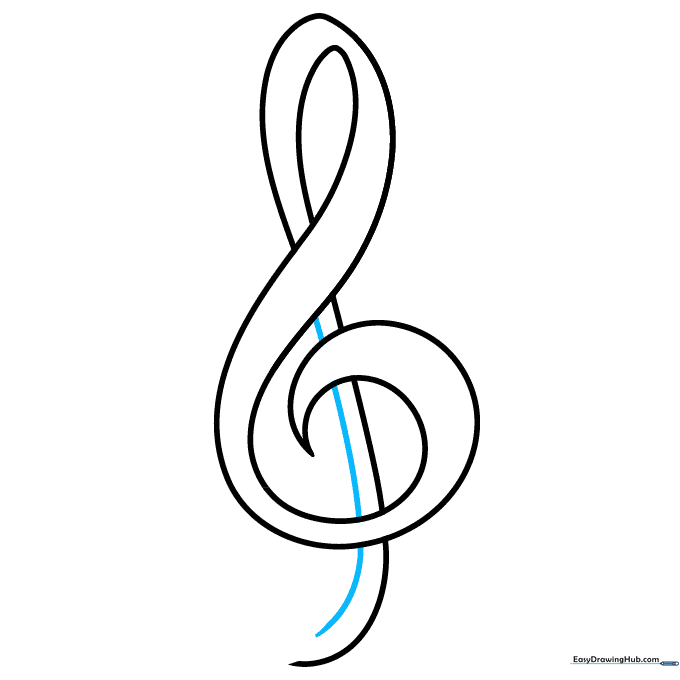
Step 7: The Long Stem
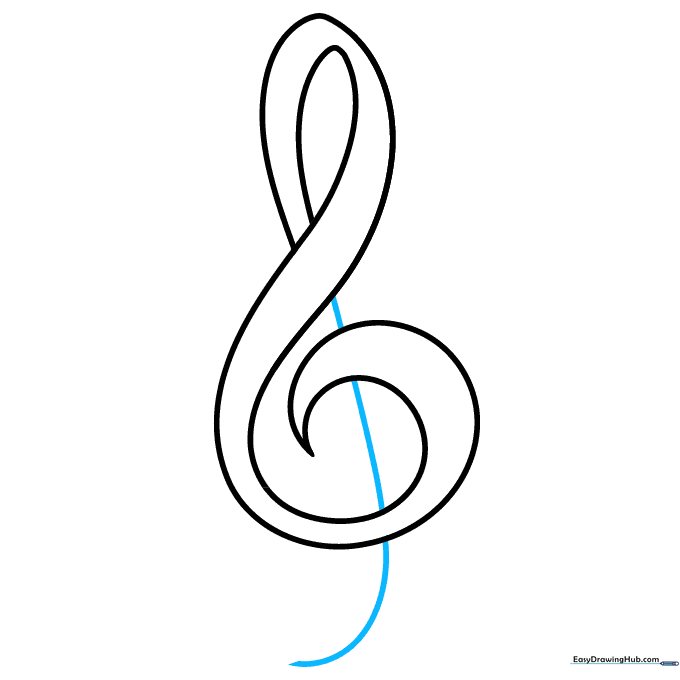
Draw a long, elegant line that extends behind the spiral. Teacher's Tip: This line should be almost straight, providing a strong vertical anchor for the clef.
Step 8: Completing the Stem
Add the final parallel line to the stem. Teacher's Tip: Keep the space between the two lines consistent to make the clef look balanced.
Step 9: Closing the Base

Finish the bottom by curling the line into a small tail that meets the main body. Teacher's Tip: This final flourish gives the treble clef its signature look.
Step 10: Final Touches and Coloring

Erase any extra guidelines and color your treble clef. Teacher's Tip: While black is traditional, try using gold, silver, or even rainbow colors to make your music art stand out!
More Tutorials


