How to Draw a Treasure Chest: Easy 9-Step Guide
Ready to go on an artistic adventure? This treasure chest tutorial is perfect for young artists ages 5 and up. All you need is a pencil, an eraser, and a piece of paper to bring your own pirate loot to life.
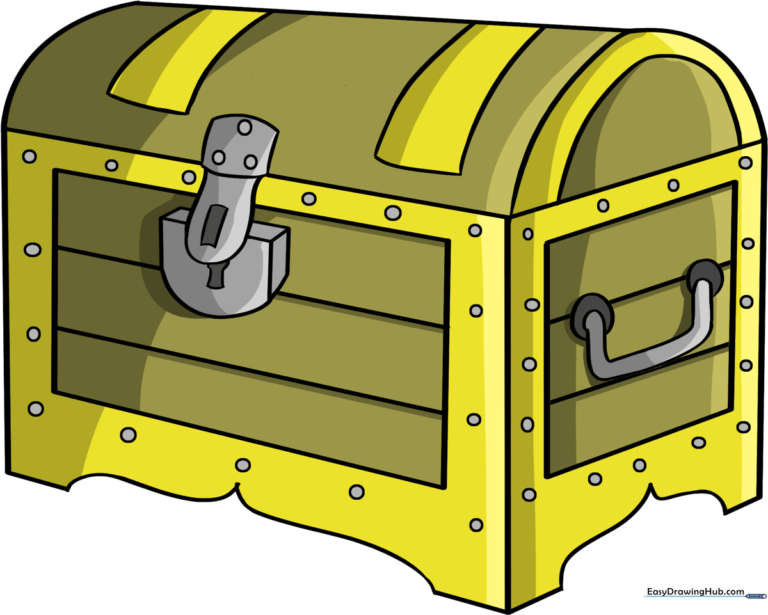
🎯 Final Result
Step-by-Step Instructions
Sketching the Base
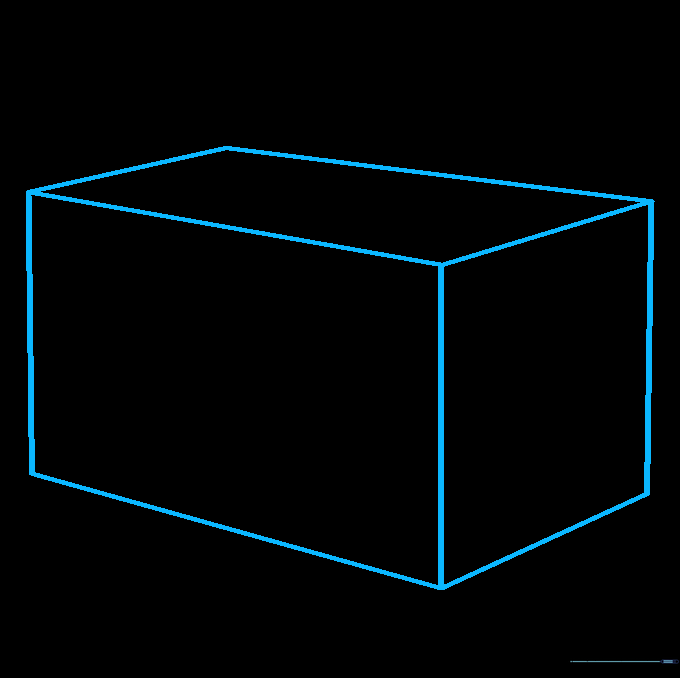
Start by drawing a rectangular cube. Use light, straight lines to sketch three connected rectangular panels. Tip: Keep your pencil pressure light so you can easily adjust the shape later if needed.
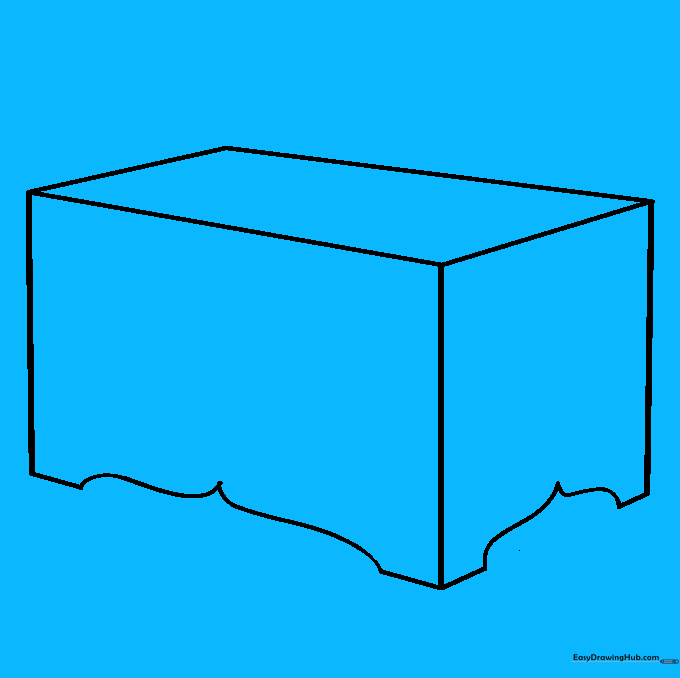
Adding the Decorative Feet
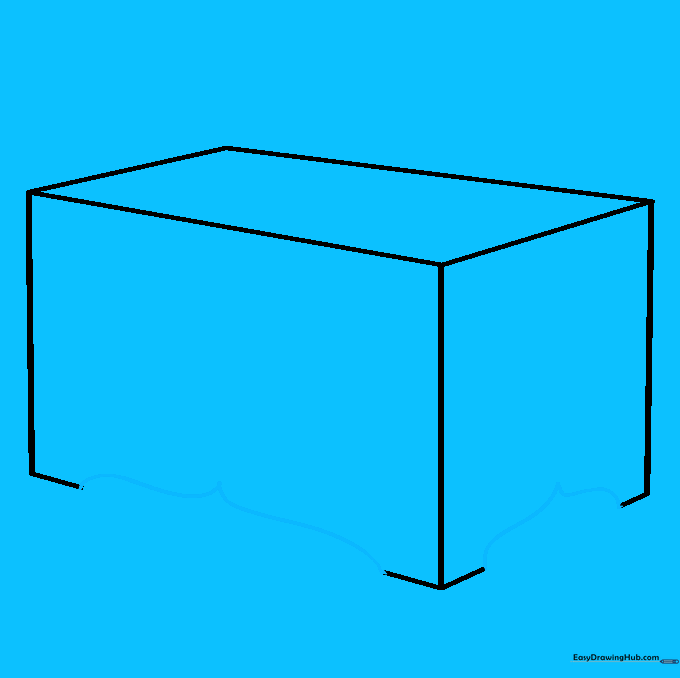
Erase small sections at the bottom corners of your cube. In each gap, draw two curved lines that meet at a point to create the chest's feet. Tip: Try to make the feet symmetrical so the chest looks sturdy.
Defining the Panels
Add depth by drawing a smaller rectangular shape inside the front and side panels. Tip: Leave an equal amount of space between the inner rectangle and the outer edge for a clean, professional look.
Adding Planks and Handles
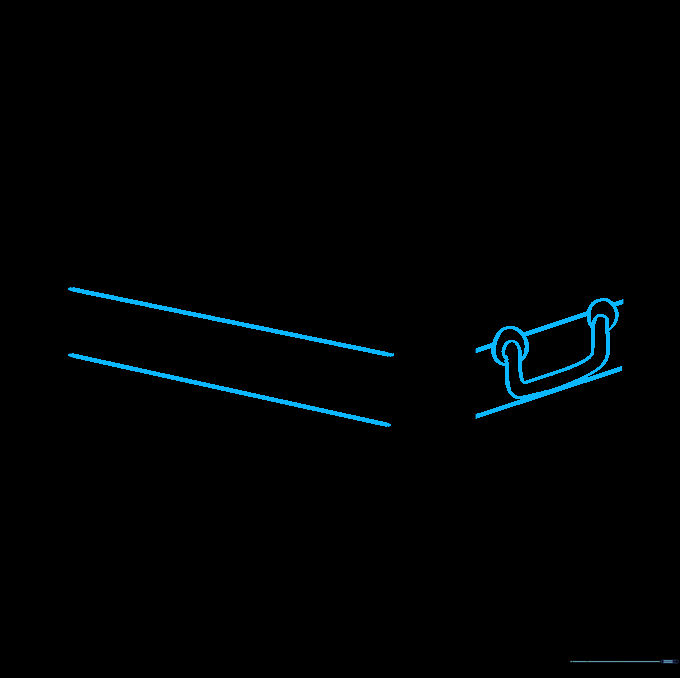
Draw horizontal lines across the panels to create wooden planks. Then, add a side handle by drawing two small, incomplete circles connected by curved lines. Tip: Use a ruler if you want your planks to look perfectly straight!
Drawing the Lock
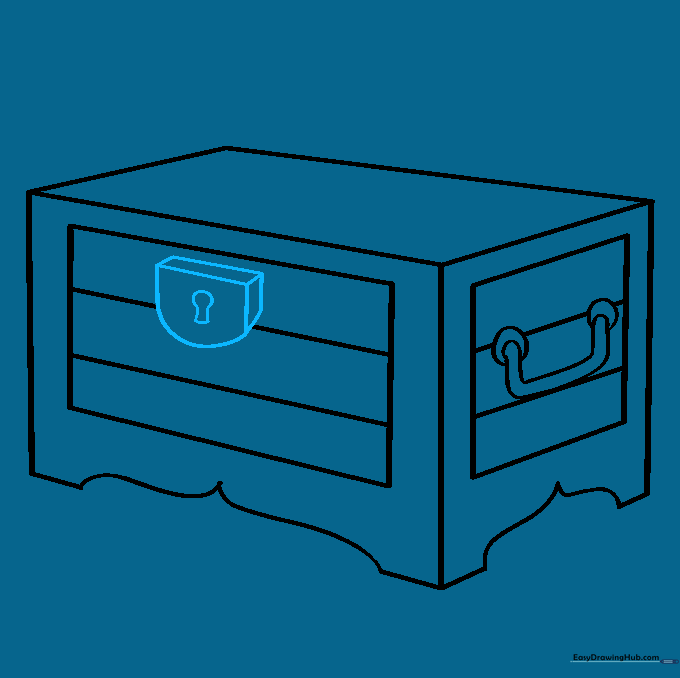
Draw a four-sided lock on the front panel. Use straight lines for the top and sides, and a curve for the bottom. Add a parallel line on the side to give it a 3D effect. Tip: Focus on the shadow side to make the lock pop off the page.
Creating the Curved Lid
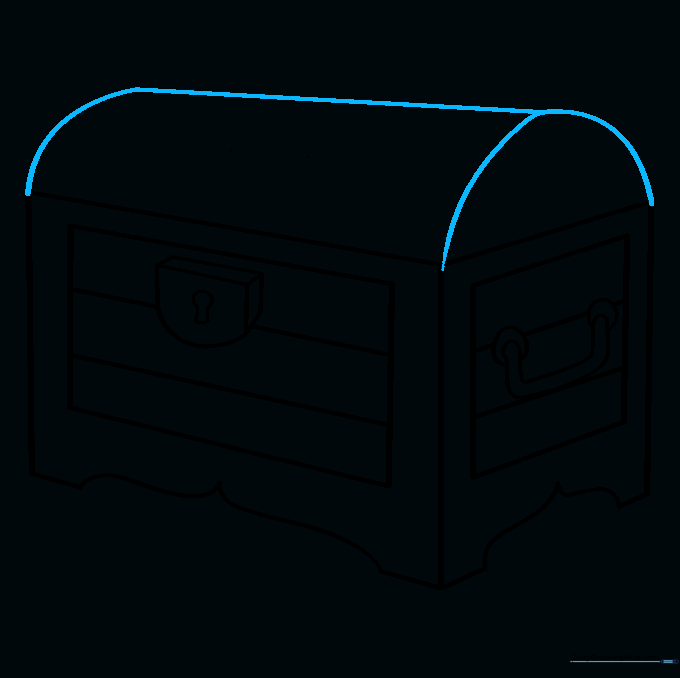
Erase the top line of the cube. Draw a half-circle on one side and a quarter-circle on the other, then connect them with a straight line to form the rounded lid. Tip: Use a light touch to get the curve smooth and even.
Detailing the Lid
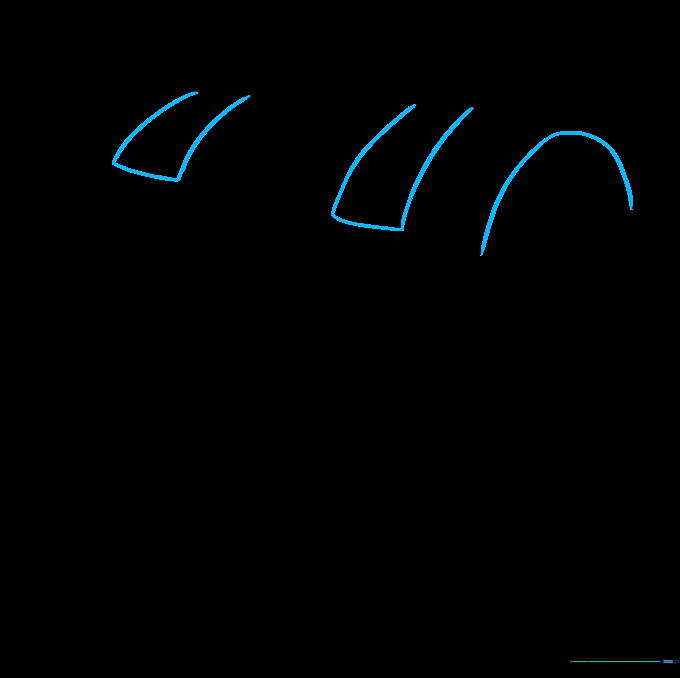
Add a smaller half-circle inside the lid and draw two rectangular bands across the top. Tip: These bands act as the metal reinforcements often found on old pirate chests.
Adding the Latch

Draw the latch on the lid using a four-sided shape with a U-shaped piece underneath. Add small circles for rivets. Tip: Keep the latch centered so the chest looks balanced.
Final Touches
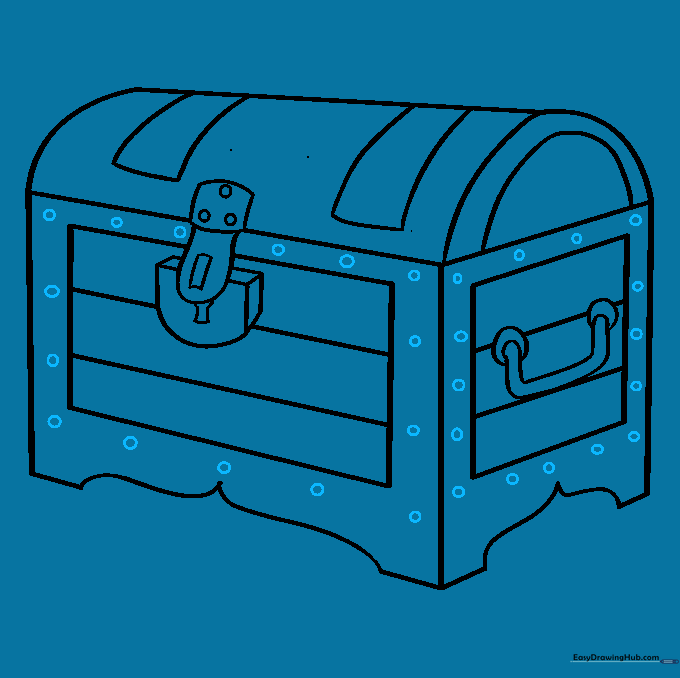
Add small circles along the edges of the chest to represent the nails or bolts holding the wood together. Tip: Vary the spacing slightly to give it a more rustic, handmade feel.
Coloring Your Masterpiece
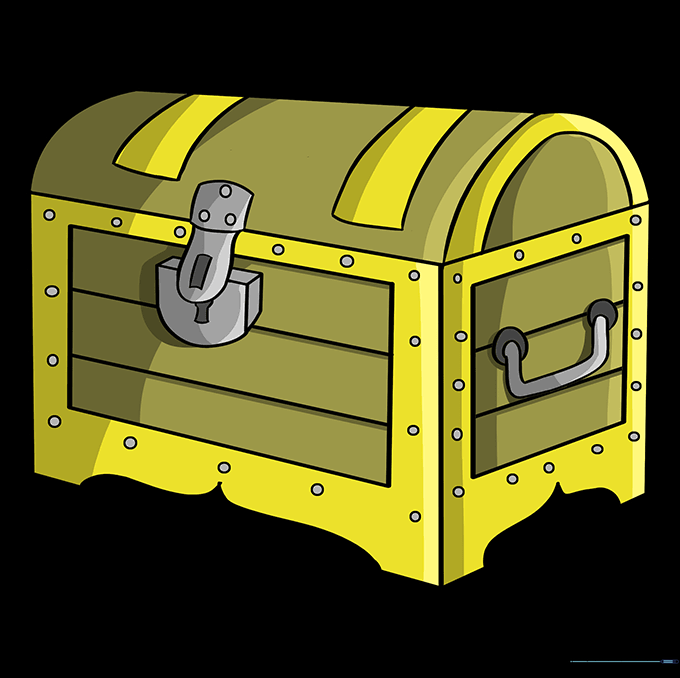
Bring your chest to life with colors! Use deep browns for the wood and metallic yellows or golds for the latch and bolts. Tip: Use a darker brown for the shadows to make the chest look solid and heavy.
More Tutorials


