How to Draw a Trash Can: Easy 10-Step Cartoon Tutorial
Looking for a fun, everyday object to practice your cartooning skills? This tutorial is perfect for young artists ages 5+ to master basic shapes like cylinders and ovals. All you need is a pencil, an eraser, and a piece of paper to bring this little trash can to life.
🎯 Final Result

Step-by-Step Instructions
Step 1: Sketching the Rim
Draw two long, parallel curved lines to form the sides of the can, then connect them with short curves at the top and bottom. Add a curved line across the top third to define the rim. Teacher's Tip: Keep these lines light; they act as the skeleton for your drawing.
Step 2: Defining the Body
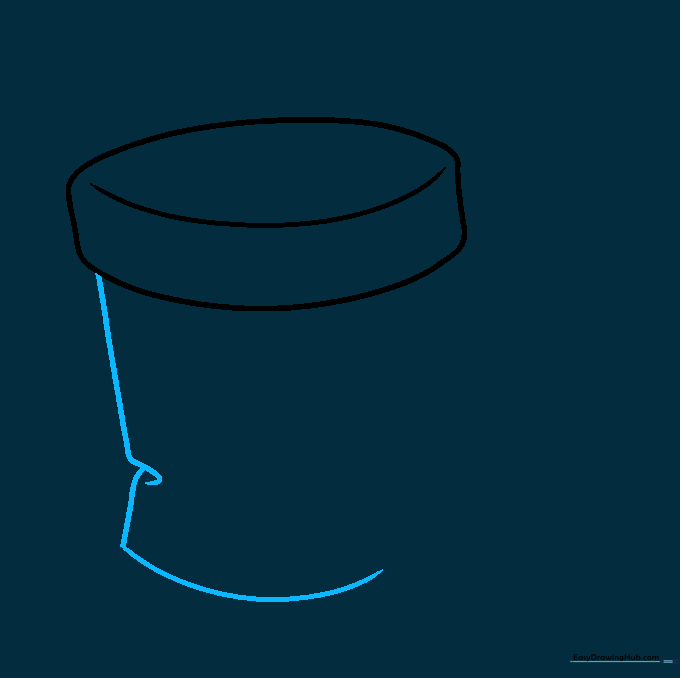
Use overlapping curved lines to sketch the rounded sides of the can, finishing with a curved line at the base. Tip: Think of this as drawing a tall, slightly squashed soda can.
Step 3: Adding Depth
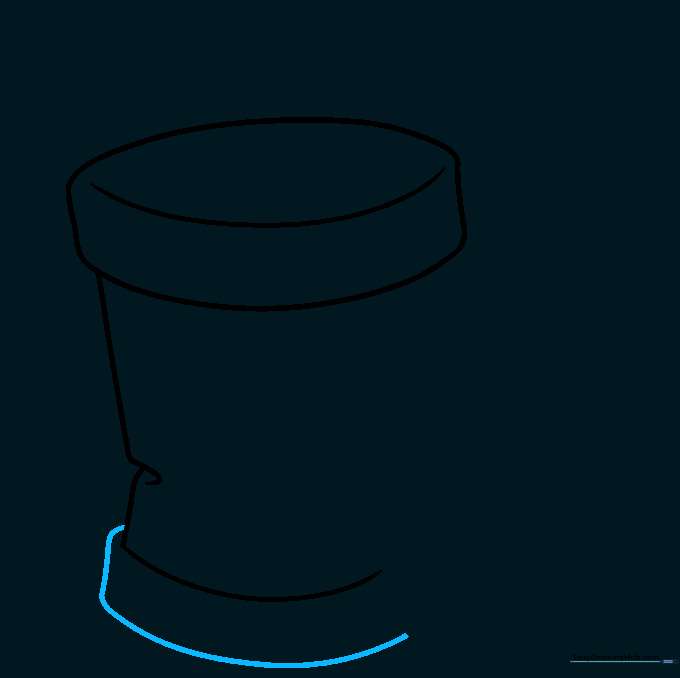
Draw a curved line near the bottom that follows the shape of the base. This adds a sense of volume. Tip: Make sure the curve matches the angle of the bottom line to keep it looking realistic.
Step 4: Drawing the Lid
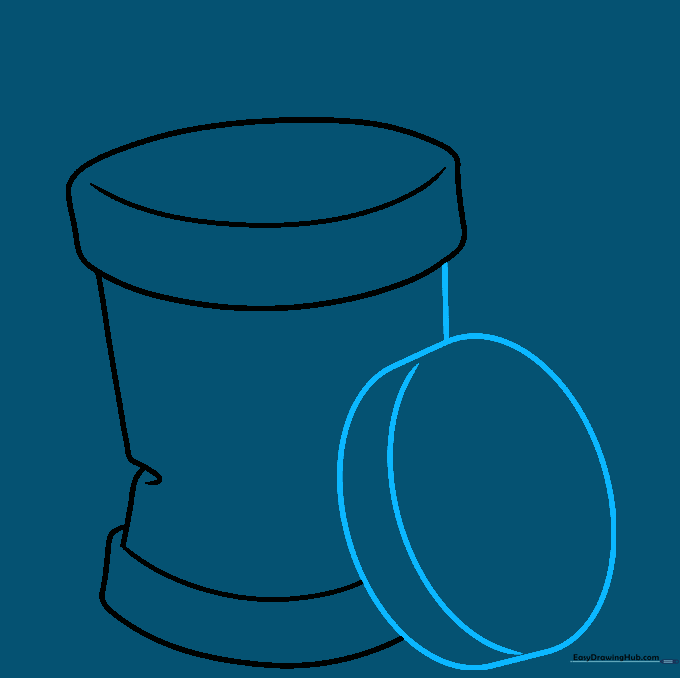
Sketch a flattened oval for the lid, adding a curved line across it to give it dimension. Connect it to the rim with a straight line. Tip: Imagine the lid is slightly tilted, which makes the drawing look more dynamic.
Step 5: Constructing the Handle
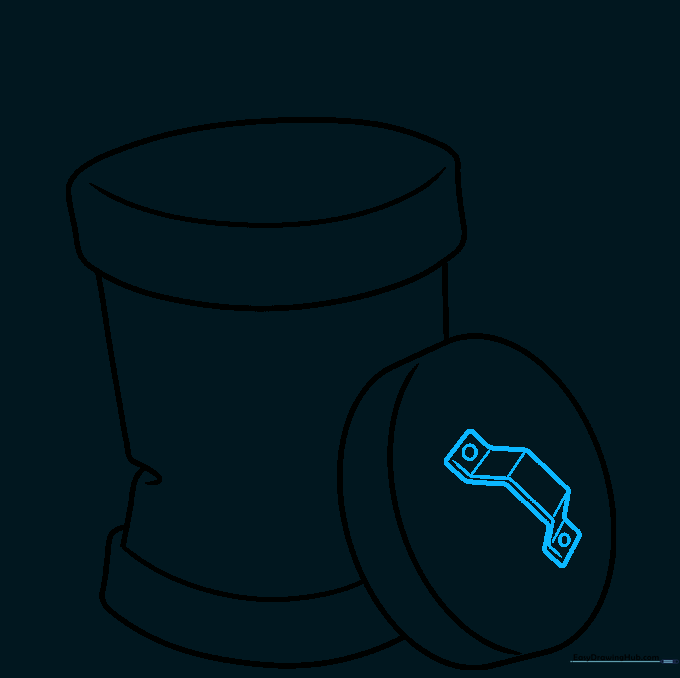
Use small straight lines to create a five-section handle, adding tiny circles at the ends for bolts. Tip: Use a ruler if you struggle with straight lines, but freehand is great for practice!
Step 6: Refining Handles
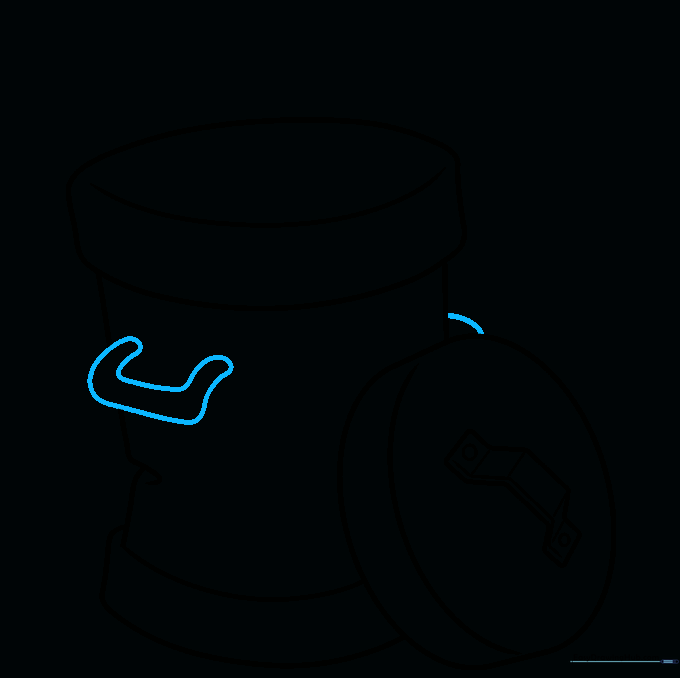
Outline the 'C' shaped handles on the sides, erasing any overlapping lines. Tip: This is where your eraser becomes your best friend—clean up those intersections for a professional look.
Step 7: Adding Overflowing Trash
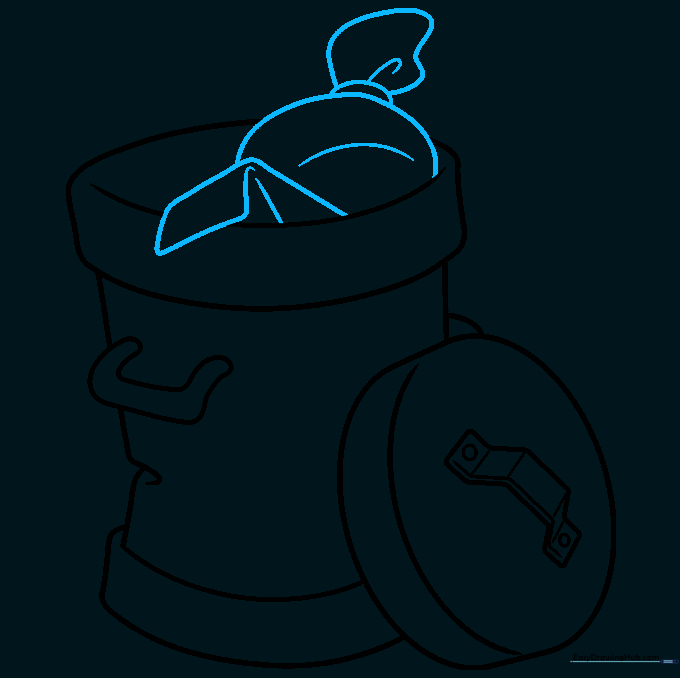
Draw a lumpy trash bag and a paper sack spilling out of the top. Tip: Use irregular, wavy lines for the bag to make it look soft and full.
Step 8: Fun Details
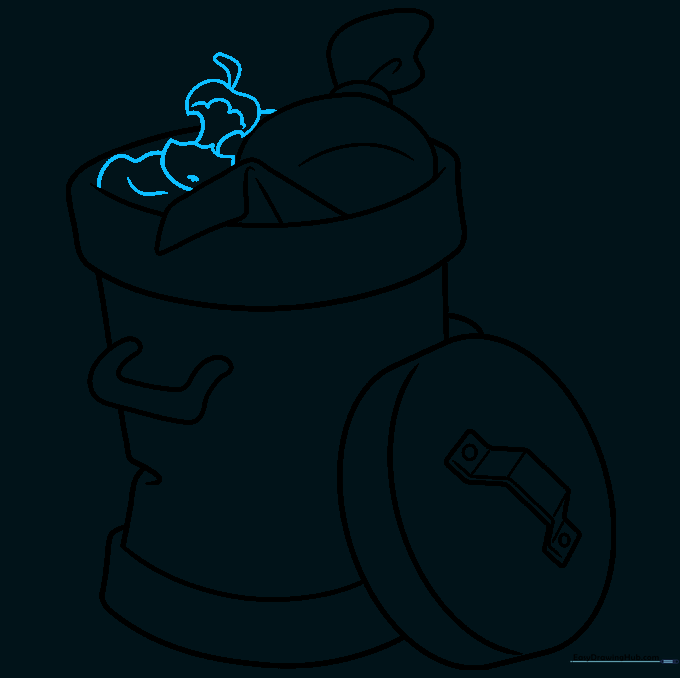
Add an apple core and other scraps to the pile. Tip: The apple core is just a 'U' shape with a stem—keep it simple and recognizable.
Step 9: Final Touches
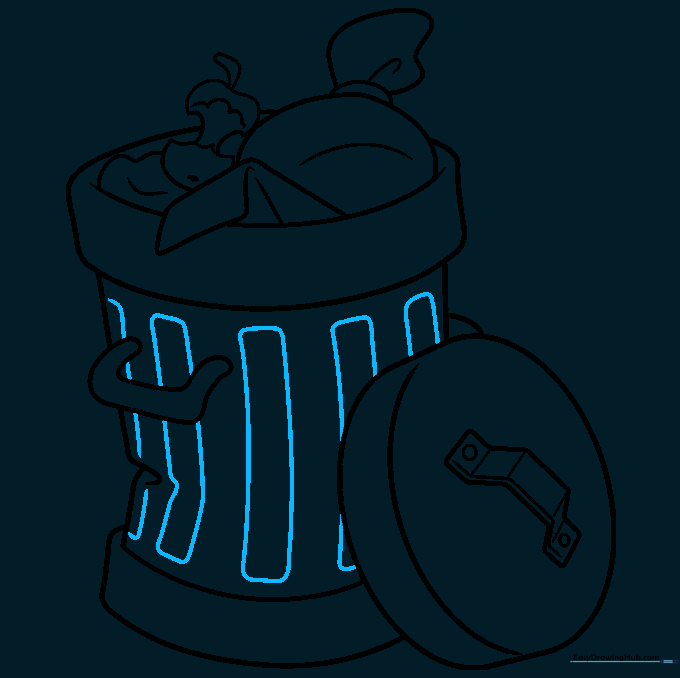
Add vertical rectangular panels to the side of the can for texture. Tip: Keep the spacing between these rectangles even to show the can's structure.
Step 10: Coloring Time
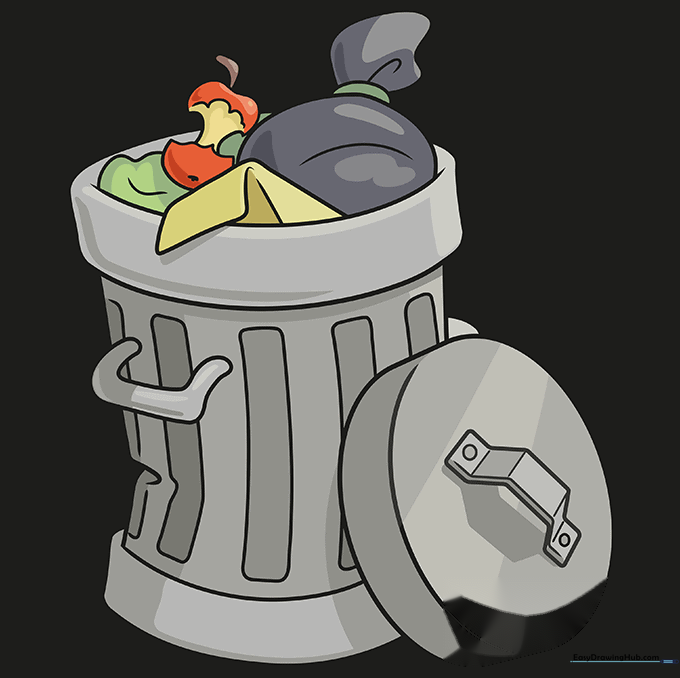
Color your trash can! Use shades of grey for a metallic look, or get creative with bright colors. Tip: Use a darker grey on one side to create a simple shadow effect.
More Tutorials


