How to Draw a Toucan: Easy 10-Step Guide for Kids
Bring the rainforest to your sketchbook with this friendly toucan tutorial, designed specifically for young artists ages 5 and up. All you need is a pencil, an eraser, and your favorite markers to get started. Follow these simple steps to master basic shapes and create a colorful bird that pops off the page.
🎯 Final Result
Step-by-Step Instructions
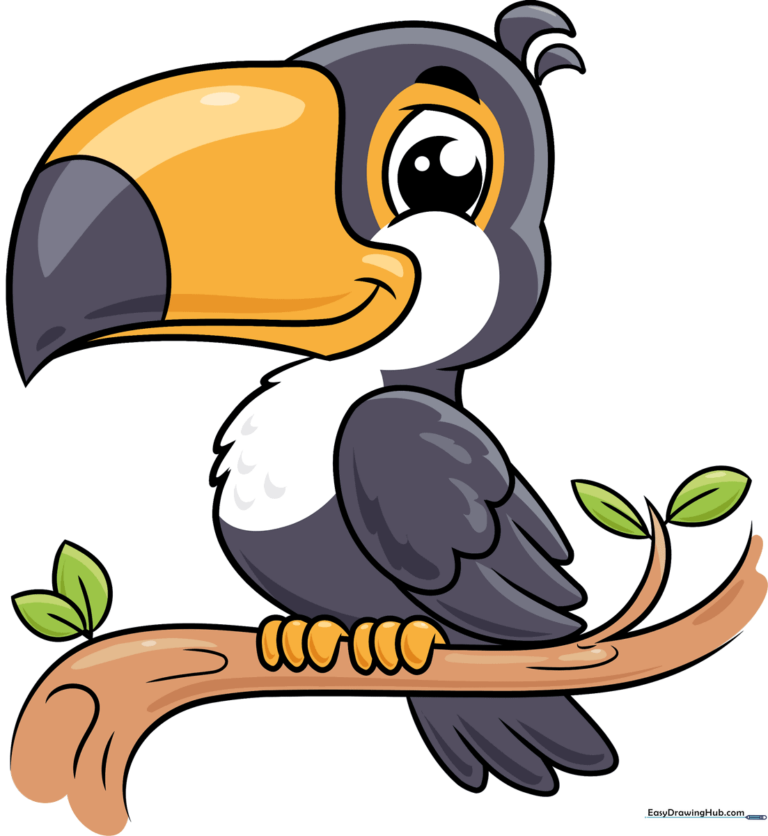
Step 1: Sketching the Head

Start by drawing a soft, rounded shape for the head using gentle, light pencil strokes. Teacher's Tip: Keep your lines faint so you can easily erase any overlaps later as we add the beak.
Step 2: Adding Head Feathers
Add a few crescent-shaped feathers to the top of the head. Teacher's Tip: Use short, quick strokes to make the feathers look soft and fluffy rather than perfectly straight.
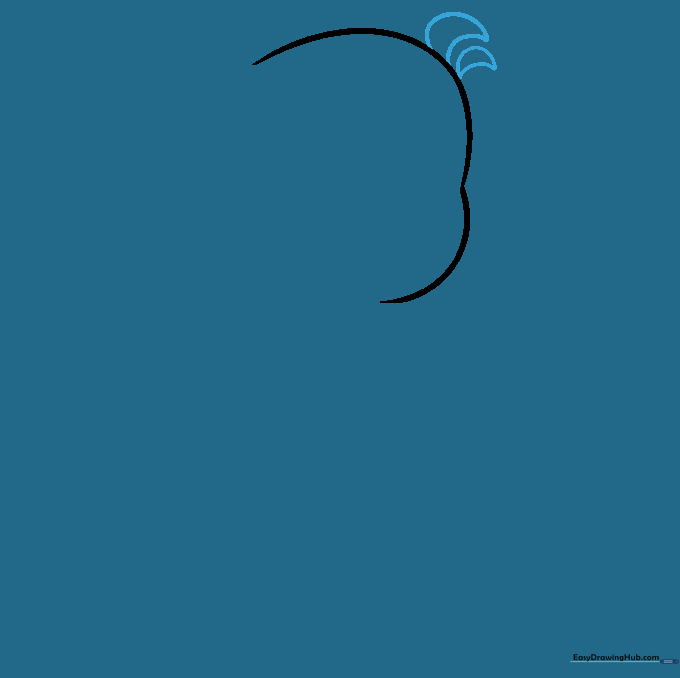
Step 3: Drawing the Iconic Beak
Draw the large, curved beak extending from the face. Divide it into two sections with a horizontal line and add a small band at the tip. Teacher's Tip: Toucan beaks are huge! Don't be afraid to make it look oversized—that's what makes them look like real toucans.
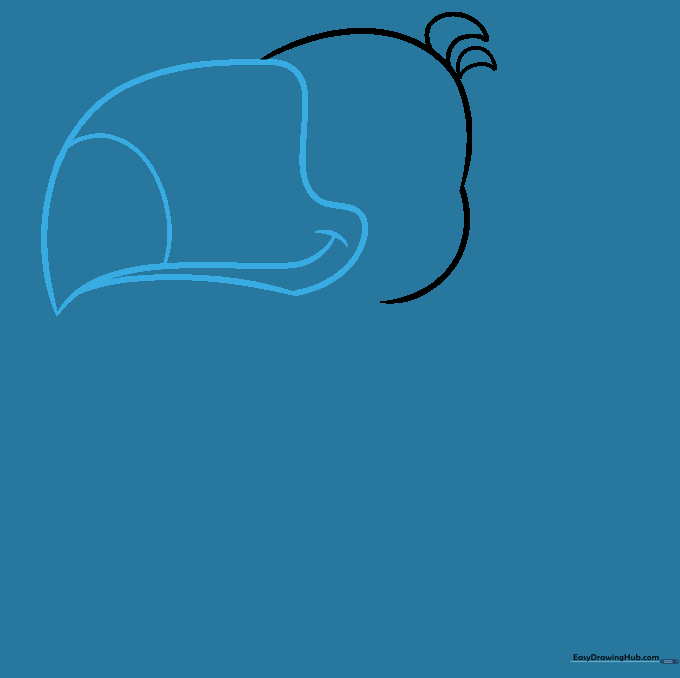
Step 4: Creating the Eye
Draw a circular eye with smaller circles inside for the pupil, then add a sharp eyebrow above. Teacher's Tip: Leave a tiny white dot inside the pupil to create a 'sparkle' effect, making your bird look lively and friendly.
Step 5: Sketching the Chest
Use overlapping curved lines to create the fluffy chest area. Teacher's Tip: Think of these as 'U' shapes connected together to mimic the texture of soft bird down.
Step 6: Adding the Wing
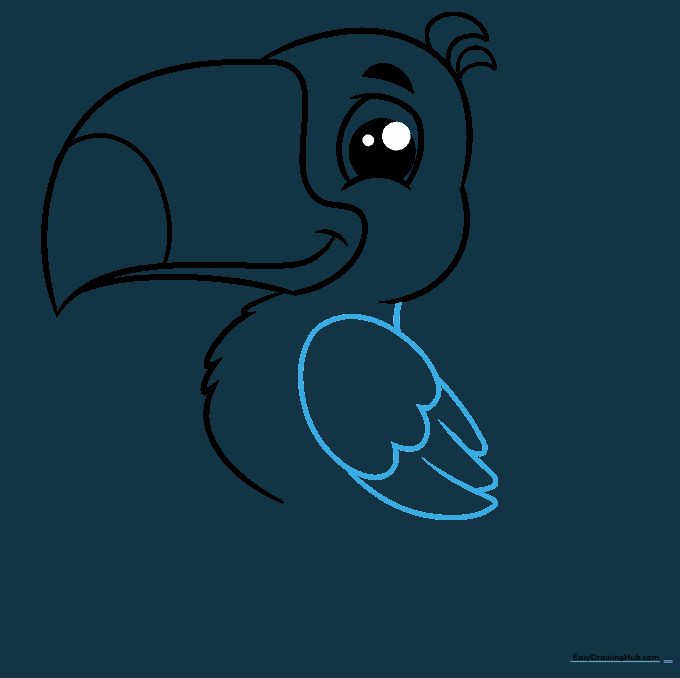
Draw a large 'U' shape for the wing, adding smaller 'U's at the bottom for flight feathers. Connect it to the head with a smooth neck line. Teacher's Tip: Make the wing feathers slightly longer than the chest feathers to show depth.
Step 7: Drawing the Feet
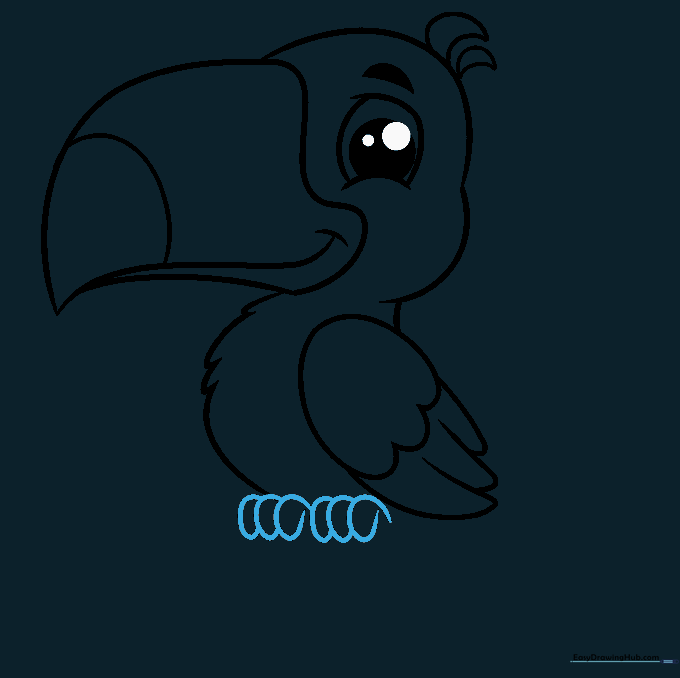
Sketch the feet gripping a branch using small, overlapping curves. Teacher's Tip: Toucans have zygodactyl feet (two toes forward, two back), so keep the shapes simple and clustered.
Step 8: Adding the Branch and Leaves
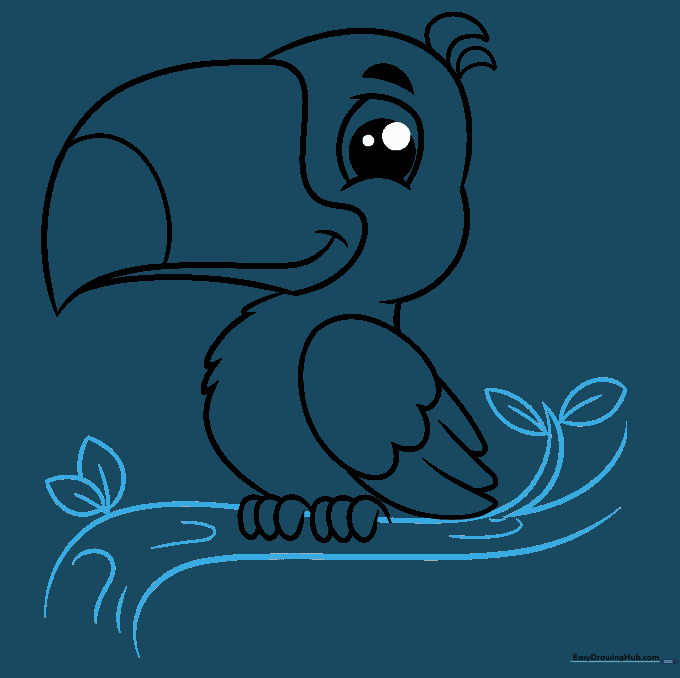
Draw a sturdy branch beneath the feet and add a few leaves with veins. Teacher's Tip: Use wavy lines for the branch to make it look like natural wood, and add small 'V' shapes for leaf veins.
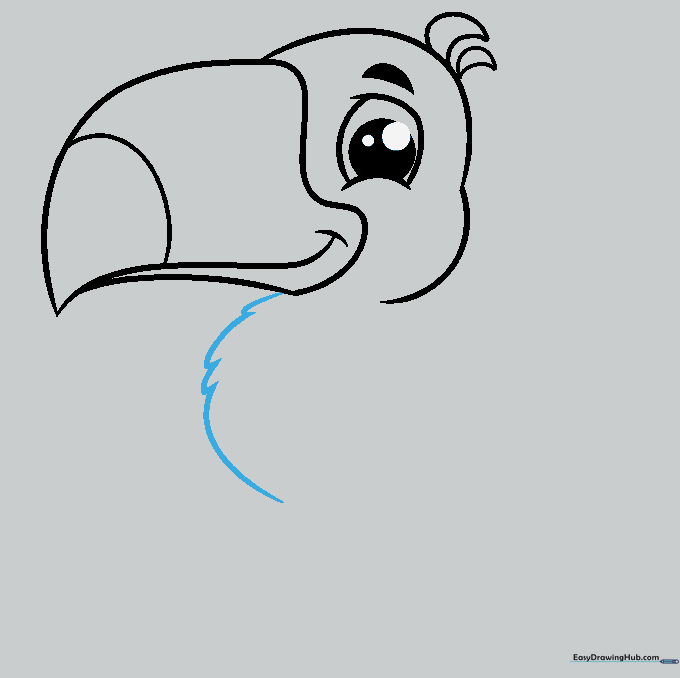
Step 9: Finishing the Tail

Add the tail feathers using a series of overlapping 'U' shapes below the branch. Teacher's Tip: Keep these feathers uniform in size to balance the weight of the large beak.
Step 10: Bringing it to Life with Color

Time to color! Use bright yellows, oranges, and greens for the beak and leaves, and deep black for the body. Teacher's Tip: Toucans are famous for their rainbow-colored beaks—don't be afraid to experiment with your favorite bright markers!
More Tutorials


