How to Draw a Cartoon Tooth: Easy 10-Step Guide
This drawing guide is perfect for young artists ages 5+ looking to practice character design. You only need a pencil, an eraser, and a piece of paper to get started. Follow these steps to build confidence in your sketching skills while creating a fun, expressive character.
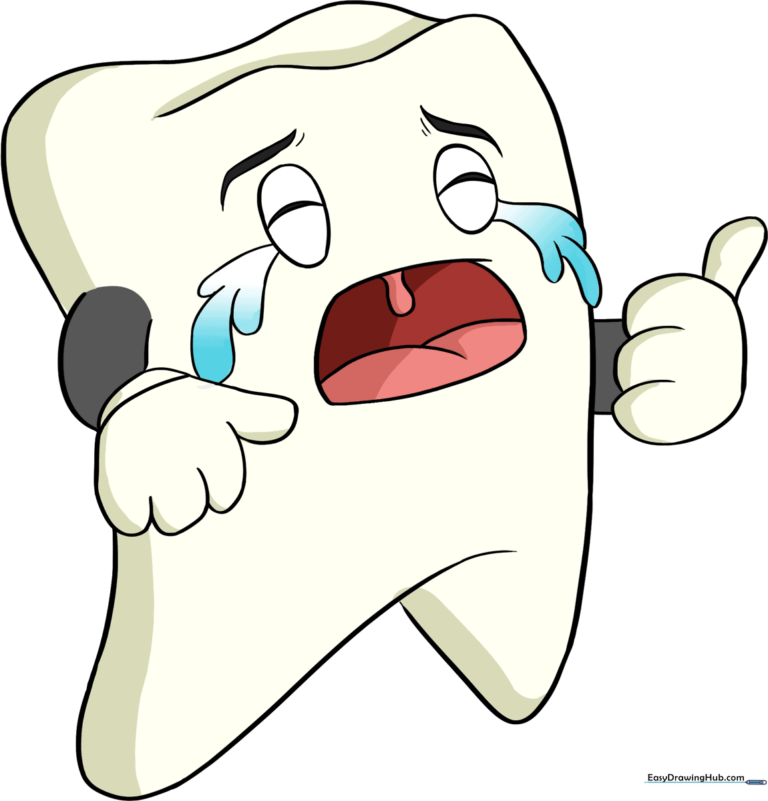
🎯 Final Result
Step-by-Step Instructions
Step 1: Sketching the Top Curve

Draw a wavy, curved line shaped like an upside-down “L.” Teacher's Tip: Keep your pencil pressure light so you can easily adjust the shape if it looks a bit wobbly.
Step 2: Defining the Root

Continue the line downward into a rounded “V” shape to form the root. Teacher's Tip: Imagine you are drawing the bottom of a tooth-shaped cookie cutter.
Step 3: Closing the Crown

Draw a second wavy line connecting back to your first line to complete the top crown. Teacher's Tip: Make sure the curves are smooth to give the tooth a friendly, soft appearance.
Step 4: Adding the First Arm
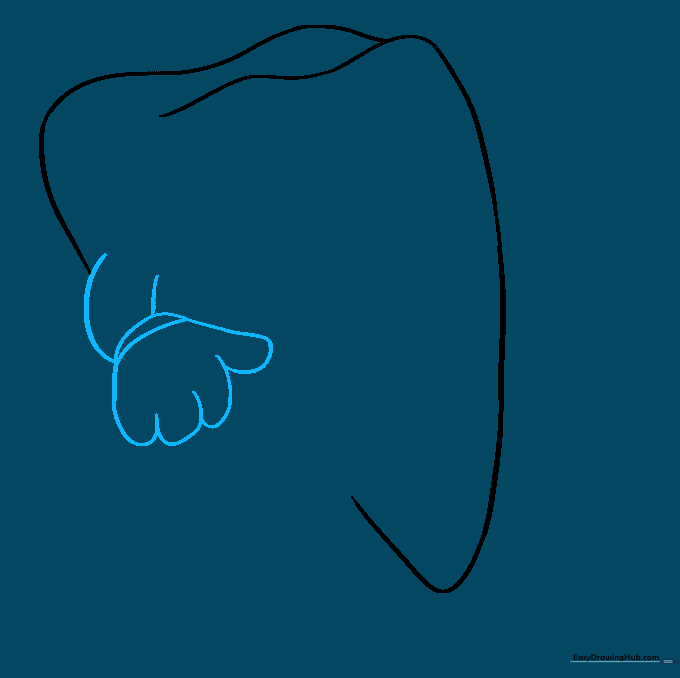
Draw two parallel curved lines for the arm, then add a small “U” shape for the hand and fingers. Teacher's Tip: Add a small horizontal line at the wrist to create a cute glove effect.
Step 5: Shaping the Root
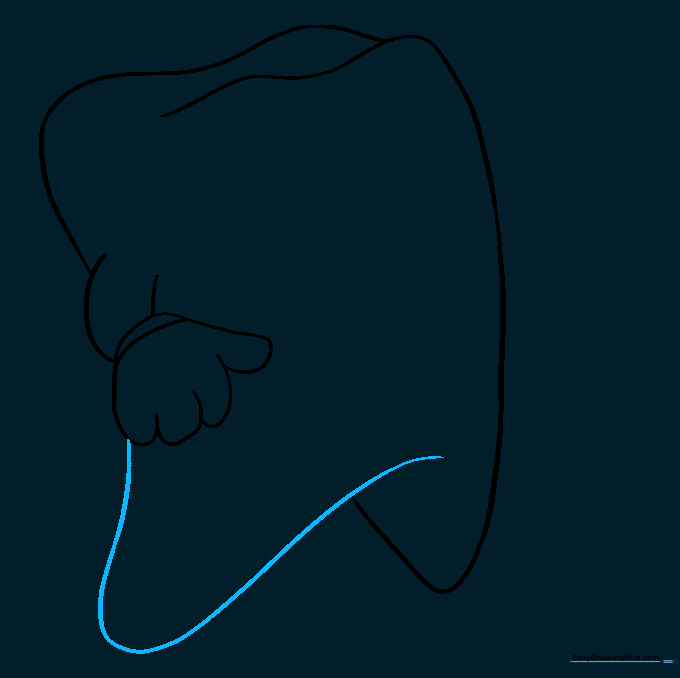
Add another rounded “V” shape to complete the bottom root structure. Teacher's Tip: Keep the lines symmetrical to ensure the tooth looks balanced.
Step 6: Adding the Second Arm

Repeat the process from Step 4 to add the second arm and hand on the opposite side. Teacher's Tip: Try to match the angle of the first arm so the character looks consistent.
Step 7: Drawing the Mouth
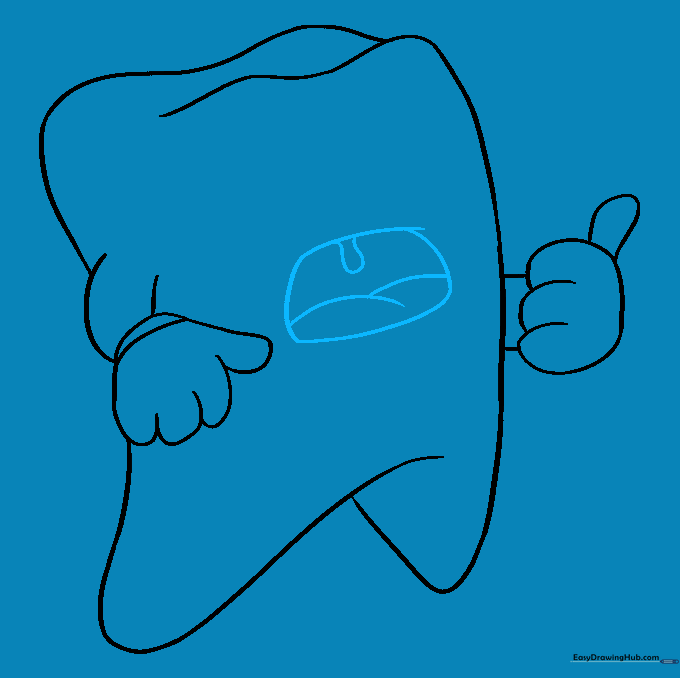
Draw an open, rounded mouth with a tongue and a small “U” shape for the uvula at the top. Teacher's Tip: Use a darker pencil stroke for the inside of the mouth to create depth.
Step 8: Expressive Eyes
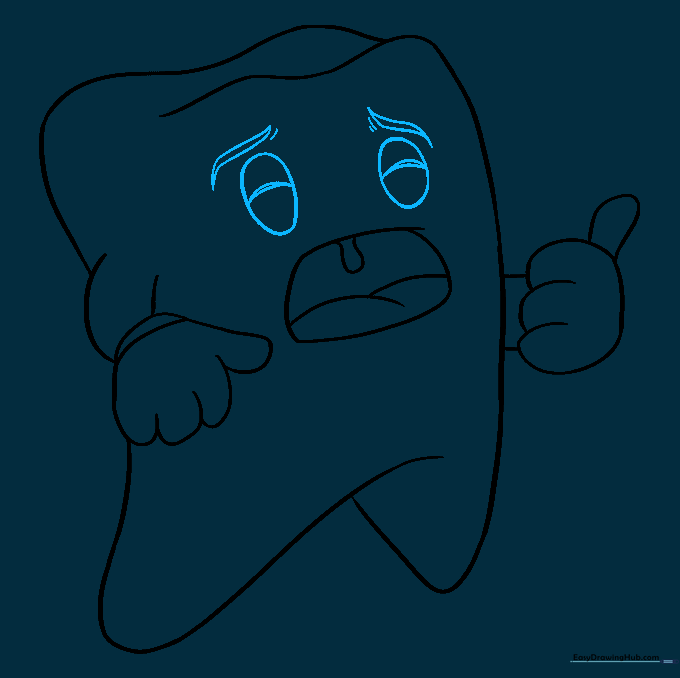
Draw two ovals with curved lines for closed, crying eyelids and pointed shapes for eyebrows. Teacher's Tip: The eyebrows should angle downward to show the tooth is sad.
Step 9: Adding Tears
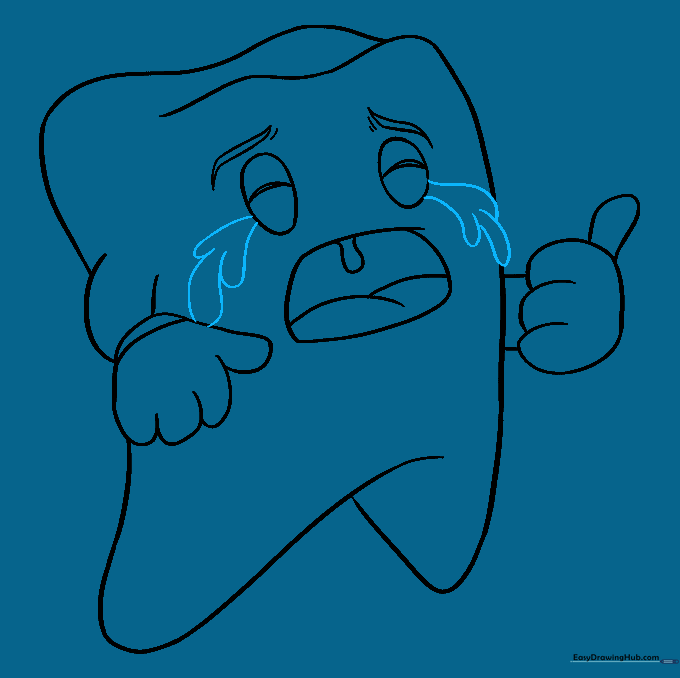
Draw several teardrop shapes falling from the eyes. Teacher's Tip: Vary the size of the tears to make the drawing look more dynamic and expressive.
Step 10: Coloring Your Character
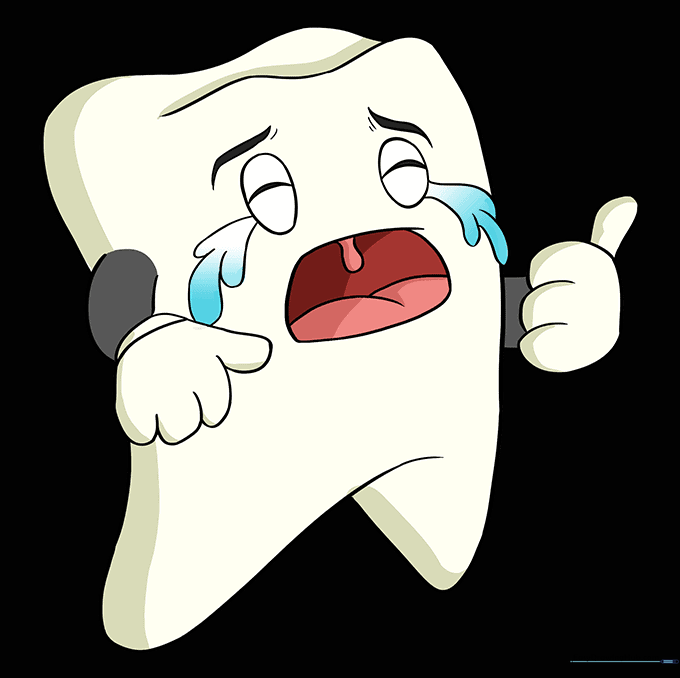
Fill in your drawing! Use bright white for a healthy tooth or experiment with yellow and green if you want to show a 'dirty' tooth. Teacher's Tip: Use light blue for the tears to make them stand out.
More Tutorials


