How to Draw a Tombstone: Easy 9-Step Halloween Tutorial
Create your own spooky graveyard scene with this beginner-friendly tombstone tutorial. Designed for artists ages 5 and up, this project uses basic shapes to build a 3D effect. Grab your pencil, eraser, and paper to get started on this fun, screen-free Halloween activity.
🎯 Final Result

Step-by-Step Instructions
Step 1: Sketching the Foundation

Start by drawing the rocks and dirt at the base. Use irregular, overlapping rounded shapes of varying sizes. Teacher's Tip: Varying the size of these stones adds a natural, weathered look to your drawing.
Step 2: Adding Grass Tufts

Draw grass atop the rocks using short, jagged, connected curved lines. Teacher's Tip: Keep your wrist loose to make the grass look organic and slightly wild.
Step 3: Establishing the Side
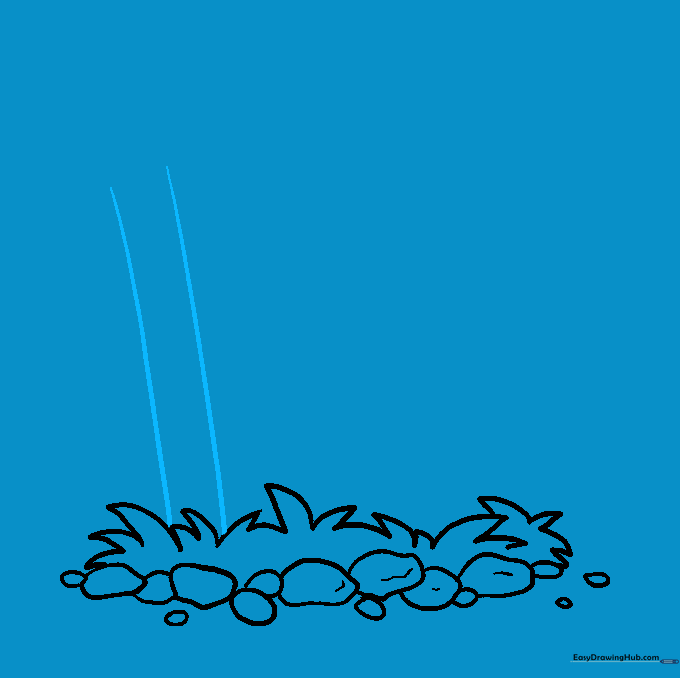
Draw two parallel vertical lines extending upward from the grass. This creates the left side of your tombstone. Teacher's Tip: Use a ruler if you want perfectly straight edges, or freehand it for a rustic feel.
Step 4: Outlining the Opposite Side

Repeat the process on the right side by drawing another line extending upwards. This defines the width of your stone. Teacher's Tip: Ensure the height matches your first side for a balanced look.
Step 5: Creating the 3D Top
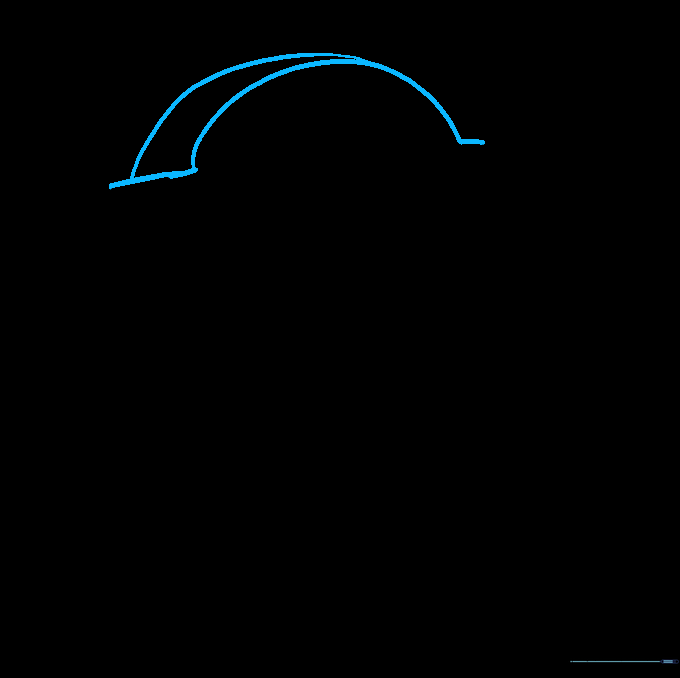
Connect the top lines to form a rectangle, then add a curved, semi-circular line to create the rounded top. Add a small line connecting the side to the top to give it depth. Teacher's Tip: This 'thickness' line is what makes your drawing look 3D rather than flat.
Step 6: Adding Weathered Texture
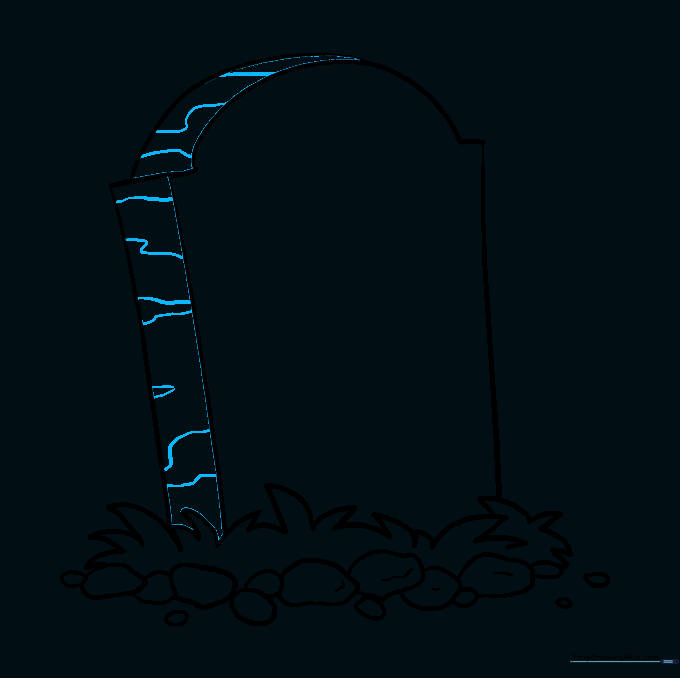
Draw light, wavy lines across the side of the stone. Teacher's Tip: These represent cracks and erosion, making your tombstone look like it has been standing for a long time.
Step 7: Inscribing the Stone

Carefully draw the letters 'RIP' on the front. Teacher's Tip: Use block letters to make them look like they were carved into the stone.
Step 8: Adding Cracks and Detail

Add branching lines and small 'V' shapes across the face of the stone to show cracks. Teacher's Tip: Don't overdo it; a few well-placed cracks look more realistic than too many.
Step 9: Completing the Graveyard
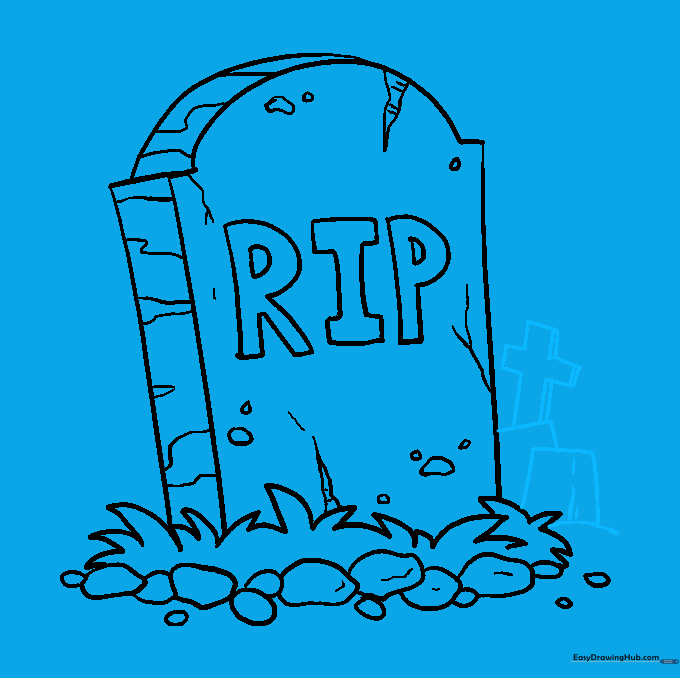
Draw smaller, overlapping rectangles in the background to create more gravestones. Add a cross shape to one of them. Teacher's Tip: Varying the heights of the background stones creates a sense of depth and perspective.
Step 10: Adding Color

Bring your drawing to life with shades of grey, brown, and green. Teacher's Tip: Use a darker grey for the sides of the stone to emphasize the shadows and 3D shape.
More Tutorials


