How to Draw a Tired Face: Easy Step-by-Step Guide
Capturing emotions is a key skill for any young artist. This tutorial is perfect for ages 6+ and helps children practice facial proportions while exploring character design. All you need is a pencil, an eraser, and a piece of paper to bring this sleepy character to life.
🎯 Final Result

Step-by-Step Instructions
Step 1: Sketching the Heavy Eyes

Draw two slightly curved, rectangular shapes for the eyes. Add a partial circle inside each to represent the iris. Teacher's Tip: Keep your pencil pressure light here so you can easily adjust the shape if the eyes look too wide.
Step 2: Adding Eyelids and Brows

Outline the egg-shaped upper and lower eyelids around the eyes. Draw thick, curved lines above each eye for the eyebrows. Teacher's Tip: Slanting the eyebrows downward toward the nose helps create that 'exhausted' look.
Step 3: Defining the Nose and Mouth
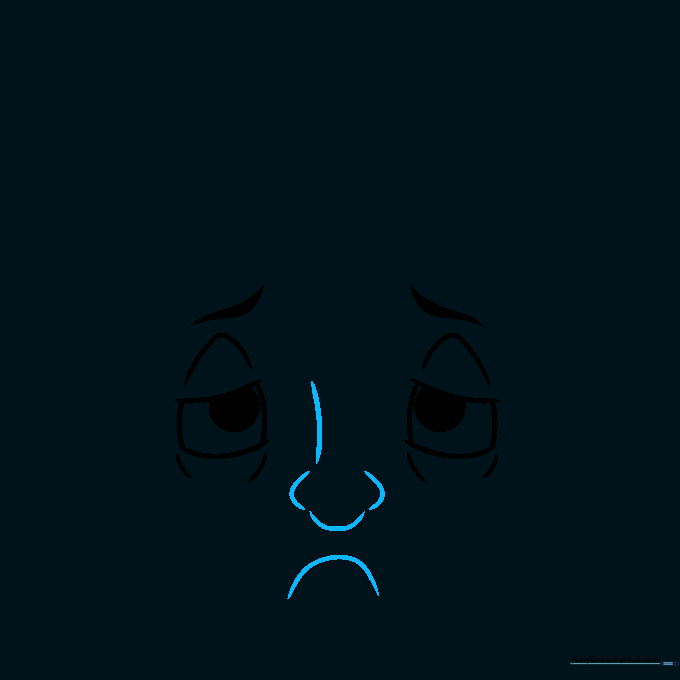
Sketch a small 'U' shaped mouth and a simple nose structure including the bridge and nostrils. Teacher's Tip: Keep the mouth small and slightly downturned to emphasize the character's lack of energy.
Step 4: Adding Expression Lines

Add small curved lines around the mouth and chin to suggest wrinkles or fatigue. Enclose the mouth and add a horizontal line for the teeth. Teacher's Tip: Use very short, light strokes for these lines so they look subtle, not like deep scars.
Step 5: Sketching the Hair and Neck
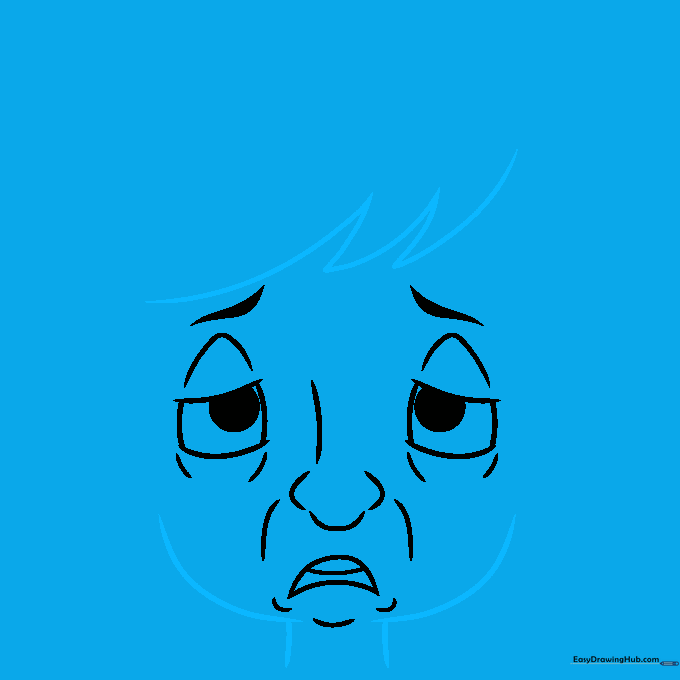
Draw jagged, pointed locks of hair falling over the forehead. Sketch the neck and cheeks using smooth, curved lines. Teacher's Tip: Vary the length of your hair strokes to make the hair look more natural and less like a solid block.
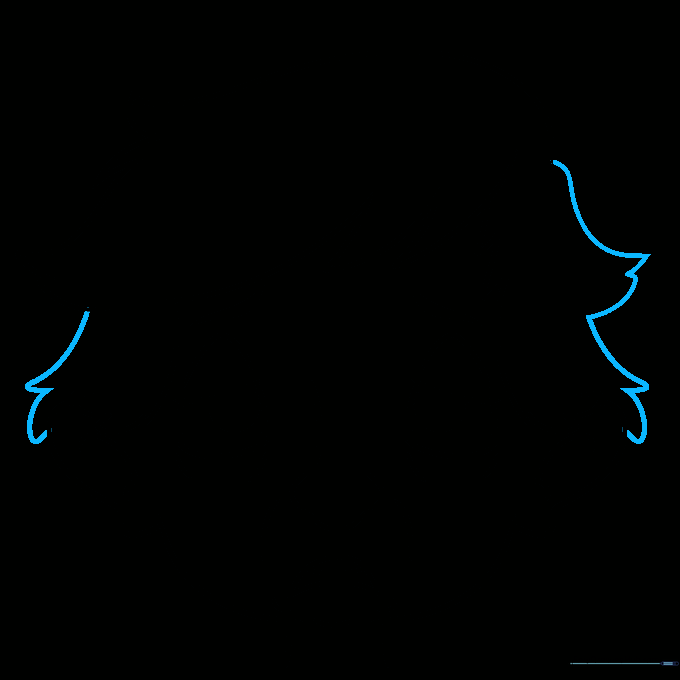
Step 6: Framing the Face with Hair

Use a series of curved lines to fill in the hair on both sides of the face. Teacher's Tip: Imagine the hair is heavy and drooping, just like the character's mood.
Step 7: Drawing the Ears
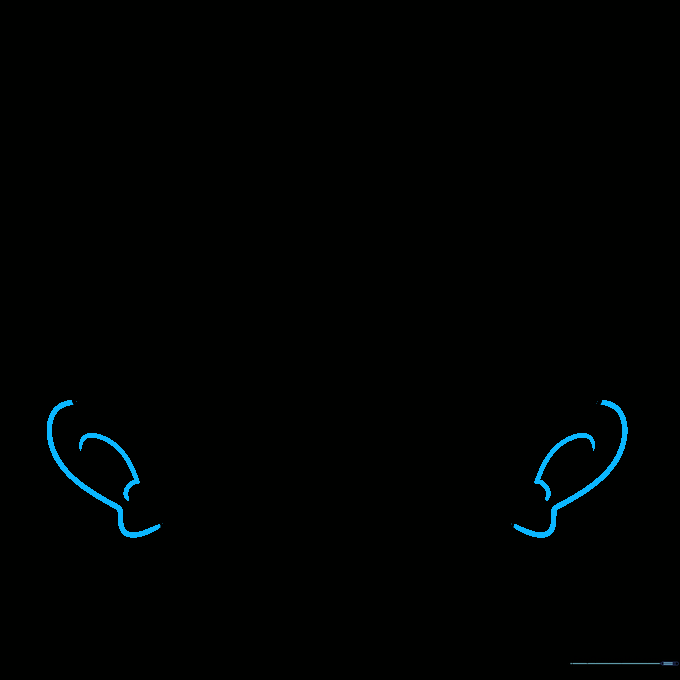
Add the ears on either side of the face using irregular curved shapes. Add internal details to the ears with smaller curves. Teacher's Tip: Keep the ears aligned with the middle of the eyes for correct proportions.
Step 8: Completing the Hair
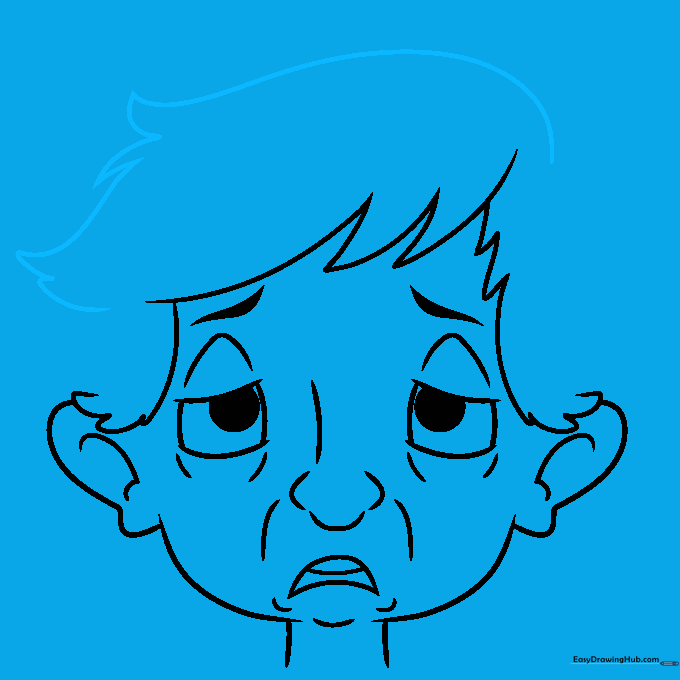
Finish the top of the hair using a mix of long and short lines that meet at sharp points. Teacher's Tip: Don't worry about making the hair perfectly symmetrical; messy hair adds to the 'tired' look!
Step 9: Finalizing the Outline
Review your drawing and darken the main outlines. Ensure all hair lines are connected to form a complete shape. Teacher's Tip: Use a darker pencil or a fine-liner pen to make your final lines pop.
Step 10: Adding Color

Bring your character to life with color! Use soft, muted tones to emphasize the tired mood. Teacher's Tip: Try using cool colors like blues or greys under the eyes to simulate dark circles.
More Tutorials


