How to Draw a Tiger Lily: Simple 10-Step Botanical Guide
Bring the beauty of the garden to your sketchbook with this simple tiger lily tutorial. Designed for artists of all ages, this lesson uses basic shapes to build a complex-looking flower. Grab your pencil and eraser—let’s get started!
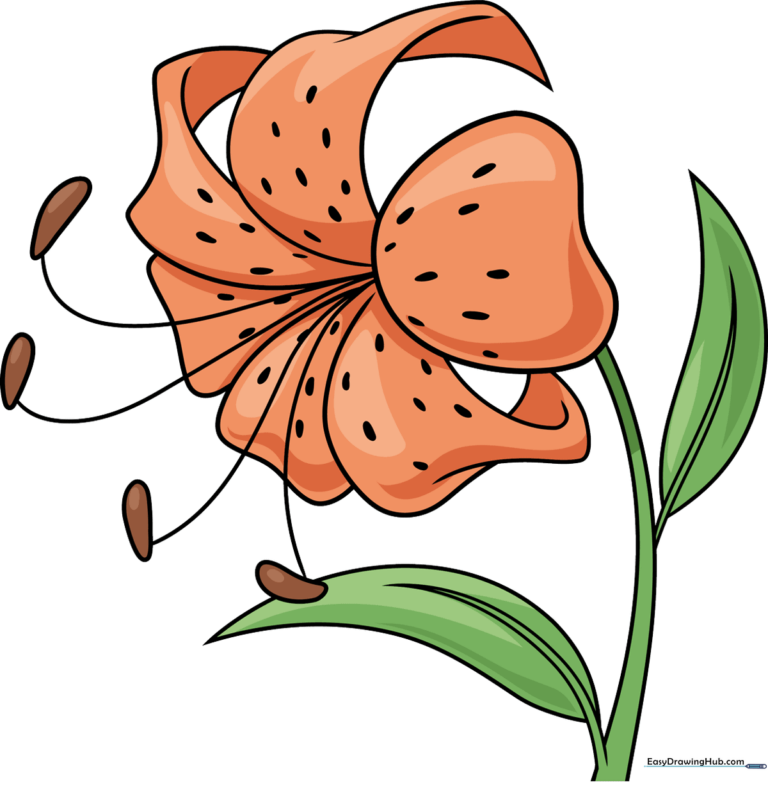
🎯 Final Result
Step-by-Step Instructions
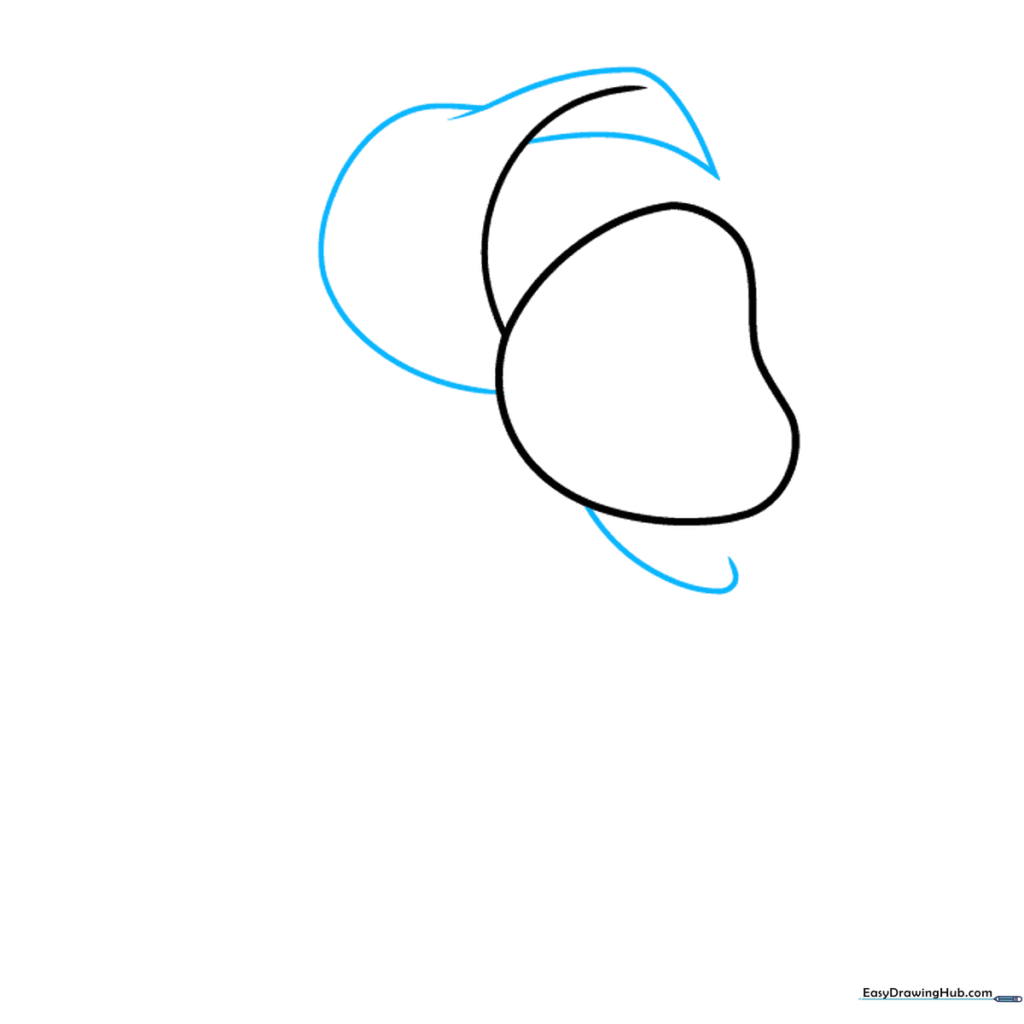
Step 1: Sketching the First Petals

Start by drawing a rounded, heart-like shape for the first petal. Add a second petal by extending a curved line from the side of the first. Teacher's Tip: Keep your pencil pressure light so you can easily adjust the shape later.
Step 2: Building the Petal Structure
Extend a long, graceful curve from the first petal to create the second one, overlapping the lines. Bring the lines to a sharp point at the tip. Tip: Think of these petals as flowing ribbons rather than stiff shapes.
Step 3: Adding the Third Petal

Use overlapping curved lines to enclose the third petal. Ensure the tip is pointed to match the others. Tip: Try to vary the size of your petals to make the flower look more natural.
Step 4: Sketching the Fourth Petal
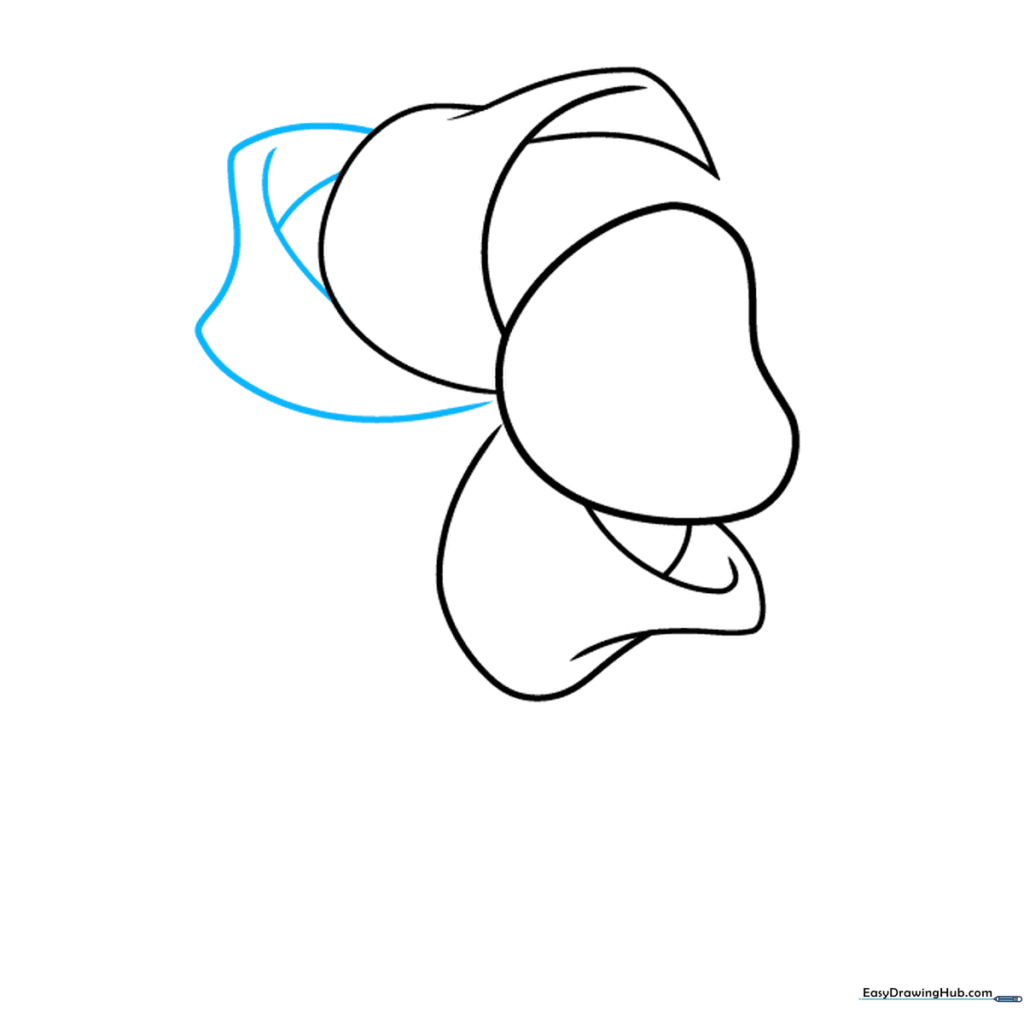
Draw an incomplete triangle shape with curved sides for the fourth petal, then add an overlapping line to finish the tip. Tip: If your lines look a bit messy, use your eraser to gently lift the graphite before moving on.
Step 5: Completing Petals and Starting Stamens
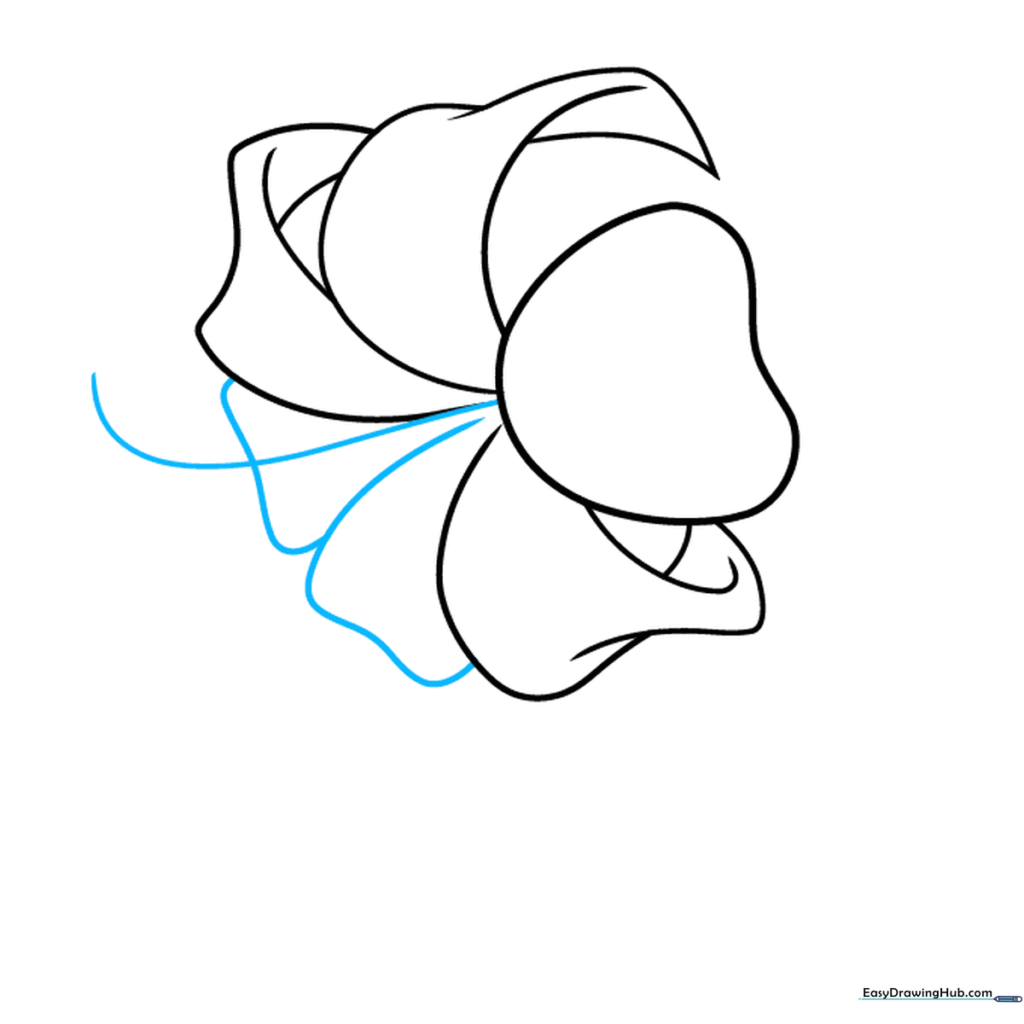
Outline two more heart-shaped petals to fill out the flower. From the center, draw a single curved line to begin the stamen. Tip: The center of the flower is the anchor point for all your stamens.
Step 6: Adding Stamens
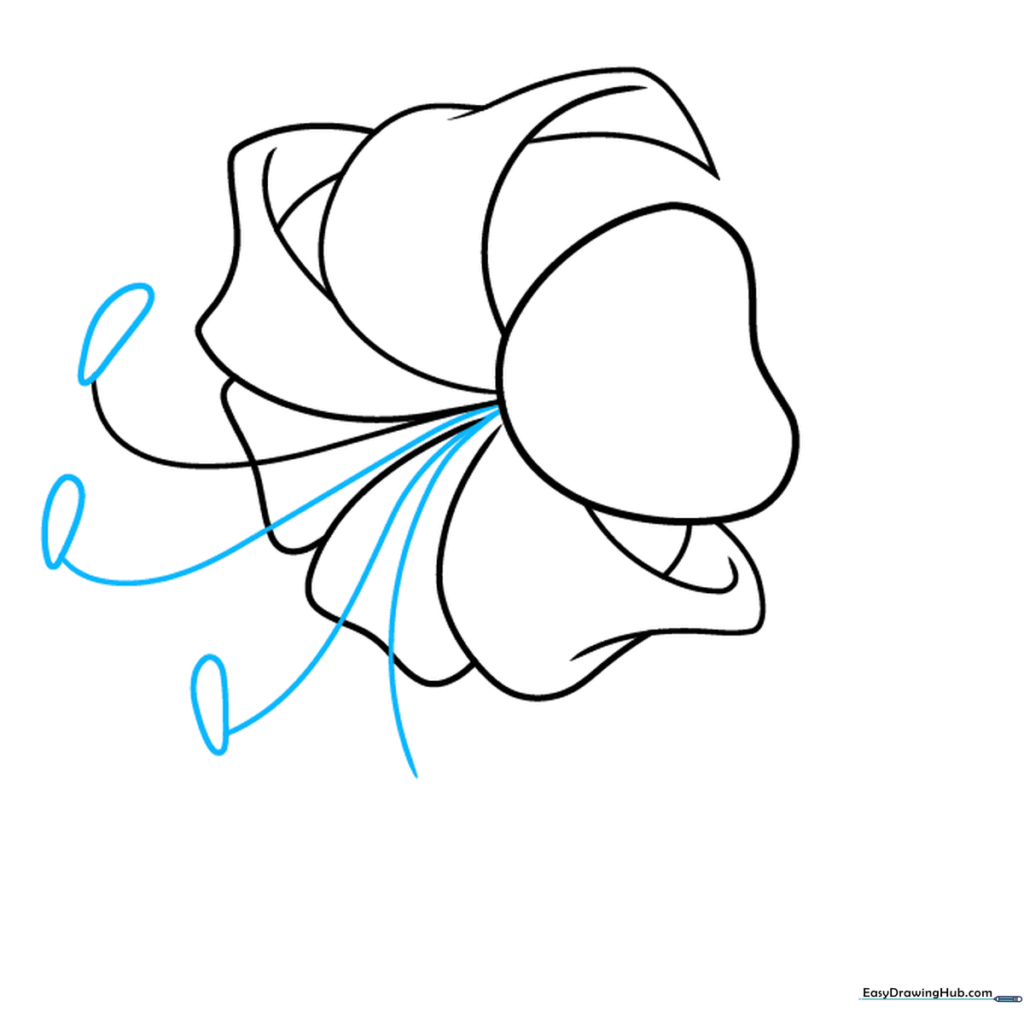
Extend three more long, curved lines from the center. At the tip of each, draw a small, flattened oval. Tip: These ovals are the anthers; keep them small to maintain the flower's delicate look.
Step 7: Drawing the Stem and Leaf
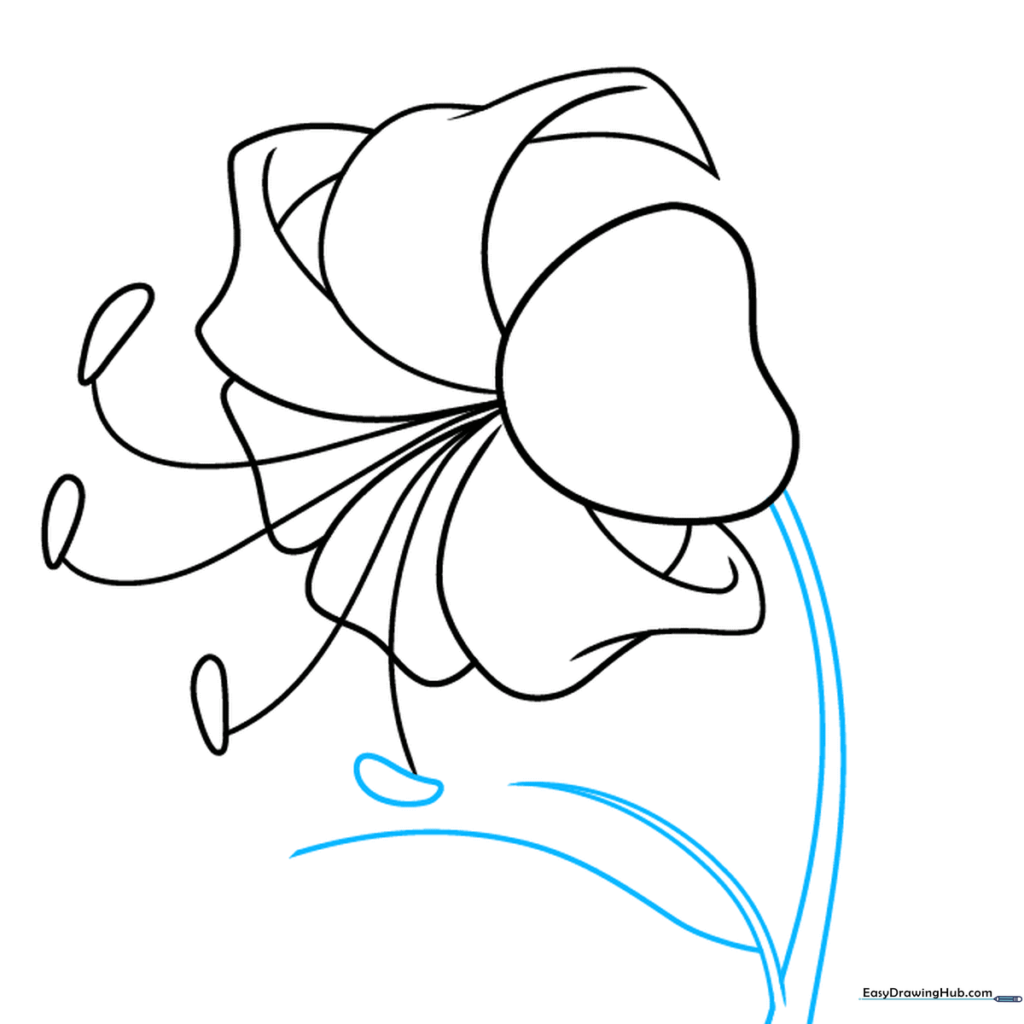
Finish the stamens, then draw two parallel curved lines downward to create the stem. Add a sharp, pointed leaf shape at the base. Tip: Use a smooth, continuous motion for the stem to keep it looking sturdy.
Step 8: Adding More Leaves and Details

Complete the first leaf and add a second one using the same pointed technique. Start adding small ovals to the petals for texture. Tip: These ovals will eventually become the signature 'freckles' of the tiger lily.
Step 9: Finalizing the Details
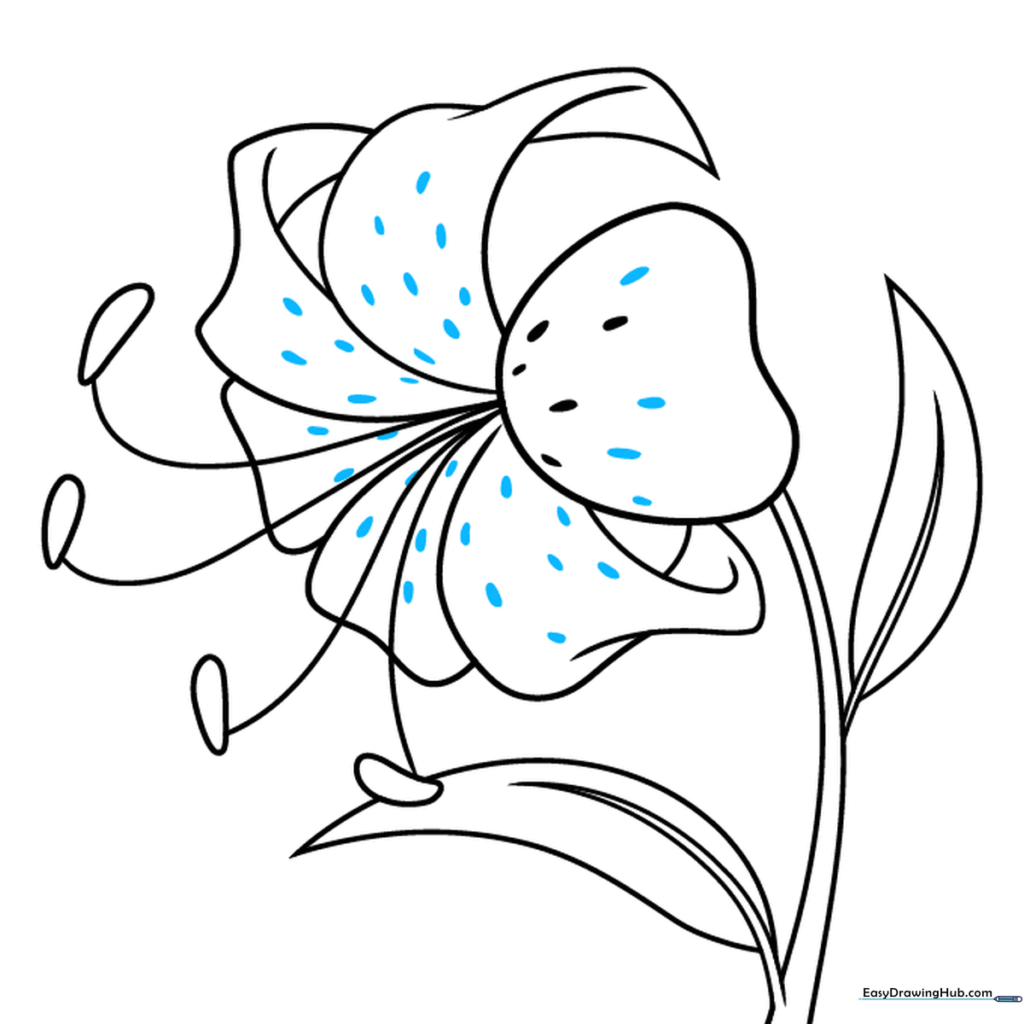
Fill the petals with more small, scattered ovals to create the spotted pattern. Tip: Don't make them too uniform; nature is random, so vary the size and spacing of the spots.
Step 10: Bringing Your Flower to Life with Color
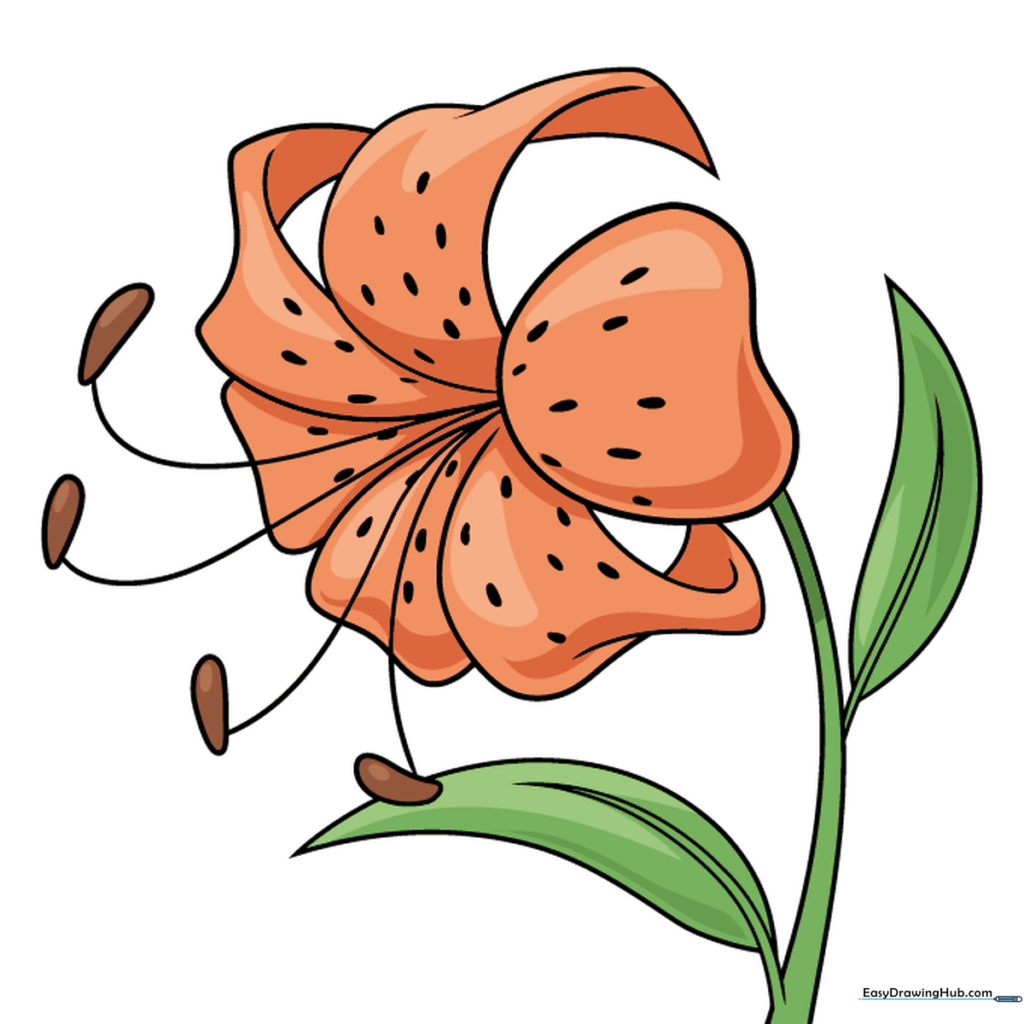
Time to color! Use vibrant oranges for the petals with deep red spots. For a more unique look, try shades of yellow, pink, or cream. Tip: Use a light touch with your colored pencils to blend the colors smoothly.
More Tutorials


