How to Draw a Thinking Face: Easy 10-Step Guide
Capture the look of deep concentration with this fun, expressive character study. Designed for artists ages 6 and up, this tutorial uses simple shapes to build a complex emotion. Grab your pencil, eraser, and paper to bring this thoughtful character to life.
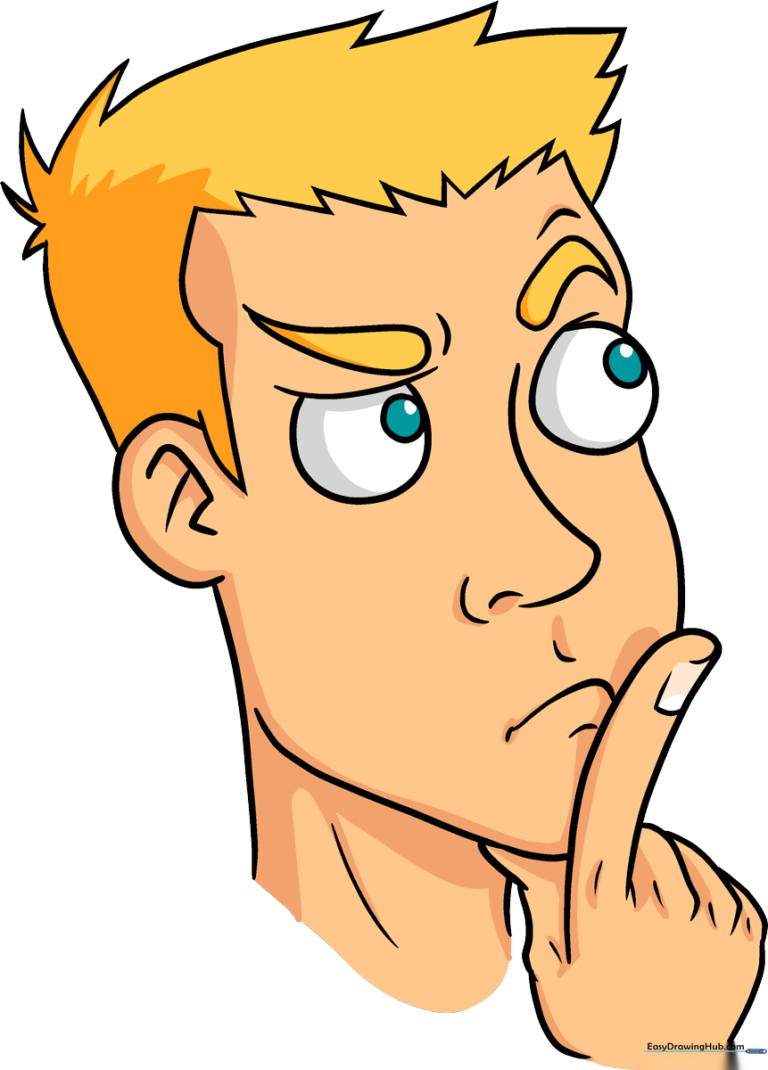
🎯 Final Result
Step-by-Step Instructions
Step 1: Sketching the Eyes

Start by drawing the eyes. For one eye, sketch a curved line for the furrowed brow, then add a partial circle below it. For the other, draw a full circle. Tip: Keep your pencil pressure light here; we want these lines to be subtle guides for the expression.
Step 2: Adding Brow and Nose Details

Enclose a teardrop shape above each eye to define the brow bone. One should sweep diagonally, while the other arches like a rainbow. Add a small curved line for the nose. Tip: The diagonal brow is key to showing that 'thinking' intensity!
Step 3: Defining the Chin and Mouth

Use a long, sweeping curved line to outline the jaw and chin. Add a small, downturned line for the mouth. Tip: A slightly downturned mouth helps convey the seriousness of someone deep in thought.
Step 4: Drawing the Ear and Neck
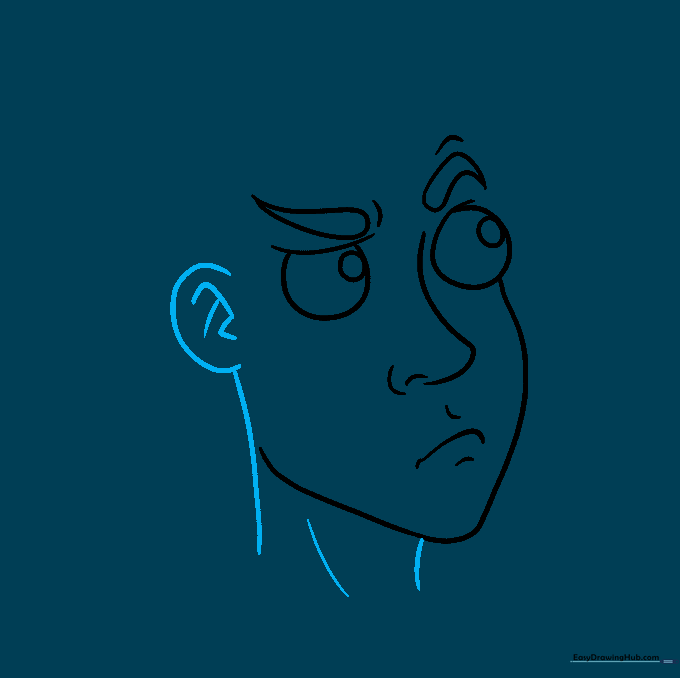
Draw a 'C' shaped line for the ear, adding internal curves for detail. Connect the neck lines from the ear and chin. Tip: Keep the neck lines smooth to ensure the head looks balanced on the shoulders.
Step 5: Sketching the Hairline
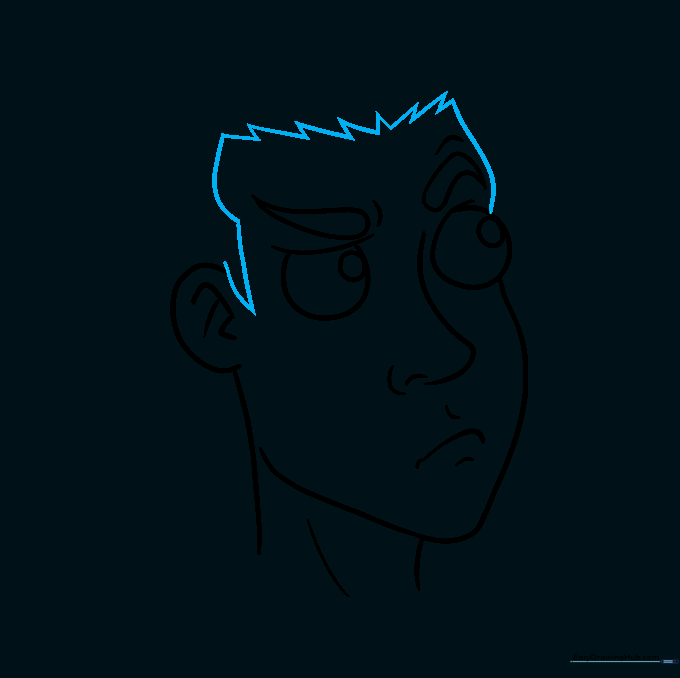
Use a series of connected, jagged curved lines to create the hair above the forehead. Tip: Don't worry about making the hair perfect; jagged lines look more natural for cartoon hair.
Step 6: Shaping the Back of the Head
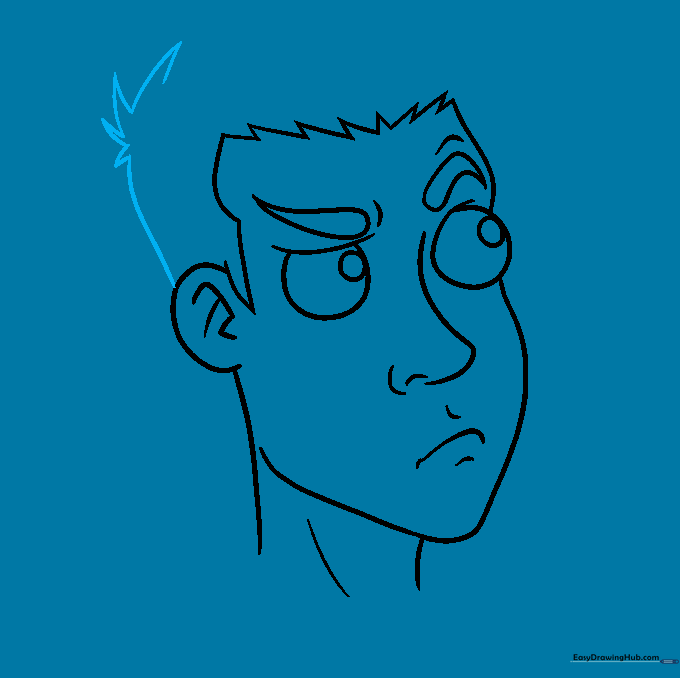
Continue the hair around the back of the head using more jagged, connected lines. Tip: Make the hair stand up slightly at the crown to add volume to the character.
Step 7: Finalizing the Hair
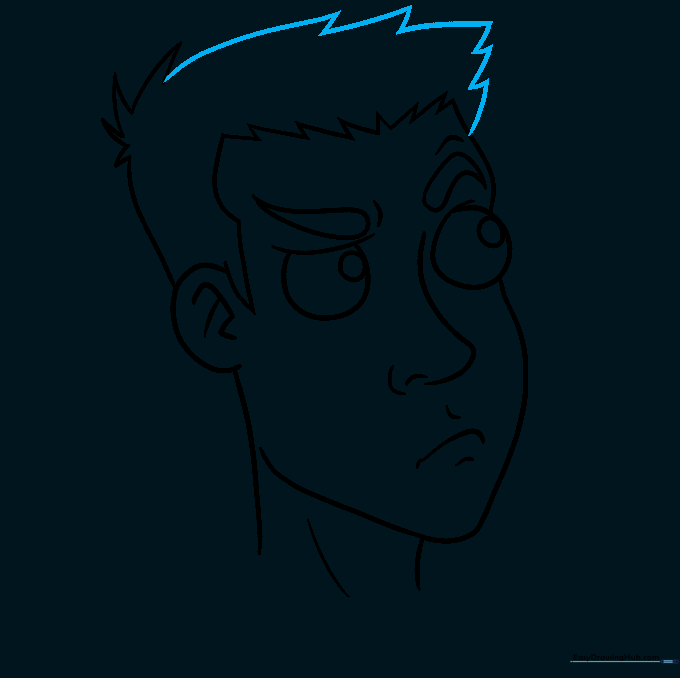
Complete the hair outline by connecting the remaining lines. Tip: Ensure the points of the hair are sharp to give the character a clean, finished look.
Step 8: Adding the Hand
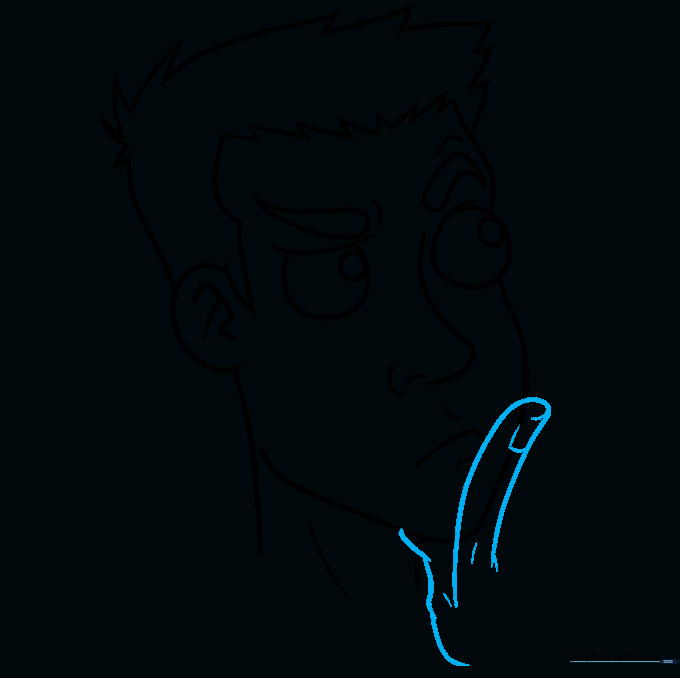
Draw the hand resting on the chin. Use curved lines for the pointer finger and thumb. Tip: Focus on the curve of the finger against the chin to show interaction between the hand and the face.
Step 9: Refining the Hand
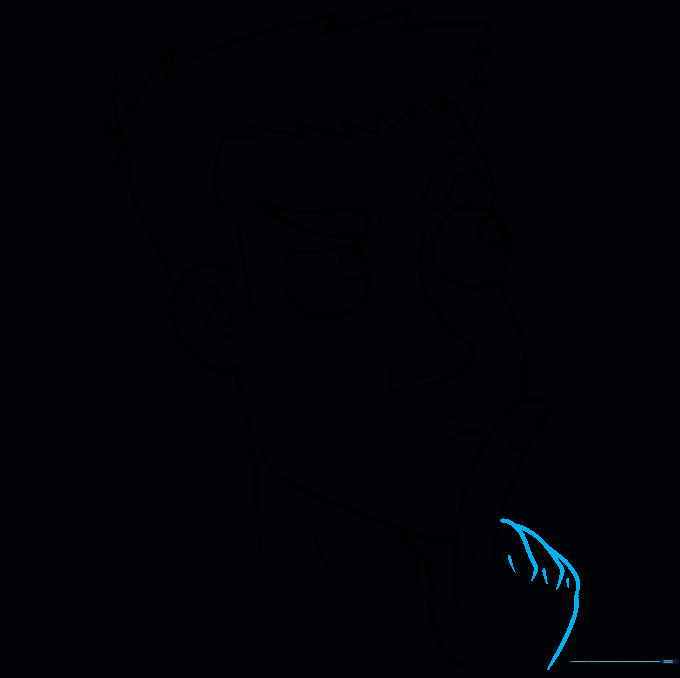
Finish the fingers and knuckles with overlapping curved lines. Erase any overlapping chin lines. Tip: Use short, light strokes for the knuckles to make them look natural.
Step 10: Adding Color

Bring your drawing to life with color! Use skin tones for the face and hand, and pick your favorite hair color. Tip: Use a darker shade for the shadows under the chin to give your drawing more depth.
More Tutorials


