How to Draw a Tennis Racket and Ball: Easy 10-Step Guide
Ready to hit the court? This tutorial is perfect for young athletes and budding artists ages 5 and up. You will only need a pencil, an eraser, and some paper to bring this sports gear to life. Follow these steps to master basic shapes and improve your hand-eye coordination.
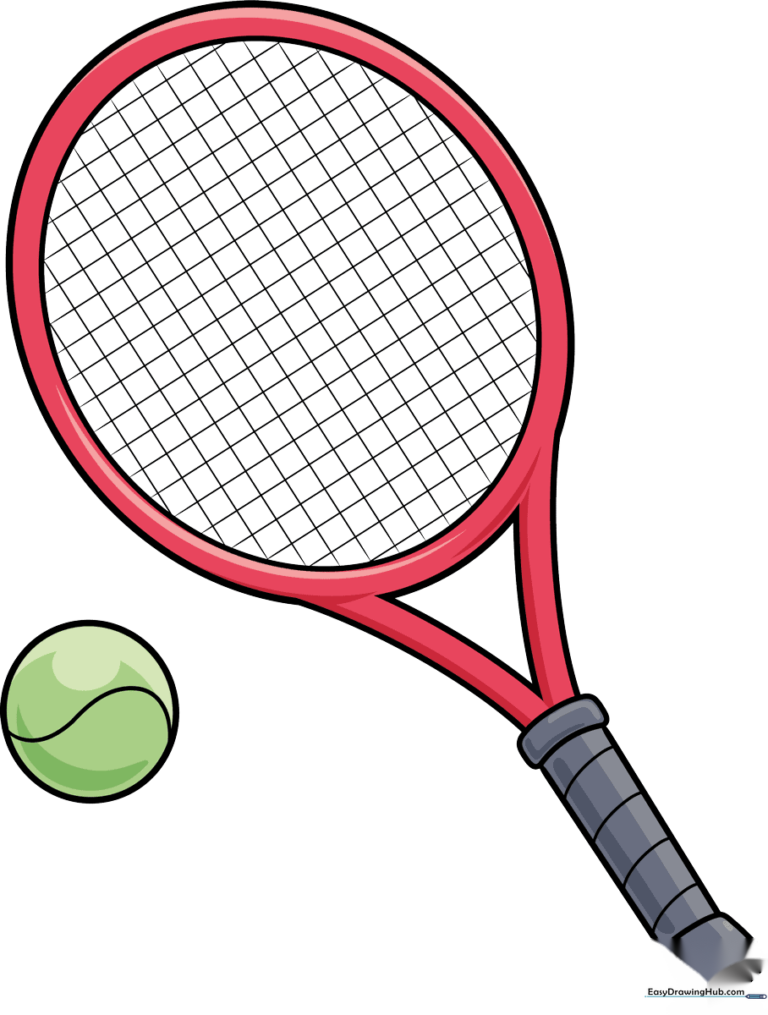
🎯 Final Result
Step-by-Step Instructions
Step 1: Sketching the Racket Head

Draw a long, teardrop-shaped loop for the racket head. Teacher's Tip: Don't let the lines touch at the bottom point; leaving a small gap makes it easier to attach the handle later.
Step 2: Starting the Handle
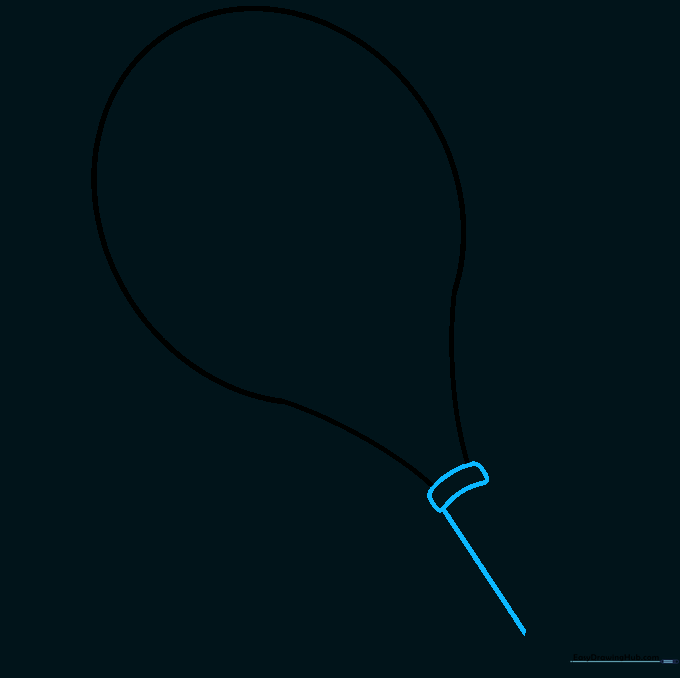
At the base of your teardrop, draw a small rectangle to act as the neck. Extend two parallel lines downward to begin the grip. Tip: Use a ruler if you want perfectly straight lines, or practice freehand for a more natural look.
Step 3: Adding the Butt Cap
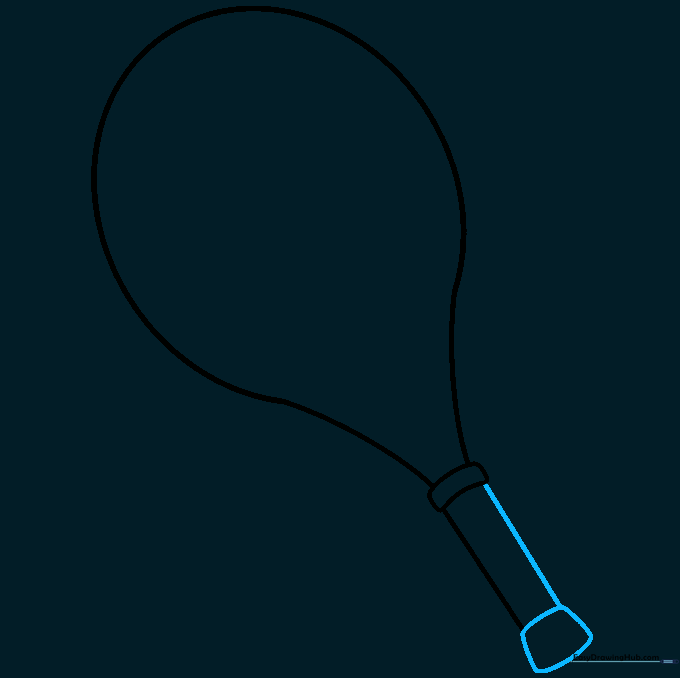
Connect the bottom of your handle lines with a small, rounded trapezoid. This is the 'butt' of the racket. Tip: Keep the corners soft to make the racket look comfortable to hold.
Step 4: Defining the Throat
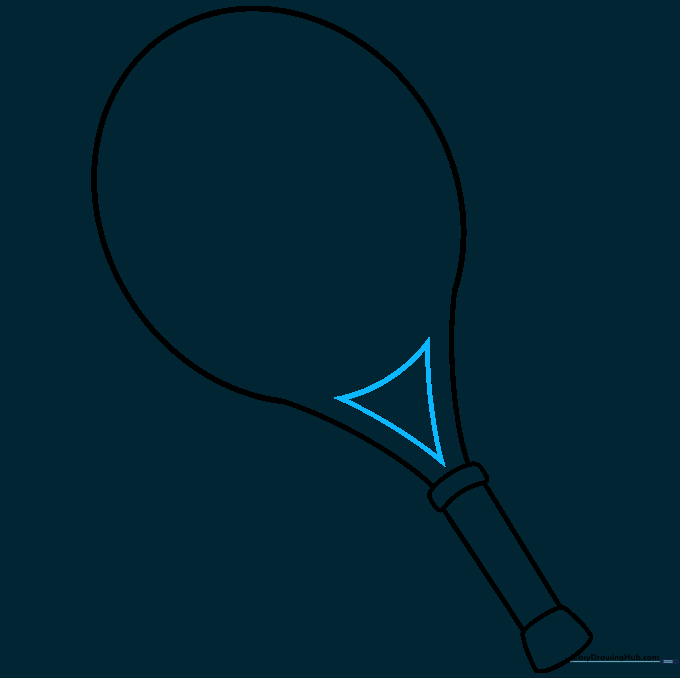
Draw a large, curved triangle inside the neck area. This adds structural detail to the racket. Tip: Ensure the triangle is centered so the racket looks balanced.
Step 5: Creating the String Bed

Draw a large oval inside the head of the racket. This creates the frame for your strings. Tip: Make sure there is an even gap between the oval and the outer edge of the racket.
Step 6: Vertical Strings

Draw parallel vertical lines inside the oval. These represent the main strings. Tip: Keep your spacing consistent to make the racket look professional.
Step 7: Horizontal Strings
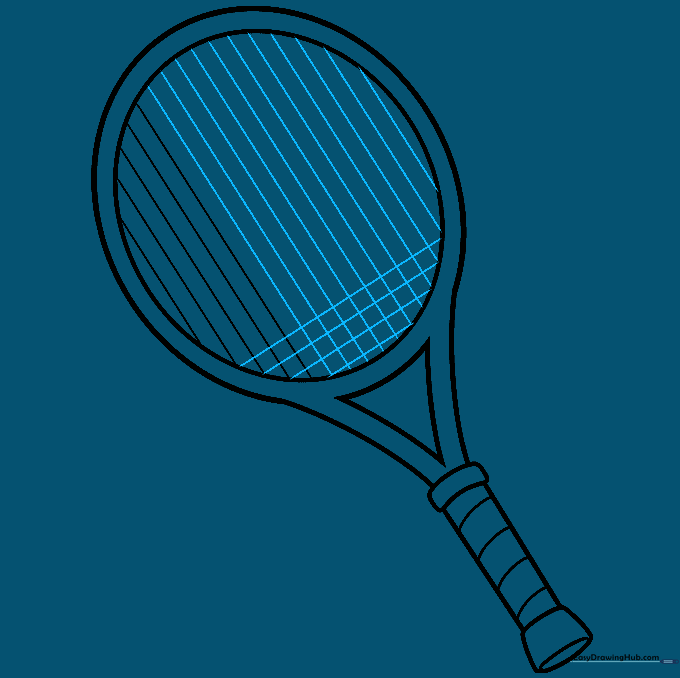
Draw horizontal lines across your vertical ones to create a grid. Tip: Ensure these lines cross at a 90-degree angle to create a perfect checkerboard pattern.
Step 8: Finalizing the Strings
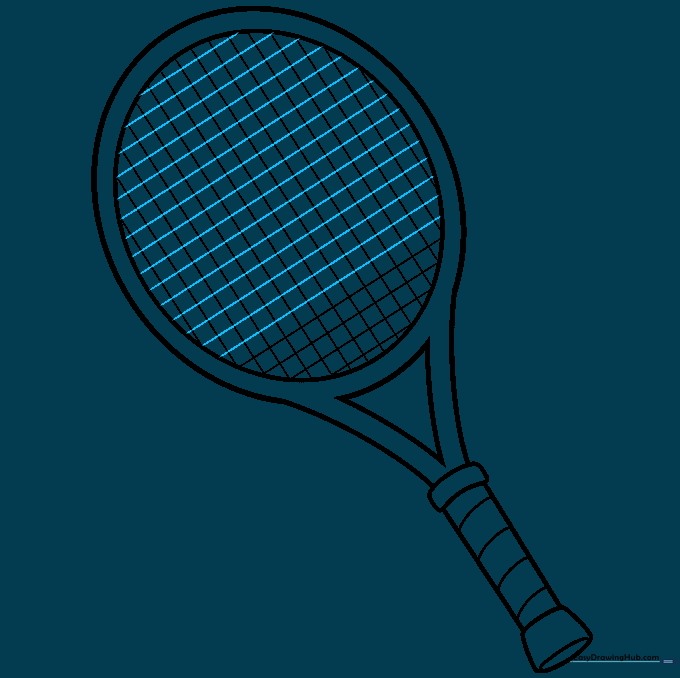
Fill in any remaining gaps with shorter lines to complete the string pattern. Tip: Take your time here; a steady hand makes the grid look much cleaner.
Step 9: Drawing the Tennis Ball
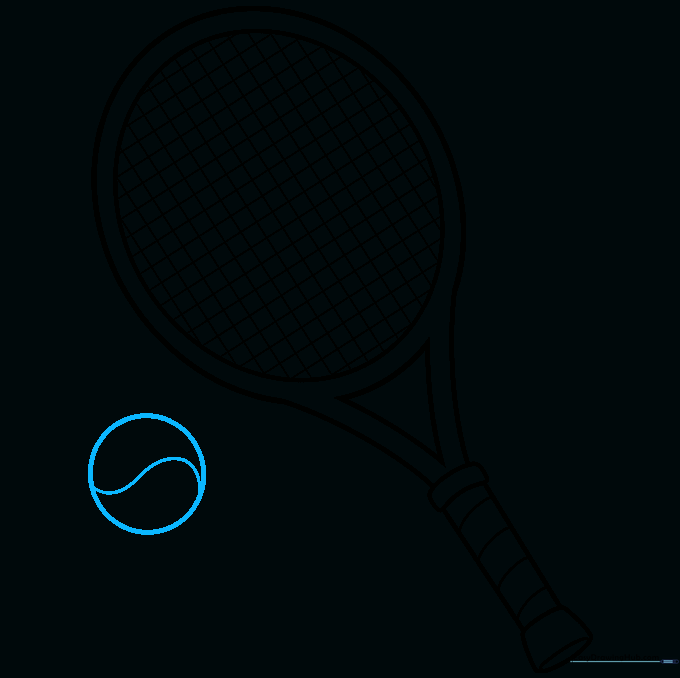
Draw a circle next to your racket. Add a curved 'S' shape across the middle to represent the ball's unique seam. Tip: Use a circular object like a bottle cap to trace if you struggle with freehand circles.
Step 10: Adding Color

Bring your drawing to life! Use bright yellow for the tennis ball and your favorite colors for the racket grip. Tip: Use a darker shade of yellow or light brown to shade the edges of the ball for a 3D effect.
More Tutorials


