How to Draw a Telescope: Easy 10-Step Guide for Kids
Ready to explore the stars? This telescope drawing tutorial is perfect for budding astronomers ages 5 and up. You only need a pencil, an eraser, and a piece of paper to bring this scientific tool to life. Follow along to master basic geometric shapes and perspective.
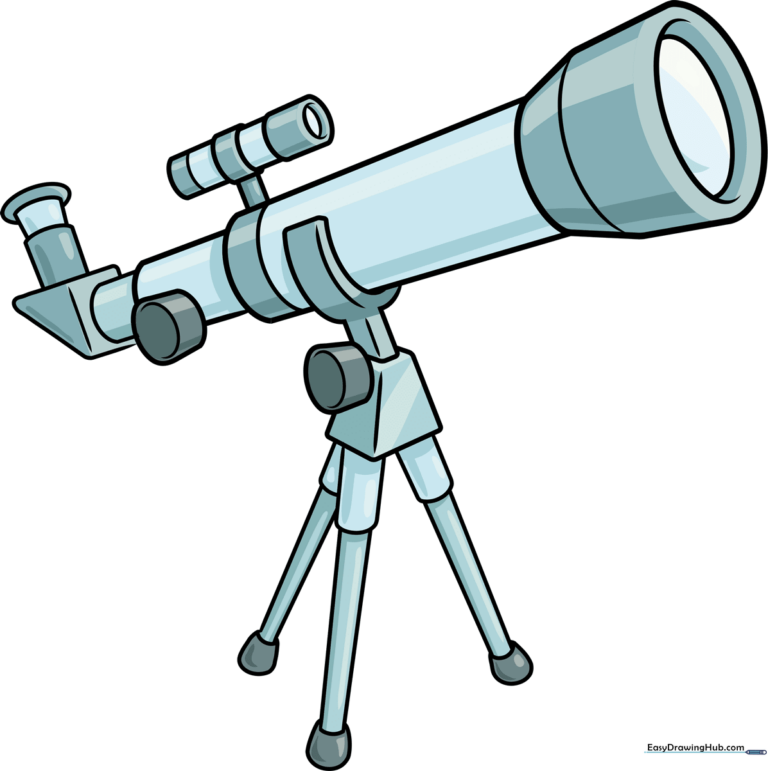
🎯 Final Result
Step-by-Step Instructions
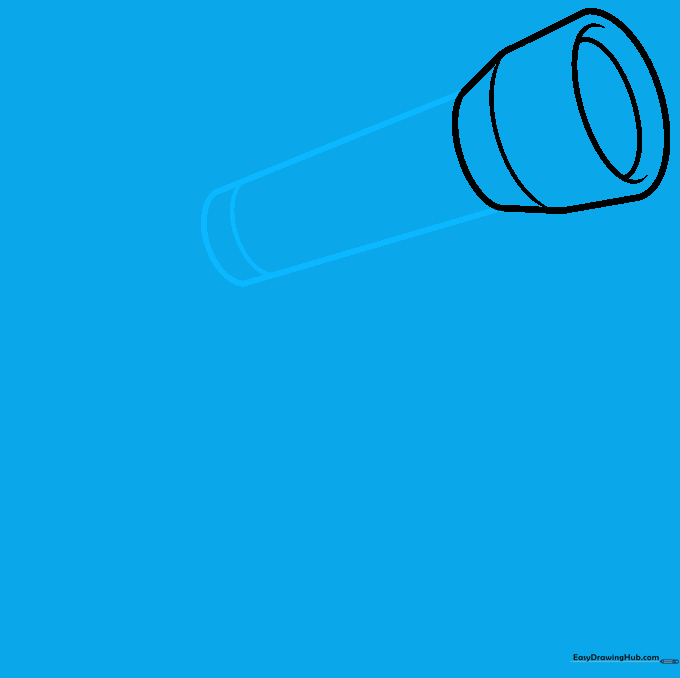
Step 1: Sketching the Objective Lens

Start by drawing two slightly diverging lines connected by curves at each end to form the lens housing. Add two small curved lines inside the wide end to represent the glass lens. Teacher's Tip: Keep these lines light; we'll refine the shape in later steps.
Step 2: Forming the Optical Tube
Extend two curved lines from the lens base, letting them taper slightly as they move outward. Connect them with a curved line at the end and add a small band to show the tube's thickness. Tip: Imagine you are drawing a long, thin cylinder.
Step 3: Constructing the Mount
Sketch a 'Y' shape under the tube to create the mount. Add depth by drawing parallel lines along the 'Y' arms. Tip: If you make a mistake, don't worry—just erase and try again; that's how we learn!
Step 4: Adding the Finder Scope
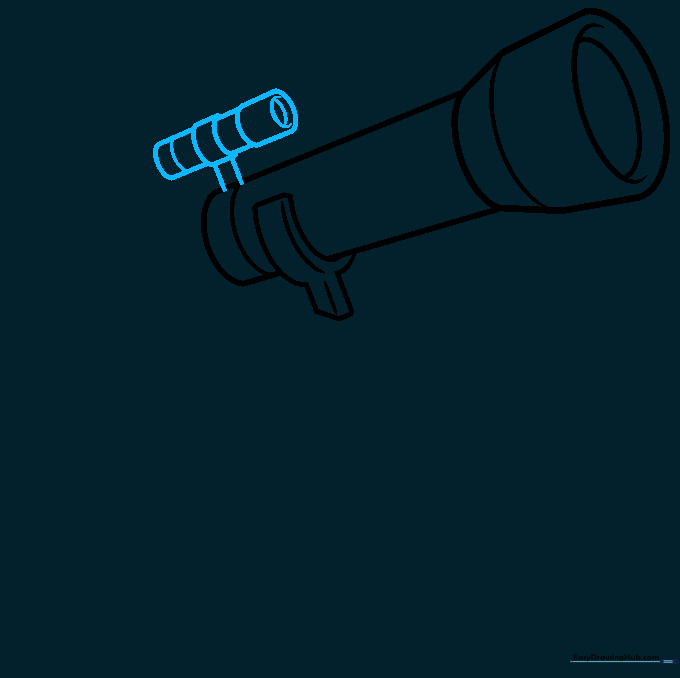
Draw a smaller, thinner tube on top of the main telescope. This is the finder scope used to aim at stars. Add a tiny lens at the front. Tip: Keep this smaller than the main tube to maintain proper proportions.
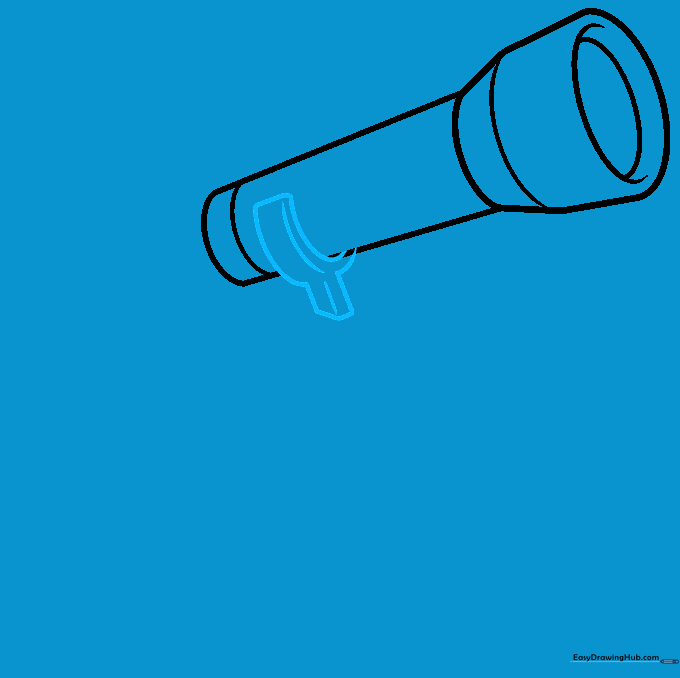
Step 5: Detailing the Focus Knob
Extend the tube further and add a small 'C' shape on the side for the focusing knob. This is what astronomers turn to make the image clear. Tip: Draw the knob small so it looks like it's attached to the side of the tube.
Step 6: Drawing the Eyepiece
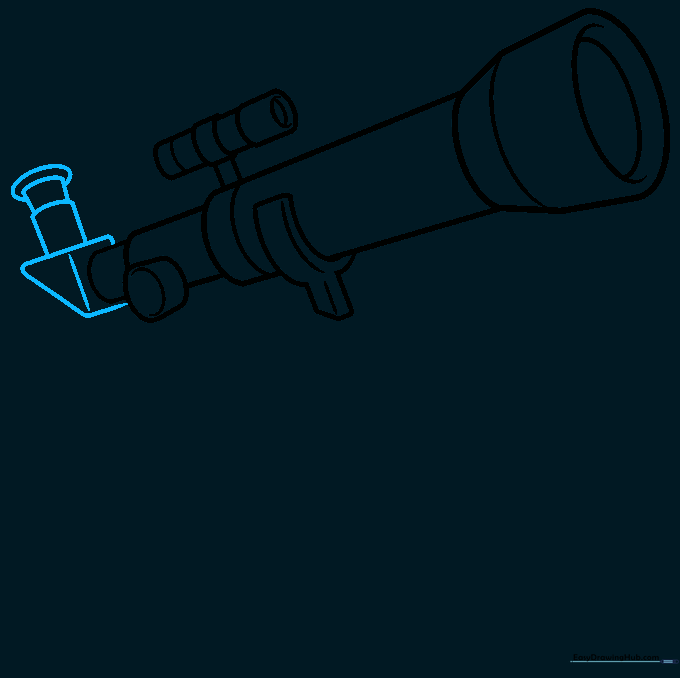
At the back of the tube, draw a small trapezoid shape to represent the star diagonal and eyepiece. This is where you look through! Tip: Use short, straight lines to define the edges of the eyepiece clearly.
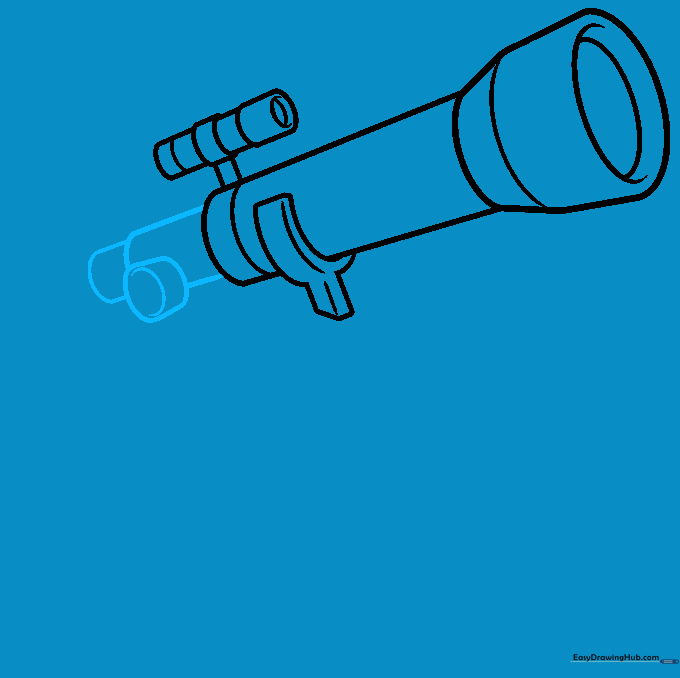
Step 7: Adding Adjustment Knobs
Add a smaller cylinder to the mount with a 'C' shape for the altitude adjustment knob. This helps the telescope tilt up and down. Tip: Focus on making the knob look like it's protruding from the mount.
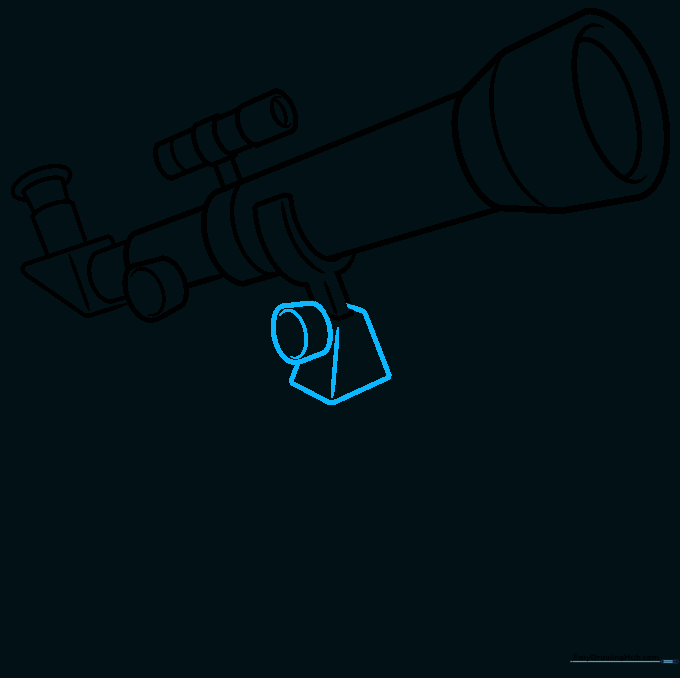
Step 8: Sketching the Tripod Legs
Draw two long, rectangular legs extending from the mount toward the ground. Add curved lines at the bottom for the feet. Tip: Make sure the legs are angled outward to show the telescope is stable.
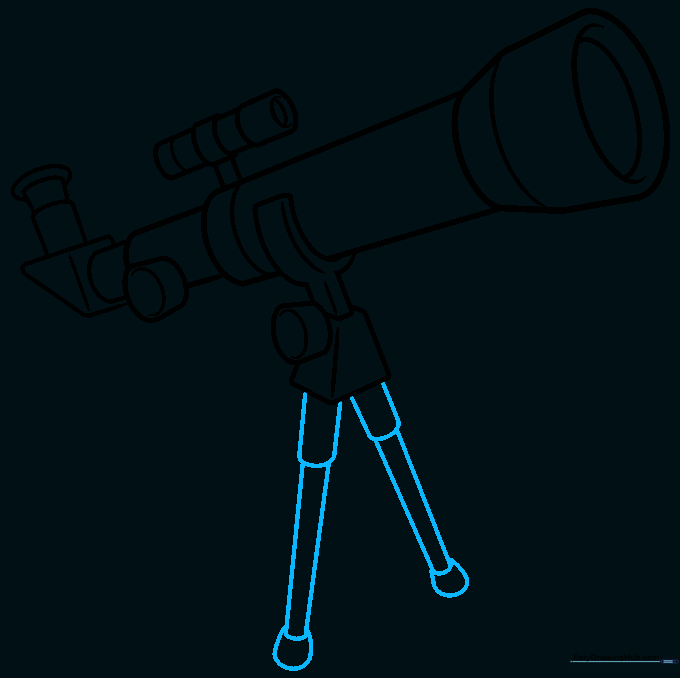
Step 9: Completing the Tripod
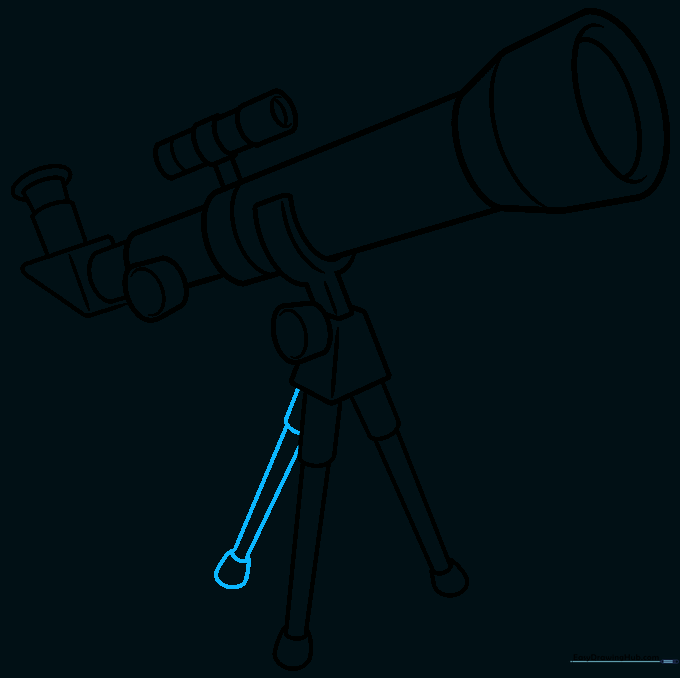
Draw the third tripod leg to complete the base. This gives your telescope a sturdy look. Tip: Ensure the third leg is positioned slightly behind the others to create a sense of 3D space.
Step 10: Adding Color
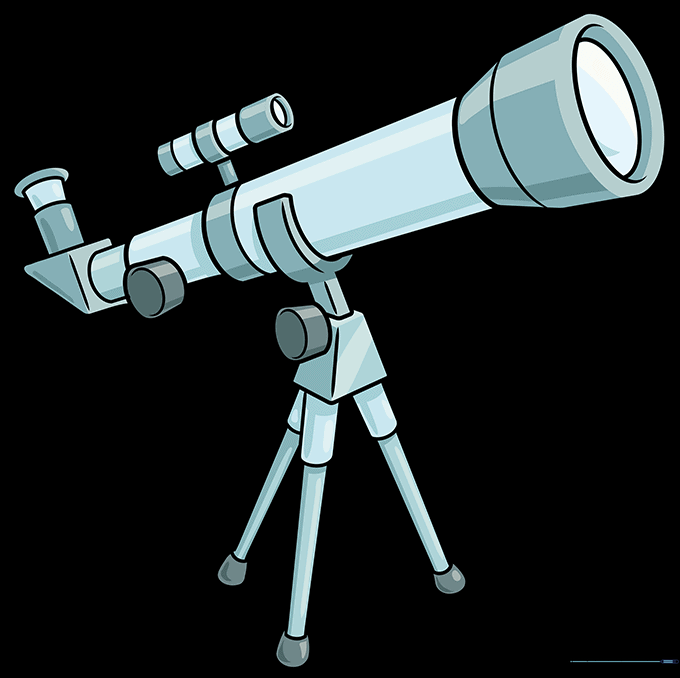
Time to bring your drawing to life! Use metallic grays, blacks, or blues for the telescope tube. Add a touch of light blue to the lens to make it look like glass. Tip: Use a darker shade on one side of the tube to create a shadow effect.
More Tutorials


