How to Draw a Teddy Bear: Easy 10-Step Guide for Kids
This teddy bear drawing guide is perfect for children ages 5 and up. All you need is a pencil, an eraser, and a piece of paper to bring your own cuddly friend to life. Follow these simple steps to build confidence and develop your artistic skills through basic shapes.
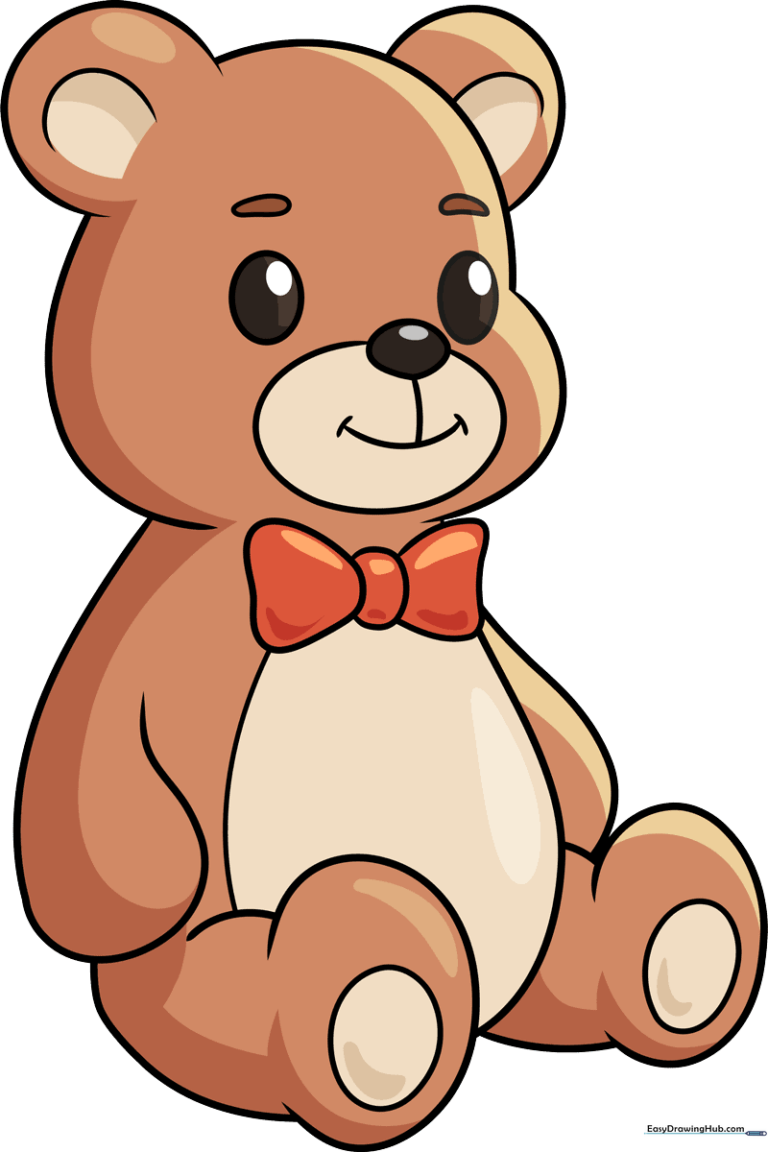
🎯 Final Result
Step-by-Step Instructions
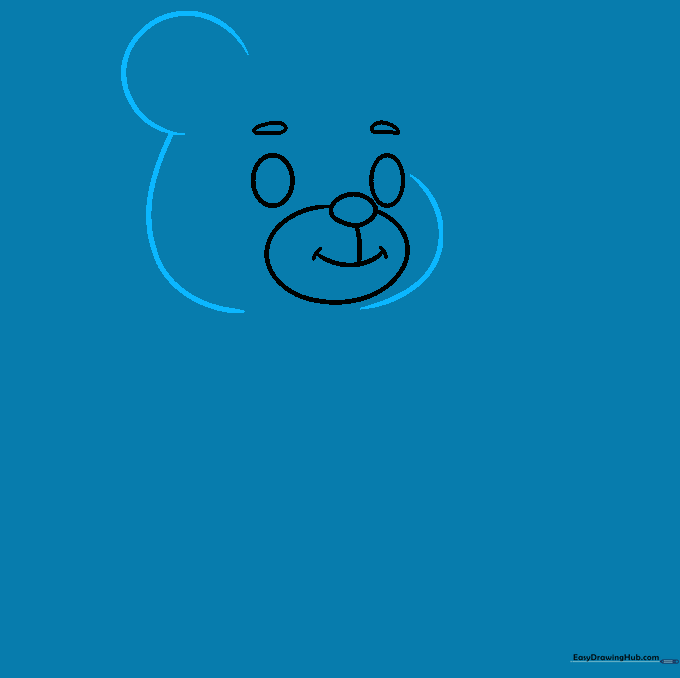
Step 1: Sketching the Face and Features

Start by drawing a rounded shape for the head. Add two vertical ovals for the eyes and a small, pointed horizontal oval for the nose. Teacher's Tip: Keep your pencil lines very light so you can easily erase any mistakes as you refine the face.
Step 2: Adding the Muzzle and Smile

Draw a larger oval around the nose to create the muzzle. Add a curved line below it to form a friendly, wide smile. Teacher's Tip: Adding small dimples at the ends of the smile makes your bear look extra cheerful!
Step 3: Shaping the Head and Ears
Use long, soft curved lines to define the cheeks and the sides of the head. Add a 'C' shape for the first ear. Teacher's Tip: Make sure the ear overlaps slightly with the head to give it a natural, attached look.
Step 4: Completing the Ears and Head
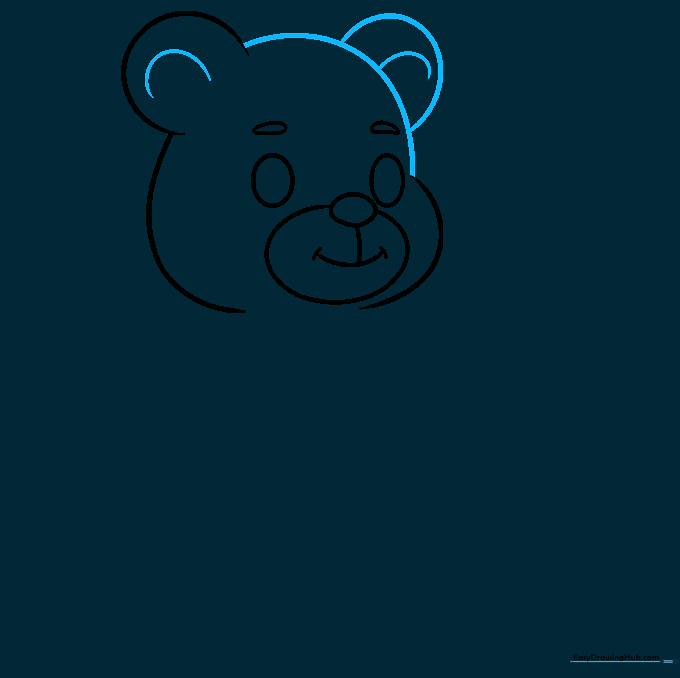
Connect the ear to the other side of the head with a smooth curve. Add the second ear and draw smaller 'C' shapes inside both ears for detail. Teacher's Tip: Symmetry is key here, so take your time matching the size of both ears.
Step 5: Drawing the Bow Tie
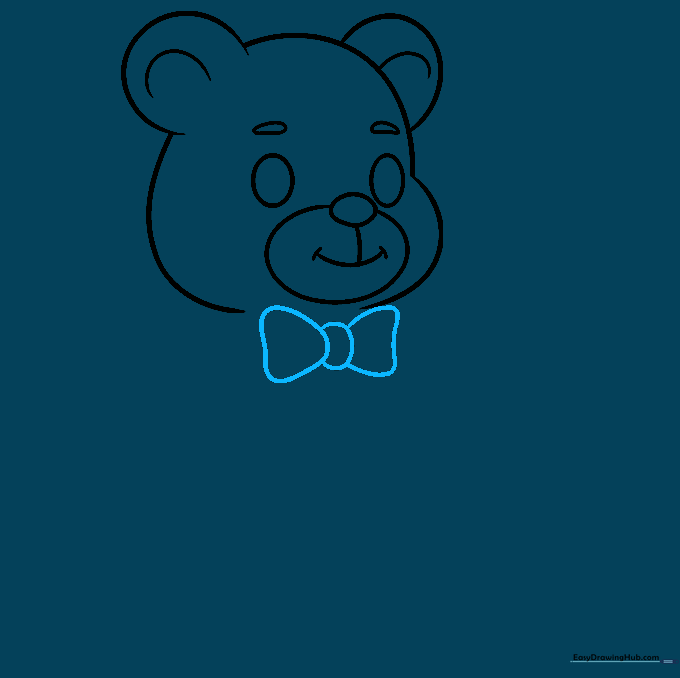
Draw a small bow tie under the chin using two rounded triangles and a central oval knot. Teacher's Tip: A bow tie adds character! You can even draw polka dots on it later to customize your bear.
Step 6: Sketching the Arms
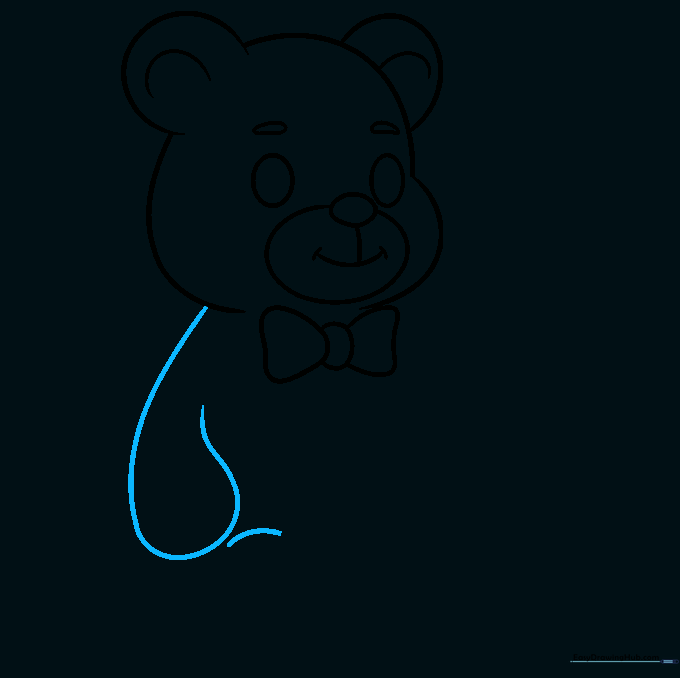
Draw a curved line for the arm, looping it back to form a paw. Add a small line below it to start the leg. Teacher's Tip: Think of the arm as a soft, stuffed tube—keep the lines rounded and smooth.
Step 7: Defining the Legs
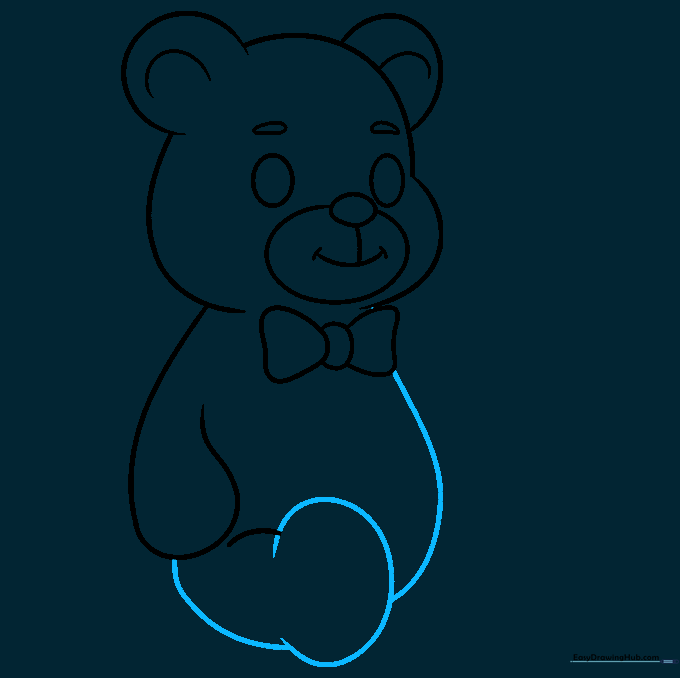
Finish the first leg and foot with a 'C' shaped curve. Connect the body from the bow tie down to the foot. Teacher's Tip: Overlapping your lines slightly helps the bear look like it is sitting down.
Step 8: Adding the Second Leg
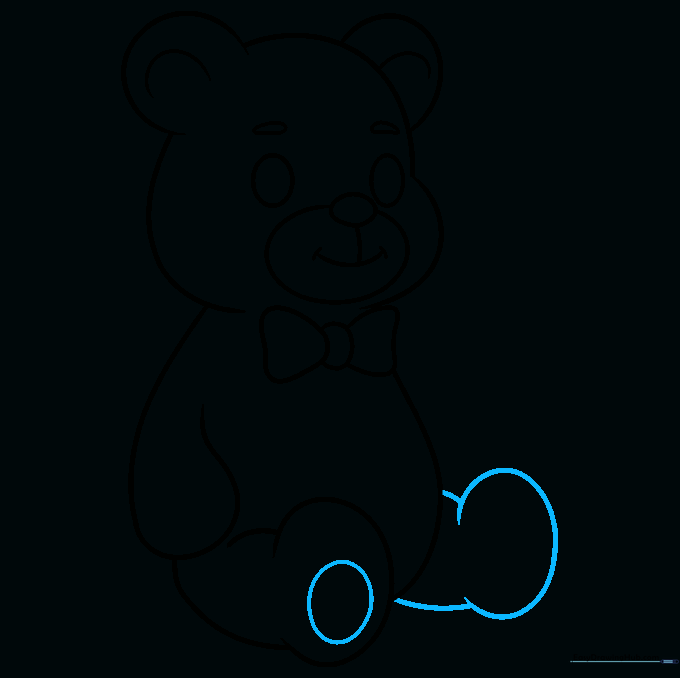
Draw the second leg using curved lines and add a circle in the center of the foot for the paw pad. Teacher's Tip: The paw pad is a classic teddy bear detail—try to keep it centered on the foot.
Step 9: Final Touches
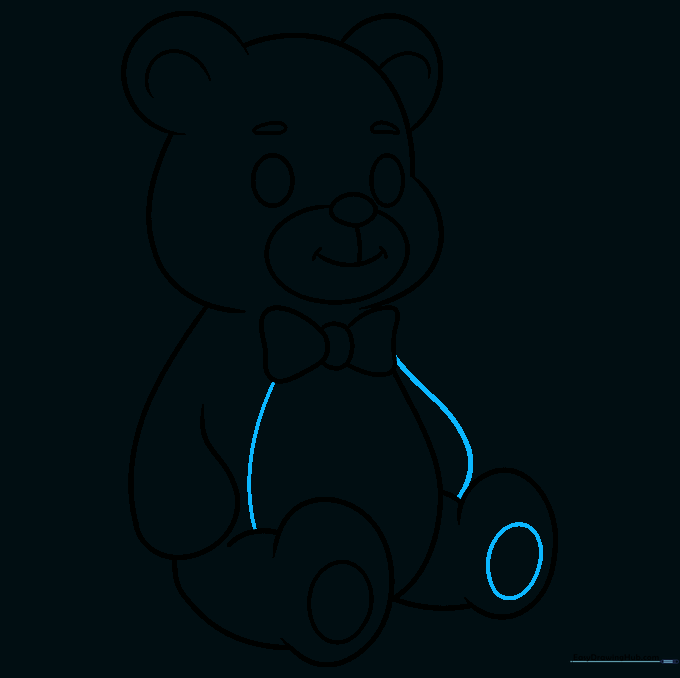
Add a paw pad to the first foot, outline the belly with a curved line, and draw the second arm. Teacher's Tip: Check your proportions—make sure the arms and legs look balanced against the body.
Step 10: Bringing Your Bear to Life with Color
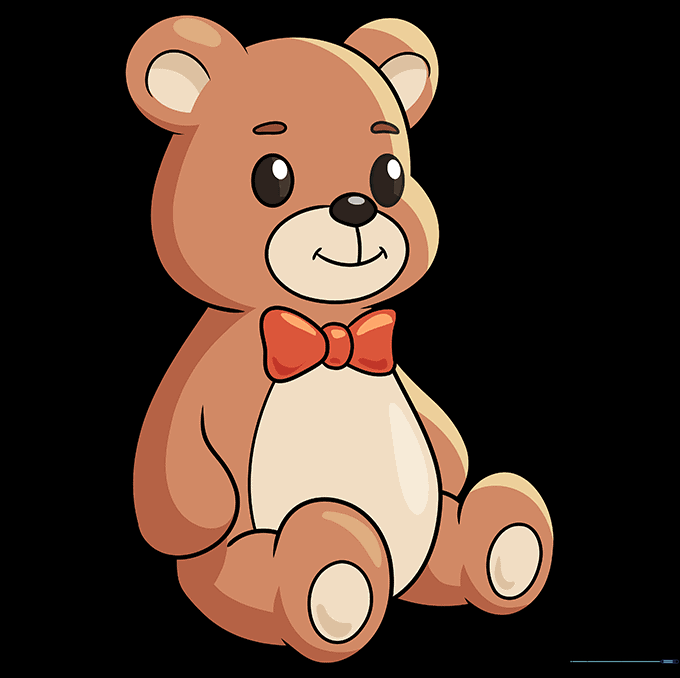
Time to color! While classic bears are brown, you can use any color you like. Think of your favorite characters—maybe a yellow bear or a colorful rainbow bear! Teacher's Tip: Use light pressure with your crayons to create a soft, fuzzy texture.
More Tutorials


