How to Draw a Teacher: Easy 10-Step Guide for Kids
Celebrate your favorite educator with this fun, step-by-step drawing tutorial! Designed for ages 5 and up, this activity requires only a pencil, paper, and your favorite coloring supplies. Follow along to build confidence in character drawing while creating a thoughtful handmade gift.
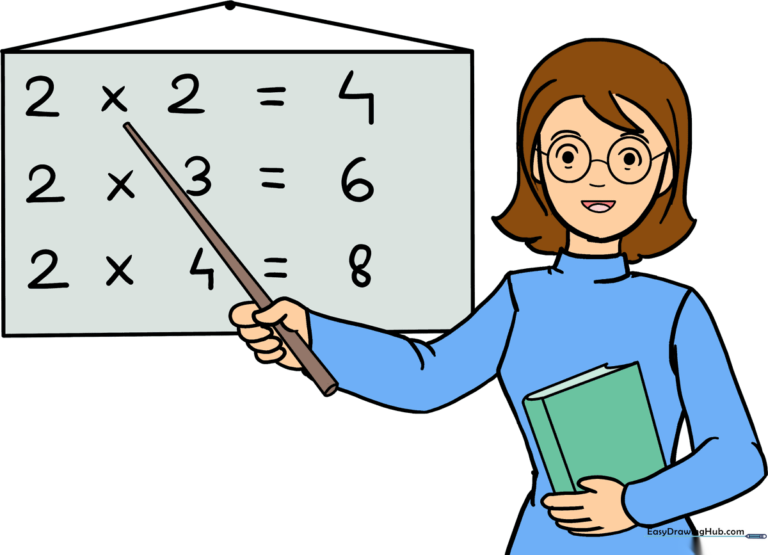
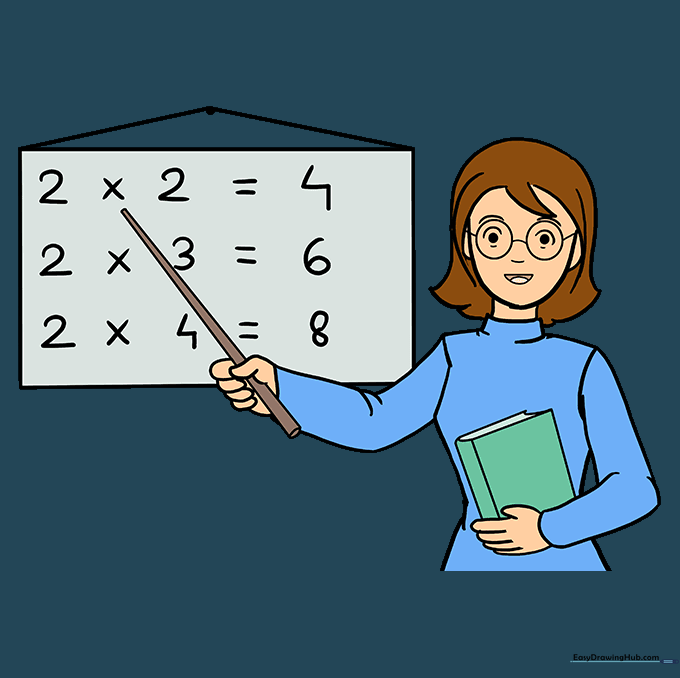
🎯 Final Result
Step-by-Step Instructions
Sketching the Face and Hair

Draw a soft 'U' shape for the chin. Add two curved lines in the center of the forehead for bangs, then extend lines outward to form the hair and ears. Teacher's Tip: Keep your pencil pressure light so you can easily erase any overlapping guidelines later.
Forming the Neck and Shoulders
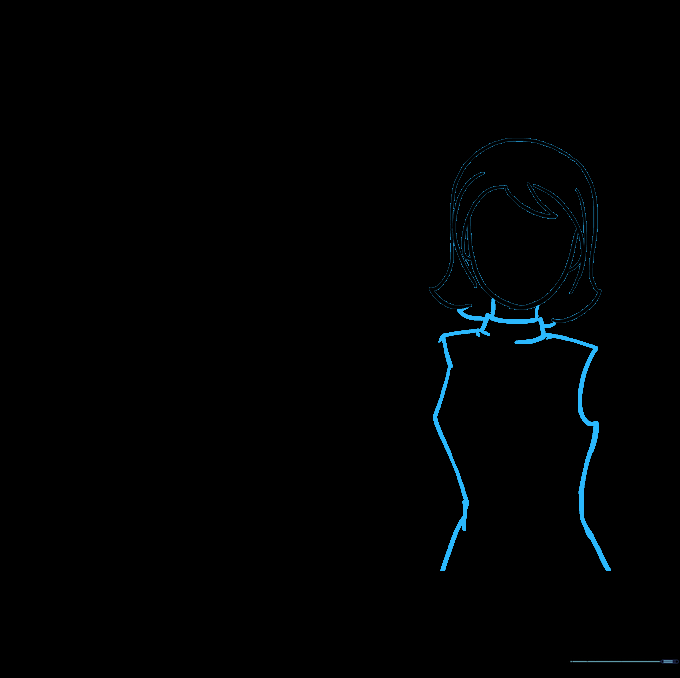
Extend two lines down from the chin to create the neck. Add curved lines for the collar and shoulders to give your teacher a professional silhouette. Teacher's Tip: Ensure the neck isn't too thin; it needs to support the head structure!
Adding the First Arm
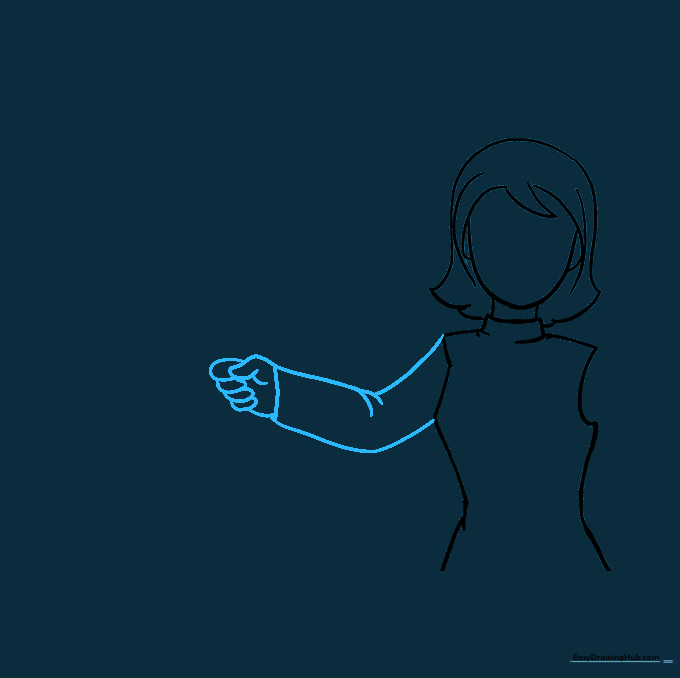
Draw the sleeve using curved lines, adding small 'V' shapes at the elbow to show fabric folds. Sketch the hand using simple ovals for fingers. Teacher's Tip: Focus on the bend of the elbow to make the arm look natural rather than stiff.
Drawing the Pointer
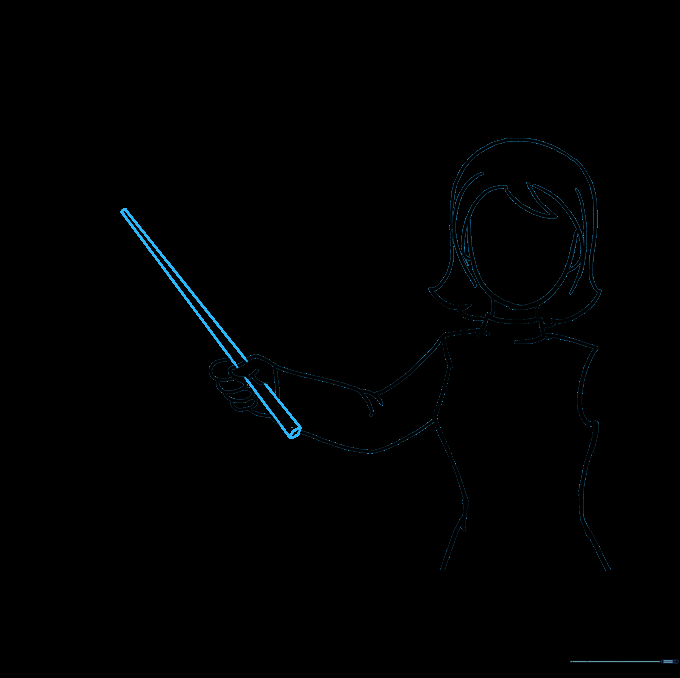
Extend two lines from the hand that meet at a point, creating a long stick. Use a small oval to connect the lines at the base. Teacher's Tip: This pointer is the perfect tool for your teacher to 'explain' lessons on the board later!
Adding the Second Arm

Draw the second sleeve using wide 'V' shapes, connecting them with a curved line. Add the second hand to balance the pose. Teacher's Tip: Try to match the size of this hand to the first one for better proportion.
Drawing the Book
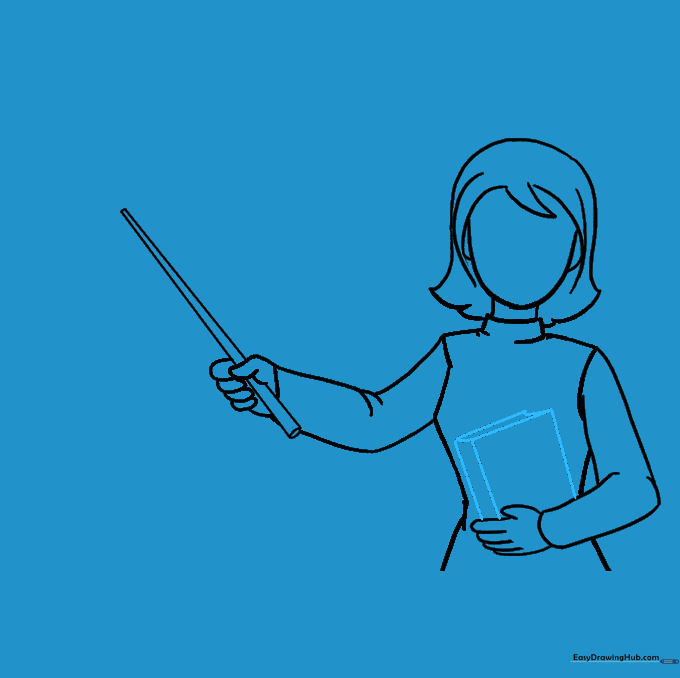
Place a square in the teacher's hand. Add a rectangle on the side for the spine and a curved line on top to represent the pages. Teacher's Tip: Use a ruler if you want the book edges to look extra crisp and academic.
Adding Facial Features
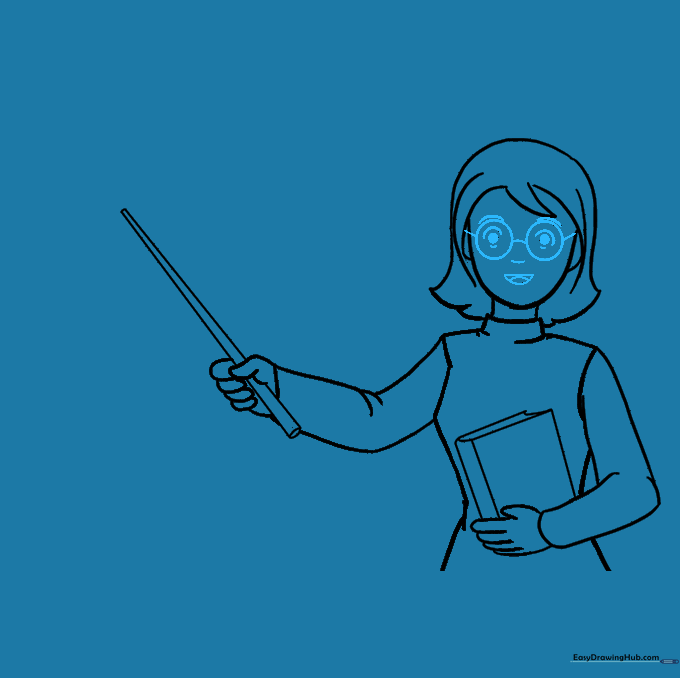
Draw two circles for glasses, connecting them with a bridge. Add dots for eyes, a curved nose, and a wide, happy smile. Teacher's Tip: Adding glasses instantly gives your character a 'wise' and studious look!
Sketching the Blackboard
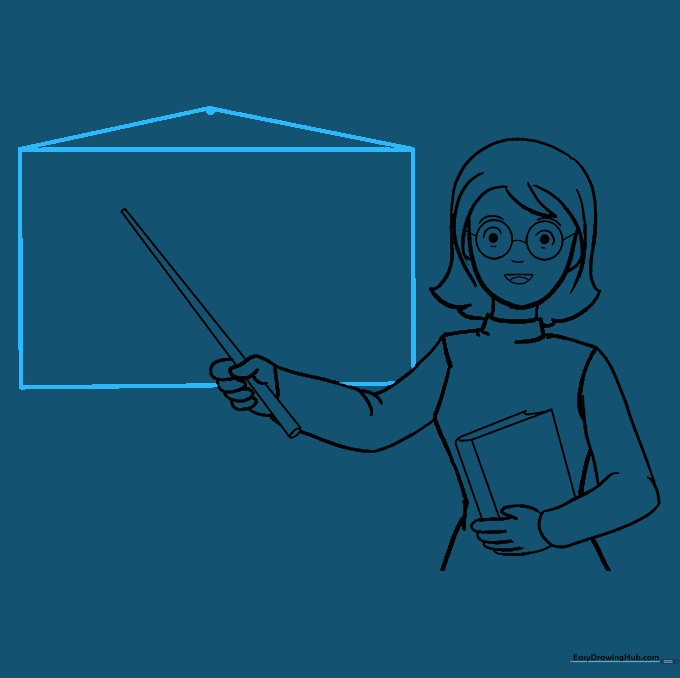
Draw a large rectangle behind the teacher to serve as the chalkboard. Add a triangle on top for a classic classroom feel. Teacher's Tip: Make the board large enough to fit some fun math problems!
Adding Educational Details
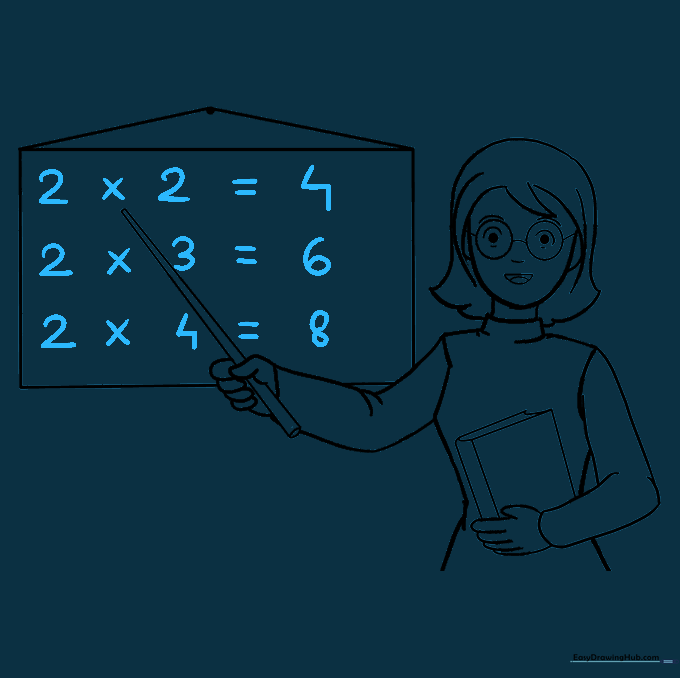
Write simple math equations on the board. Double-check your addition or multiplication—teachers love accuracy! Teacher's Tip: Use a darker pencil or a fine-liner pen to make the numbers pop against the board.
Coloring Your Masterpiece
Bring your teacher to life with bright colors! Use warm tones for the skin and hair, and classic chalkboard green for the background. Teacher's Tip: Use colored pencils to add shading to the clothes for a more professional finish.
More Tutorials