How to Draw a Tea Pot: Easy 10-Step Guide for Kids
Looking for a fun, creative project? This teapot drawing tutorial is perfect for ages 5 and up. Grab your pencil, eraser, and paper to practice basic shapes and symmetry while building confidence in your artistic skills.
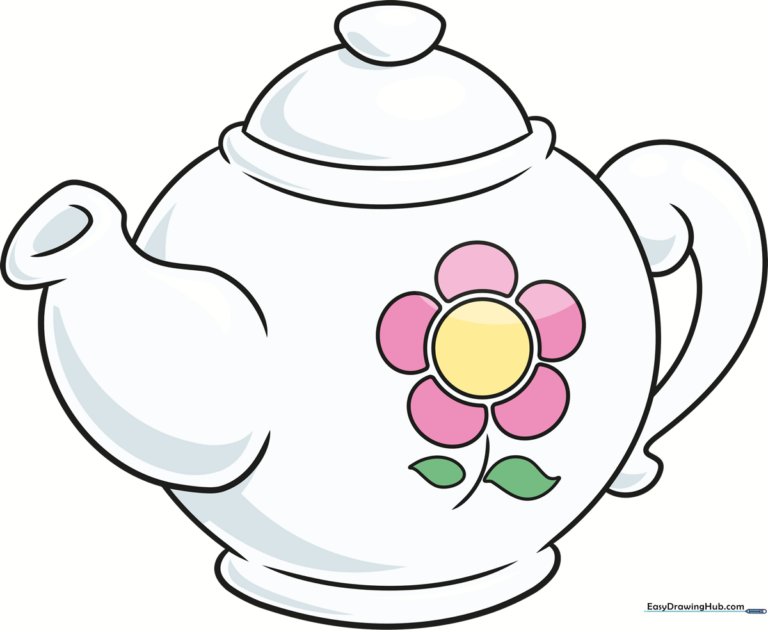
🎯 Final Result
Step-by-Step Instructions
Step 1: Sketching the Lid

Start by drawing a long, curved line like a half-circle. Teacher's Tip: Keep this shape centered on your paper to leave room for the body of the pot below.
Step 2: Defining the Handle

Draw the teapot's handle using a curved line that forms an irregular rounded shape. Tip: If it looks too thin, don't worry—just erase and widen the curve.
Step 3: The Lid Base

Connect the ends of your half-circle with a long, curved line, then add smaller curved lines underneath. Tip: These lines don't need to touch perfectly; they add character to the lid.
Step 4: Outlining the Body
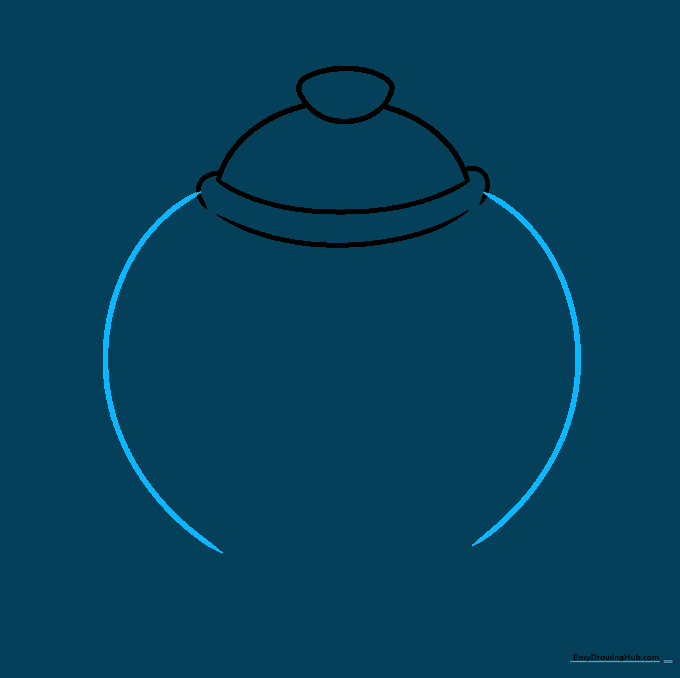
Extend a long, curved line down from each side of the lid to create the body. Tip: Aim for a round, plump shape to make your teapot look friendly.
Step 5: Adding the Spout
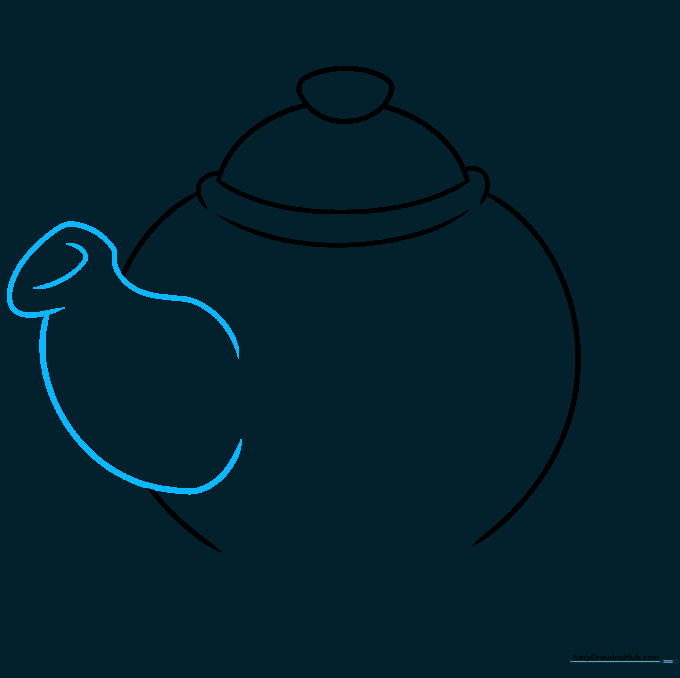
Use overlapping curved lines to outline the spout on the left side. Add a small curved line at the tip to show the opening. Tip: Think of it like a little elephant trunk!
Step 6: Refining the Handle

Use a long, curved line to define the outer edge of the handle, adding a small flourish at the bottom. Tip: Use overlapping lines to give the handle a 3D look.
Step 7: Drawing the Base

Draw a curved line at the bottom to enclose the teapot. Tip: Make sure the base is slightly flat so the teapot looks like it could sit on a table.
Step 8: Decorative Flower
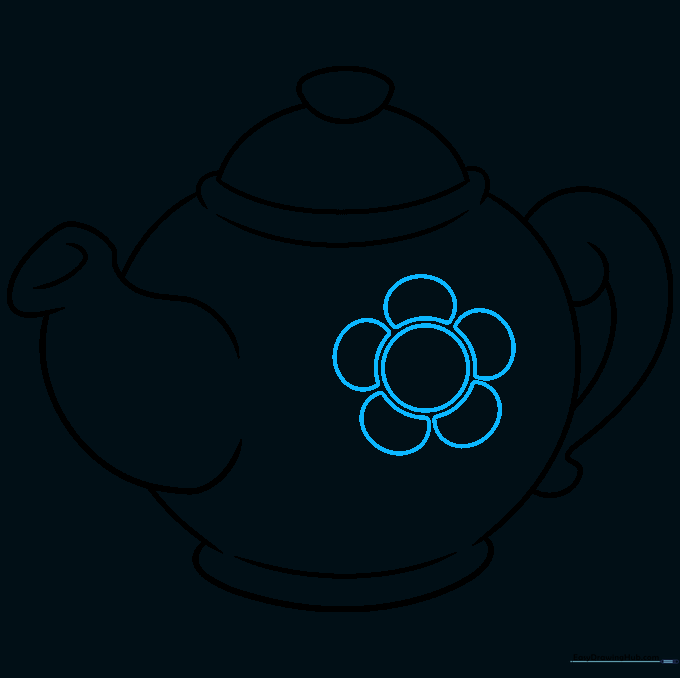
Draw a circle in the center of the pot, then add 'U' shaped petals around it. Tip: Keep your petals uniform in size for a tidy, professional look.
Step 9: Stem and Leaves

Extend a curved line beneath the flower and add pointed leaves on each side. Tip: Use quick, light strokes to make the leaves look sharp and natural.
Step 10: Final Coloring
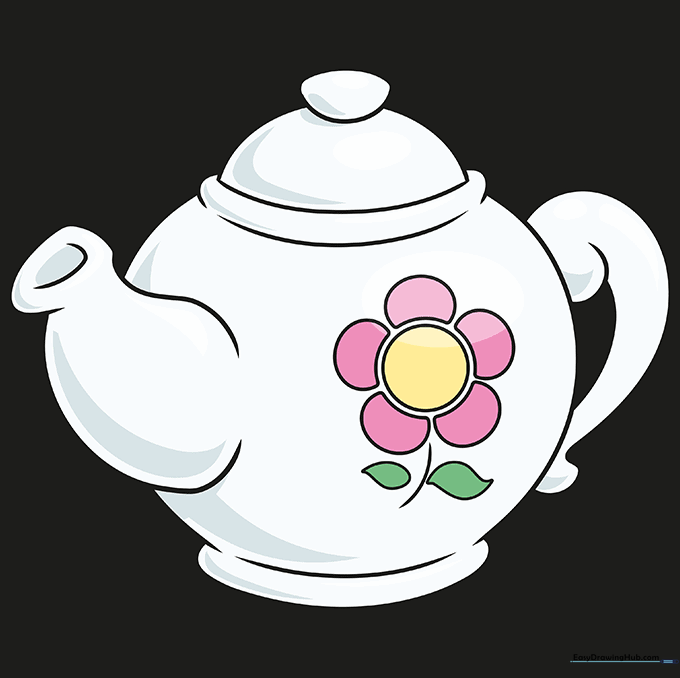
Bring your teapot to life with your favorite colors! Tip: Use a darker shade on the bottom of the pot to create a simple shadow effect.
More Tutorials


