How to Draw a Tea Cup: Simple 10-Step Guide for Kids
Perfect for budding artists ages 5 and up, this tea cup tutorial is a wonderful way to practice drawing smooth, rounded shapes. All you need is a pencil, an eraser, and a piece of paper to get started. By the end, you will have a charming, steaming cup of tea ready to be colored in your favorite shades.
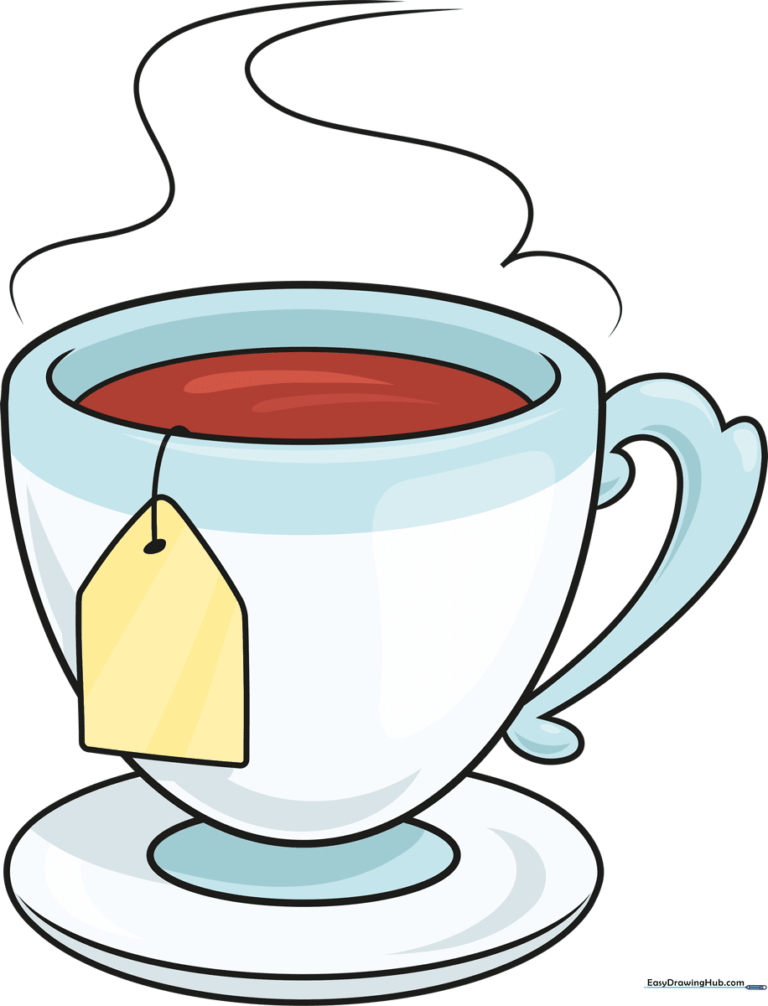
🎯 Final Result
Step-by-Step Instructions
Sketching the Main Body
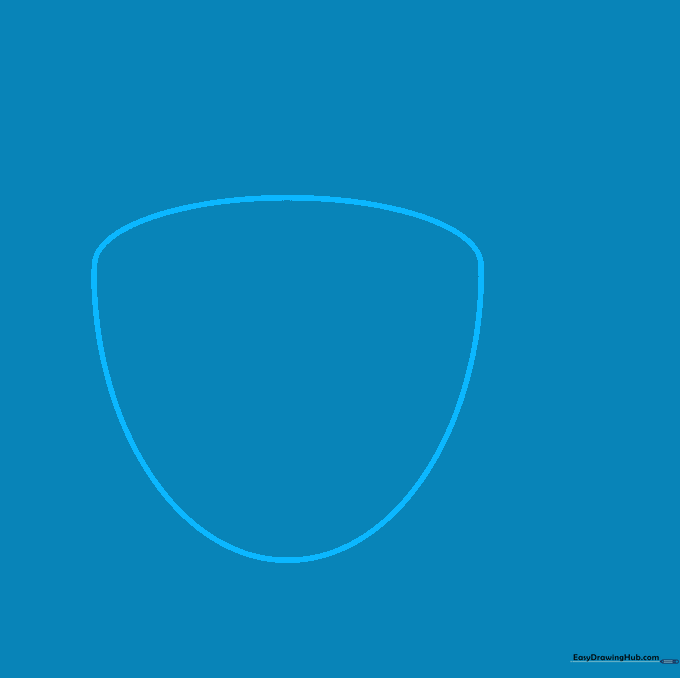
Start by sketching the main body of your cup using a soft, irregular rounded shape. Teacher's Tip: Keep your pencil pressure light so you can easily erase any stray lines later as we refine the form.
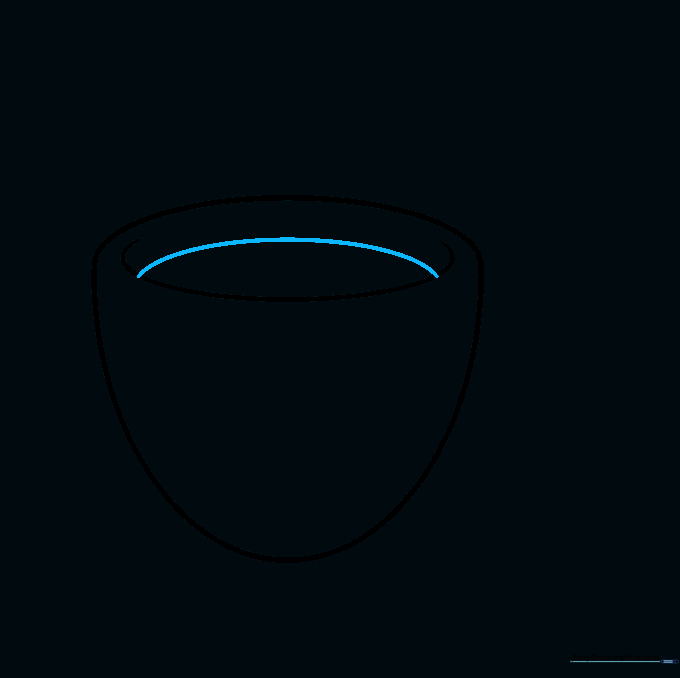
Defining the Rim

Draw a long, gentle curve across the top of your shape to define the opening of the cup. Tip: Imagine you are drawing a smile—keep the curve smooth to make the cup look symmetrical.
Adding the Tea Surface
Add a second overlapping curve at the top to create the surface of the tea. This creates a pointed shape at both ends, giving your drawing a sense of depth. Tip: Keep this shape narrow to make it look like the cup is full.
Drawing the Base

Create the foot of the cup by drawing a curved line that loops under the bottom. Tip: A steady hand helps here; try to make the curve mirror the bottom edge of your cup for a balanced look.
Sketching the Handle

Use a series of 'U' shaped lines to form the handle on the side of the cup. Tip: Think of this as drawing a small, rounded ear attached to the side of your cup.
Refining the Handle

Add the inner side of the handle using two curved lines that meet at a point. Tip: This adds thickness to the handle, making it look sturdy and realistic.
Adding the Saucer

Draw a wide oval around the base to represent the saucer. Tip: Keep the lines light until you are happy with the shape, then go over them with a darker stroke.
Adding a Tea Bag

Draw a small pentagon shape for the label and a curved line for the string hanging into the cup. Tip: Erase any lines that overlap the string to make it look like it's hanging over the edge.
Drawing Steam
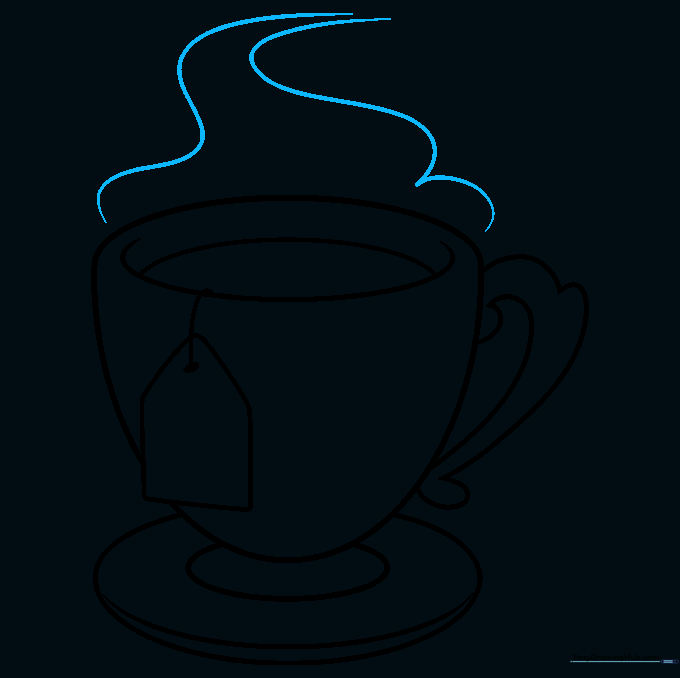
Add some steam rising from the cup using soft, overlapping curved lines. Tip: Use loose, wavy motions to make the steam look light and airy.
Coloring Your Masterpiece

Bring your drawing to life with color! Use warm browns for the tea, or add a touch of white to show where milk has been stirred in. Tip: Use light pressure with your crayons for a soft, blended look.
More Tutorials


