How to Draw a Tapir: Easy 9-Step Guide for Kids
Ready to bring a unique jungle friend to life? This tutorial is perfect for young artists ages 5 and up. Grab your pencil, eraser, and paper to practice basic shapes and contour lines while creating your very own adorable tapir.
🎯 Final Result

Step-by-Step Instructions
Step 1: Sketching the Snout and Eye
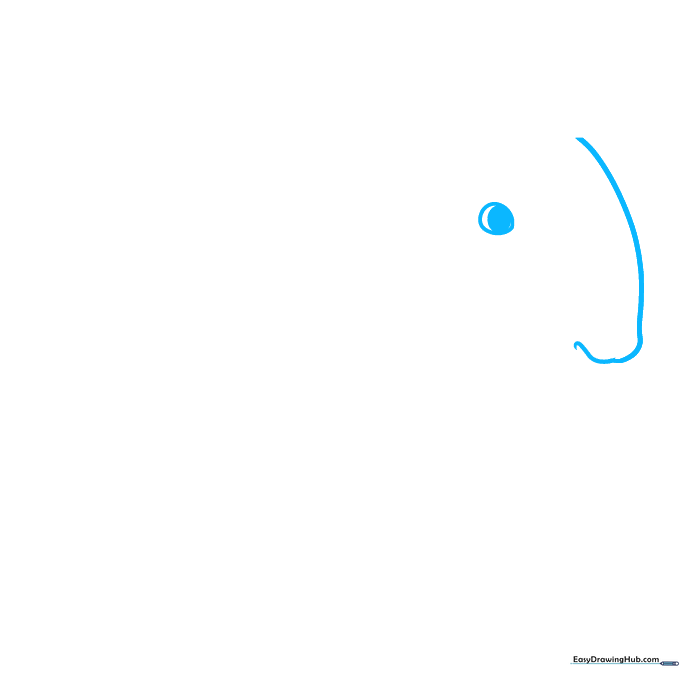
Start by drawing a long, gentle curve to form the tapir's unique snout. Next, draw an oval for the eye inside a rounded shape. Teacher's Tip: Keep your pencil lines light so you can easily erase any mistakes as you refine the face shape.
Step 2: Defining the Face
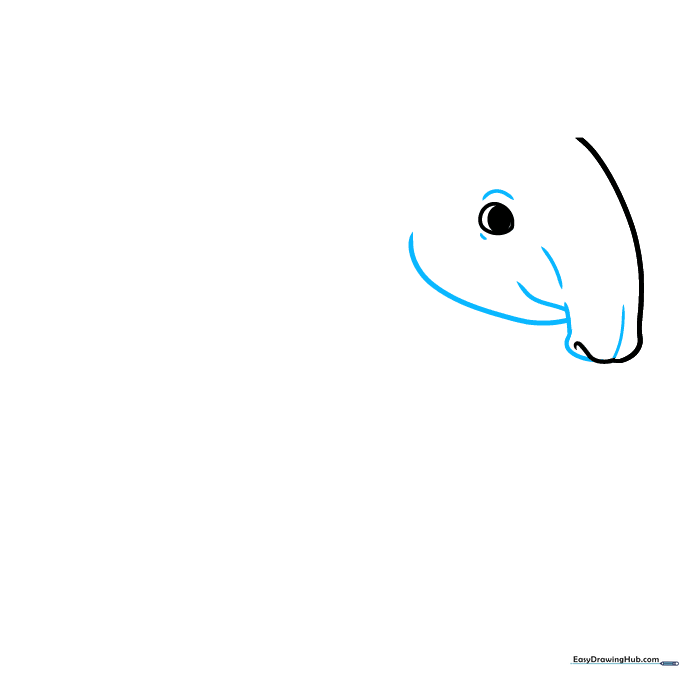
Use two curved lines to finish the snout, making sure they overlap slightly at the nostril. Add a line for the bottom of the jaw. Teacher's Tip: Focus on the 'S' curve of the snout—it gives the tapir its signature look!
Step 3: Adding Ears and Head Shape
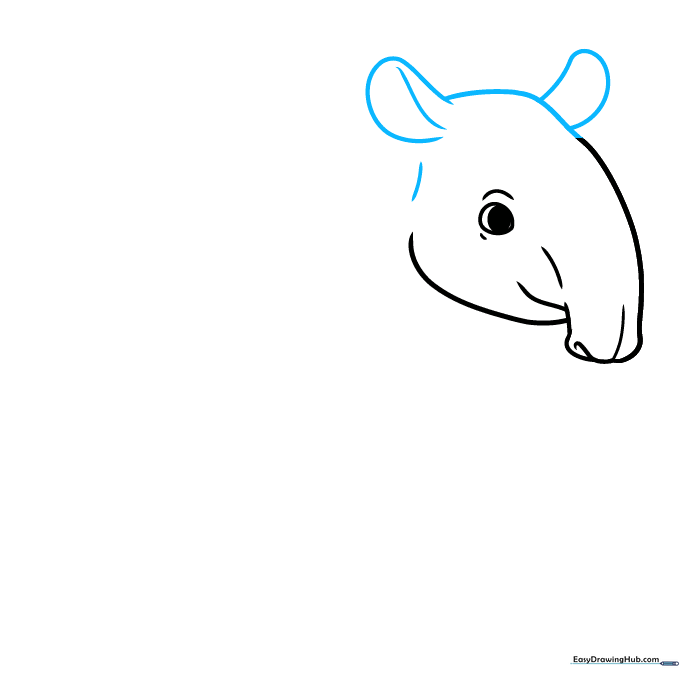
Draw the top of the head and add the ears by extending a curved line and doubling it back. Teacher's Tip: Tapir ears are small and rounded, so keep your strokes short and soft.
Step 4: Sketching the Neck and Chest

Use overlapping curved lines to connect the head to the body, forming the neck and chest area. Teacher's Tip: Imagine the tapir is standing tall; keep the chest line smooth to show a healthy posture.
Step 5: Front Leg and Belly
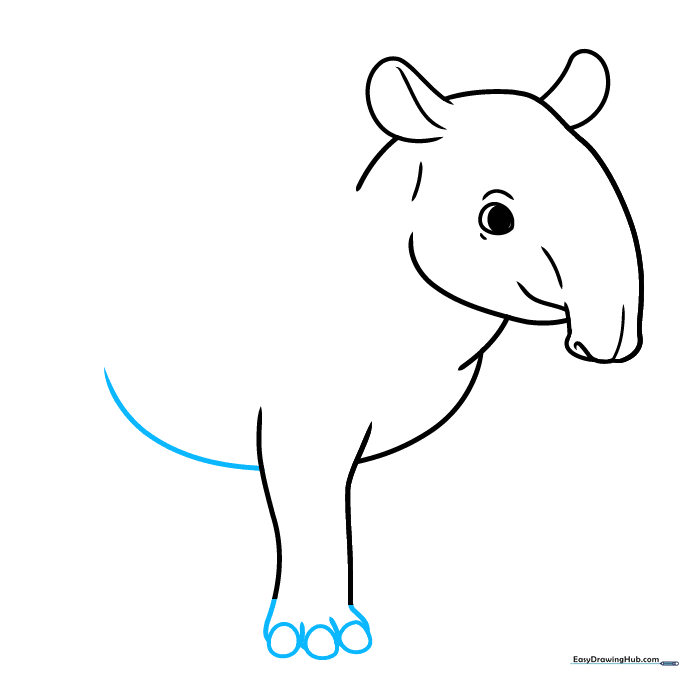
Draw the three toes using small lines and rounded shapes at the bottom. Then, extend a long, sweeping curve to create the belly. Teacher's Tip: Tapirs have sturdy legs, so make sure your lines look solid and grounded.
Step 6: Back and Rear Leg
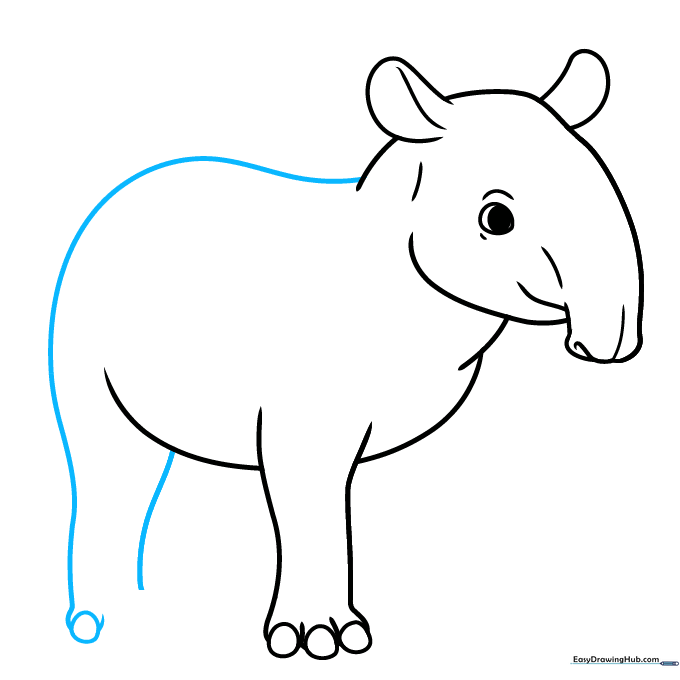
Extend a long line from the neck to form the back and the rear leg. Add the front of the leg and start the toes. Teacher's Tip: Use a continuous, fluid motion for the back to give the animal a natural, rounded shape.
Step 7: Completing the Legs
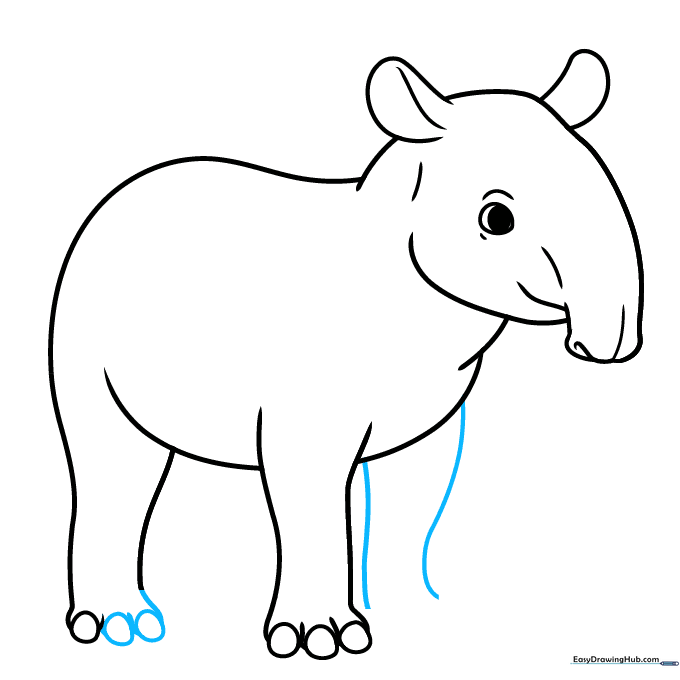
Finish the toes on the rear foot and draw the sides of the remaining front leg. Teacher's Tip: Keep the legs parallel to show the tapir is standing firmly on the ground.
Step 8: Finalizing the Limbs
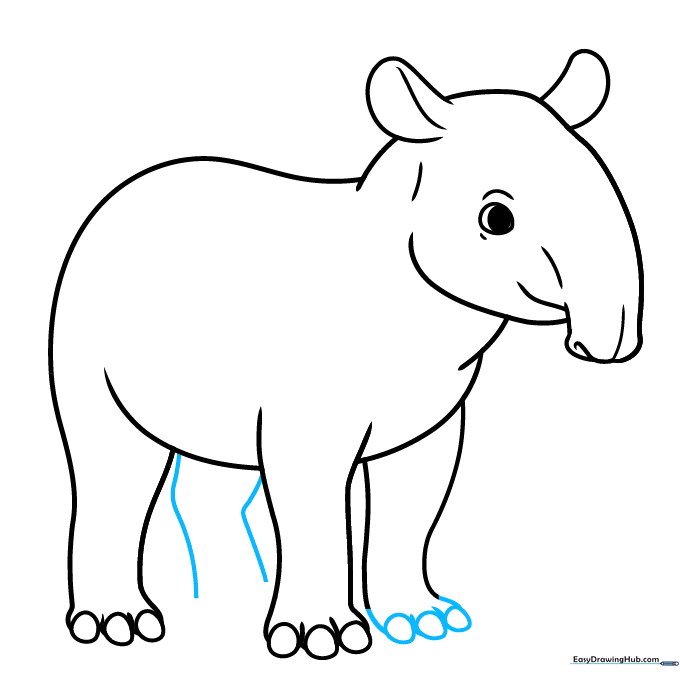
Draw the toes on the final rear leg using pairs of short lines. Teacher's Tip: Don't worry if the toes aren't perfectly symmetrical; nature is rarely perfectly straight!
Step 9: Final Touches
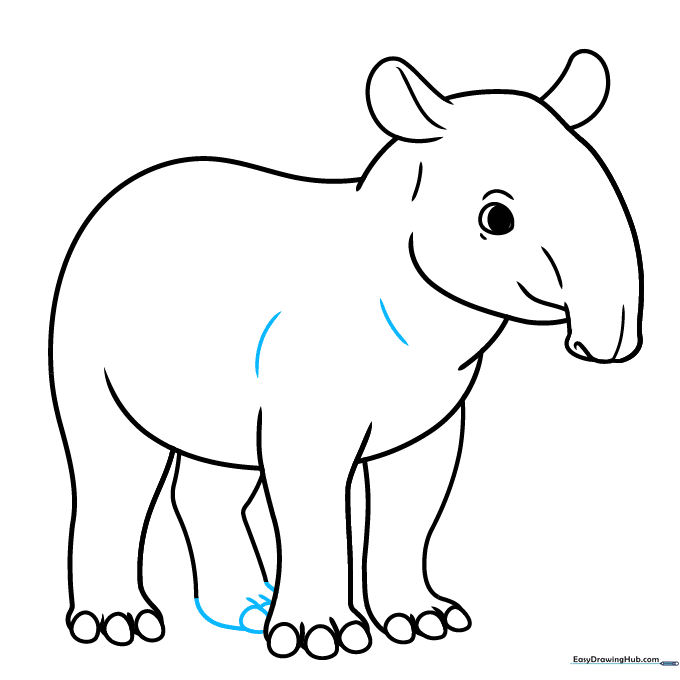
Finish the toes and add a few contour lines to the neck and shoulder to show muscle. Teacher's Tip: Darken your final outline with a firmer pencil stroke to make your tapir pop off the page.
Step 10: Color Your Tapir
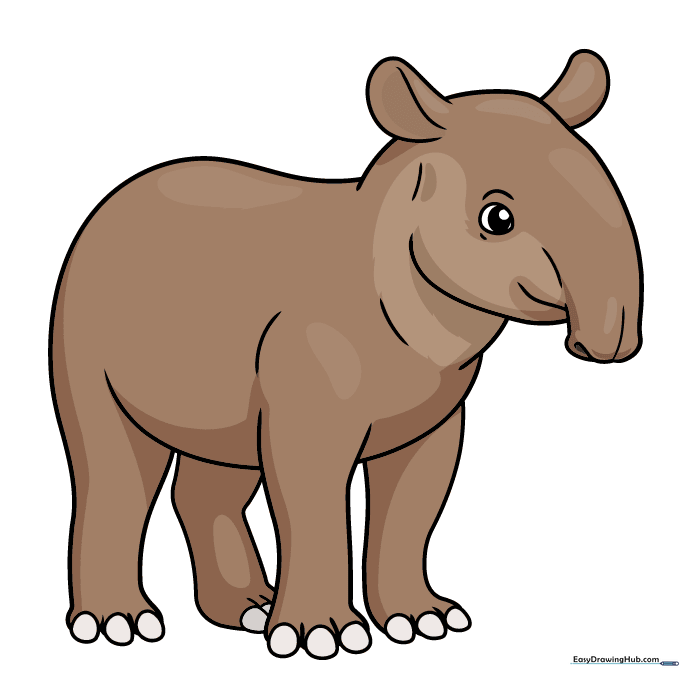
Your tapir is ready for color! South American tapirs are often dark brown or gray, while the Malayan tapir has a distinct white 'saddle' patch on its back. Baby tapirs are spotted—have fun experimenting with your favorite colors!
More Tutorials


