How to Draw a Table: Easy 10-Step Guide for Beginners
This tutorial is perfect for young artists ages 6+ looking to master basic 3D shapes. You will only need a pencil, an eraser, and a piece of paper to build your own furniture masterpiece. Follow these steps to understand how perspective creates depth on a flat page.
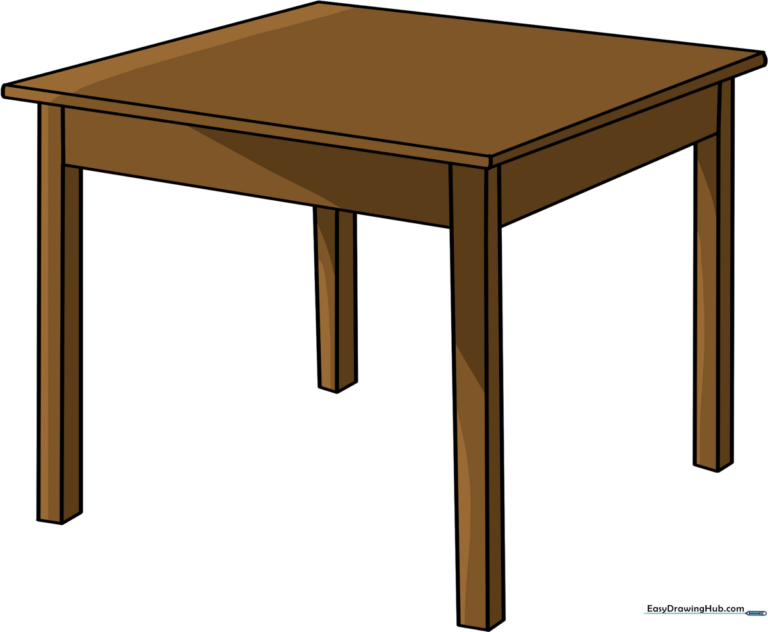
🎯 Final Result
Step-by-Step Instructions
Step 1: Sketching the Tabletop
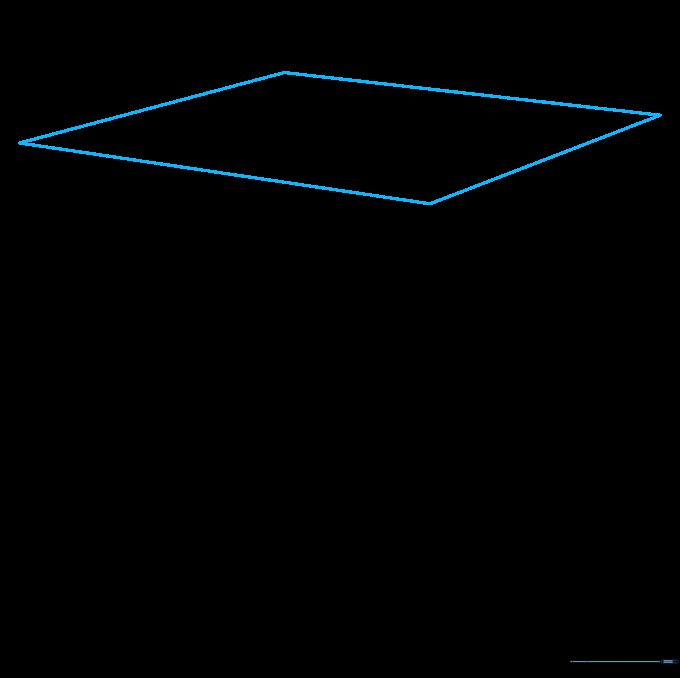
Draw a slanted square, also known as a parallelogram. Teacher's Tip: Use a ruler if you want perfectly straight edges, but freehand is great for building steady hand control!
Step 2: Adding Thickness
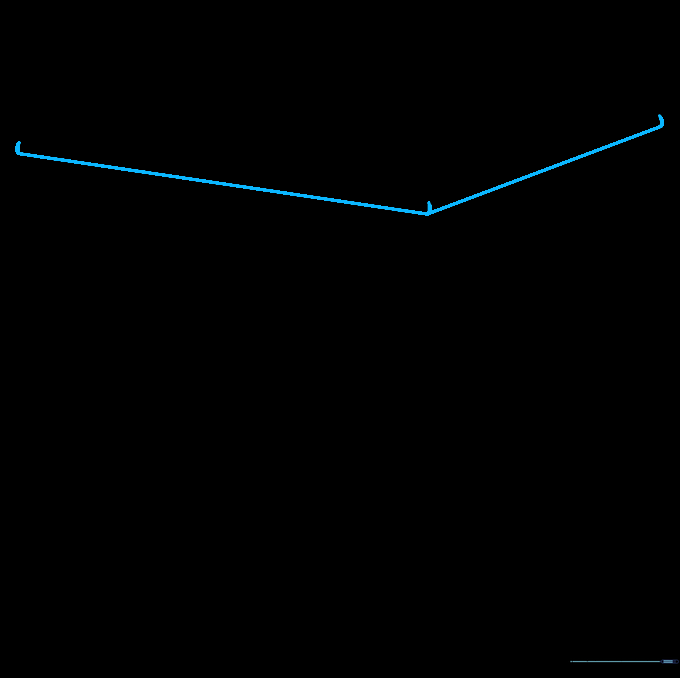
Draw short lines downward from each corner of your parallelogram and connect them to create the edge of the tabletop. Tip: Think of this as giving your table a 'lip' or thickness.
Step 3: Defining the Side
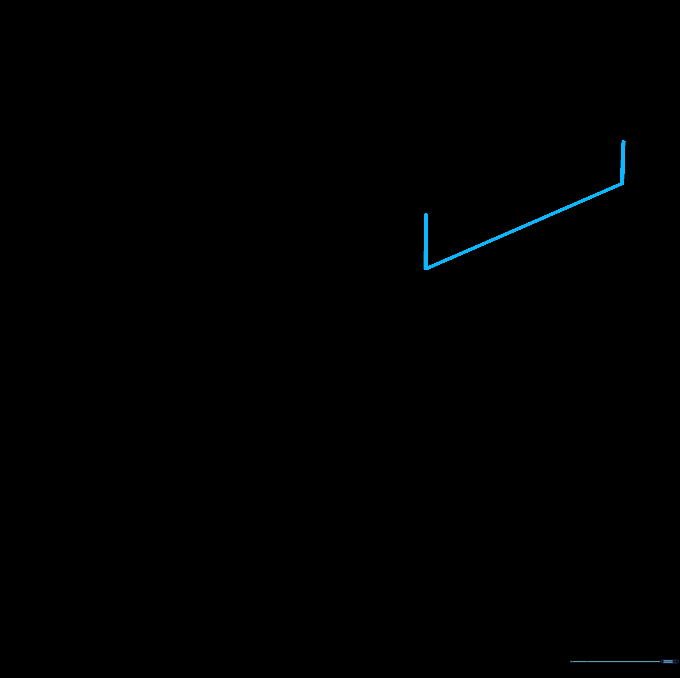
Extend two short, straight lines downward from the near side and connect them to form a rectangle. This creates the side apron of the table.
Step 4: Connecting the Frame

Draw a long line connecting the side you just made to the opposite corner. Tip: Keep your pencil pressure light until you are sure the lines look balanced.
Step 5: First Table Leg
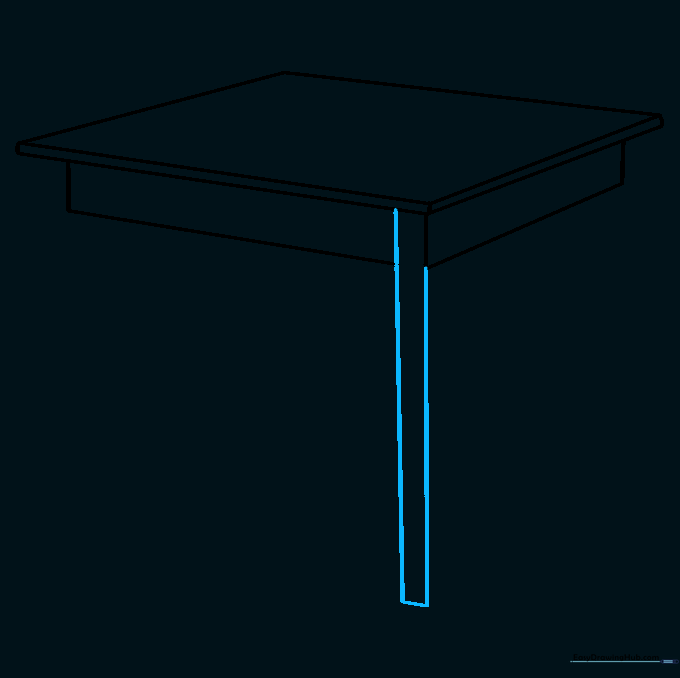
Draw two long, parallel lines extending down from the corner to form the first leg. Connect them at the bottom. Tip: Make sure the leg is straight so your table doesn't look wobbly!
Step 6: Adding Dimension to the Leg
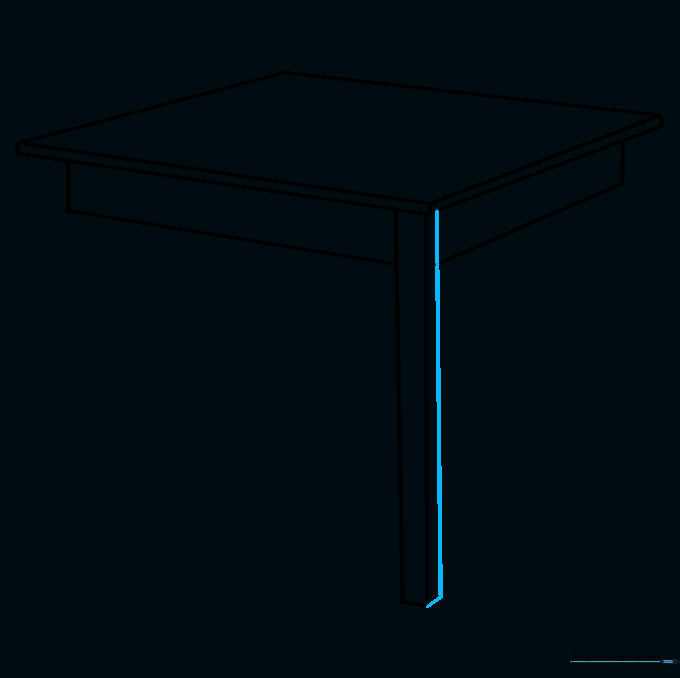
Give the leg a 3D look by adding a third line to show the side of the leg. This adds volume to your drawing.
Step 7: Second Table Leg
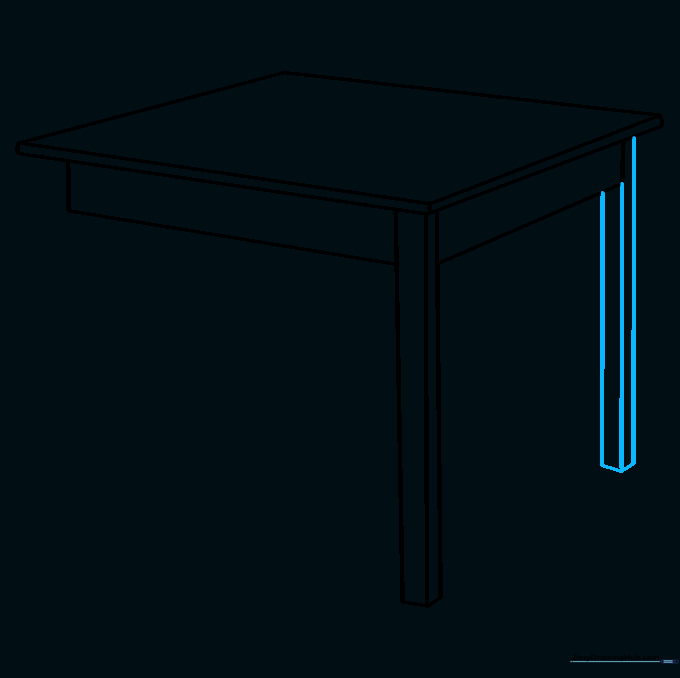
Draw the second leg on the opposite side. Tip: Try to match the length of the first leg so your table sits evenly on the ground.
Step 8: Third Table Leg

Add the third leg. It should be slightly shorter or positioned differently to show it is further back in space.
Step 9: Final Leg

Draw the fourth leg. It will be partially hidden behind the table structure. This is a great way to learn about overlapping objects!
Step 10: Color and Detail
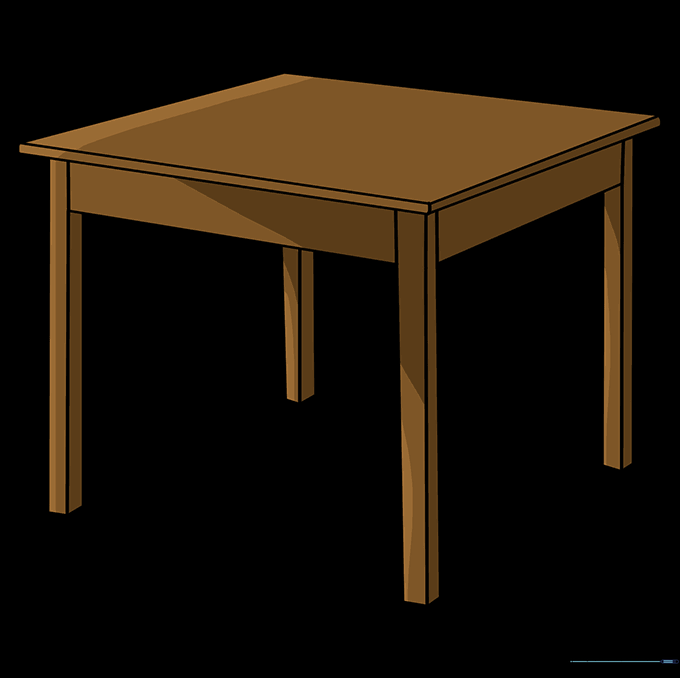
Erase any extra guidelines and add your favorite colors. Tip: Use darker brown for the legs and a lighter shade for the top to show where the light hits the table.
More Tutorials


