How to Draw a T-Shirt: Easy 10-Step Guide for Kids
Ready to design your own clothing line? This tutorial is perfect for young artists ages 5 and up to practice symmetry and basic shapes. All you need is a pencil, an eraser, and a piece of paper to get started on your custom T-shirt masterpiece.
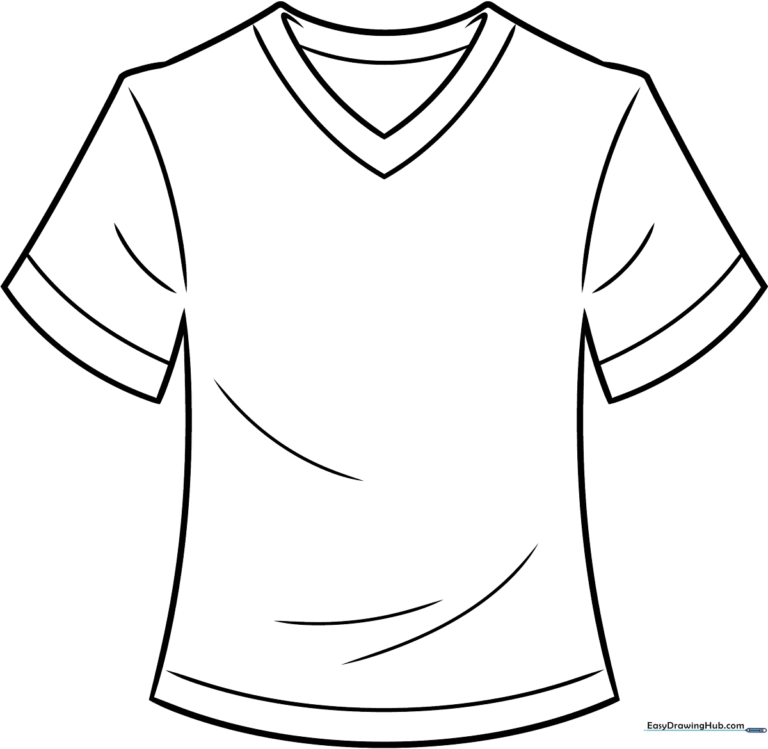
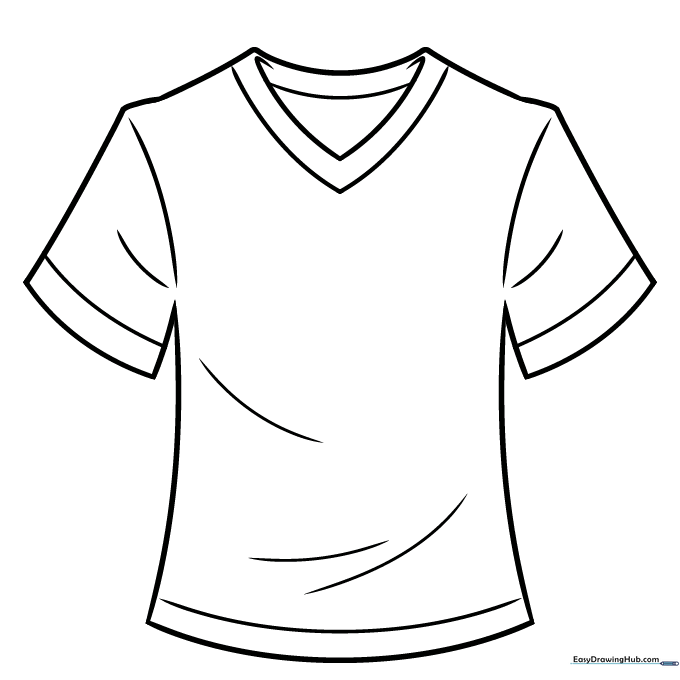
🎯 Final Result
Step-by-Step Instructions
Step 1: Sketching the Neckline
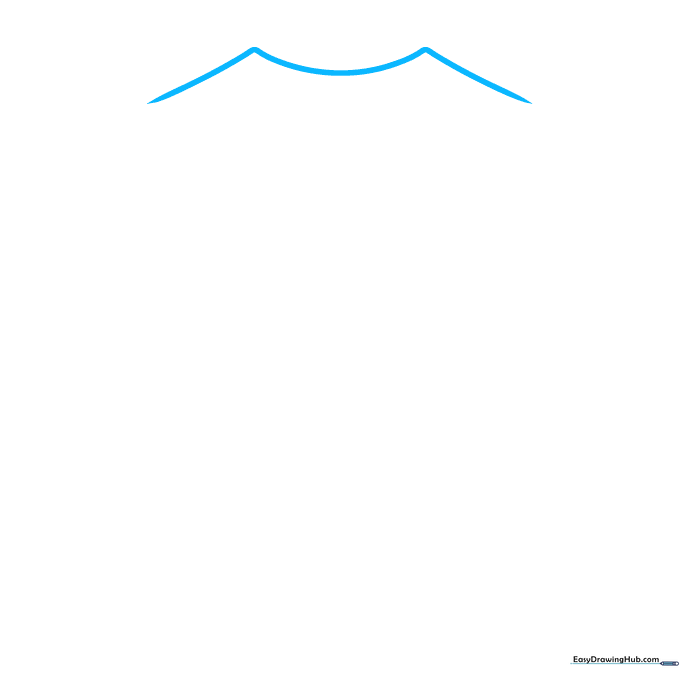
Start by drawing three lines in a wide 'M' shape. This creates the top collar area. Teacher's Tip: Keep these lines light; they act as a guide for the rest of the shirt.
Step 2: Defining the Neck
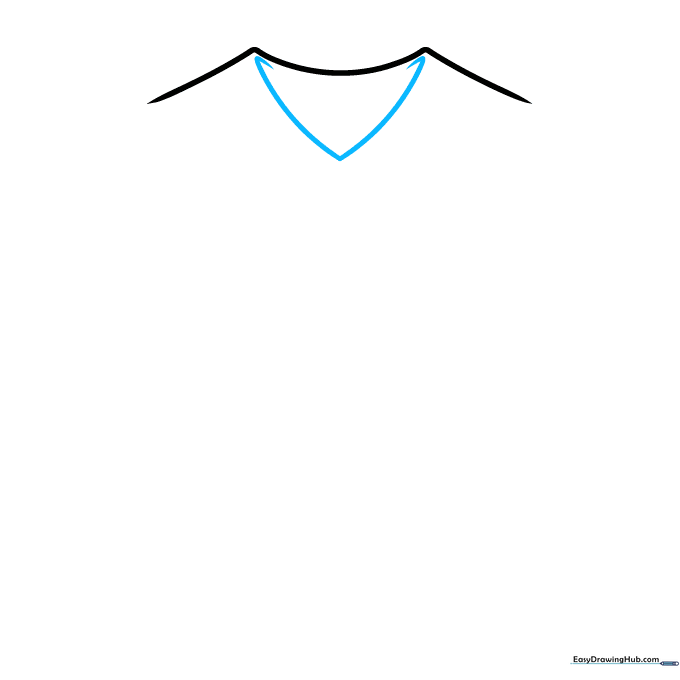
Draw a 'V' shape connecting under the 'M'. Let the lines double back slightly at the top to give the collar thickness. Tip: Imagine you are drawing the actual fabric fold.
Step 3: Sketching the First Sleeve
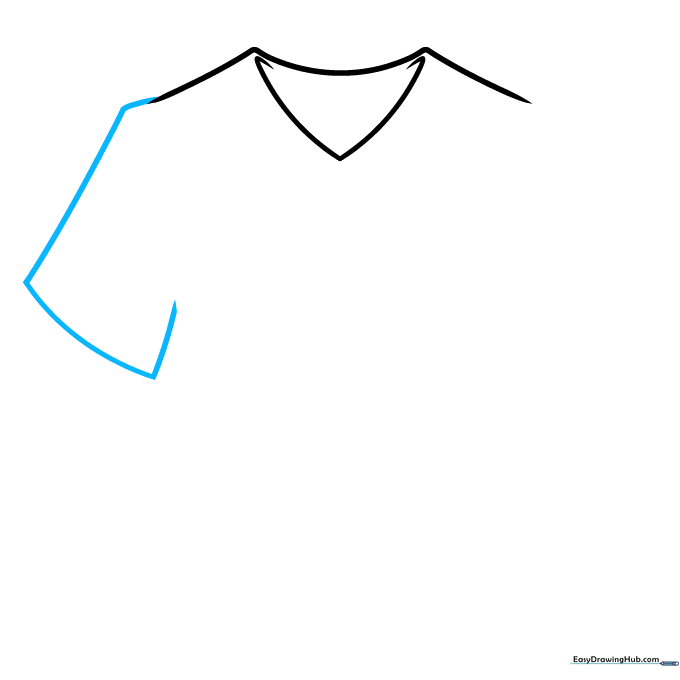
Use slightly curved lines to sketch a rectangular shape extending from the side. This forms the first sleeve. Tip: Keep the corners slightly rounded to make the fabric look soft.
Step 4: Balancing the Second Sleeve
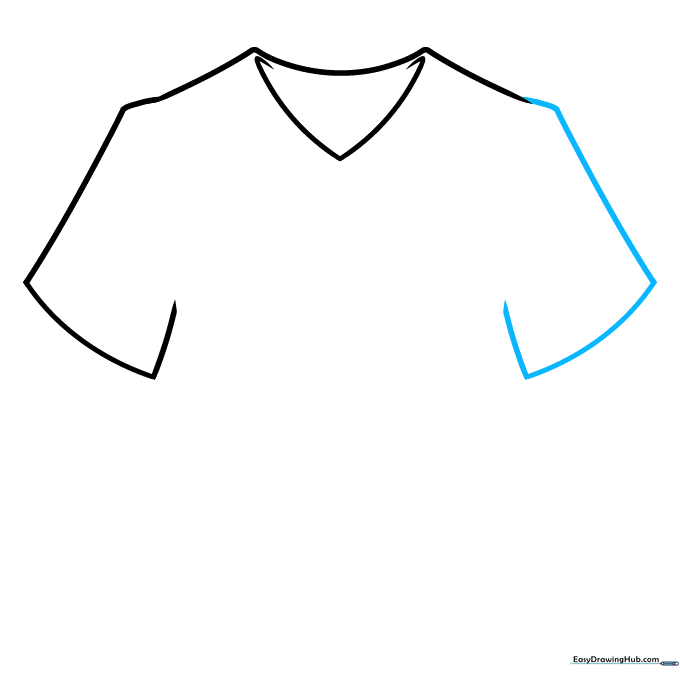
Mirror the first sleeve on the opposite side. Symmetry is key here! Tip: Use your fingers to measure the distance from the neck to ensure both sleeves are even.
Step 5: Forming the Torso
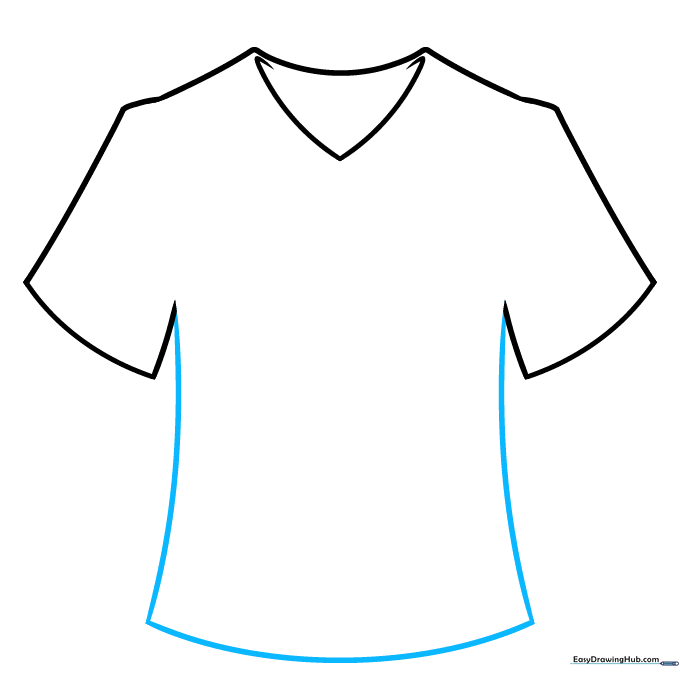
Connect the sleeves using three curved lines to enclose the torso. Tip: A slight inward curve makes the shirt look like it's hanging naturally on a body.
Step 6: Adding Neckline Detail
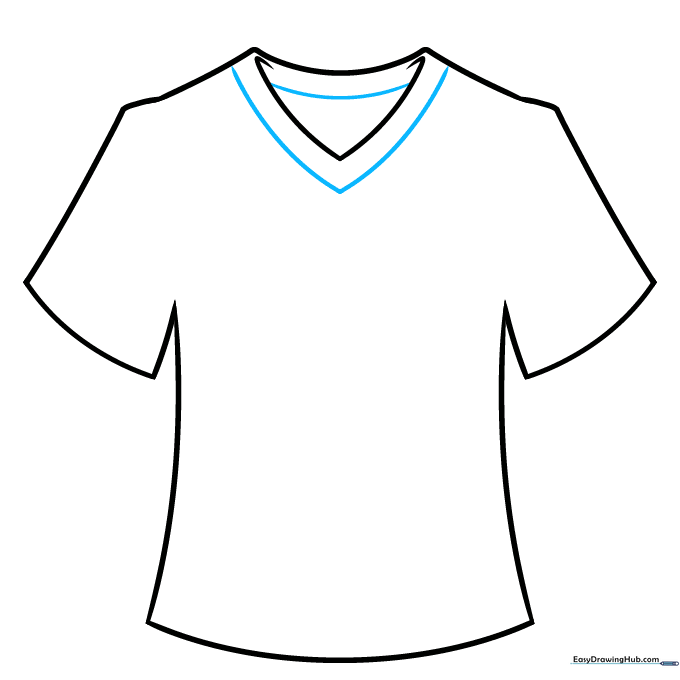
Draw a 'V' inside the neck and a curved line between the arms of the original 'V'. This creates the hem of the collar. Tip: Keep your lines smooth to represent fabric stitching.
Step 7: Drawing the Hems
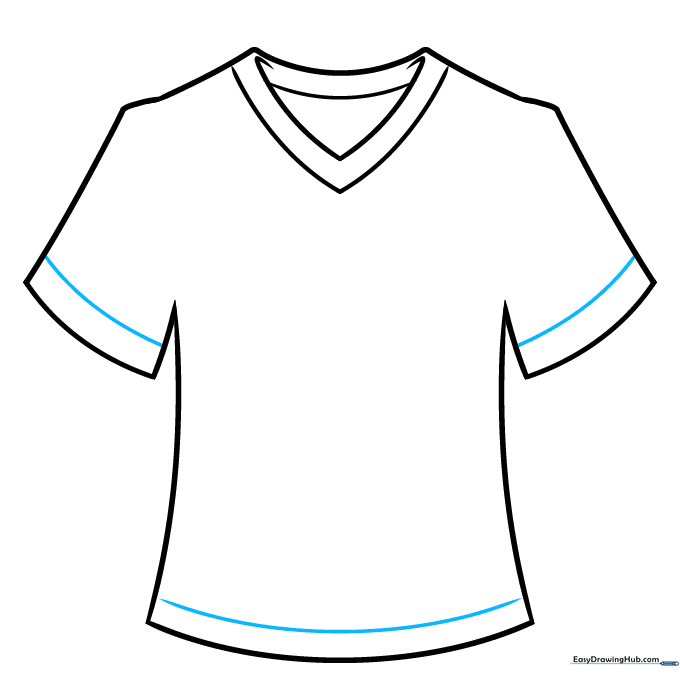
Draw curved lines parallel to the ends of the sleeves and the bottom of the shirt. Tip: These lines represent the folded fabric at the edges.
Step 8: Adding Fabric Creases
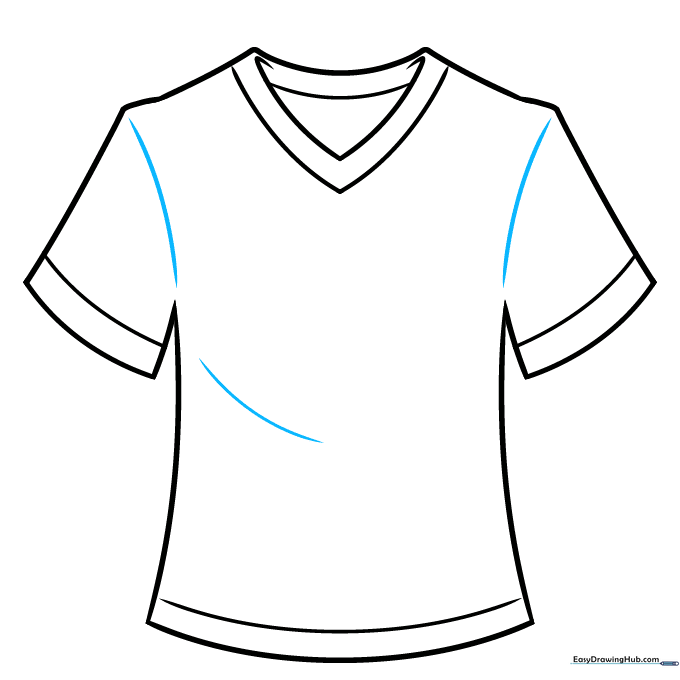
Draw curved lines where the sleeves meet the torso. Add a small curve across the torso to suggest a fold. Tip: Less is more—a few simple lines make the shirt look realistic.
Step 9: Final Contouring
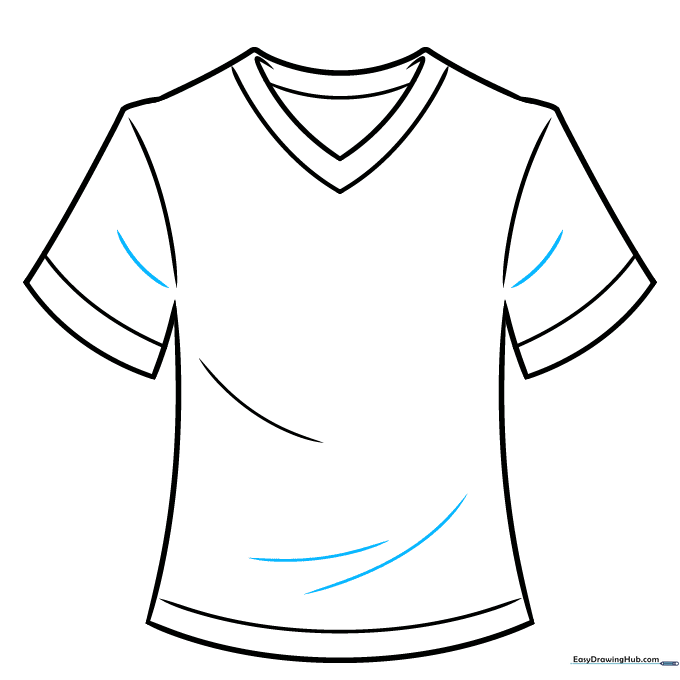
Add a few more subtle curved lines on the torso and sleeves to contour the fabric. Tip: Follow the shape of the shirt to make the lines look natural.
Step 10: Personalize Your Design
Your outline is complete! Now, add a logo, your favorite character, or stripes. Tip: Use bright colors to make your design pop off the page.
More Tutorials


