How to Draw a Swiss Cheese Plant: Easy 10-Step Guide
Bring the jungle into your home with this fun Monstera drawing tutorial! Designed for young artists and beginners, this guide uses basic shapes to build a lush, leafy plant. Grab your pencil and paper, and let's grow your artistic confidence together.
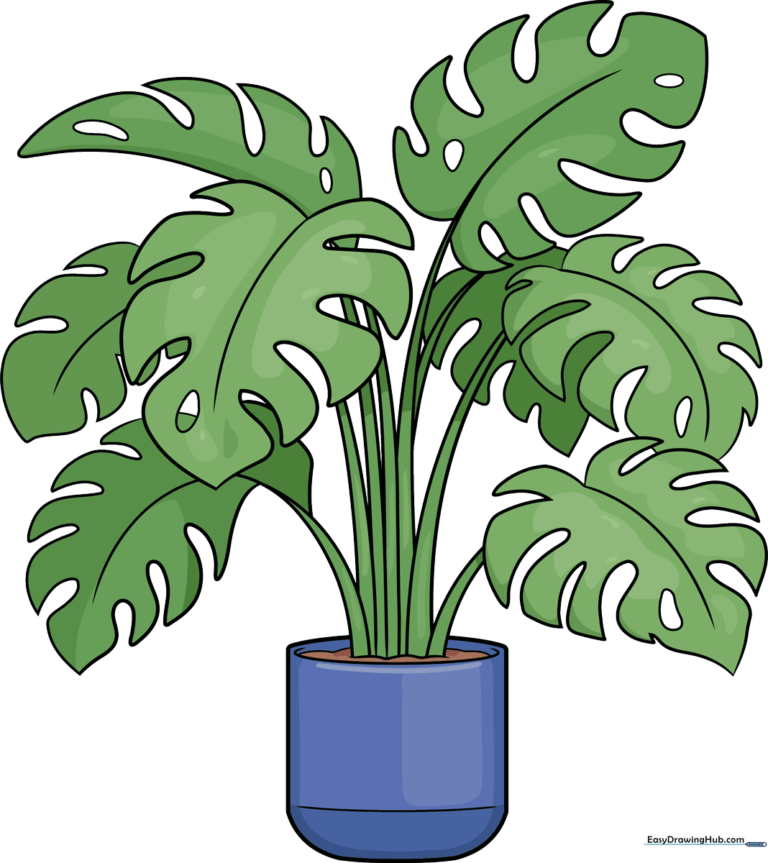
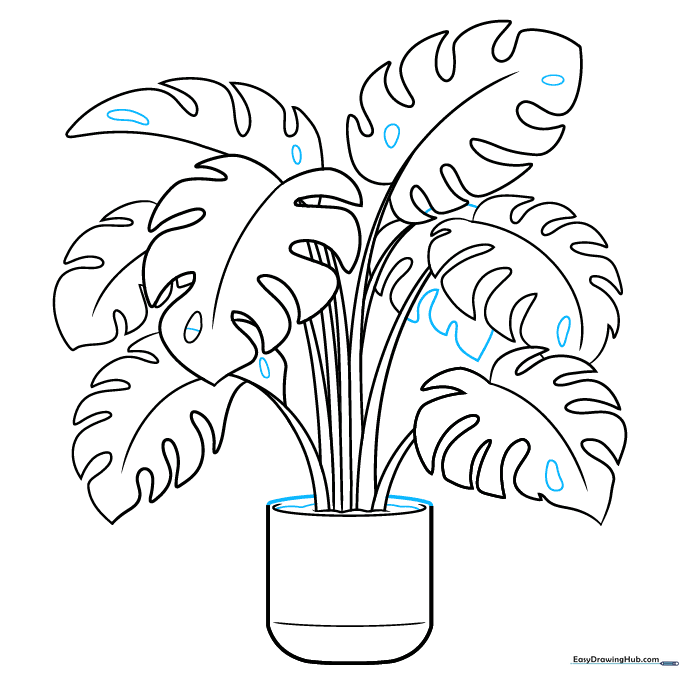
🎯 Final Result
Step-by-Step Instructions
Step 1: Sketching the Pot and First Leaf
Start by drawing a simple rectangular pot with curved edges. Add a wavy line inside for the soil. From the soil, draw two curved lines that meet at the top to form the stem, then sketch a heart-like shape with deep lobes for your first leaf. Teacher's Tip: Keep your lines soft and light—you'll want to erase the overlapping parts later.
Step 2: Defining the Leaf and Stem
Refine the edges of your leaf by doubling back on your lines to create those iconic deep notches. Draw a long, elegant curve down the center for the main vein. Add a second stem base next to the first. Teacher's Tip: Think of the leaf shape like a mitten with extra fingers!
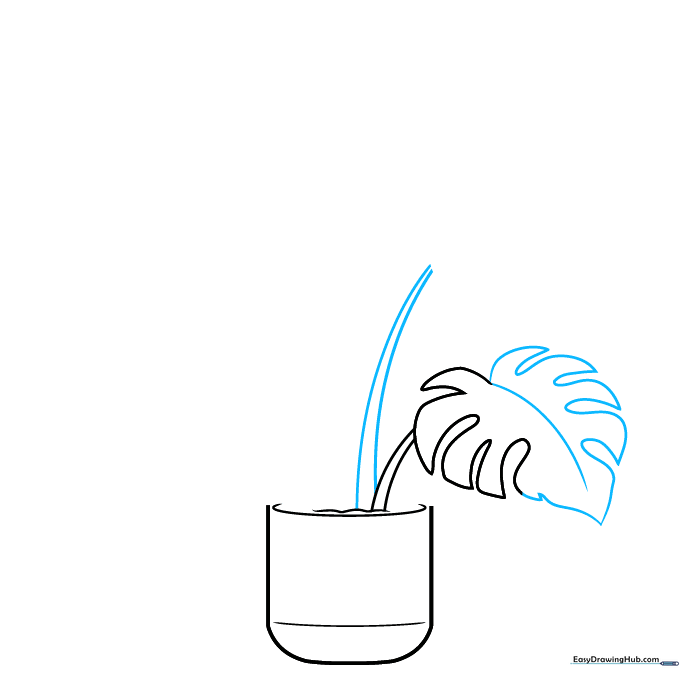
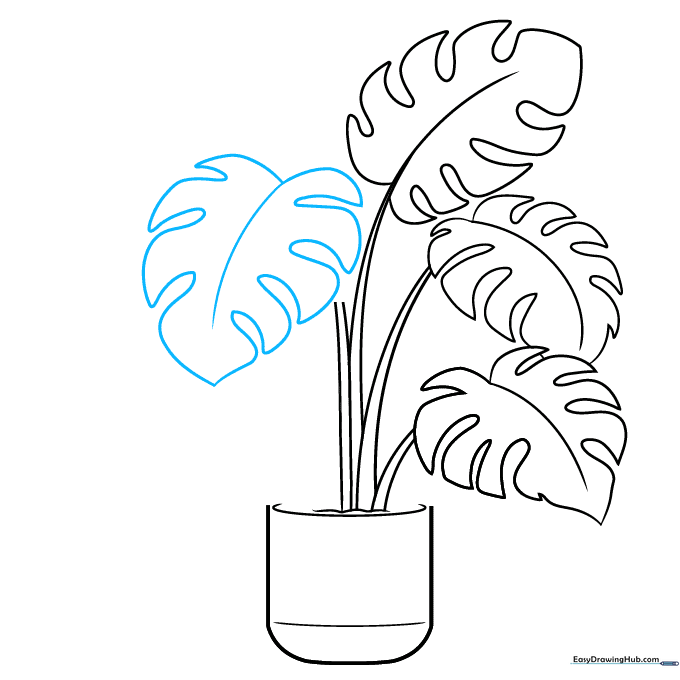
Step 3: Drawing the Second Leaf

Using the same technique, sketch the outline of your second leaf. Remember to add the central vein line. Teacher's Tip: Vary the size of this leaf compared to the first to make your drawing look more natural and less symmetrical.
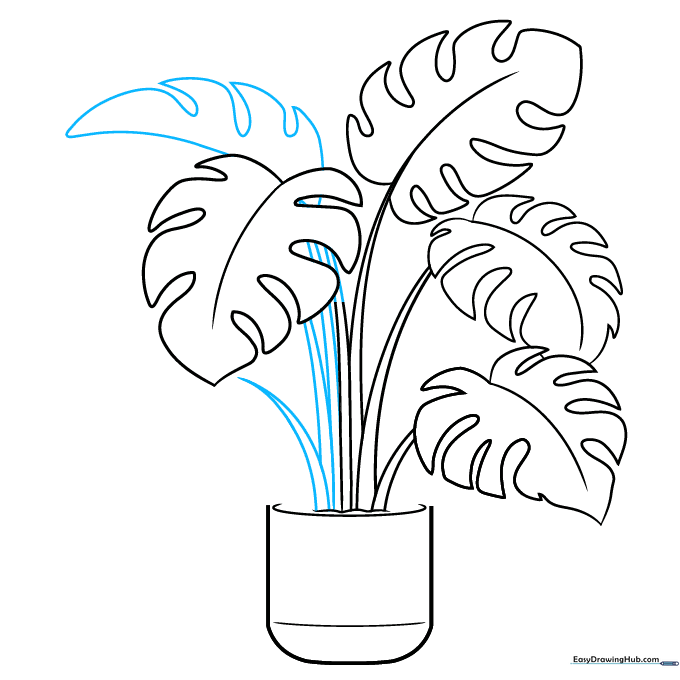
Step 4: Adding More Stems
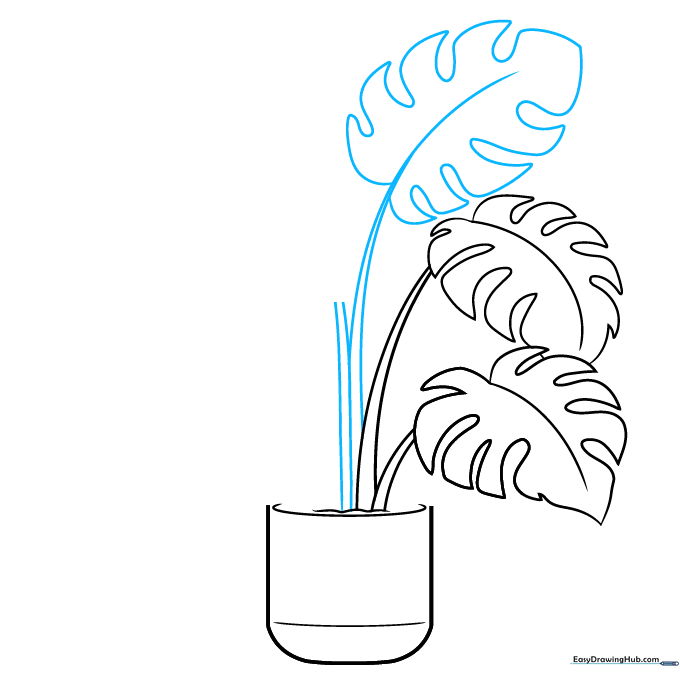
Extend two more pairs of curved lines from the soil to create stems for additional leaves. Let these lines meet at sharp points to suggest the direction of growth. Teacher's Tip: Imagine the stems are reaching toward the sunlight!
Step 5: Developing the Foliage
Draw another large, lobed leaf at the end of one of your new stems. Add the center vein. Teacher's Tip: Don't worry if your leaves aren't perfect; Monstera leaves in nature are wonderfully irregular.
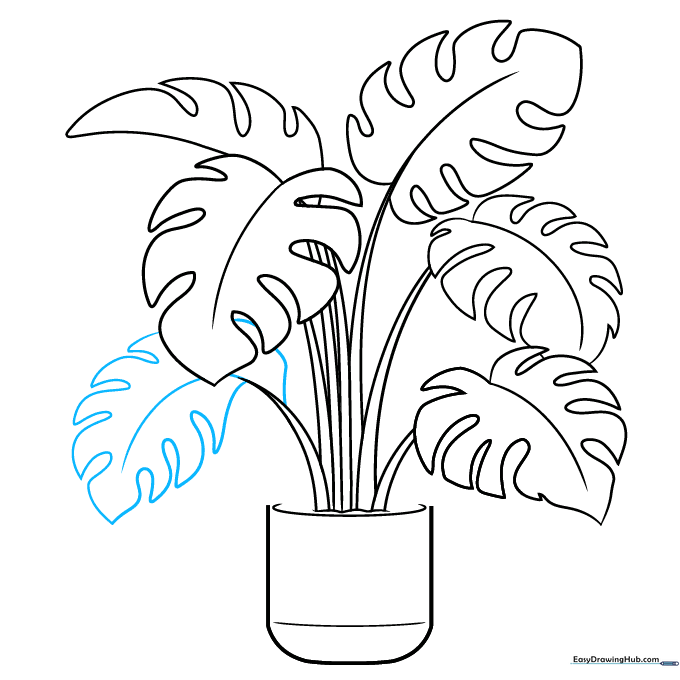
Step 6: Filling the Space
Add three more sets of stem lines from the pot. Start sketching the outline of another leaf. Teacher's Tip: Overlapping leaves create depth, so let some stems cross over others.
Step 7: Adding Texture
Use long, sweeping curved lines to finish the leaf from the previous step. Add the central vein. Teacher's Tip: Use a fluid motion with your wrist to get those nice, organic curves.
Step 8: Layering the Leaves
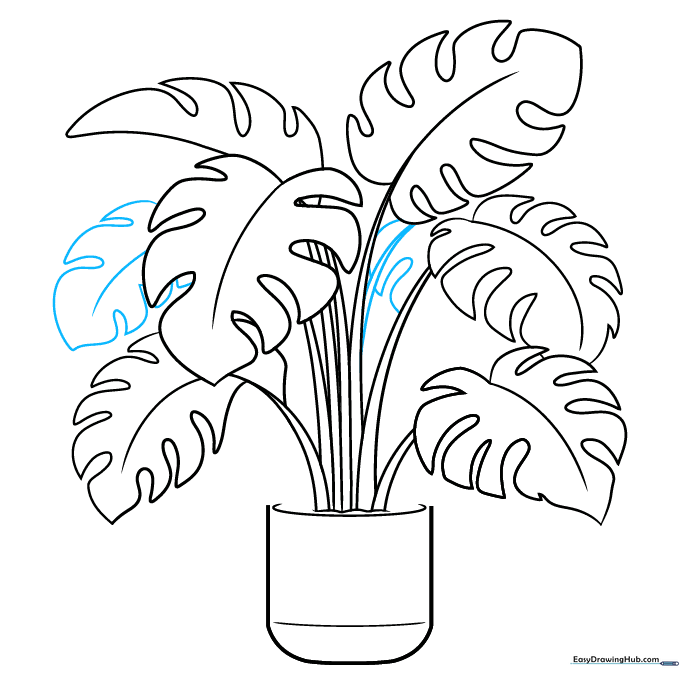
Draw two more leaves tucked behind the ones you've already created. Teacher's Tip: By drawing only parts of these leaves, you create the illusion that the plant is full and bushy.
Step 9: Adding the 'Cheese' Holes
Draw one final leaf in the background. Now, add the signature 'holes' by drawing small, rounded shapes inside your leaves. Finish the top rim of the pot. Teacher's Tip: Make the holes different sizes—some near the edges and some in the middle—to make it look authentic!
Step 10: Coloring Your Masterpiece

Your outline is complete! Use vibrant greens for the leaves and a earthy brown or terracotta for the pot. Teacher's Tip: Try using a darker green for the shadows near the stems to give your drawing a 3D look.
More Tutorials


