How to Draw a Sweater: Easy 10-Step Guide for Kids
This drawing tutorial is perfect for ages 5 and up, helping young artists master basic shapes and garment structure. All you need is a pencil, an eraser, and your favorite coloring tools. Follow these steps to build confidence in your drawing skills while designing a cozy winter outfit.
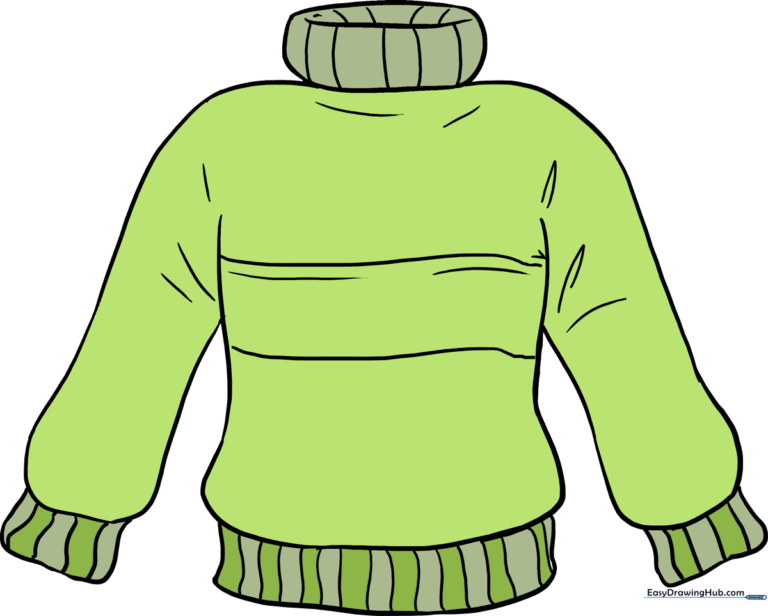
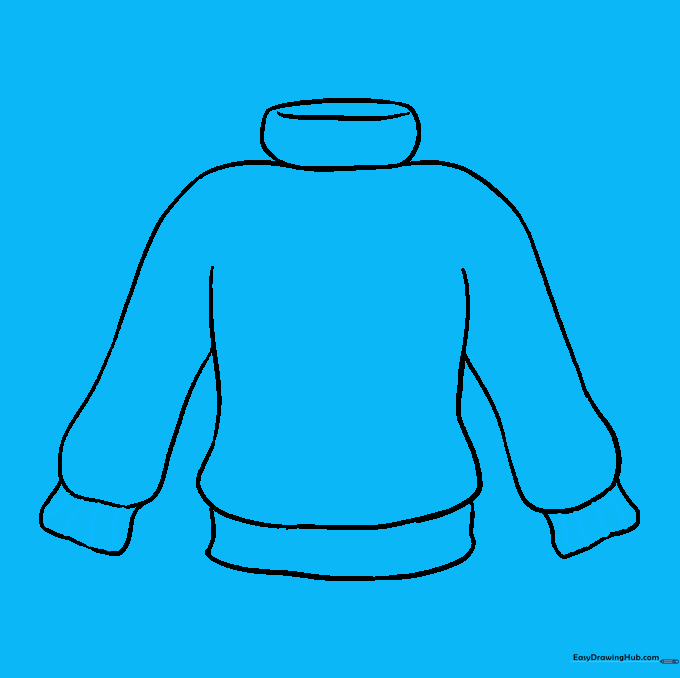
🎯 Final Result
Step-by-Step Instructions
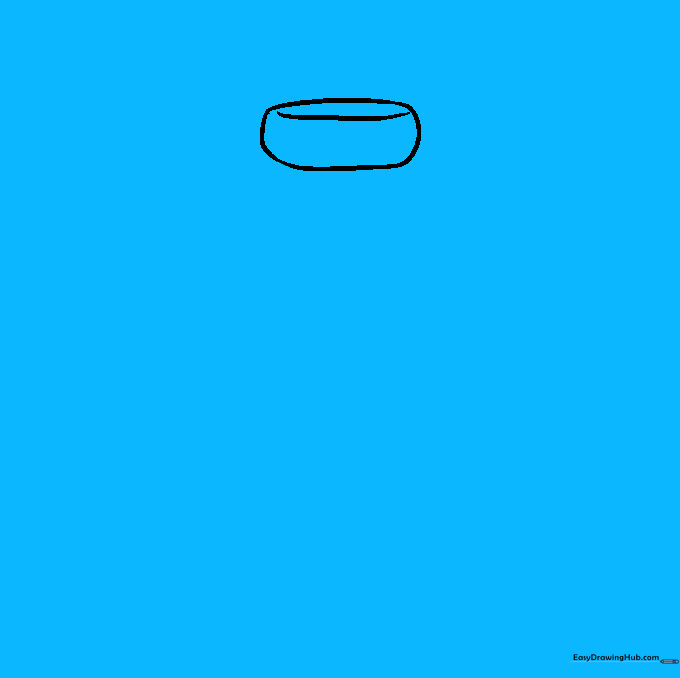
Step 1: Sketching the Neckline
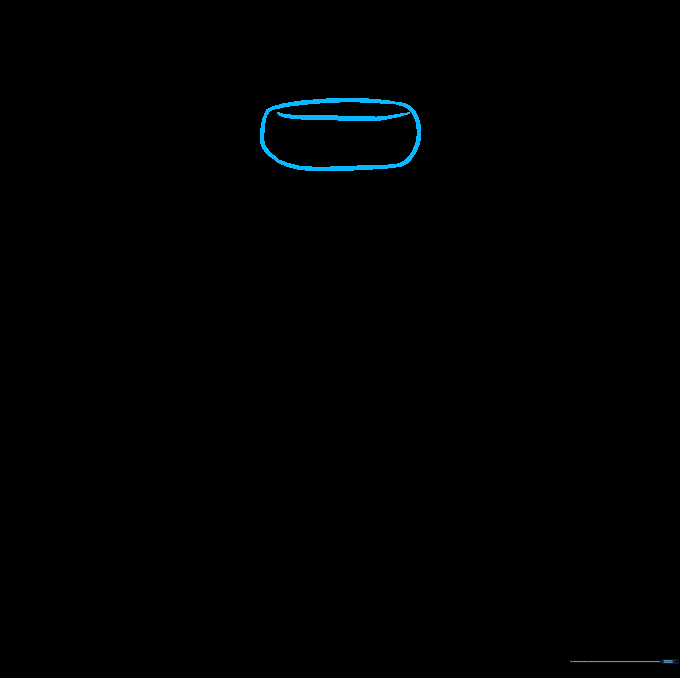
Start by drawing an irregular, rounded shape for the neck opening. Add a curved line across the top to create the collar. Teacher's Tip: Keep your pencil lines light so you can easily adjust the shape if it looks a bit lopsided.
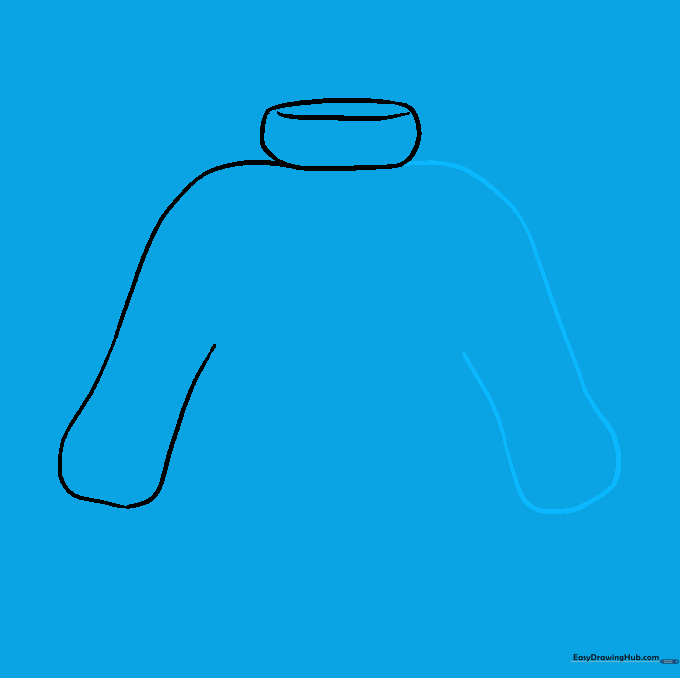
Step 2: Drawing the First Sleeve
Extend a long, curved line downward from the neck to form the shoulder and sleeve. Double the line back to create the arm's thickness. Teacher's Tip: Imagine the sleeve is a soft tube; keep the curves gentle to make the fabric look comfortable.
Step 3: Adding the Second Sleeve
Repeat the process on the opposite side to create a matching sleeve. Try to keep the length and curve similar to the first one for balance. Teacher's Tip: If they don't look perfect, don't worry—sweaters are stretchy and often look a bit uneven in real life!
Step 4: Shaping the Torso
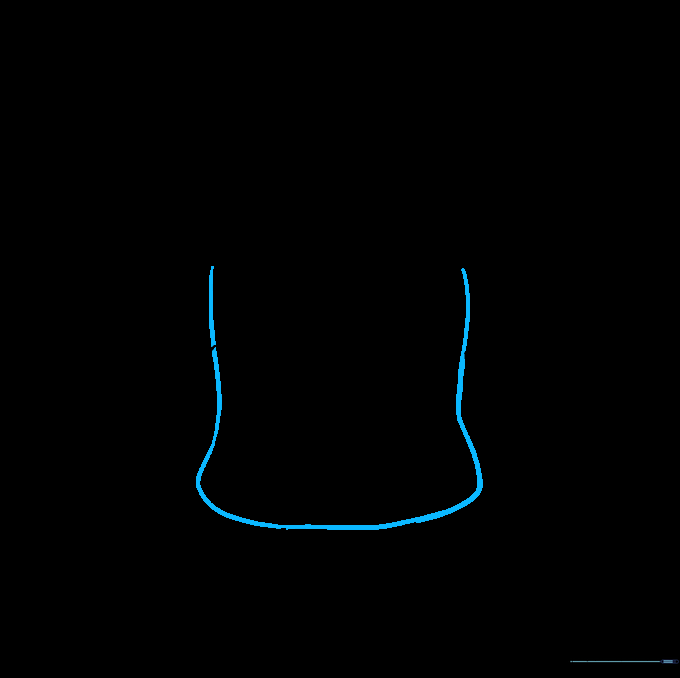
Draw a long, curved line starting from the armpit area, curving down and around to form the body of the sweater. Connect it to the other sleeve. Teacher's Tip: Use a fluid motion with your wrist to get a nice, rounded shape for the torso.
Step 5: Defining the Hem
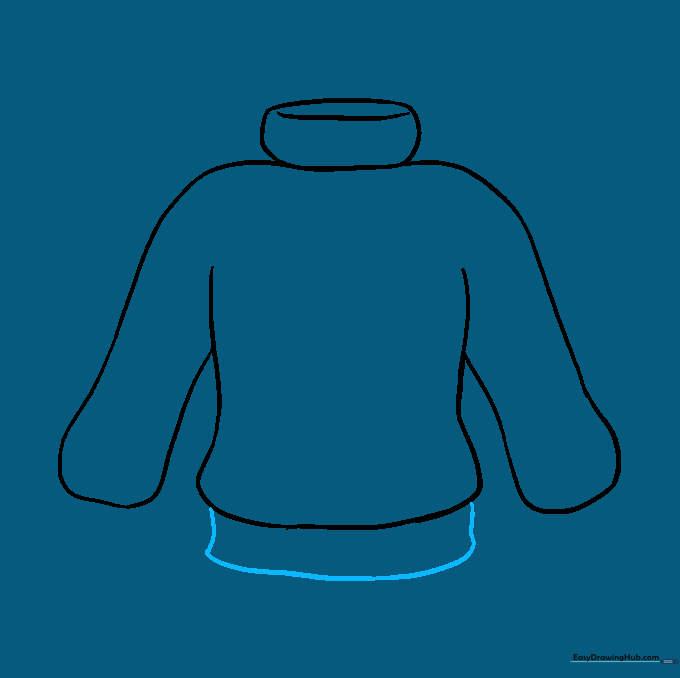
Draw a curved line across the bottom to create the hem. This gives the sweater a finished, professional look. Teacher's Tip: Make the corners slightly rounded to suggest the fabric is folding naturally at the waist.
Step 6: Adding the First Cuff
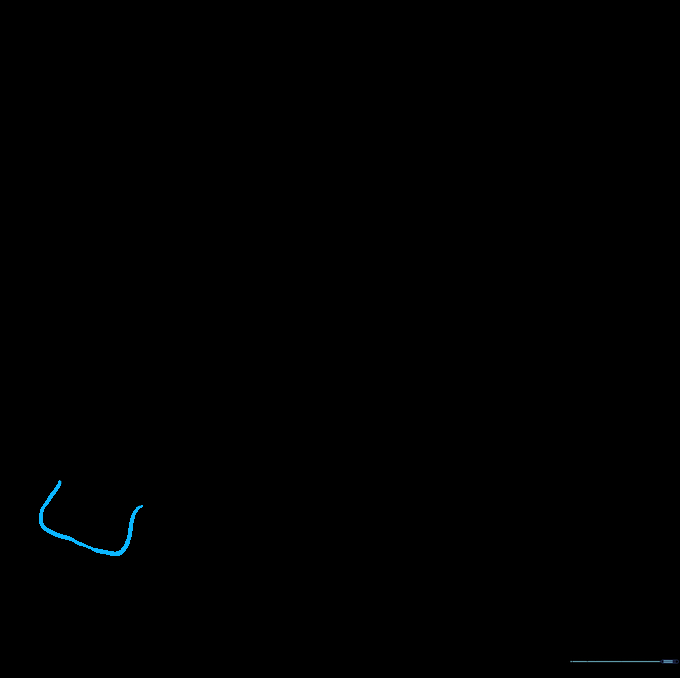
Draw a small curved line near the end of the first sleeve to create a cuff. This adds a realistic detail to your drawing. Teacher's Tip: Keep the cuff line parallel to the end of the sleeve for a tidy look.
Step 7: Adding the Second Cuff
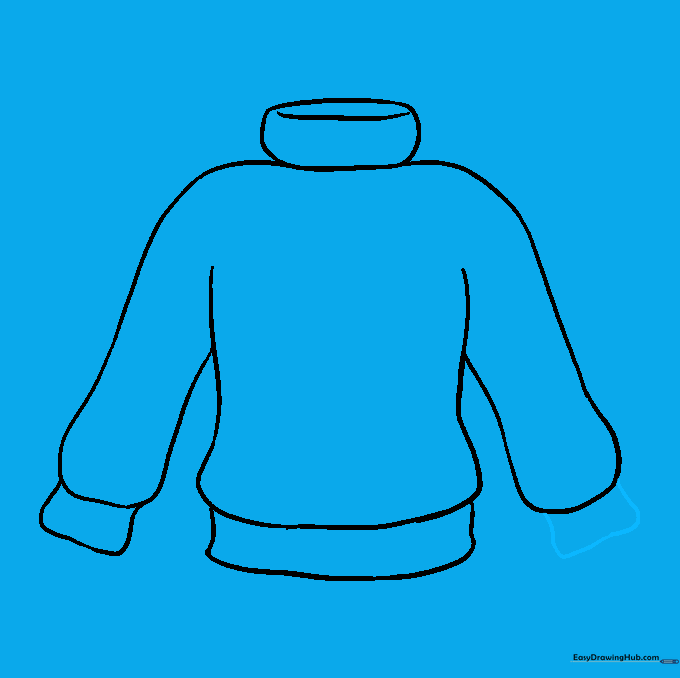
Mirror the previous step by adding a curved line to the end of the second sleeve. Teacher's Tip: Consistency is key! Try to make this cuff the same width as the first one.
Step 8: Adding Texture to Cuffs
Add small, vertical curved lines inside the cuffs to represent the ribbed fabric texture. Teacher's Tip: Keep these lines short and evenly spaced to make the cuffs look like real knitted material.
Step 9: Final Details and Folds
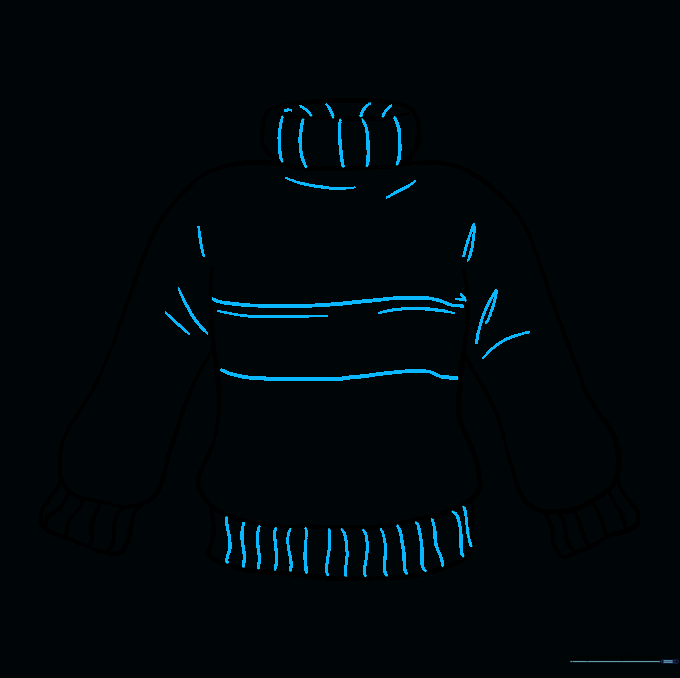
Add a stripe across the chest and some small curved lines near the neck and arms to suggest fabric folds. Teacher's Tip: Folds are just small 'C' shapes; adding a few here and there makes your drawing look much more three-dimensional.
Step 10: Color Your Creation
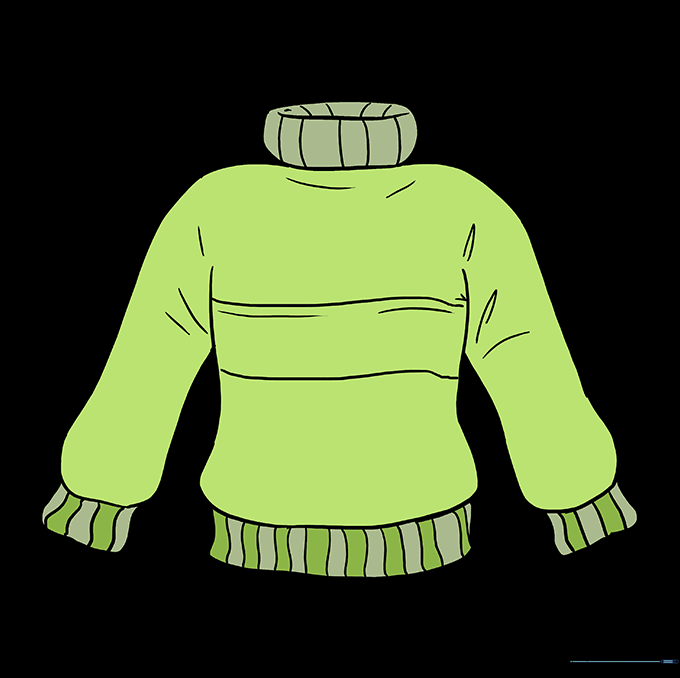
Time to bring your sweater to life! Use your favorite colors to fill it in. Teacher's Tip: Try using two shades of the same color—a darker one for the folds and a lighter one for the rest—to give your sweater a professional, shaded look.
More Tutorials


