How to Draw a Swan: Easy 10-Step Guide for Kids
Bring a touch of elegance to your sketchbook with this swan drawing tutorial, perfect for artists ages 5 and up. All you need is a pencil, an eraser, and a piece of paper to get started. Follow these simple steps to master the graceful curves of a swan gliding on water.
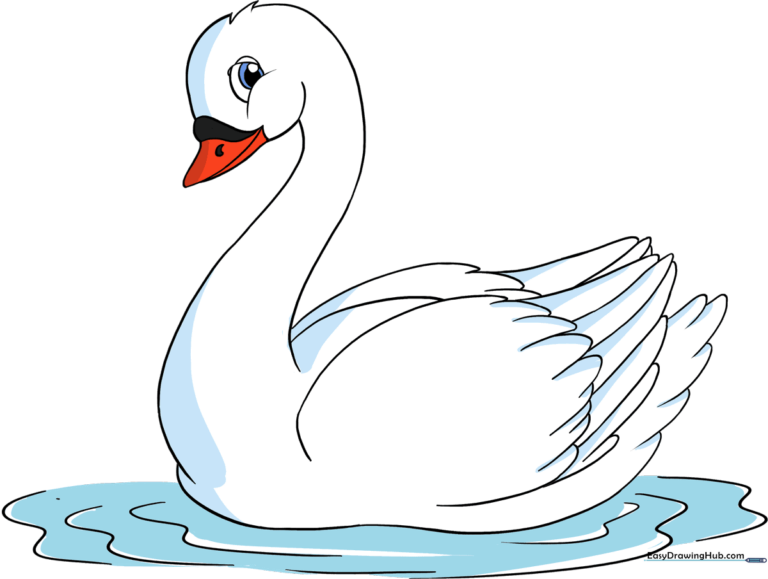
🎯 Final Result
Step-by-Step Instructions
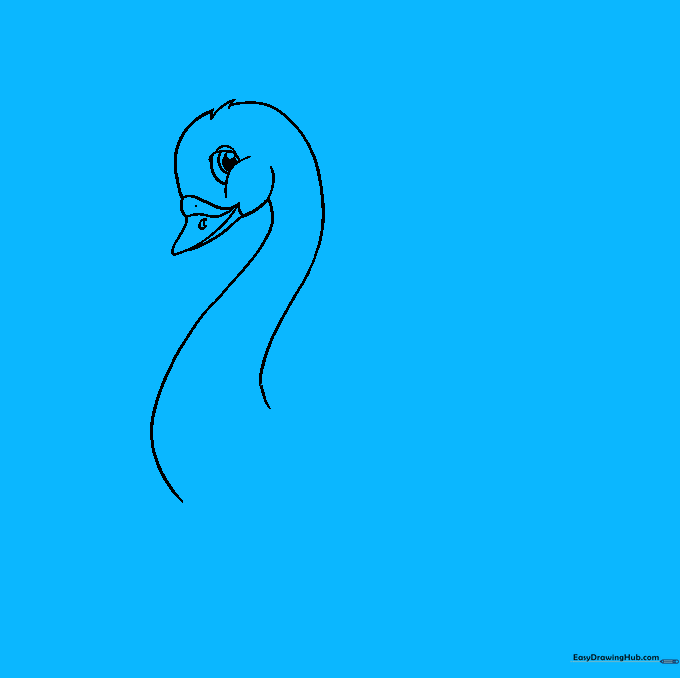
Step 1: Sketching the Head

Start by drawing a simple circle to form the swan's head. Teacher's Tip: Keep this circle small and near the top of your paper to leave plenty of room for that long, elegant neck!
Step 2: Adding Texture

Erase small sections of your circle and replace them with short, zigzag lines. This creates the look of soft, fluffy feathers. Tip: Use quick, light strokes to make the feathers look natural.
Step 3: Drawing the Beak

Use overlapping curved lines to build the beak, adding a small circle for the nostril. Tip: Think of the beak as a slightly flattened triangle with rounded edges.
Step 4: Creating the Eye

Draw a curved line for the cheek, then add a circle with a shaded pupil for the eye. Tip: Placing the eye slightly higher on the head gives the swan a friendly, alert expression.
Step 5: Forming the Neck

Erase the back of the head circle and draw two long, graceful 'S' shaped lines to create the neck. Tip: Keep your pencil movement fluid to capture that iconic swan curve.
Step 6: Sketching the Wing
Draw a long, curved line for the top of the wing, followed by smaller overlapping curves for the primary feathers. Tip: Vary the size of your feather curves to make the wing look realistic.
Step 7: Adding Flight Feathers
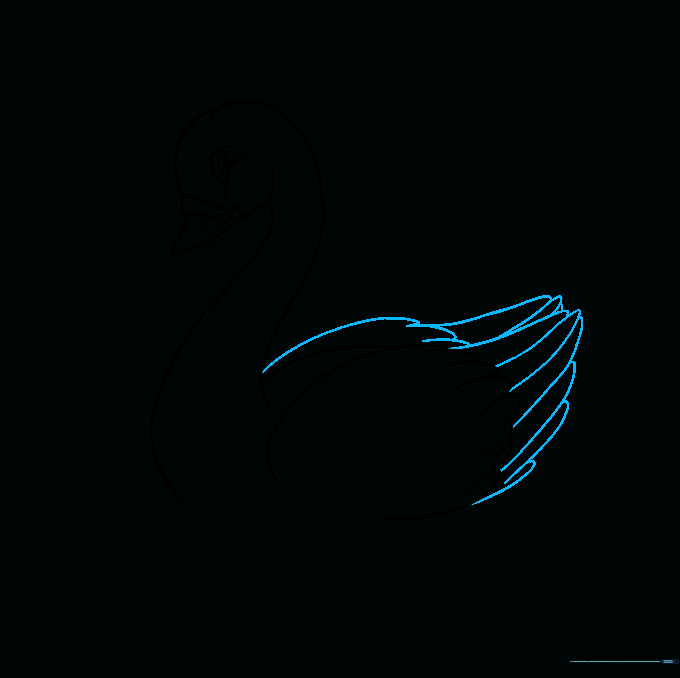
Add the secondary wing and pointed flight feathers at the tips. Tip: Use sharp, angular lines for the tips to show the swan is ready for flight.
Step 8: Defining the Body
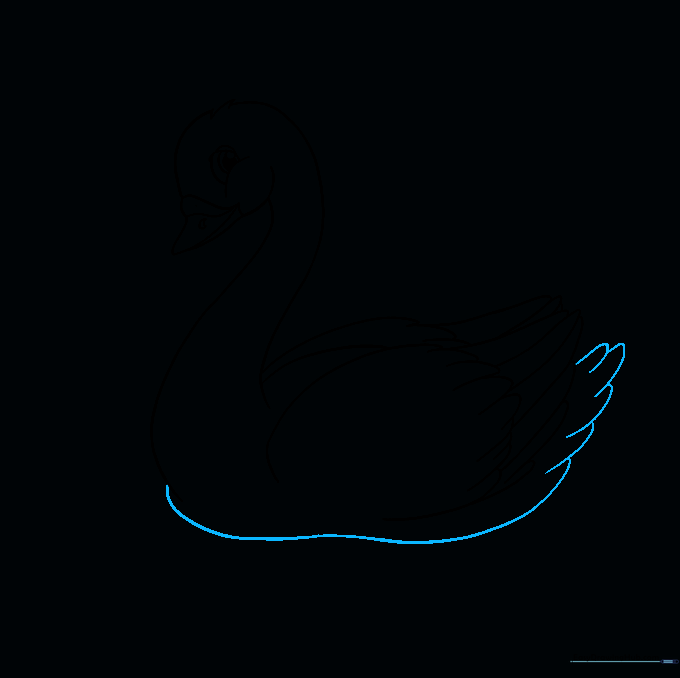
Draw the swan's belly with a long, smooth curve and add tail feathers using overlapping lines. Tip: Keep the belly curve rounded to show the swan is floating comfortably.
Step 9: Adding Water Ripples
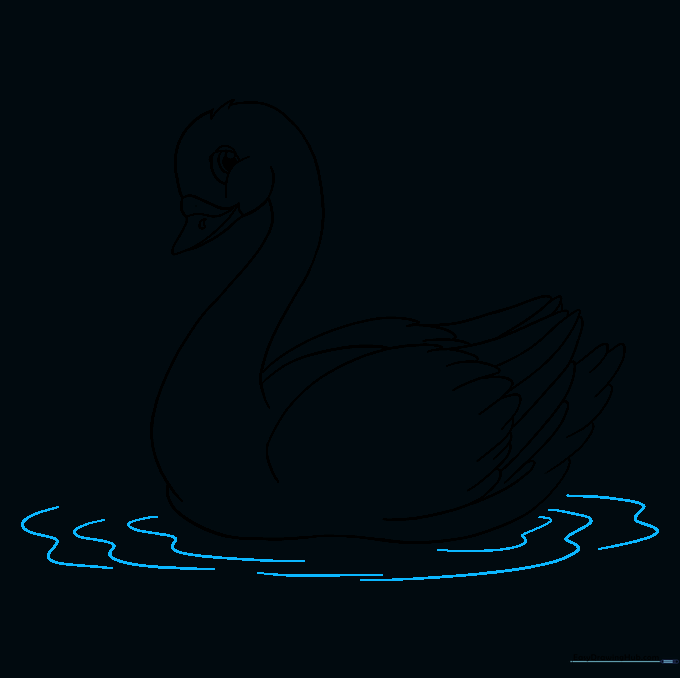
Draw wavy lines around the base of the swan to create water ripples. Tip: Vary the length of your wavy lines to make the water look like it's moving.
Step 10: Coloring Your Swan
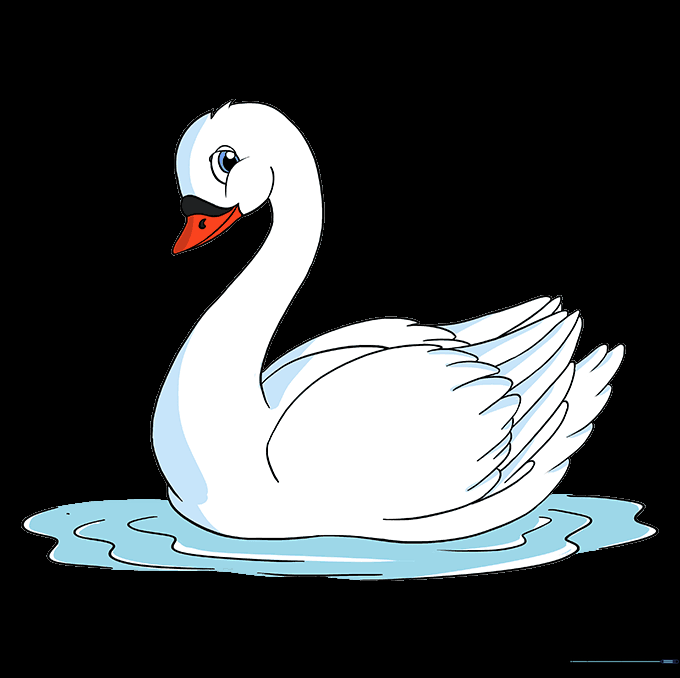
Time to bring your swan to life! Use white for the body, and orange or black for the beak depending on the species. Tip: Use light grey shading under the wings to add depth and dimension.
More Tutorials


