How to Draw a Surfboard: Easy 10-Step Guide for Kids
Ready to catch a creative wave? This step-by-step tutorial is perfect for young artists ages 5 and up. Grab your pencil, eraser, and paper to design a custom surfboard, complete with cool wave patterns and a fin.
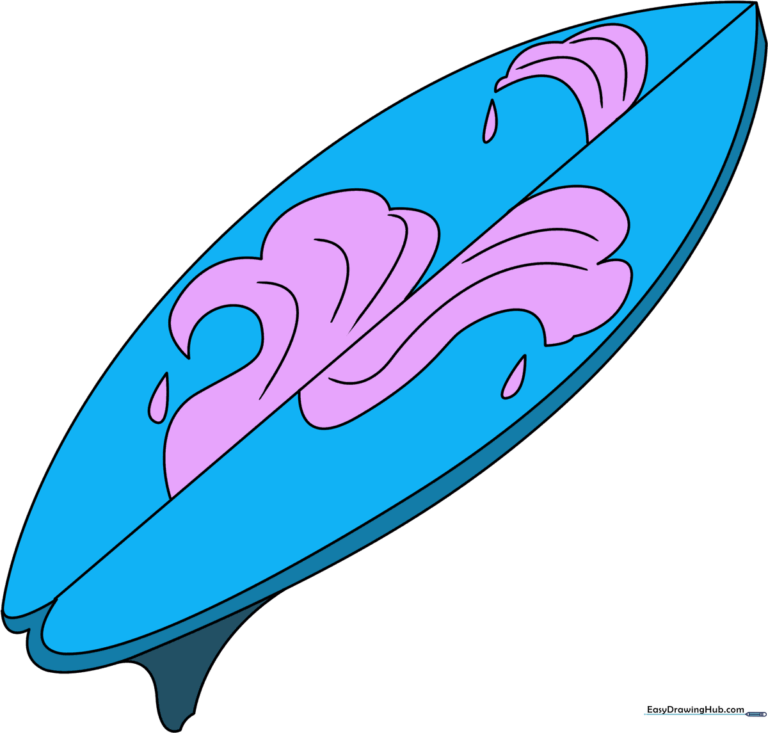
🎯 Final Result
Step-by-Step Instructions
Step 1: Sketching the Board Outline
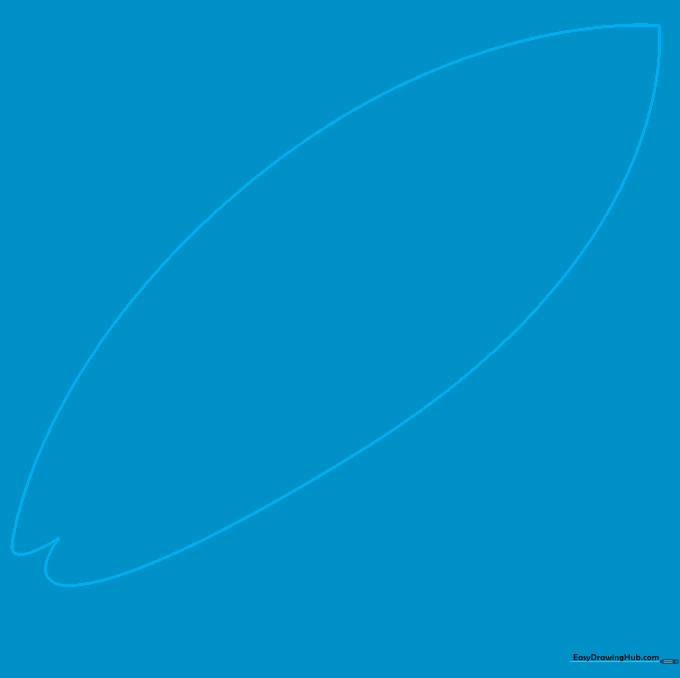
Draw two long, curved lines that meet at a sharp point at the top to form the nose. At the bottom, connect them with a small 'W' shape to create the tail. Teacher's Tip: Keep your pencil pressure light so you can easily adjust the shape if it looks a bit wobbly.
Step 2: Defining the Rails
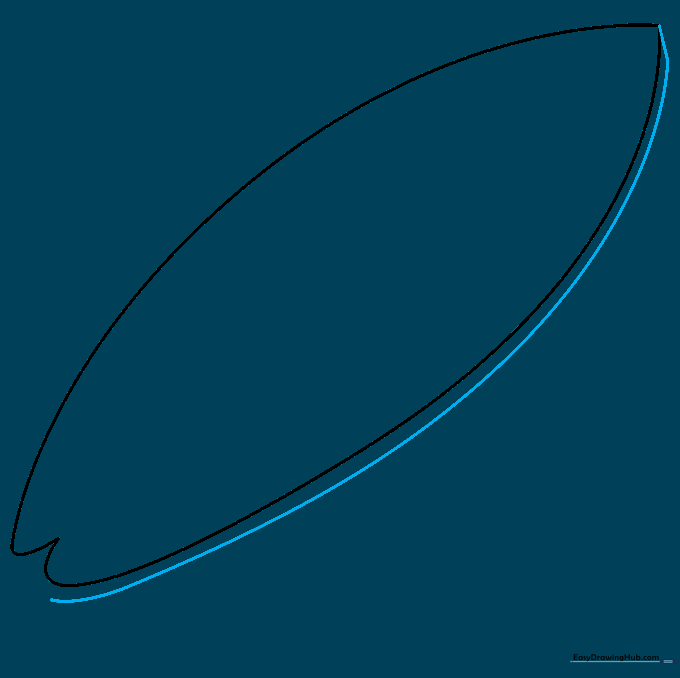
Draw a short line at the tip, then follow it with a long curved line parallel to the outer edge of the board. These are the 'rails' or sides of the board. Tip: Try to keep the gap between your lines consistent for a professional look.
Step 3: Connecting the Tail
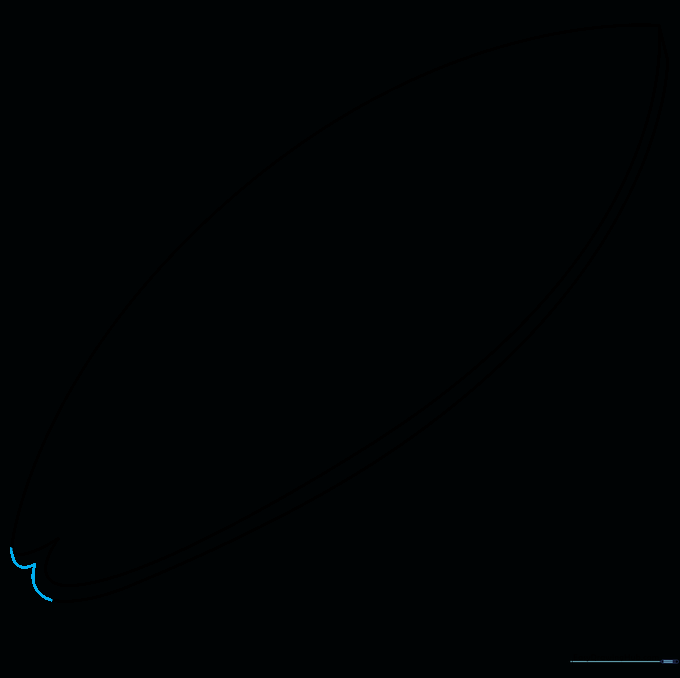
Use a rounded 'W' shape to connect your inner rail line to the tail of the board. This creates depth on the deck. Tip: Use short, smooth strokes to keep the curve looking natural.
Step 4: Drawing the Stringer
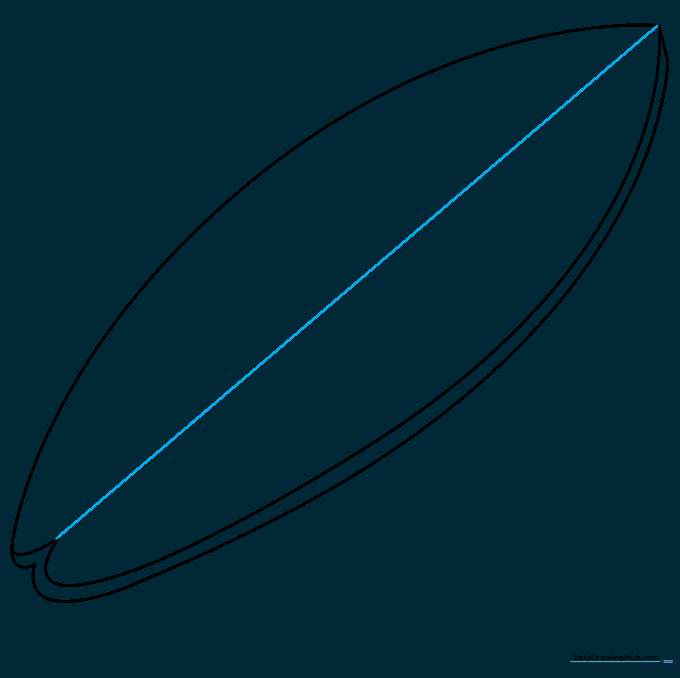
Draw a straight line down the center from the nose to the tail. This is the 'stringer,' the spine of the board. Tip: Use a ruler if you want a perfectly straight line, or go freehand for a more organic feel.
Step 5: Adding the Fin
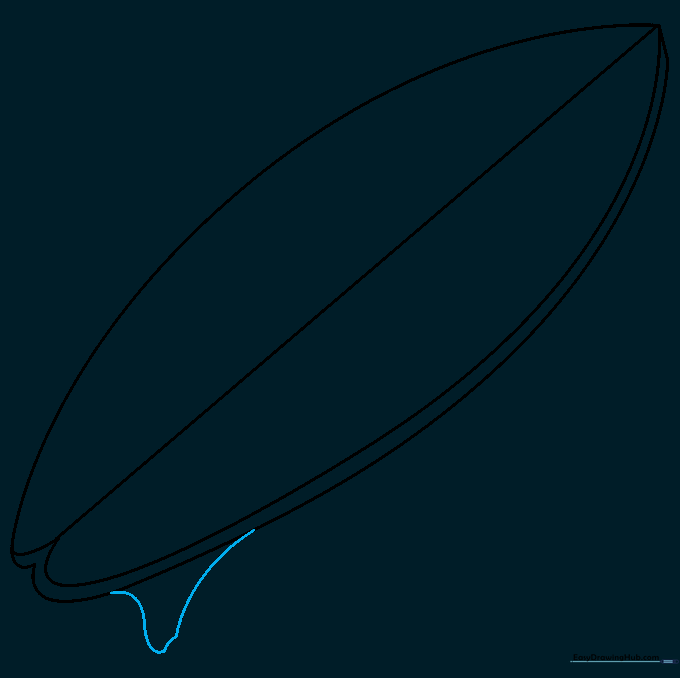
Sketch an irregular curved shape beneath the board to create the fin. This helps the board steer through the water. Tip: Think of it like a shark fin shape—curved on one side and flatter on the other.
Step 6: Designing Wave Patterns
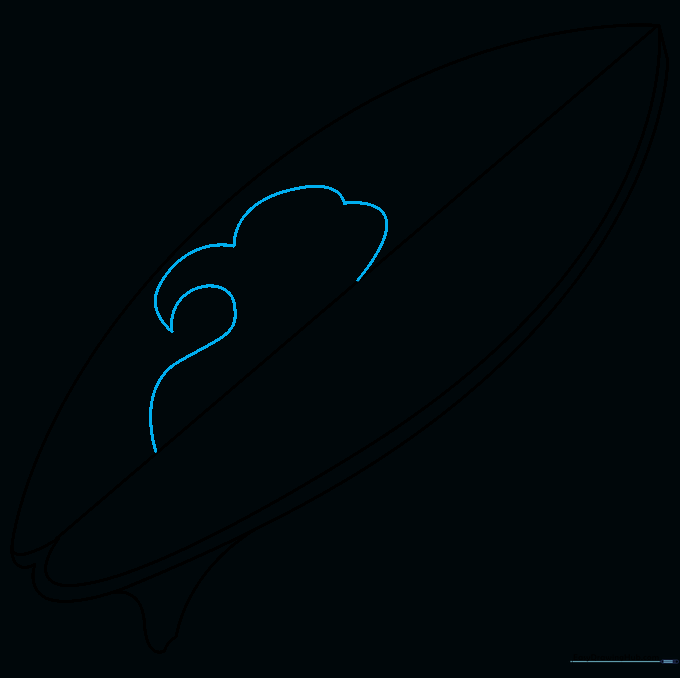
Add some personality to your board! Draw a spiral line for a wave and cloud-like curves on the deck. Tip: Don't worry about making these perfect; ocean waves are always moving and changing shape.
Step 7: Balancing the Design
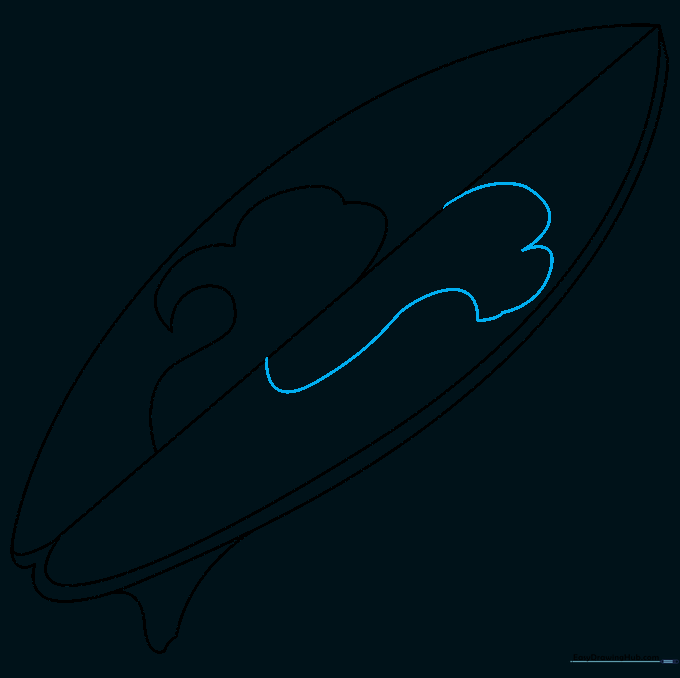
Continue your cloud-like wave patterns on the other side of the board to keep the design balanced. Tip: Try to vary the size of your 'clouds' so the pattern looks dynamic.
Step 8: Adding Detail Near the Nose
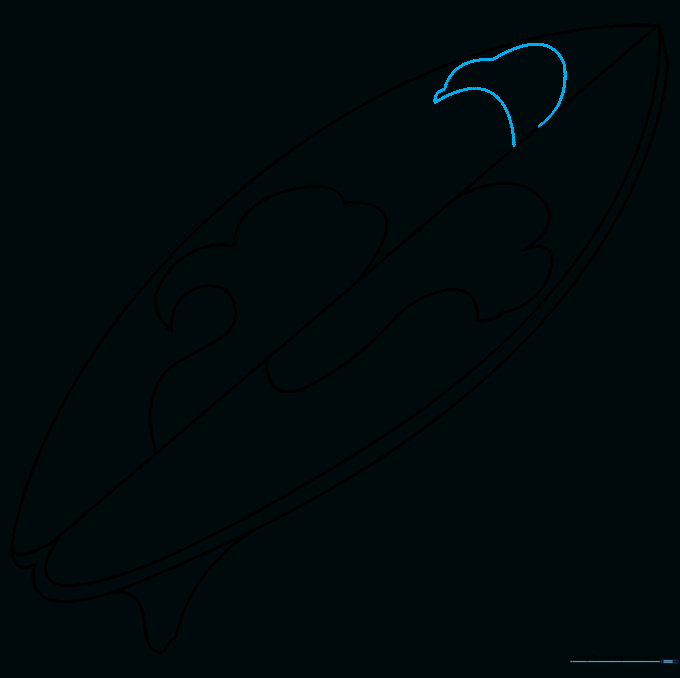
Add a small, irregular shape near the nose of the board to add extra detail. Tip: This can be a small splash or a decorative sticker design.
Step 9: Adding Texture and Droplets
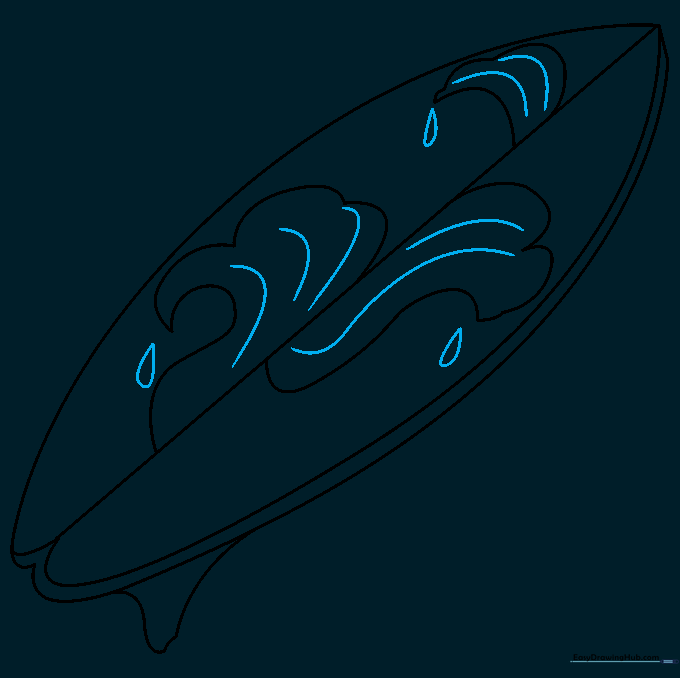
Draw small curved lines inside your wave patterns to show movement, and add teardrop shapes for water droplets. Tip: Use short, quick strokes for the droplets to make them look like they are splashing.
Step 10: Bringing It to Life with Color
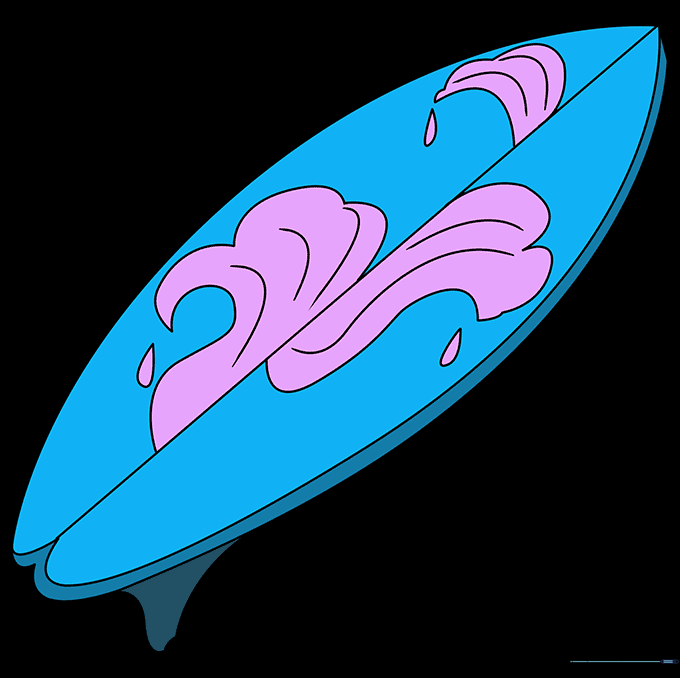
Time to color! Use bright, vibrant markers or pencils to make your surfboard pop. Tip: Use blues and greens for the waves, and a bold color for the board itself to make it stand out.
More Tutorials


