How to Draw a Superhero: Easy 9-Step Guide for Kids
Ready to create your own comic book hero? This tutorial is perfect for young artists ages 7+ who want to master character proportions. You will only need a pencil, an eraser, and a piece of paper to bring your champion to life.
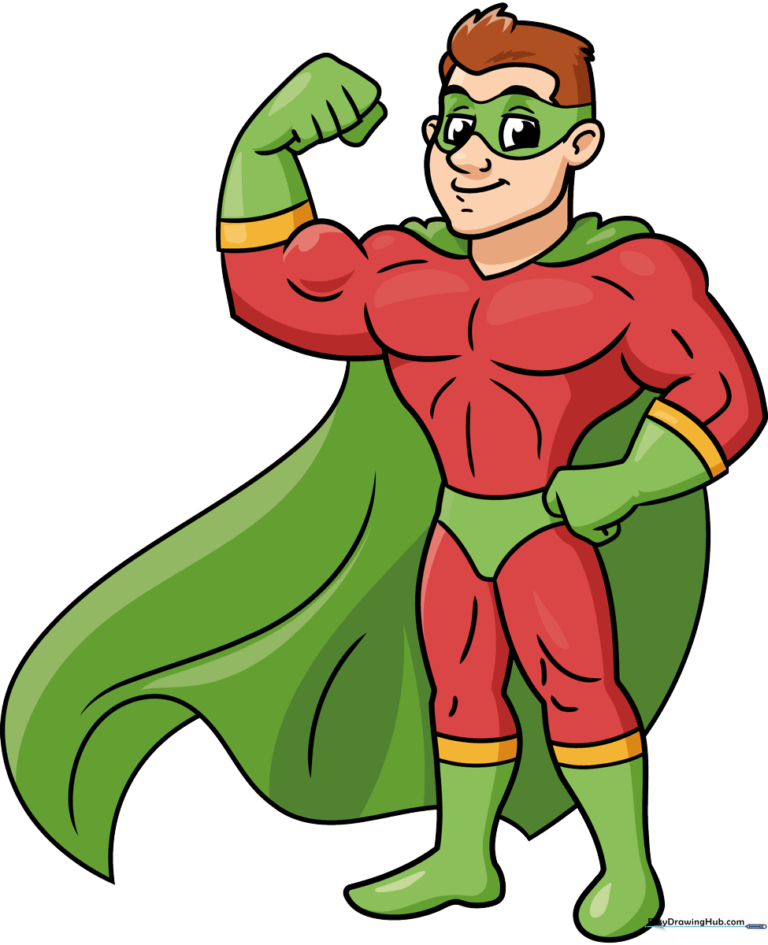
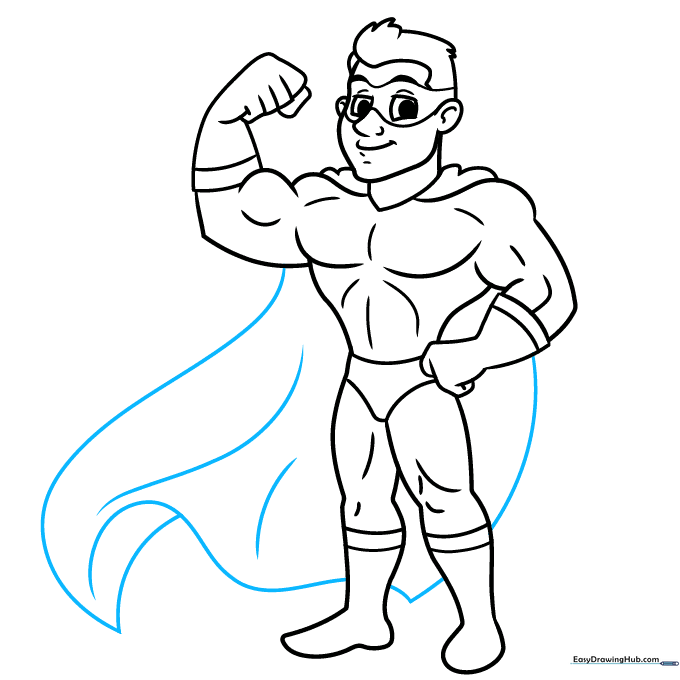
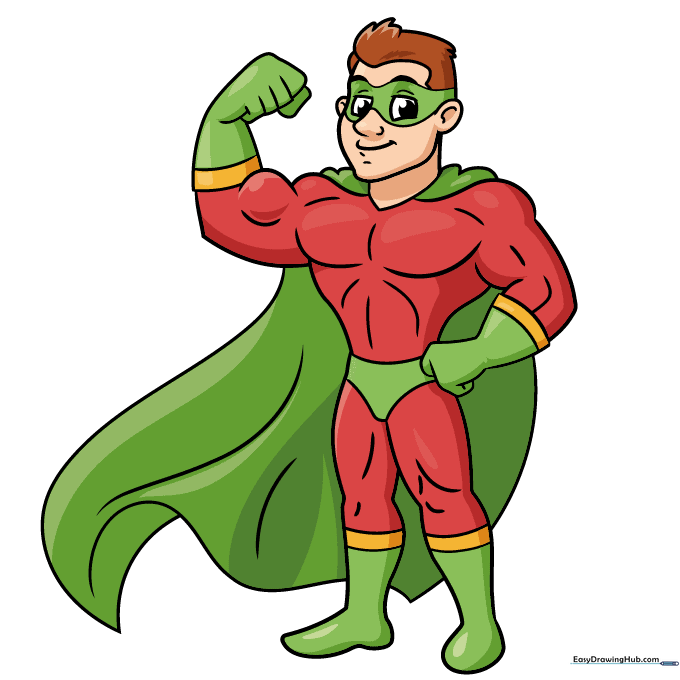
🎯 Final Result
Step-by-Step Instructions
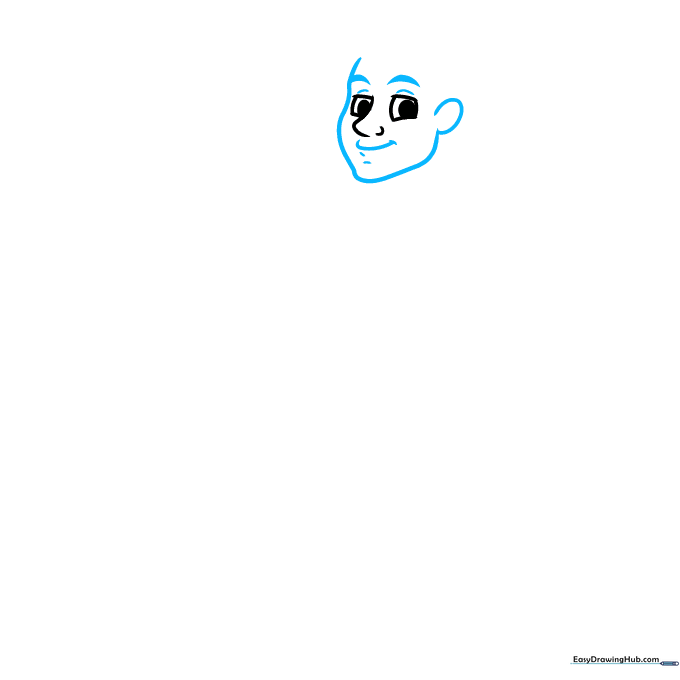
Step 1: Sketching the Facial Features

Start by lightly sketching the face shape. Use curved lines for the nose and simple rectangles for the eyes. Tip: Keep your pencil pressure light so you can easily adjust the eye placement if they look a bit uneven.
Step 2: Defining the Head and Jaw
Draw a strong, curved line for the forehead, cheek, and jawline. Add a 'C' shape for the ear. Tip: A strong jawline is the secret to making your hero look heroic and determined!
Step 3: Adding Hair and Mask
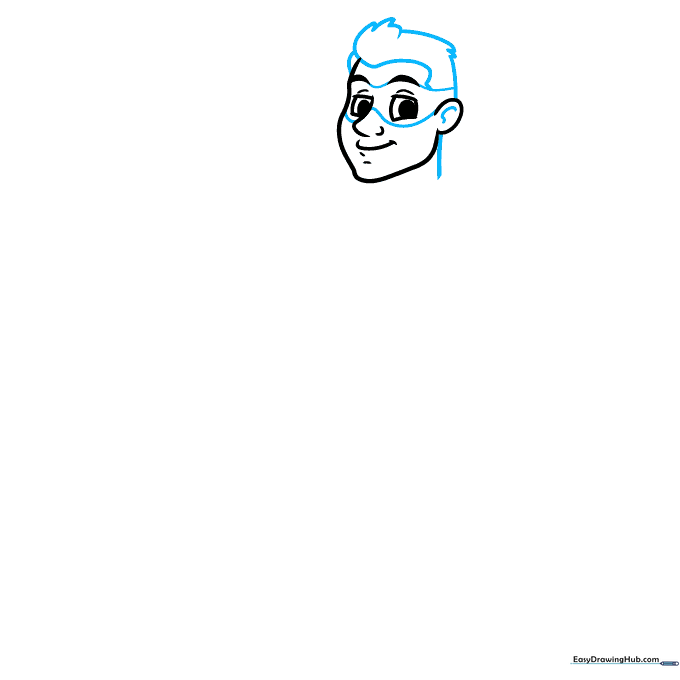
Use jagged, pointed lines to create the hair texture. Then, draw wavy lines above and below the eyes to form the mask. Tip: Don't worry if the hair points aren't perfect; real hair is messy and flows in many directions.
Step 4: Shoulders and Cape
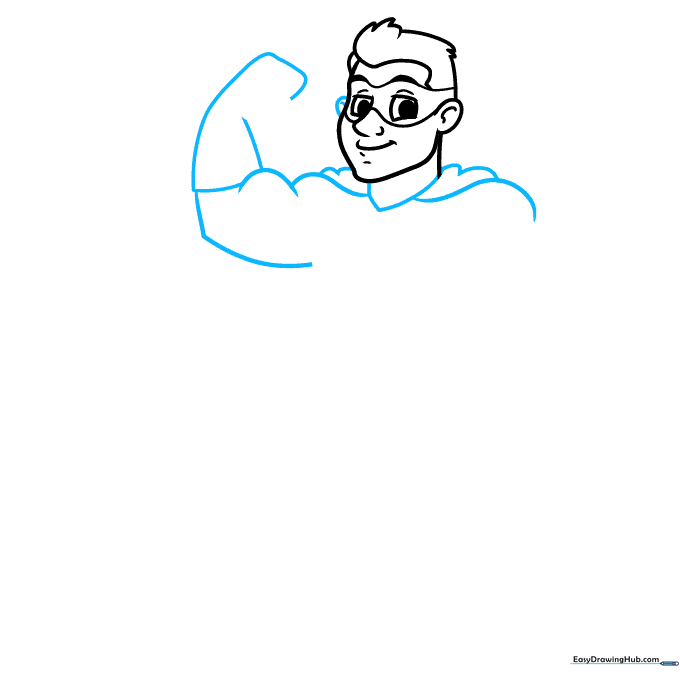
Draw a 'V' for the neck and heart-shaped curves for the shoulders. Add the top of the cape here. Tip: Imagine the cape is blowing in the wind—use loose, flowing lines to give it movement.
Step 5: Building the Torso
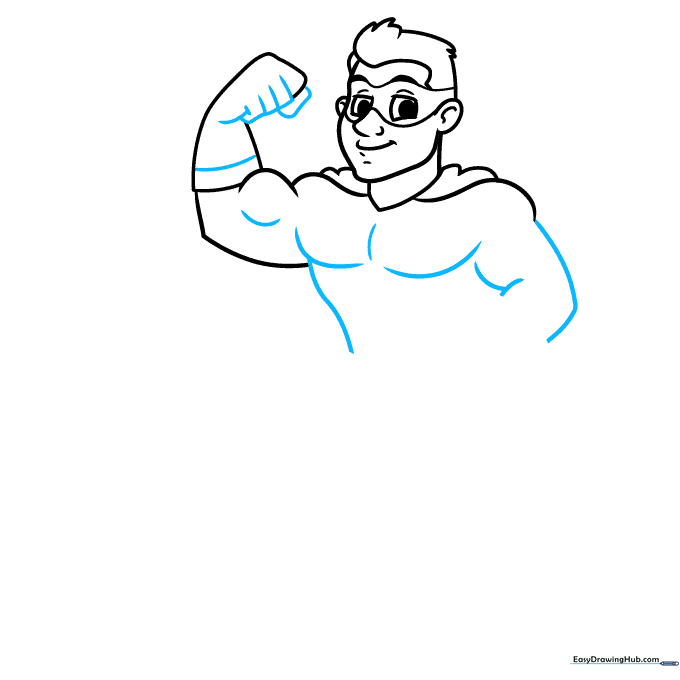
Draw the arm muscles and the chest. Use overlapping curved lines to show strength. Tip: Think of muscles as rounded shapes; keeping them curved makes the character look powerful rather than stiff.
Step 6: Adding Gloves and Detail
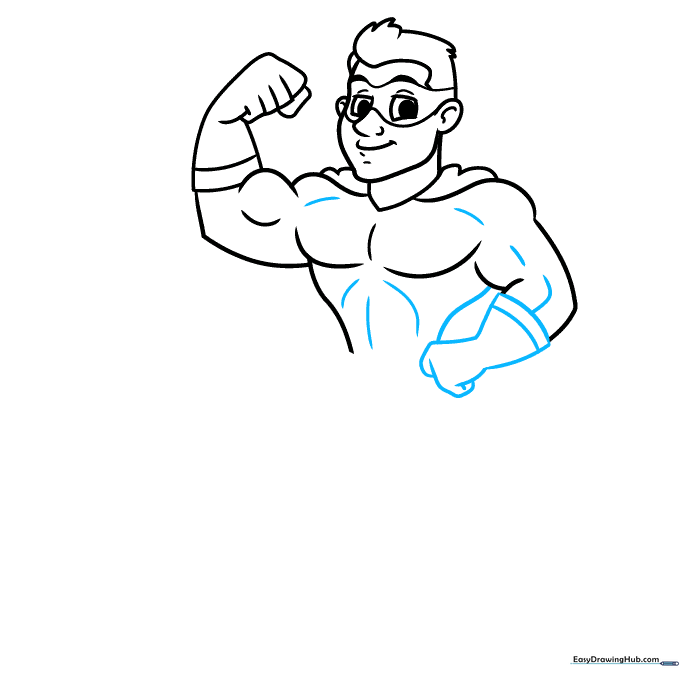
Draw the gloved hands and add bands at the wrists. Continue contouring the torso muscles. Tip: Use a darker pencil line for the glove cuffs to make them stand out from the arms.
Step 7: Drawing the Legs

Sketch the lower torso and the legs. Add the outline of the briefs over the costume. Tip: Keep the leg lines long and straight to give your hero a tall, athletic stance.
Step 8: Adding Boots and Knee Details
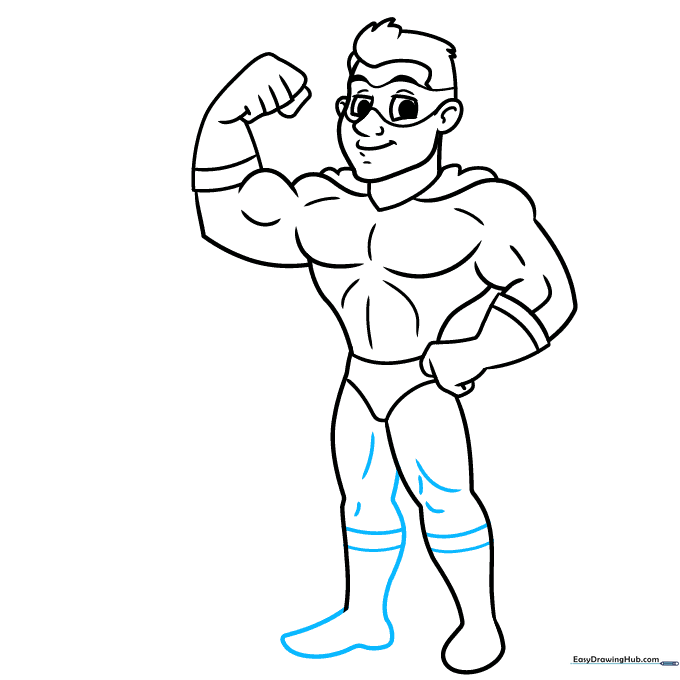
Finish the legs and add bands for the boots. Add small curved lines at the knees to show muscle definition. Tip: Adding these small details at the joints makes the drawing look much more professional.
Step 9: The Flowing Cape
Finally, draw the long, billowing cape behind the hero. Add a few lines to show the folds in the fabric. Tip: Make the cape lines wavy to suggest it is catching the air as the hero flies.
Step 10: Bring Your Hero to Life with Color
Your outline is ready! Use bright, bold colors for the costume. Tip: Try drawing a unique logo on the chest to give your hero their own special identity.
More Tutorials


