How to Draw a Super Mom: Easy 10-Step Guide for Kids
Celebrate the hero in your life with this fun, beginner-friendly drawing activity. Designed for ages 5 and up, this project requires only a pencil, paper, and your favorite markers to bring a Super Mom character to life. Follow these steps to practice basic shapes and character design while creating a heartfelt handmade gift.
🎯 Final Result

Step-by-Step Instructions
Step 1: Sketching the Facial Features

Start by drawing the cartoon mom’s face. Use curved lines for the rectangular eyes, a small nose, and a wide, happy smile. Teacher's Tip: Draw the pupils as large, solid ovals to give her a friendly, expressive look.
Step 2: Defining the Face Shape

Outline the jawline, cheeks, and chin using soft, curved lines. Add the ears, eyebrows, and a small lock of hair falling near the cheek. Teacher's Tip: Keep the chin rounded to maintain a friendly, cartoonish style.
Step 3: Adding Hair and Ponytail

Draw the top of the head, the second ear, and the ponytail. Use jagged lines for the bangs to give the hair texture. Teacher's Tip: Use long, sweeping strokes for the ponytail to make it look like it's flowing in the wind.
Step 4: Sketching the Shoulders and Cape
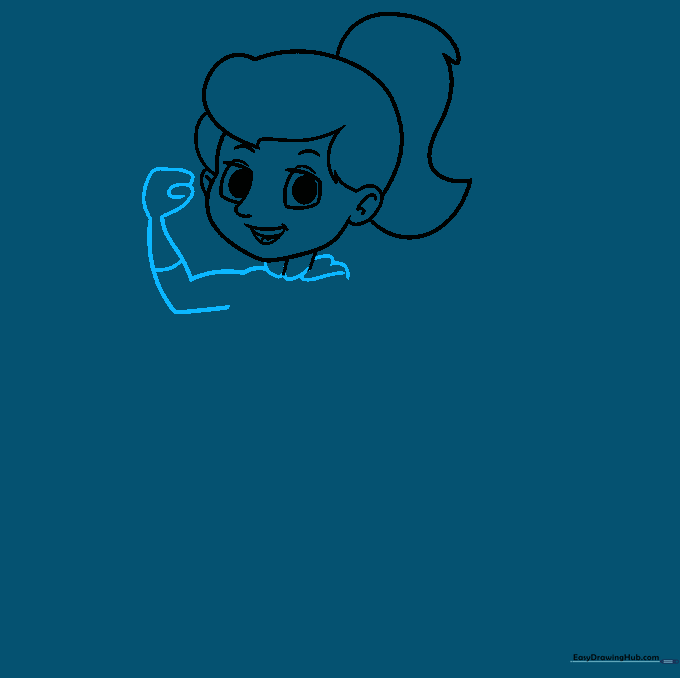
Begin the torso by drawing the shoulders and arms. Add a wavy line above the shoulder to start the cape. Teacher's Tip: The wavy line creates the illusion of movement, making your hero look like she is flying!
Step 5: Defining the Torso
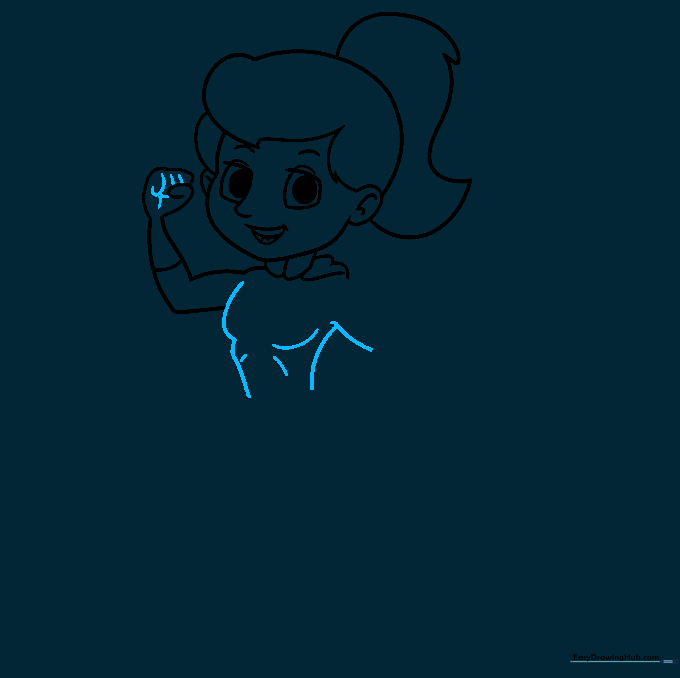
Draw the muscular torso using curved lines. Add small lines to suggest abdominal muscles. Teacher's Tip: Keep these lines subtle so the character looks strong but still cartoon-friendly.
Step 6: Adding Arms and Belt
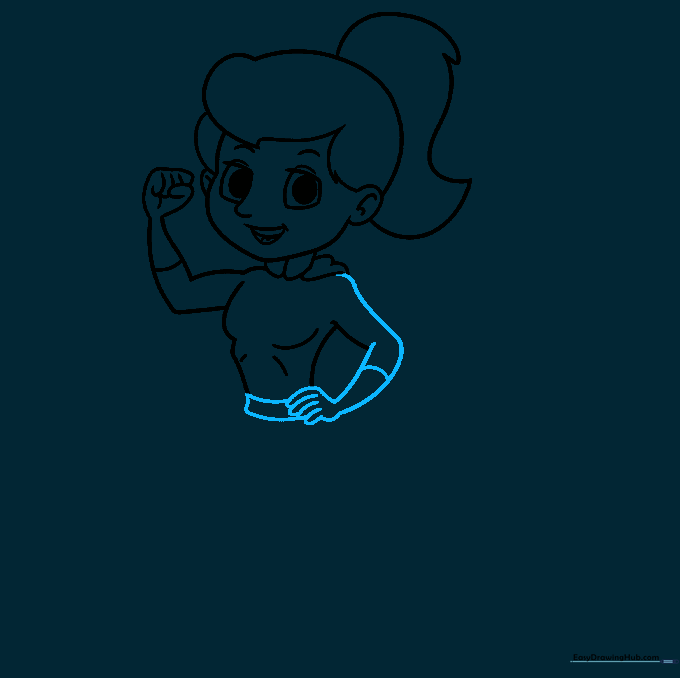
Finish the arms, including the hands in fists, and draw a rectangular belt around the waist. Teacher's Tip: Use overlapping lines for the fingers to make them look like they are curled into a fist.
Step 7: Drawing the First Leg
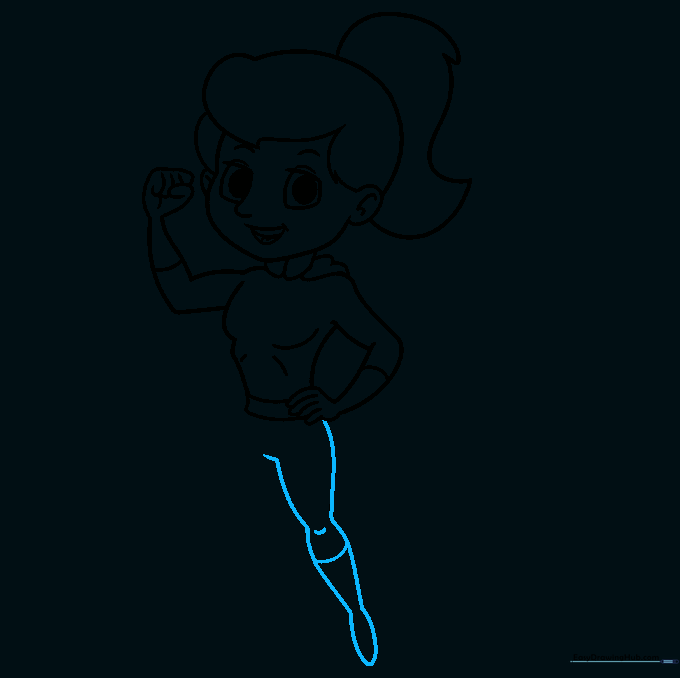
Draw the first leg with a boot. Use curved lines to show the knee and the top of the boot. Teacher's Tip: Make the boot wider at the top to give it a classic superhero look.
Step 8: Drawing the Second Leg

Repeat the process for the second leg, ensuring it matches the first in size and style. Teacher's Tip: If the legs look uneven, don't worry—just use your eraser to adjust the curves.
Step 9: Adding the Cape and Logo
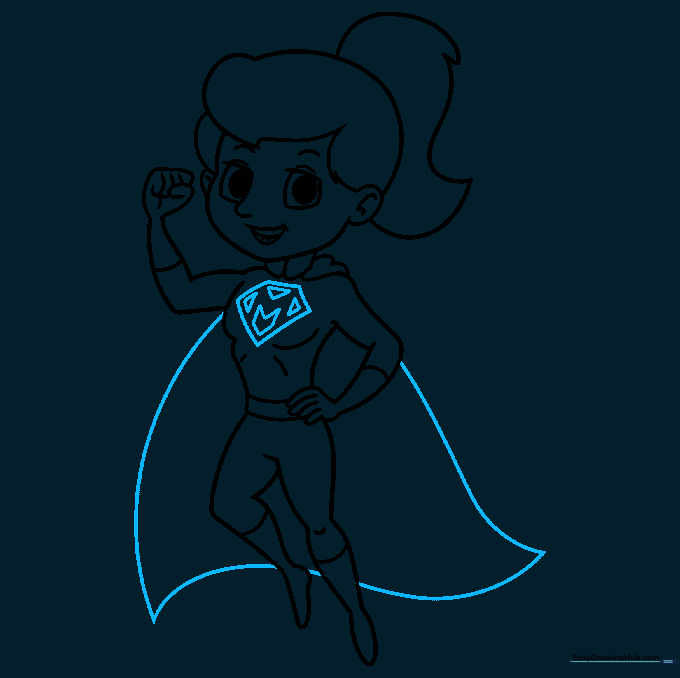
Draw the flowing cape and add a pentagon-shaped logo to her chest with an 'M' inside. Teacher's Tip: Make sure the 'M' is centered so it stands out clearly as her special hero symbol.
Step 10: Adding Color
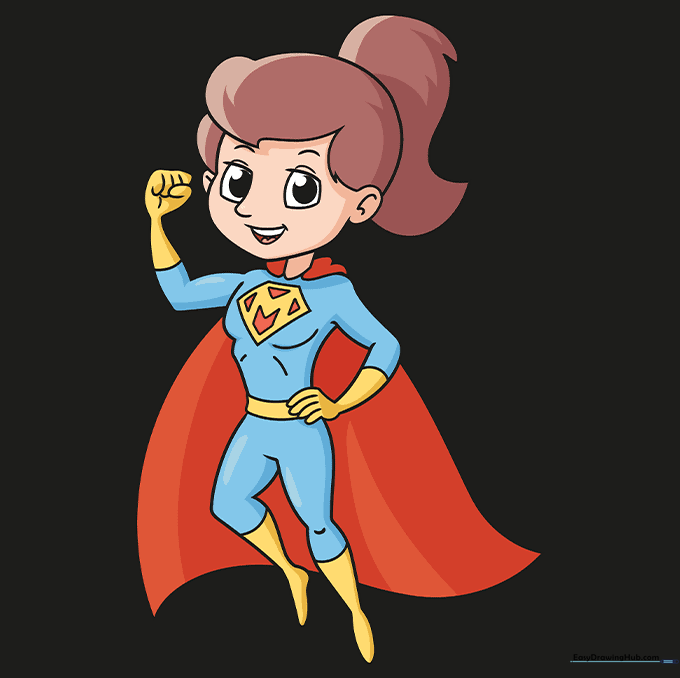
Bring your Super Mom to life with color! We used classic red, blue, and yellow. Teacher's Tip: Use bright, bold colors to make her look like a true comic book hero.
More Tutorials


