How to Draw a Summer Day: Easy Step-by-Step Guide
Bring the joy of a sunny beach day to life with this fun, character-focused drawing tutorial. Designed for ages 7+, this activity helps young artists practice figure drawing and scene composition. Grab your pencils and paper to create a vibrant summer memory.
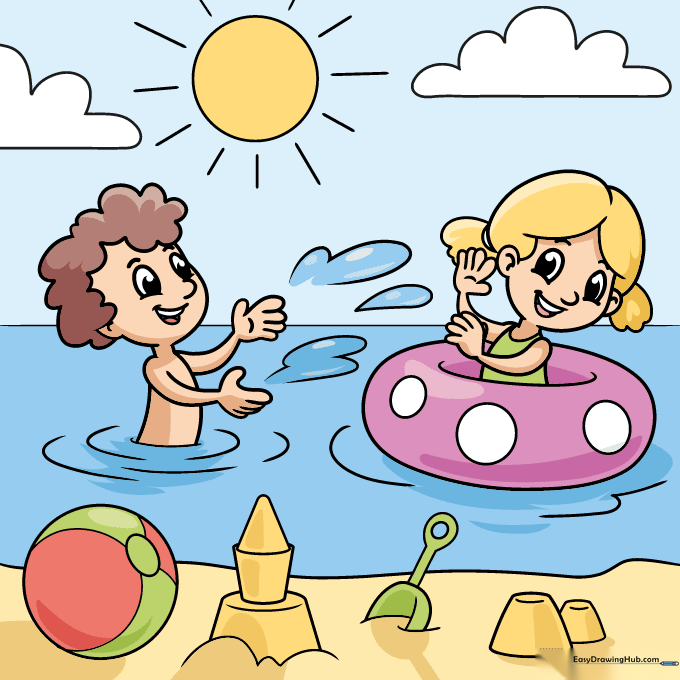
🎯 Final Result

Step-by-Step Instructions
Step 1: Sketching the Boy's Face

Start by sketching the boy's face using soft, curved lines for the jaw and cheeks. Add the eyebrows, nose, and a wide, happy mouth. For the eyes, draw two ovals with smaller, shaded circles inside. Teacher's Tip: Keep the eyes level with each other to give the character a friendly, balanced look.
Step 2: Defining the Upper Body
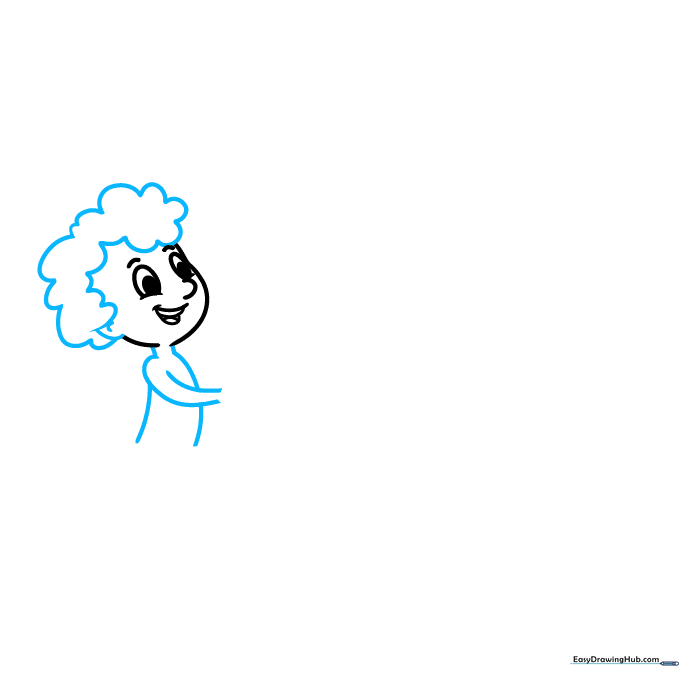
Continue the figure by drawing the ear, hair, neck, and shoulders. Use smooth, flowing lines to connect the head to the torso. Teacher's Tip: Use a light touch when drawing the neck so it doesn't look too thick.
Step 3: Adding Hands and Starting the Girl
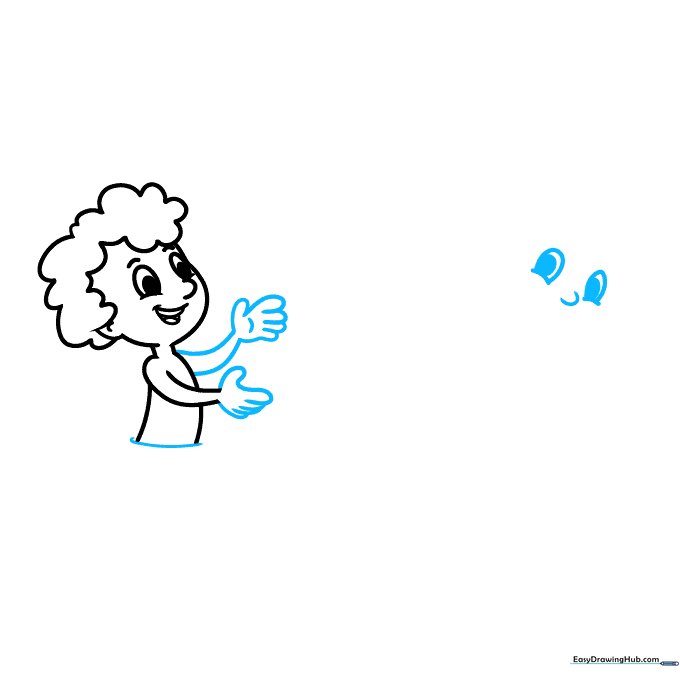
Draw the boy's hands using overlapping curves, then add a horizontal line at the base to represent the water. Begin the girl's face nearby with similar facial features. Teacher's Tip: Overlapping lines are the secret to making hands look natural rather than flat.
Step 4: Detailing the Girl's Features
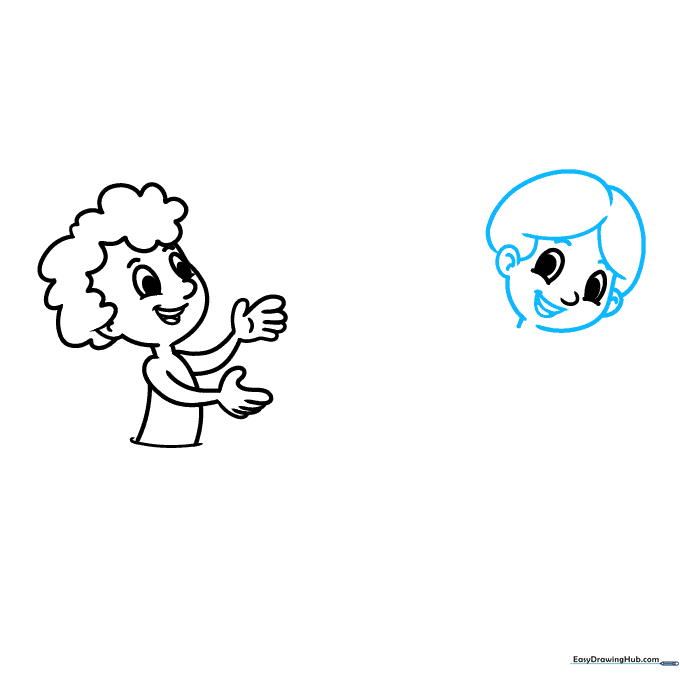
Refine the girl's expression by adding her smile, teeth, ears, and hair. Ensure her face shape matches the boy's style for consistency. Teacher's Tip: Give her hair some volume by drawing the lines slightly away from the head shape.
Step 5: Drawing the Swimsuit
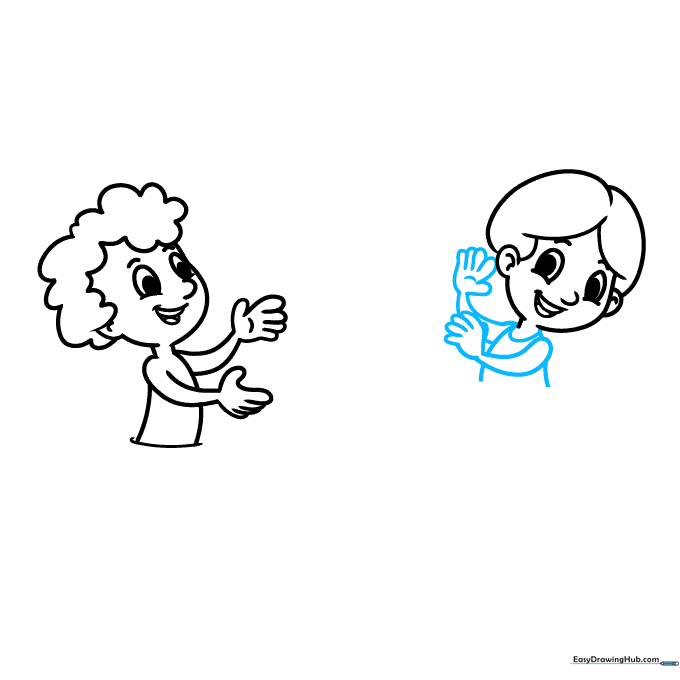
Sketch her arms and hands, then draw the neckline and sides of her swimsuit. Teacher's Tip: Use a 'U' shape for the neckline to create a realistic drape on the character's body.
Step 6: Adding the Innertube and Splashes
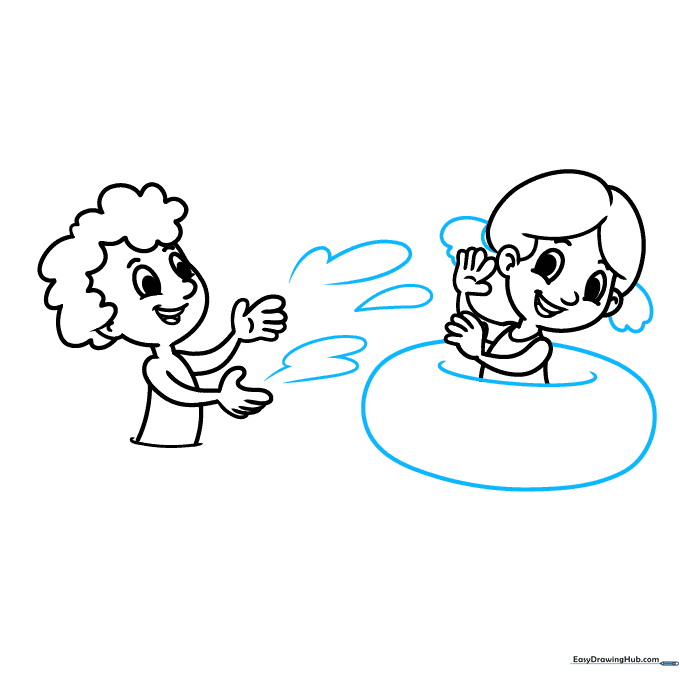
Draw her pigtails and a large oval around her waist for the innertube. Add teardrop shapes around the boy to show water splashing. Teacher's Tip: Vary the size of the teardrops to make the splash look more dynamic and energetic.
Step 7: Setting the Scene
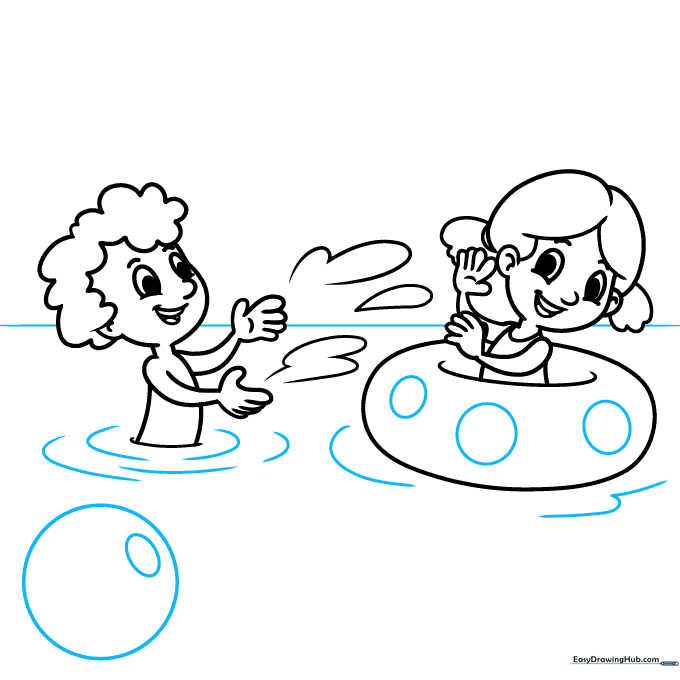
Draw a horizontal horizon line. Add details to the innertube, ripples in the water, and the start of a beach ball. Teacher's Tip: Keep the horizon line straight to ensure the water looks level.
Step 8: Adding Beach Toys
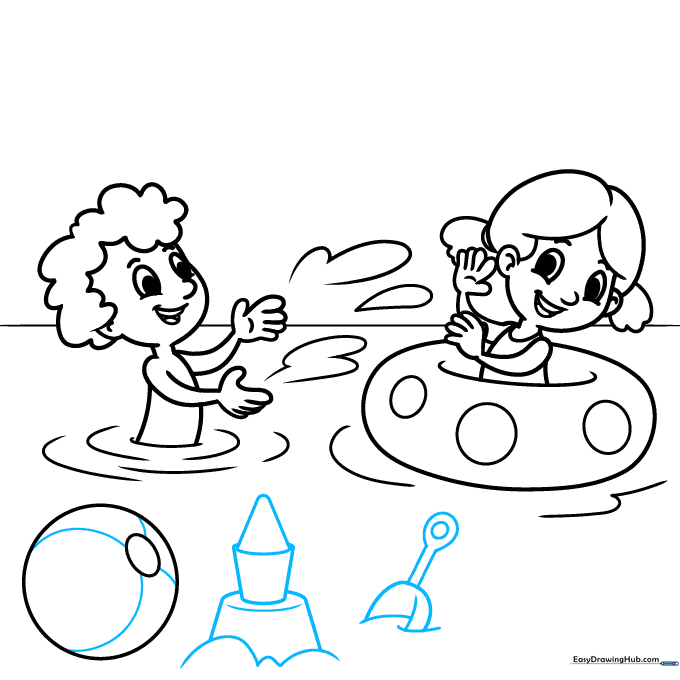
Draw the beach ball stripes, a sandcastle, and a shovel. Use simple geometric shapes like trapezoids for the castle towers. Teacher's Tip: Use a small circle for the shovel handle to make it look 3D.
Step 9: Final Touches
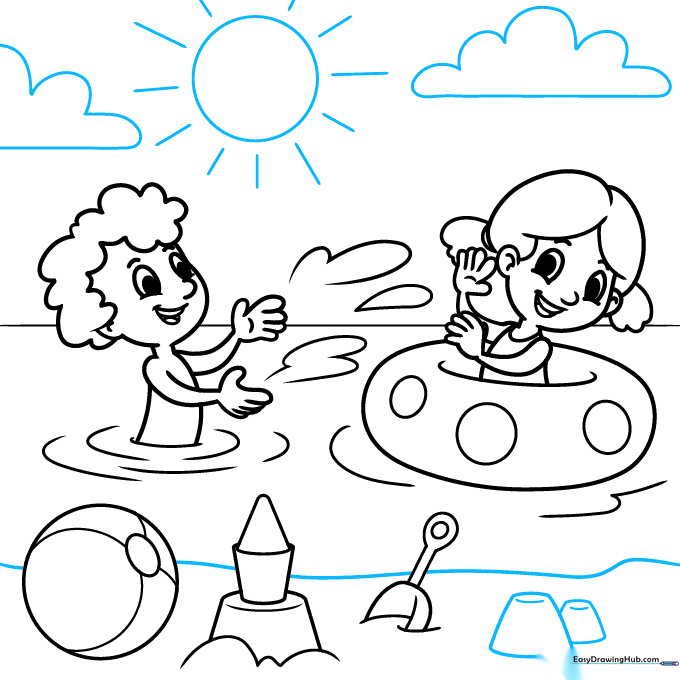
Define the beach edge, add more sand towers, and draw clouds and a sun in the sky. Teacher's Tip: Draw the sun in a corner to keep the composition balanced.
Step 10: Bring It to Life with Color
Time to color! Use bright blues for the water and sky, and warm yellows or oranges for the sand and beach toys. Teacher's Tip: Use light pressure with your colored pencils to blend colors smoothly.
More Tutorials


