How to Draw a Sugar Skull: Easy 21-Step Art Guide
Celebrate creativity with this festive sugar skull tutorial, perfect for artists ages 7 and up. You will only need a pencil, an eraser, and your favorite markers or colored pencils to bring this design to life. Follow along to master symmetrical patterns and decorative line work.
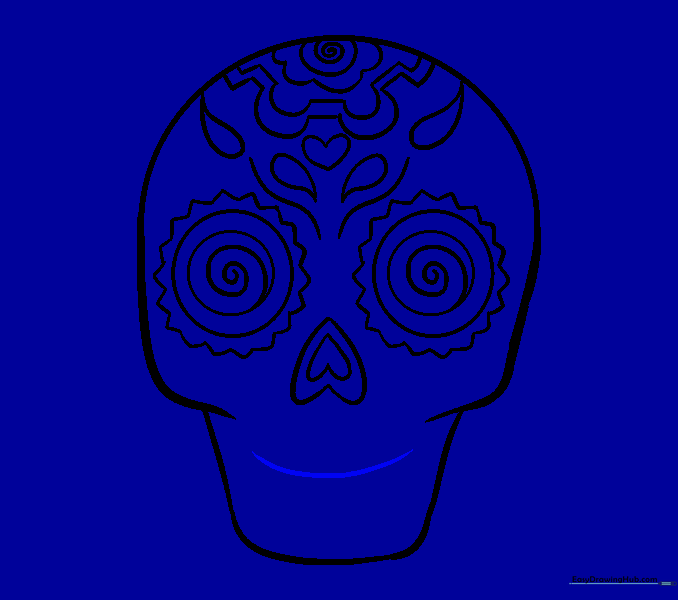
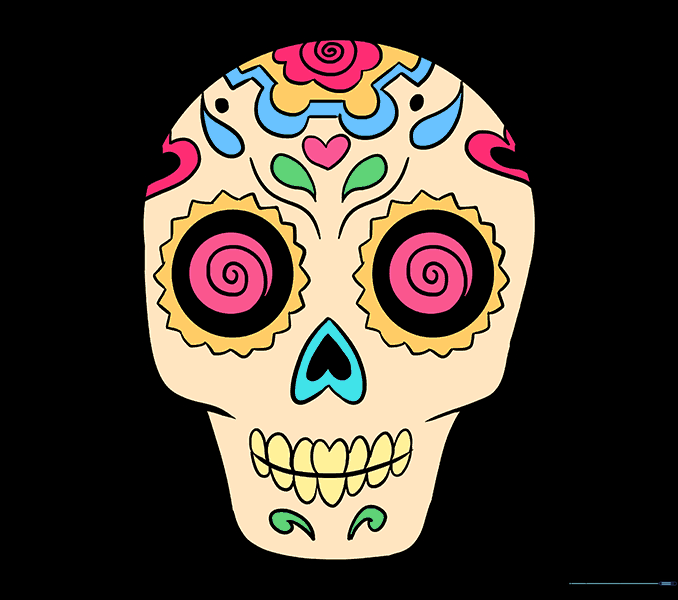
🎯 Final Result

Step-by-Step Instructions
Step 1: Sketching the Cranium
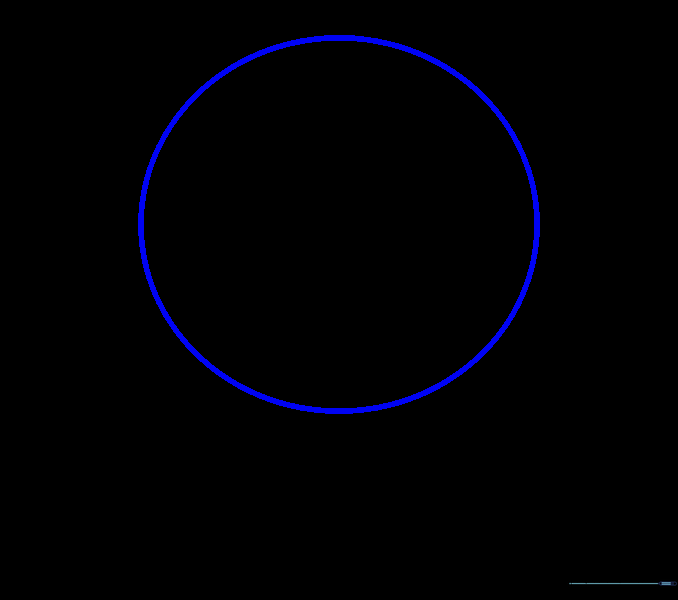
Begin by drawing a large, rounded circle for the main skull shape. Teacher's Tip: Keep your pencil pressure light so you can easily erase the bottom guide lines later.
Step 2: Defining the Jawline
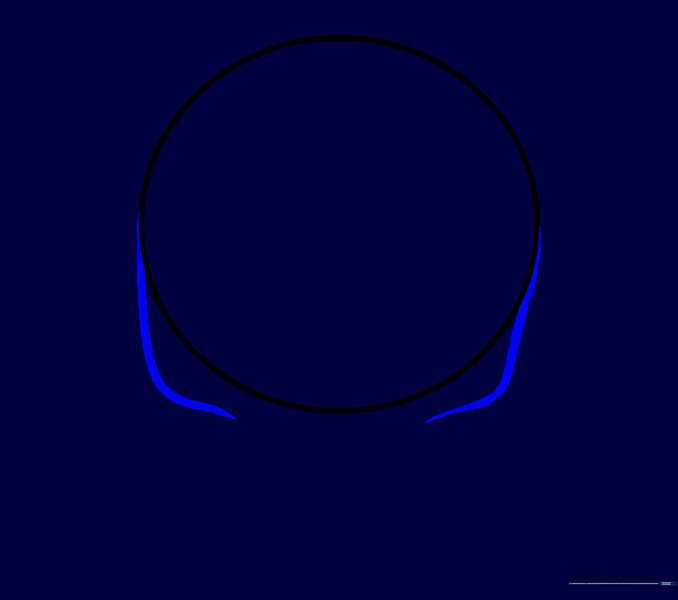
Draw two curved lines extending downward from the sides of your circle. Tip: Aim for a smooth transition from the circle to create a natural jaw shape.
Step 3: Closing the Jaw
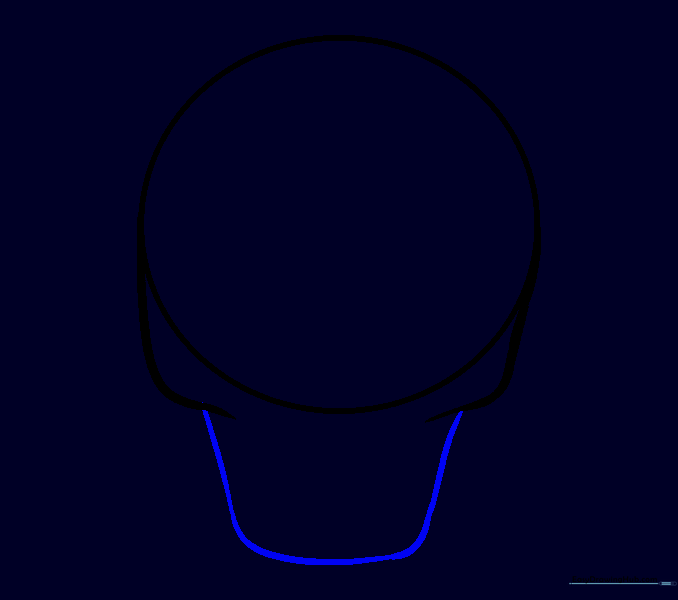
Connect the two side lines with a long, curved line at the bottom. Tip: Make this curve slightly rounded to give the skull a friendly, cartoonish appearance.
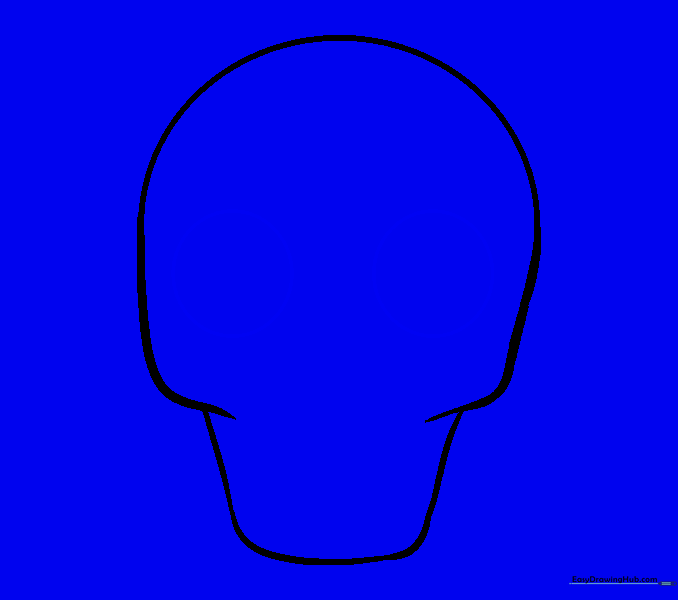
Step 4: Cleaning the Outline

Carefully erase the horizontal guide line inside the skull where the circle meets the jaw. Tip: Use a clean eraser to avoid smudging your graphite.
Step 5: Drawing the Eye Sockets
Draw two large circles in the upper half of the skull. Tip: Keep them symmetrical by checking the distance from the center line.
Step 6: Adding the Nasal Cavity
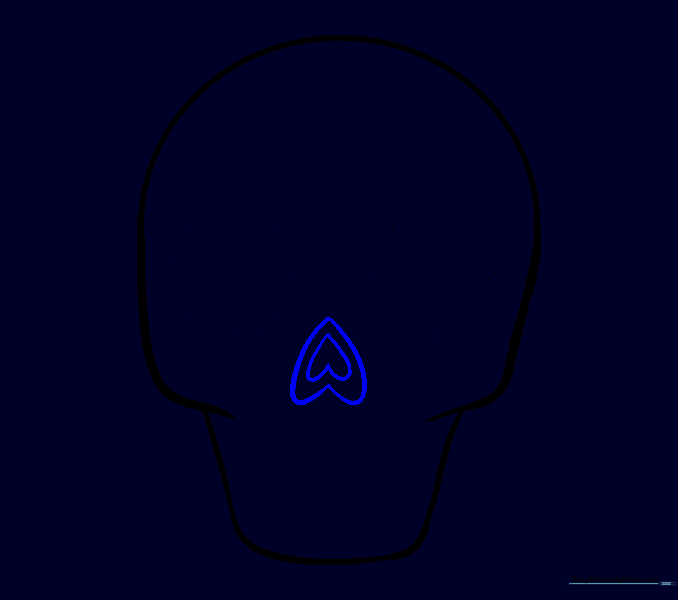
Draw an upside-down heart shape in the center, then add a smaller one inside it. Tip: This creates the classic 'nose' look for a sugar skull.
Step 7: Detailing the Eyes
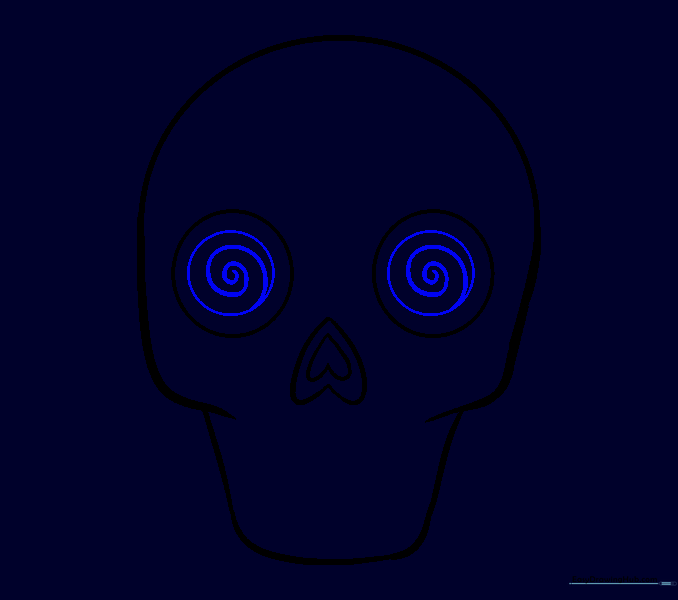
Draw a smaller circle inside each eye socket, then add a swirling line inside. Tip: The swirl adds a sense of movement to the design.
Step 8: Creating Petal Borders

Draw a zigzag pattern around each eye socket to create a floral border. Tip: Take your time—small, consistent triangles make the best petals.
Step 9: Forehead Decoration
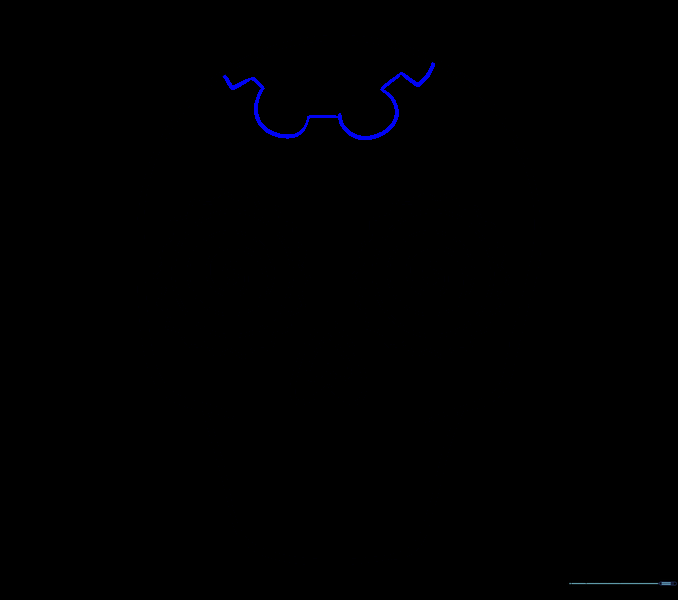
Draw a decorative geometric pattern on the forehead. Tip: Use light construction lines to ensure your design is centered.
Step 10: Layering Details
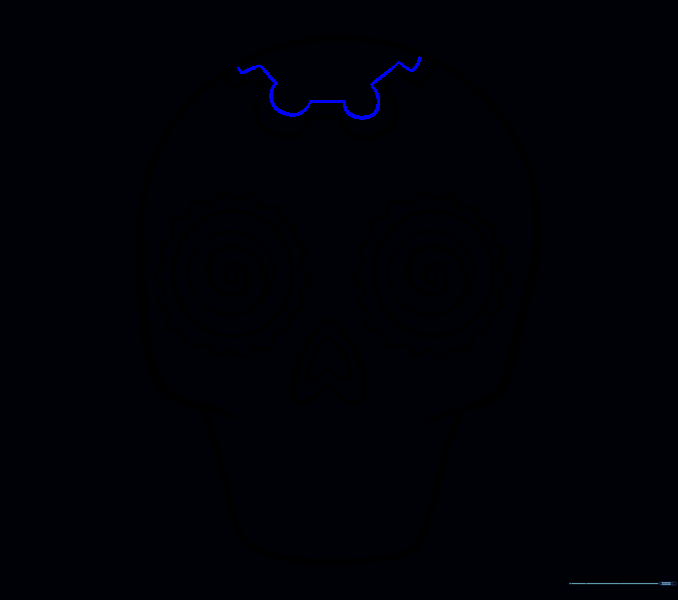
Draw a smaller version of the forehead pattern inside the first one. Tip: This adds depth and makes the design look more intricate.
Step 11: Adding a Floral Center

Draw a small flower shape in the center of your forehead design. Tip: Use wavy lines to make the petals look soft and organic.
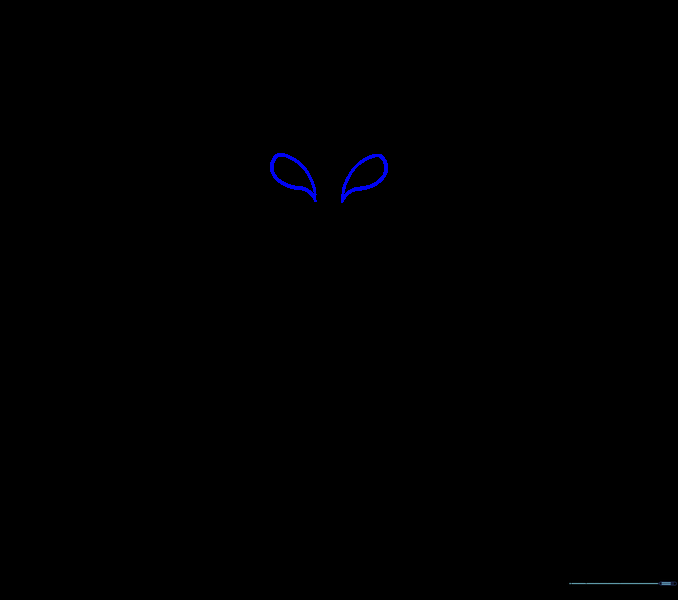
Step 12: Drawing Eyebrows

Add curved lines above each eye to suggest furrowed brows. Tip: This gives your skull a bit of personality!
Step 13: Adding Teardrop Accents
Draw a teardrop shape above each brow line. Tip: Keep the points facing outward for a balanced look.
Step 14: Adding a Heart

Place a small heart between the two teardrop shapes. Tip: This is a great spot to add a pop of red later!
Step 15: More Teardrop Details

Draw larger teardrop shapes above the ends of the brow lines. Tip: Varying the sizes of your shapes makes the design look more professional.
Step 16: Drawing the Mouth
Draw a long, horizontal curved line for the mouth. Tip: Make it wide enough to fit plenty of teeth!
Step 17: Upper Teeth
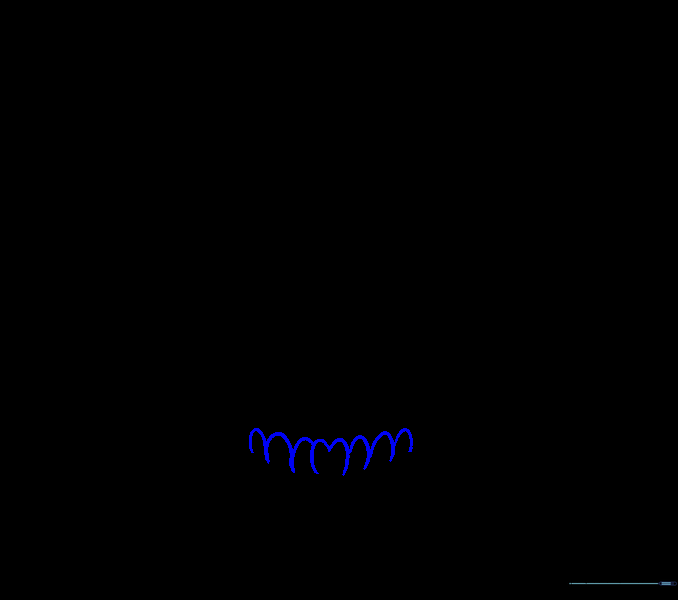
Draw eight upside-down 'U' shapes above the mouth line to form the upper teeth. Tip: Keep them evenly spaced.
Step 18: Lower Teeth
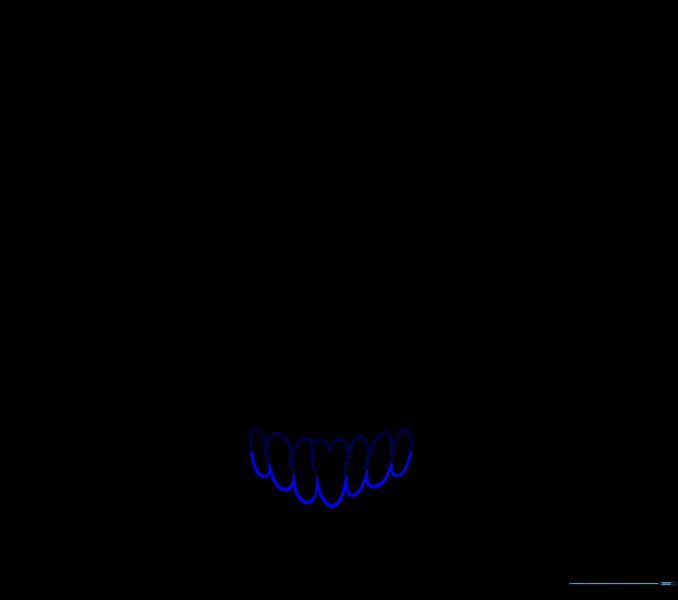
Draw seven 'U' shapes beneath the mouth line to mirror the upper teeth. Tip: Align them with the gaps between the upper teeth for a realistic look.
Step 19: Final Decorative Flourishes
Add dots, small hearts on the cheeks, and swirling apostrophe shapes below the mouth. Tip: Don't be afraid to add your own unique patterns here!
Step 20: Shading for Depth

Shade the inner heart of the nose and the eye circles. Tip: Use a soft pencil stroke to create a smooth, dark gradient.
Step 21: Bringing it to Life with Color
Color your sugar skull with bright, festive colors! Tip: Use warm colors like orange and pink to make the design pop.
More Tutorials


