How to Draw a Submarine: Easy 10-Step Guide for Kids
Ready to dive into an underwater art adventure? This tutorial is perfect for young artists ages 5 and up. Grab a pencil, an eraser, and some paper to build your own submarine, step-by-step.
🎯 Final Result

Step-by-Step Instructions
Step 1: Sketching the Hull

Draw a long, irregular oval to create the main body of the submarine. Add a small curved line at the back to start the rudder. Teacher's Tip: Keep this shape loose and rounded—it doesn't need to be perfect!
Step 2: Adding the Rudder

Add curved bands to the front and back of the hull for detail. Use a 'U' shape on the bottom to finish the rudder. Tip: Leave a small gap between the back bands and the hull to create a sense of depth.
Step 3: Creating the Conning Tower
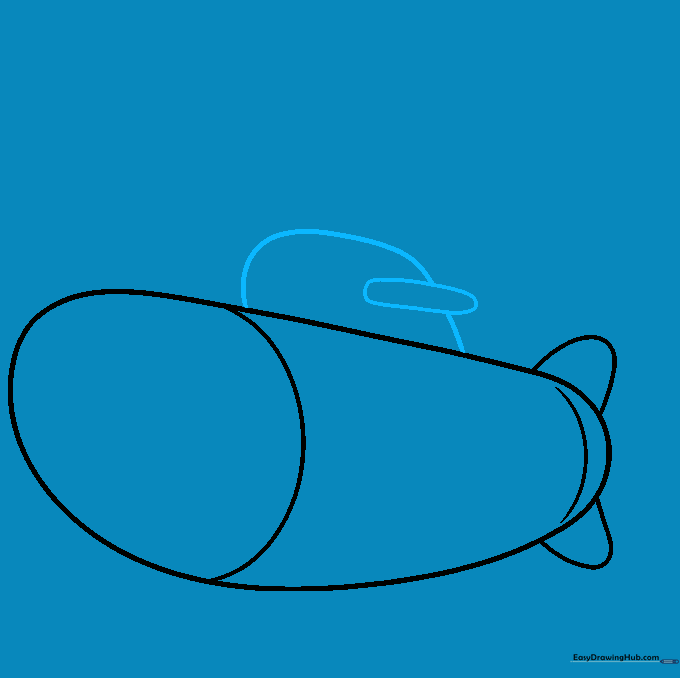
Draw a narrow horizontal oval above the hull for the sail plane. Behind it, draw a curved line that doubles back to form the conning tower. Tip: Imagine this is the 'bridge' where the captain stands.
Step 4: Adding Rivets
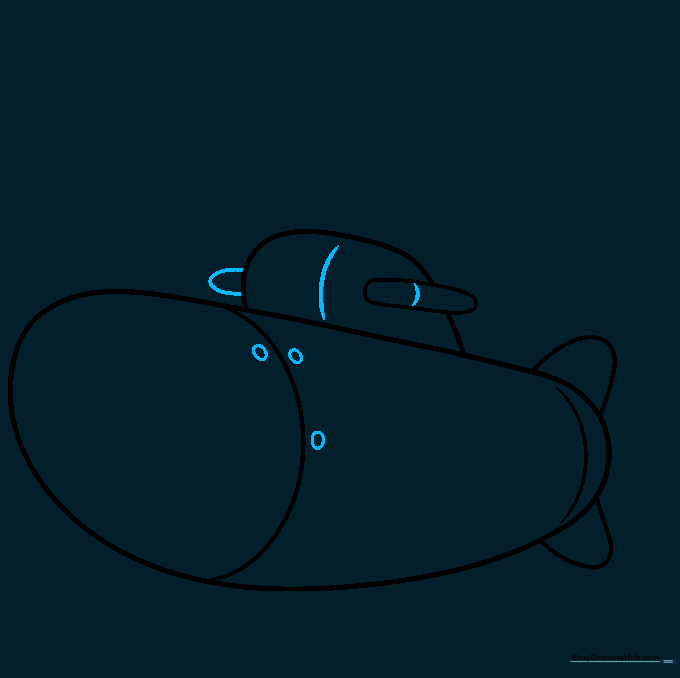
Add a 'U' shape on the other side of the tower to complete the sail plane. Draw small circles along the hull to represent rivets. Tip: Space your rivets evenly to make the submarine look like it's made of sturdy metal plates.
Step 5: Drawing the First Porthole
Add more rivets along the top. Then, draw a circle within a circle on the side of the hull to create your first porthole. Tip: Use a circular object like a coin if you need help getting a perfect circle!
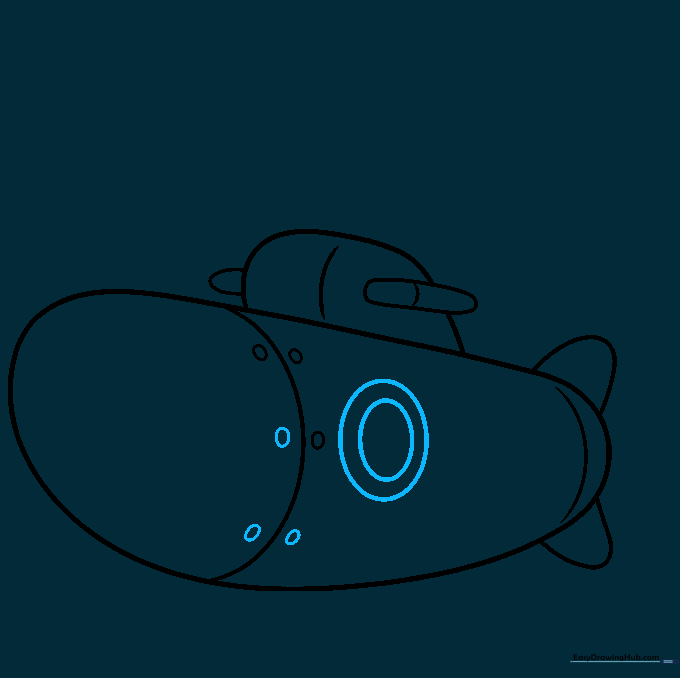
Step 6: Adding More Windows

Continue adding portholes down the side of the hull. Tip: Keep them in a straight line to make your submarine look professional and balanced.
Step 7: The Propeller

Draw a partial circle between the rudders at the back. Add curved lines that double back to create the fan-like propeller blades. Tip: Make the blades look like they are spinning by keeping the curves smooth.
Step 8: The Periscope
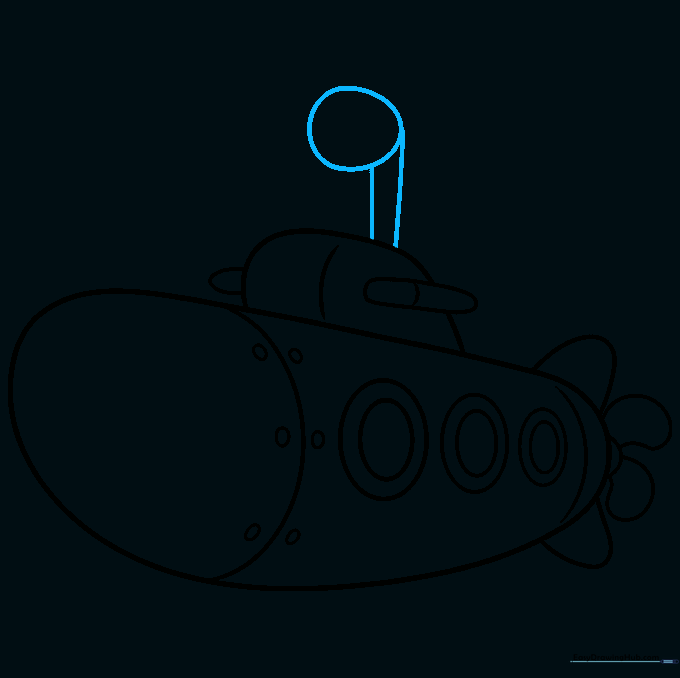
Draw an oval above the tower and connect it with two parallel lines. This is the periscope! Tip: This is how the crew sees what's happening above the water's surface.
Step 9: Refining the Periscope
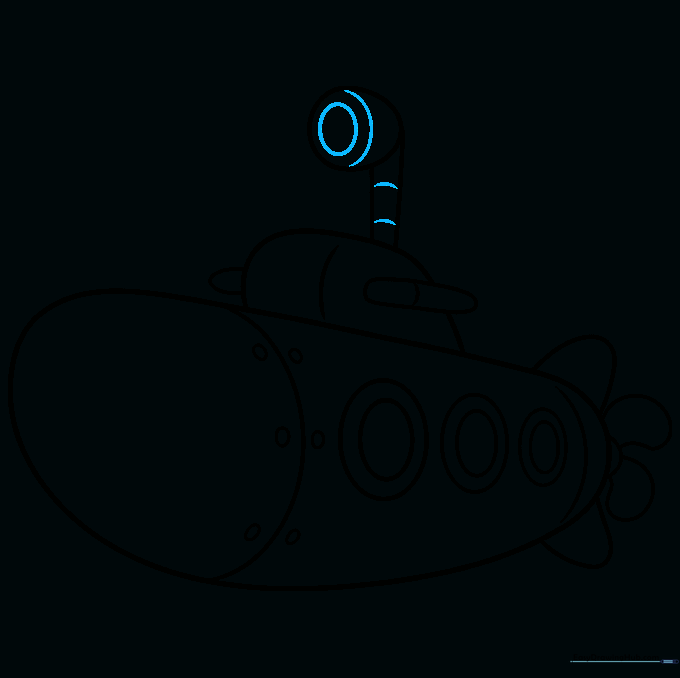
Add a small circle inside the periscope's window and two curved lines on the arm for detail. Tip: Small details like these make your drawing look much more realistic.
Step 10: Adding Color

Bring your submarine to life with color! Traditional subs are grey or black, but feel free to use bright yellow or any color you like. Tip: Use a darker shade for the rivets to make them pop against the hull.
More Tutorials


