How to Draw a Strawberry: Easy 10-Step Guide for Kids
Looking for a fun, screen-free activity? This strawberry drawing tutorial is perfect for young artists ages 5 and up. All you need is a pencil, an eraser, and some colored pencils to bring this sweet fruit to life while practicing basic shape recognition.
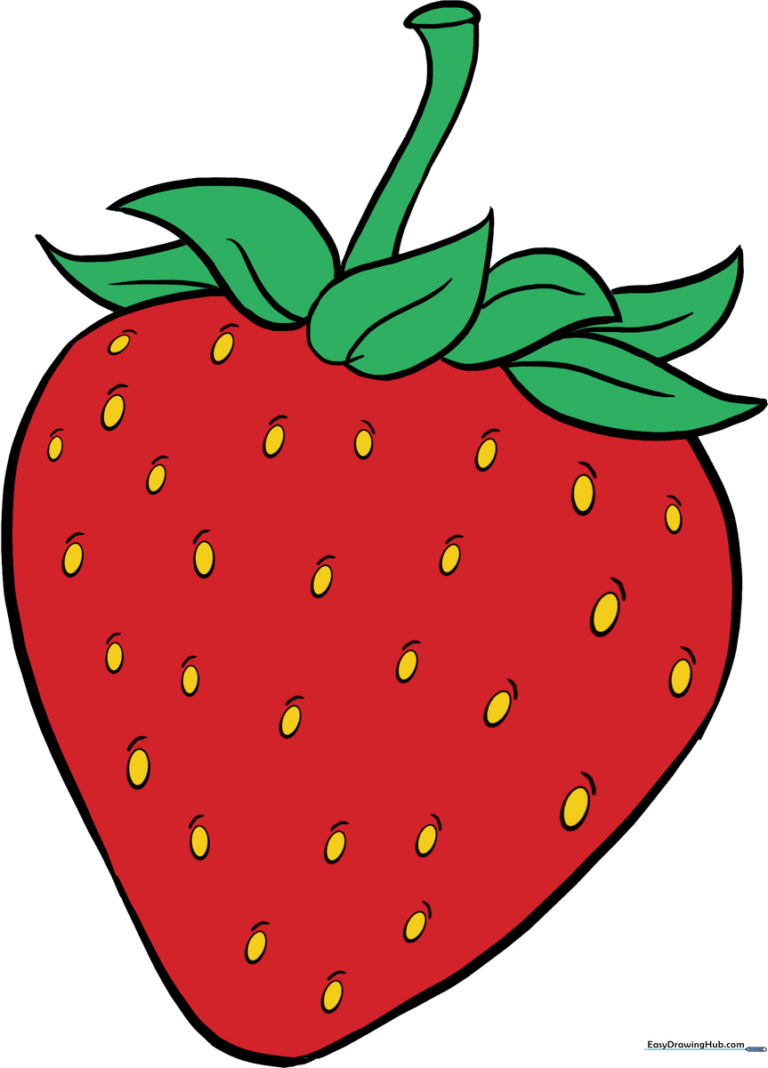
🎯 Final Result
Step-by-Step Instructions
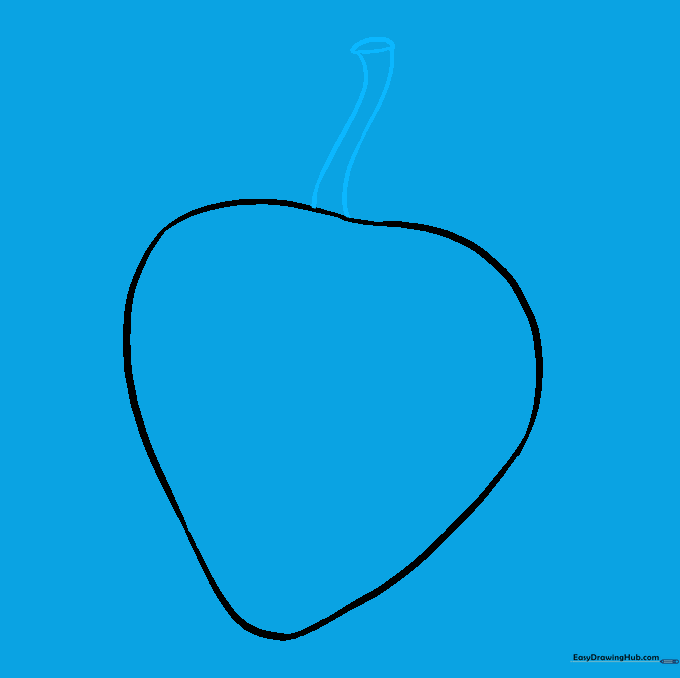
Step 1: Sketching the First Curve

Start by drawing a soft, curved line that looks like a slightly crooked letter 'C'. Teacher's Tip: Keep this line light—it’s the foundation for your berry's shape.
Step 2: Closing the Shape

Draw a mirror image of your first curve to connect at the top and bottom. It should look like a rounded heart. Tip: Don't worry about perfection; nature is rarely perfectly symmetrical!
Step 3: Adding the Stem
Draw two short, parallel lines extending from the top center, closing them with a small oval. This is the stem that connects the berry to the plant.
Step 4: Drawing the First Sepals
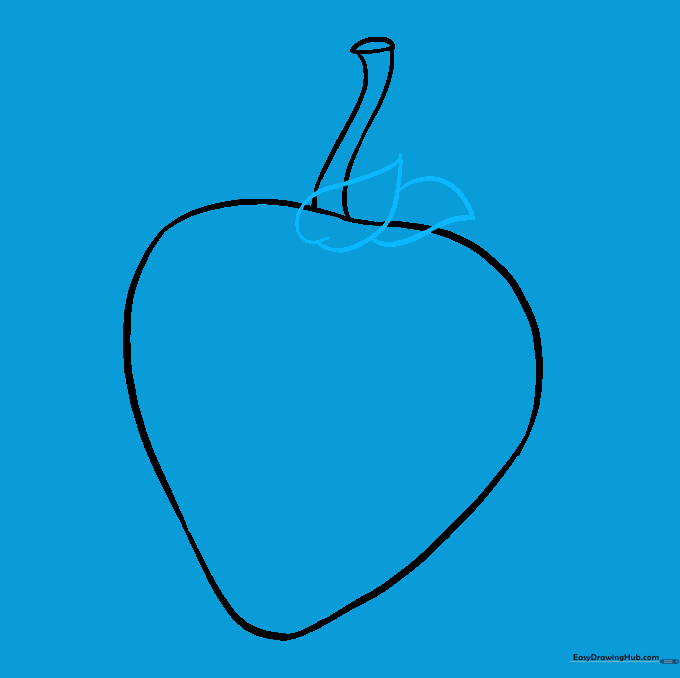
Add an upside-down heart shape overlapping the stem to form the calyx—the leafy green top. Add a teardrop shape next to it for a second leaf. Tip: Use fluid, sweeping motions for a natural look.
Step 5: Cleaning Up
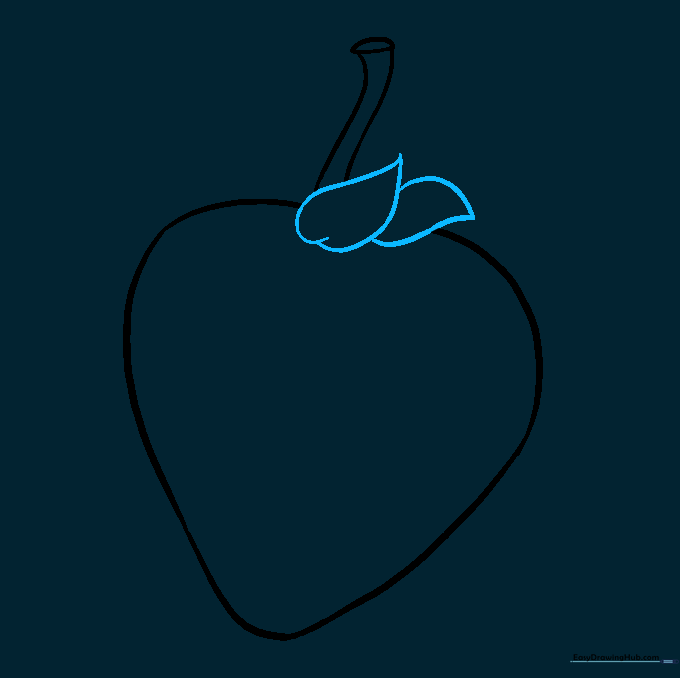
Gently erase the overlapping lines inside the sepals to make the drawing look clean and professional. Always brush away eraser crumbs with your hand or a soft cloth.
Step 6: Adding More Leaves
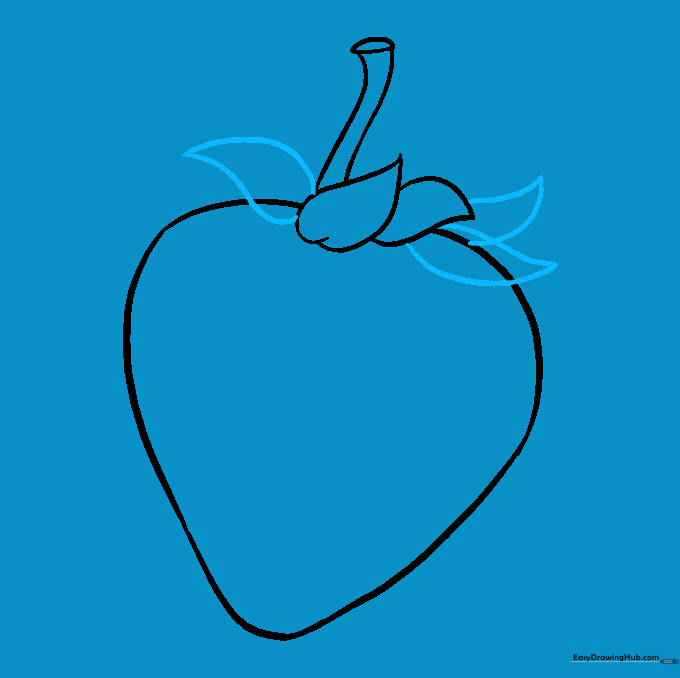
Draw additional pointed, curved lines around the top to fill out the calyx. These should look like small, soft triangles.
Step 7: Refining the Top

Erase any remaining guide lines within your new leaves. This step helps your drawing look polished and ready for detail.
Step 8: Adding Vein Details

Draw a single line down the center of each leaf to represent the vein. This small detail adds a great sense of realism!
Step 9: Adding the Seeds

Scatter small, shallow ovals across the surface of the strawberry. Tip: Don't make them too uniform; seeds on a real strawberry are scattered randomly.
Step 10: Bringing it to Life with Color
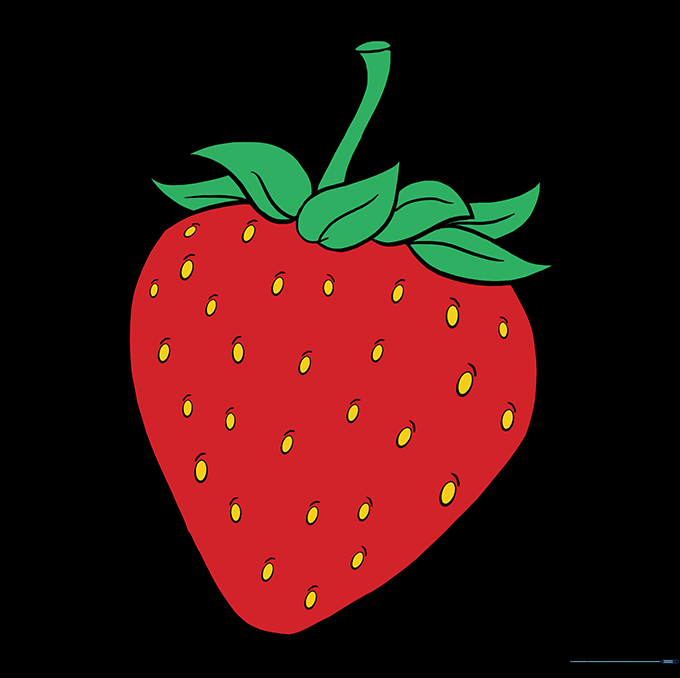
Time to color! Use bright red for the body and vibrant green for the leaves. You can use black or dark red for the seeds to make them pop.
More Tutorials


