How to Draw a Stork: Easy 10-Step Guide for Kids
Ready to bring a graceful stork to life on paper? This tutorial is designed for young artists and beginners, requiring only a pencil, eraser, and paper. Follow these simple steps to master bird anatomy and create your own feathered friend.
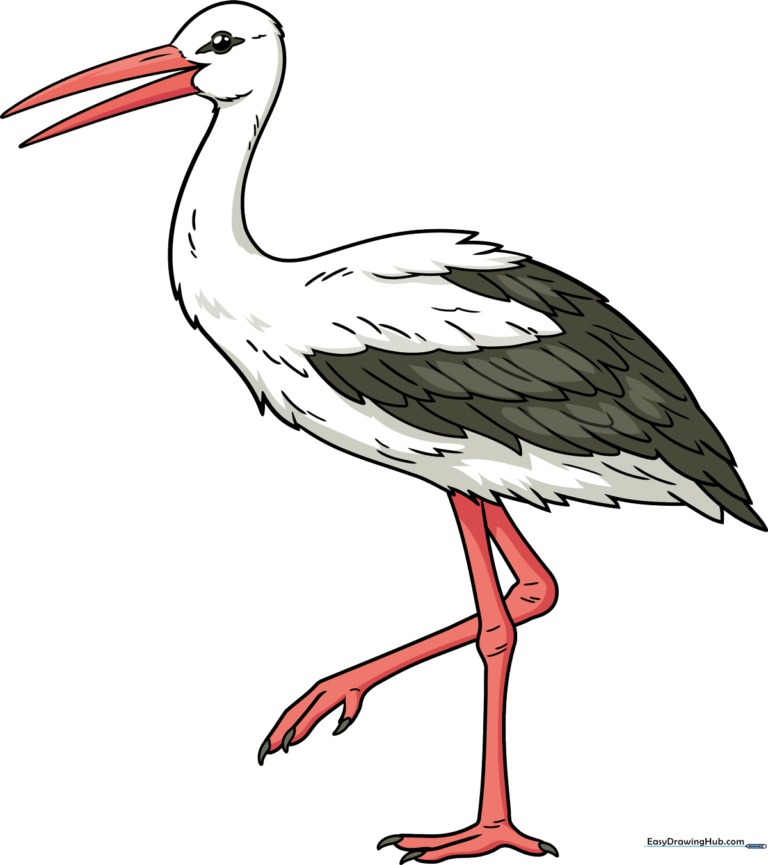
🎯 Final Result
Step-by-Step Instructions
Step 1: Sketching the Beak and Head
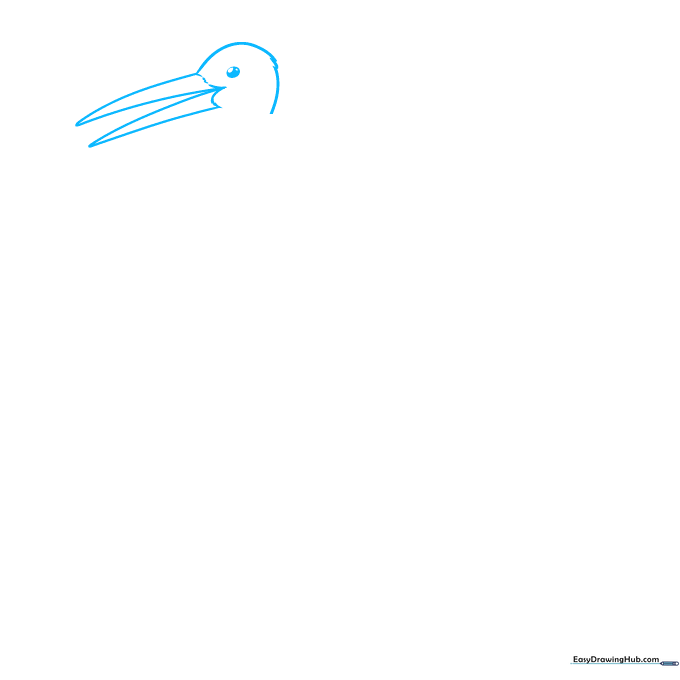
Start by drawing the long, pointed beak using two curved lines that meet at a sharp tip. For the head, use soft, connected curves to suggest fluffy feathers. Teacher's Tip: Keep your pencil pressure light so you can easily erase any overlapping lines later.
Step 2: Shaping the Neck and Back
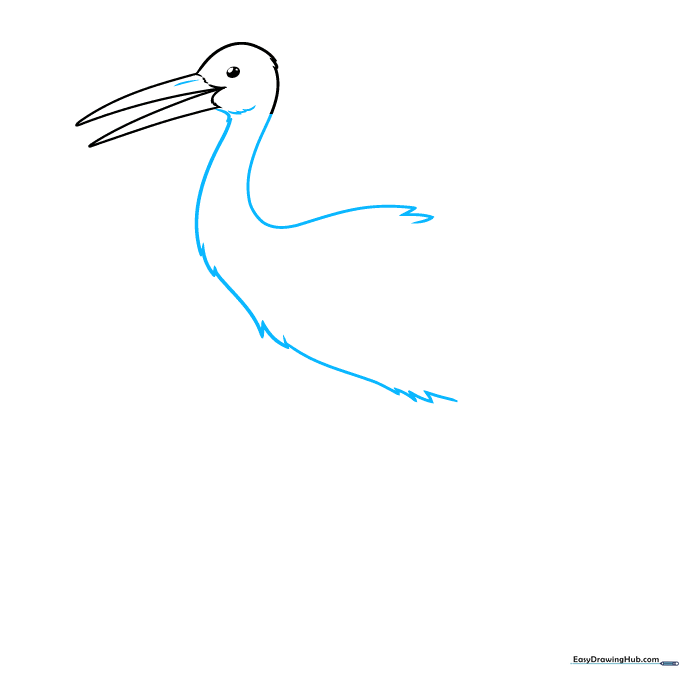
Create the elegant curve of the neck and back using jagged, uneven lines. These small points represent the texture of feathers. Teacher's Tip: Think of these as 'V' shapes or zig-zags to give your bird a natural, soft appearance.
Step 3: Outlining the Folded Wing
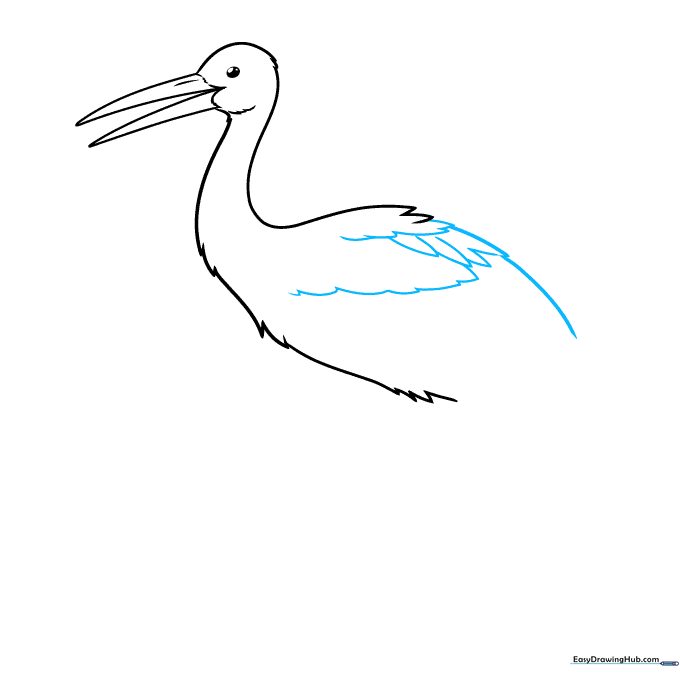
Sketch the primary layers of the folded wing using overlapping curved lines. For the flight feathers, draw longer, pointed shapes. Teacher's Tip: Vary the size of your curves to make the wing look layered and realistic.
Step 4: Adding Wing Detail
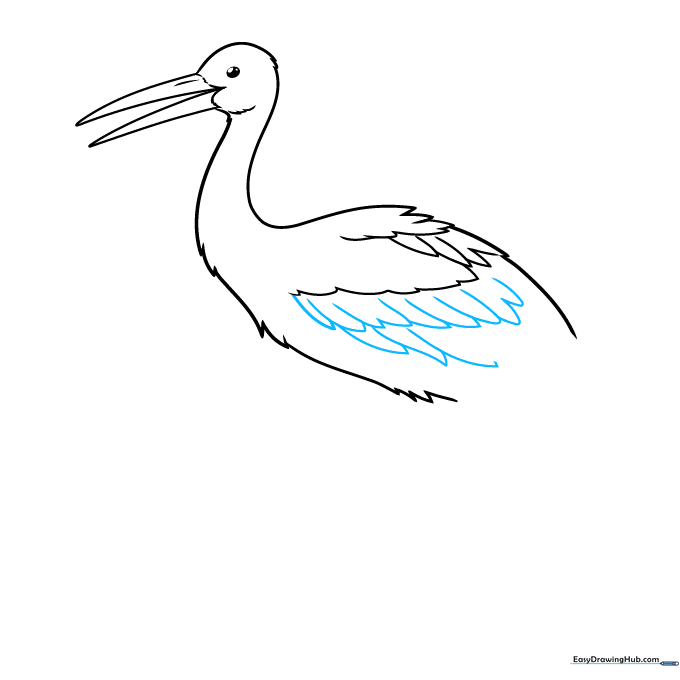
Add two more rows of feathers below the first layer. Use consistent overlapping strokes to maintain the texture. Teacher's Tip: Don't worry about making every feather identical; nature is rarely perfectly symmetrical!
Step 5: Defining the Belly and Tail
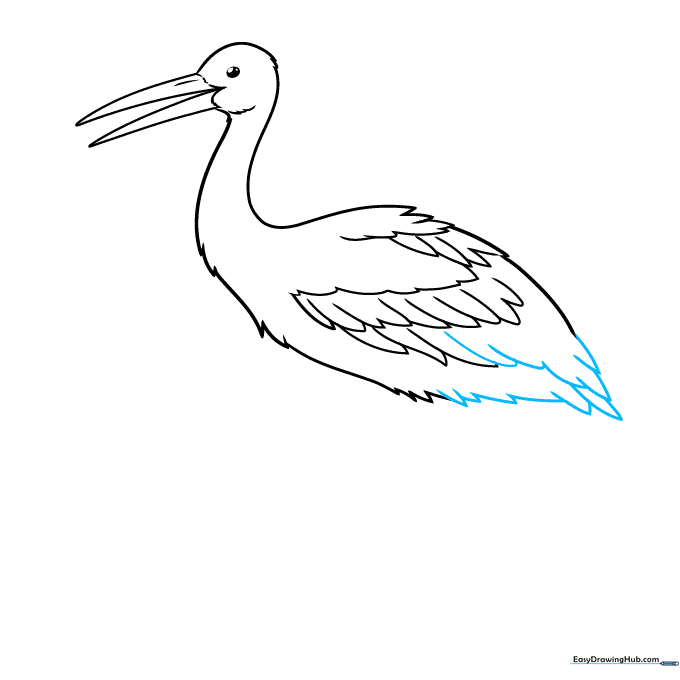
Extend the wing lines to form the belly and the start of the tail. Use pointed, overlapping strokes to finish the lower body. Teacher's Tip: Keep the lines flowing in the same direction to show the bird's posture.
Step 6: Drawing the First Leg
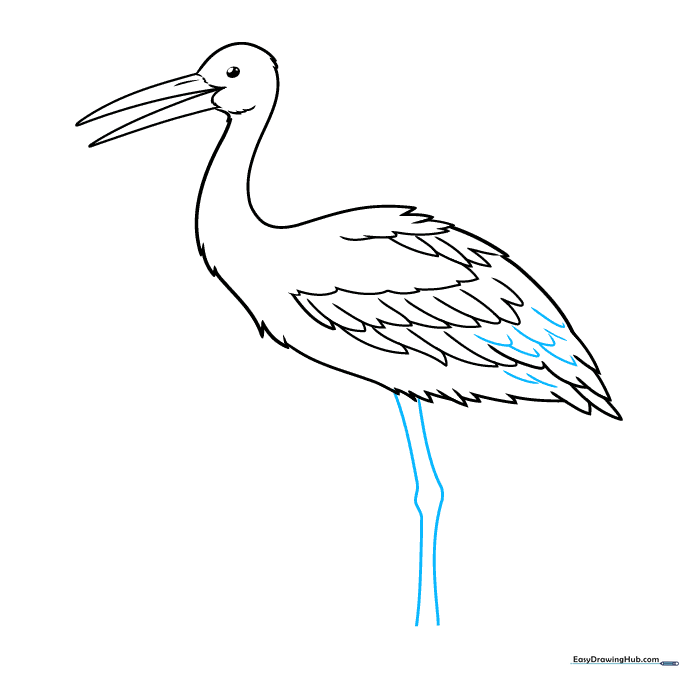
Draw the long, slender leg extending from the body. Include a small, rounded shape for the knee joint. Teacher's Tip: Stork legs are very thin, so use a steady hand to keep the lines parallel.
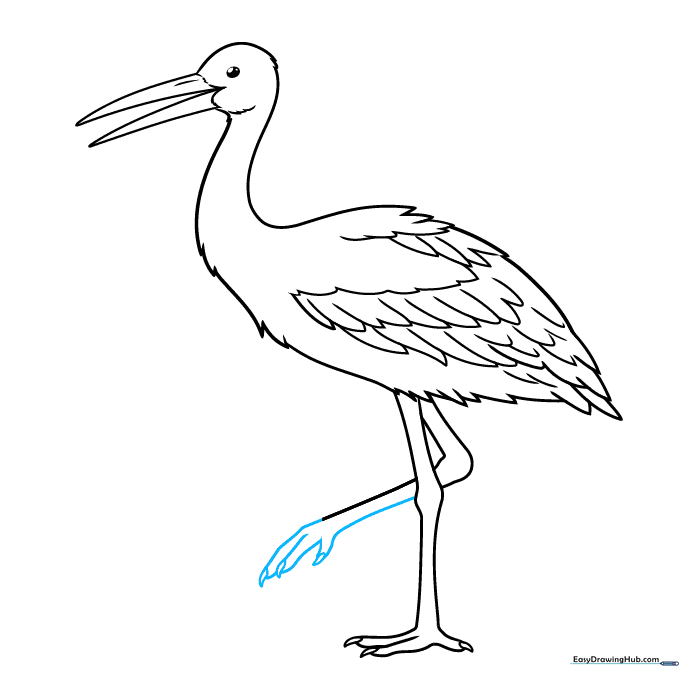
Step 7: Adding Feet and the Second Leg
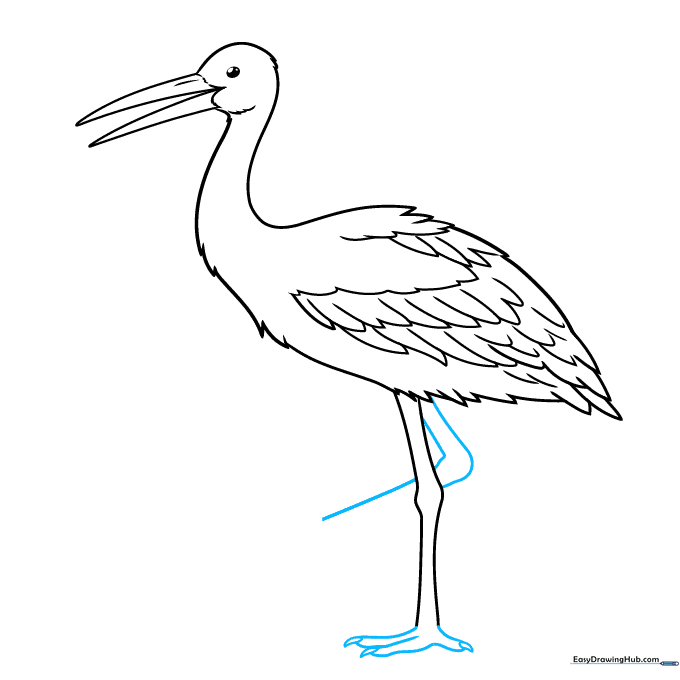
Draw the toes using small teardrop shapes for the claws. Then, sketch a second leg bent at the knee to show movement. Teacher's Tip: Drawing the leg bent makes your stork look like it is walking, adding life to your drawing.
Step 8: Finishing the Feet
Complete the second foot by adding the remaining toes and claws. Ensure the proportions match the first foot. Teacher's Tip: If the feet look too big, remember that storks have long, slender toes to help them walk in water.
Step 9: Final Details

Add small 'V' marks near the eye and add light texture lines along the legs and wings. Teacher's Tip: These small marks add character and make your drawing look more professional.
Step 10: Coloring Your Stork
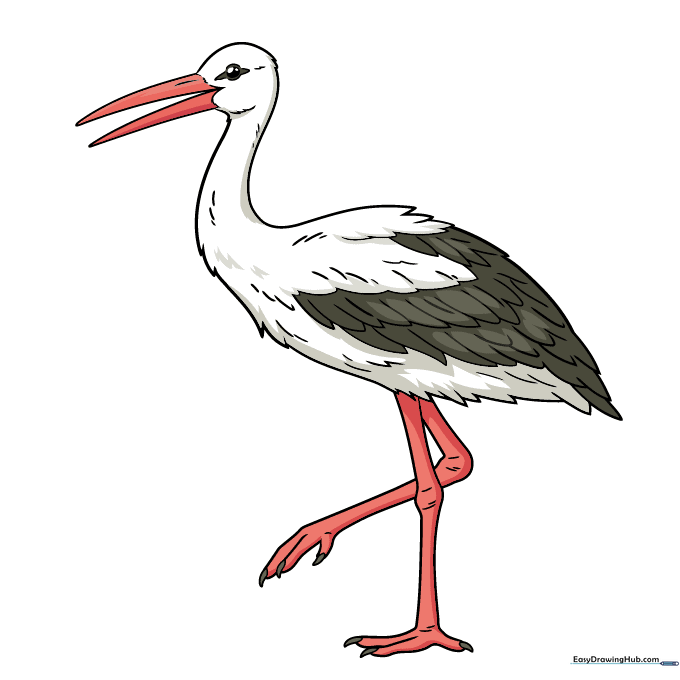
Time to add color! Use white for the body, and consider black, grey, or red for the beak and legs. Teacher's Tip: Use light, even strokes with your colored pencils to create a smooth, clean look.
More Tutorials


