How to Draw a Stingray: Easy 10-Step Guide for Kids
Bring the wonders of the ocean to your sketchbook with this friendly stingray tutorial. Designed for young artists ages 5 and up, this project requires only a pencil, eraser, and paper. Follow along to develop your confidence in drawing organic, flowing shapes.
🎯 Final Result

Step-by-Step Instructions
Step 1: Sketching the Leading Edge

Draw a smooth, 'S' shaped line to form the front edge of the stingray's body and one of its wide fins. Teacher's Tip: Keep your wrist loose to get that graceful, wavy motion.
Step 2: Defining the Body and Tail

Connect the body using a long, sweeping curve for the back, a small notch for the barb, and a tapering line for the tail. Teacher's Tip: Aim for a sharp point at the end of the tail to give it a realistic look.
Step 3: Creating the Underbelly

Draw a triangular shape underneath the main body to define the underbelly. Teacher's Tip: Think of this as the 'shadow' area of the stingray's flat body.
Step 4: Drawing the Mouth

Add two 'U' shaped lines for the mouth and a small curve inside for the tongue. Teacher's Tip: Keep the mouth small to maintain the stingray's friendly, cartoonish expression.
Step 5: Completing the Fins

Draw a large, rounded triangle above the back to form the second fin. Teacher's Tip: Make sure the size matches the first fin to keep the stingray symmetrical.
Step 6: Adding Texture and Spots
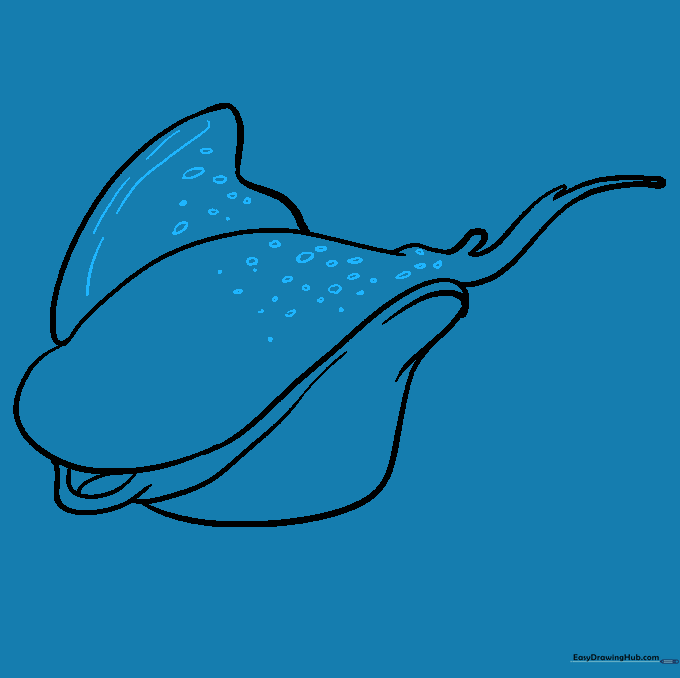
Decorate the back with small circles and dots to give it texture. Teacher's Tip: Vary the size of the spots to make the pattern look more natural.
Step 7: Drawing the Eyebrows

Sketch two curved, pointed shapes above the mouth area for the eyebrows. Teacher's Tip: These shapes add personality—try angling them to make your stingray look curious!
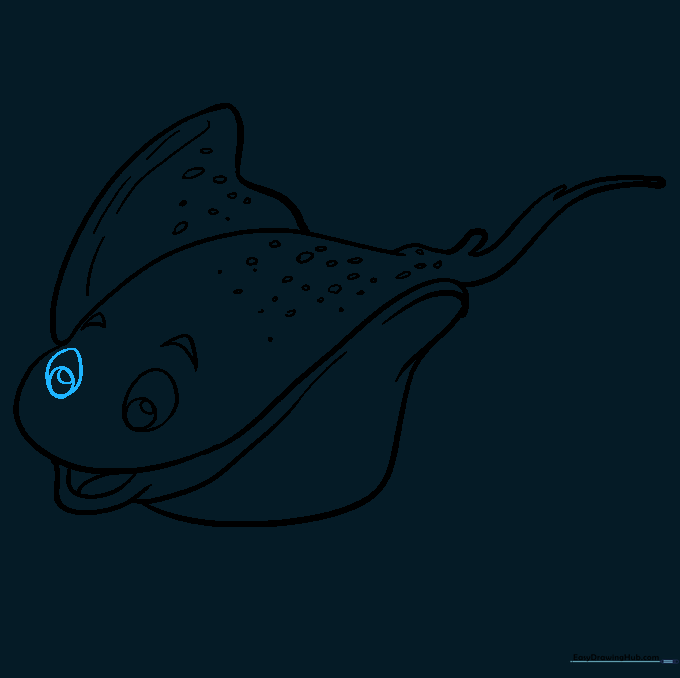
Step 8: Drawing the First Eye

Draw three nested circles to create a detailed eye. Teacher's Tip: Leave a tiny white dot in the smallest circle to create a 'glint' or highlight.
Step 9: Drawing the Second Eye
Repeat the process from Step 8 to draw the second eye on the other side of the face. Teacher's Tip: Ensure the eyes are aligned horizontally for a balanced look.
Step 10: Adding Color

Bring your stingray to life with color! Use shades of grey, brown, or even bright blues for a tropical look. Teacher's Tip: Use light pressure with your colored pencils to blend colors smoothly.
More Tutorials


