How to Draw a Stand Up Paddle Board: Easy 9-Step Guide
Ready to hit the water? This tutorial is perfect for young artists ages 7+ looking to master figure drawing in motion. You will need a pencil, an eraser, and your favorite markers or colored pencils to bring this sunny day scene to life.
🎯 Final Result

Step-by-Step Instructions
Step 1: Sketching the Face
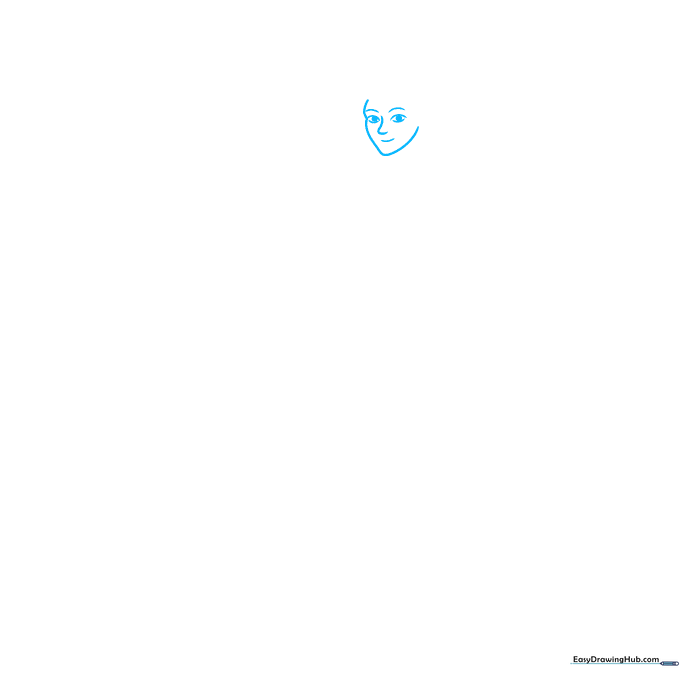
Start by drawing the paddle boarder's face. Use soft, curved lines for the chin and facial features. Tip: Keep your pencil pressure light so you can easily adjust the expression later if needed.
Step 2: Defining the Shoulders and Hair
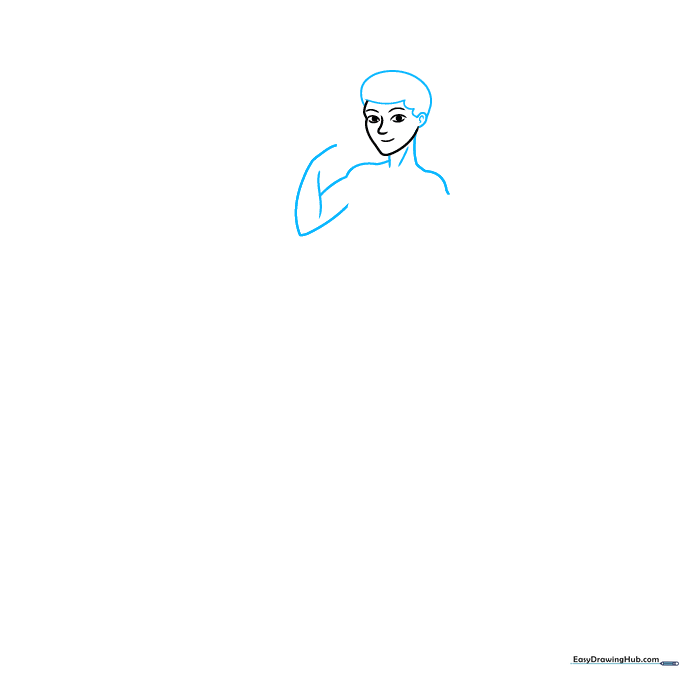
Use flowing, overlapping curved lines to define the hair, neck, and shoulders. Tip: Think of the hair as large shapes rather than individual strands to keep the drawing looking clean and cartoon-styled.
Step 3: Sketching the Paddle
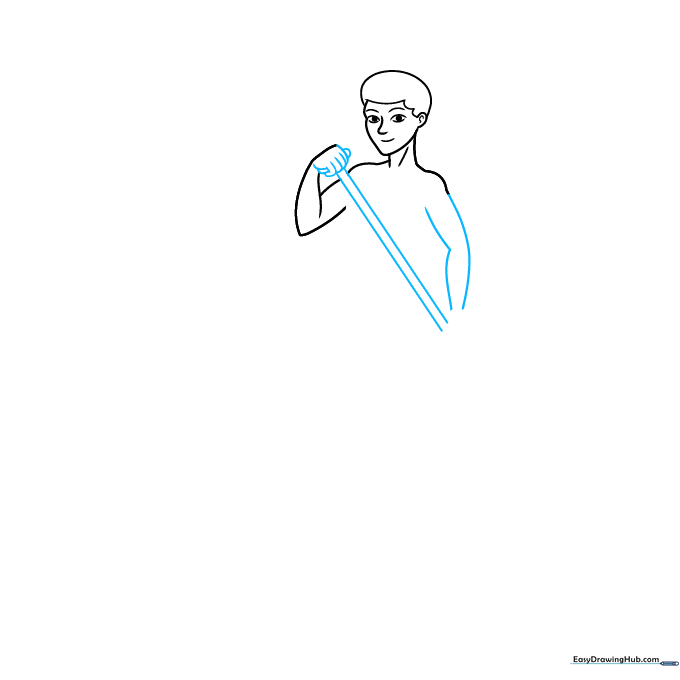
Draw the arms and the long handle of the paddle using parallel lines. Tip: Use a ruler if you struggle with straight lines, but try freehand first to build your hand-eye coordination.
Step 4: Drawing the Torso
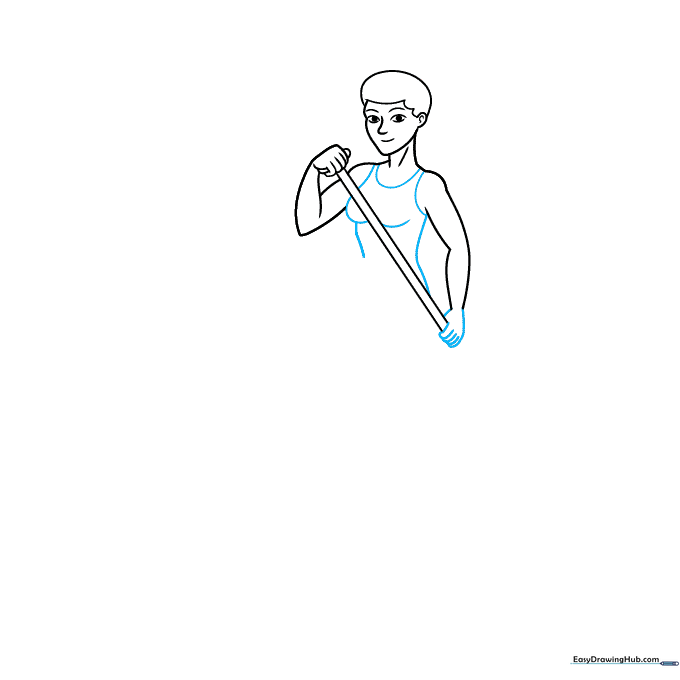
Add the hands gripping the paddle and the outline of the tank top. Tip: Focus on the 'C' shapes for the fingers to make them look like they are actually wrapping around the paddle handle.
Step 5: Adding the Legs
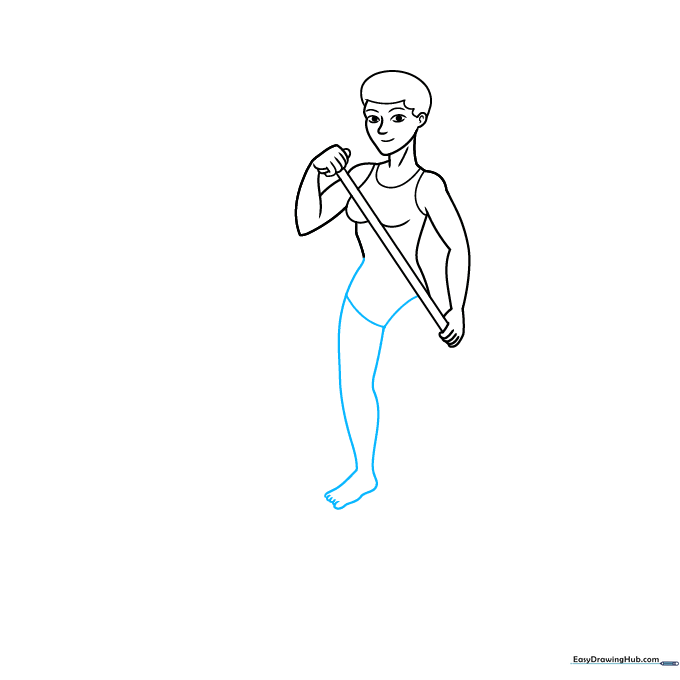
Draw the legs and feet using long, smooth curves. Tip: Keep the toes simple—small, rounded bumps are all you need to suggest feet in this cartoon style.
Step 6: Refining the Anatomy
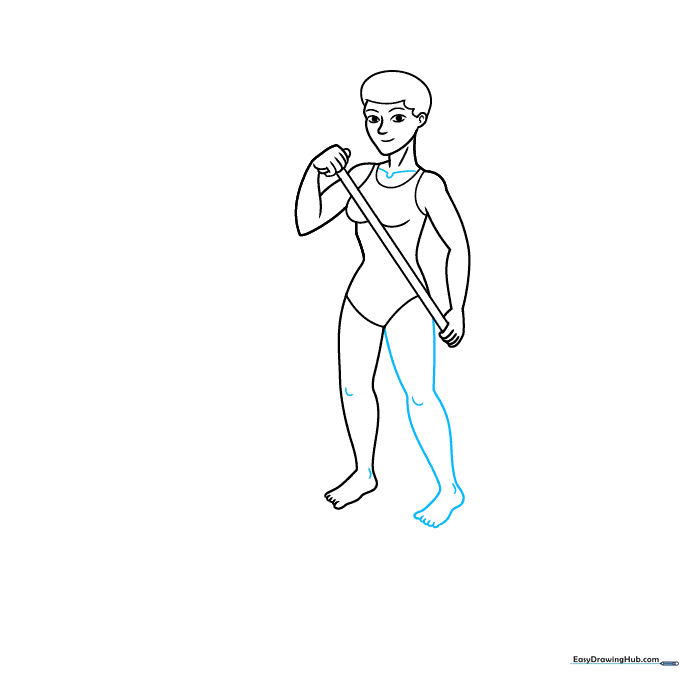
Add details to the knees and ankles with short, subtle lines. Tip: Less is more! A tiny dash is enough to show a joint without making the drawing look cluttered.
Step 7: Finalizing the Paddle and Hair
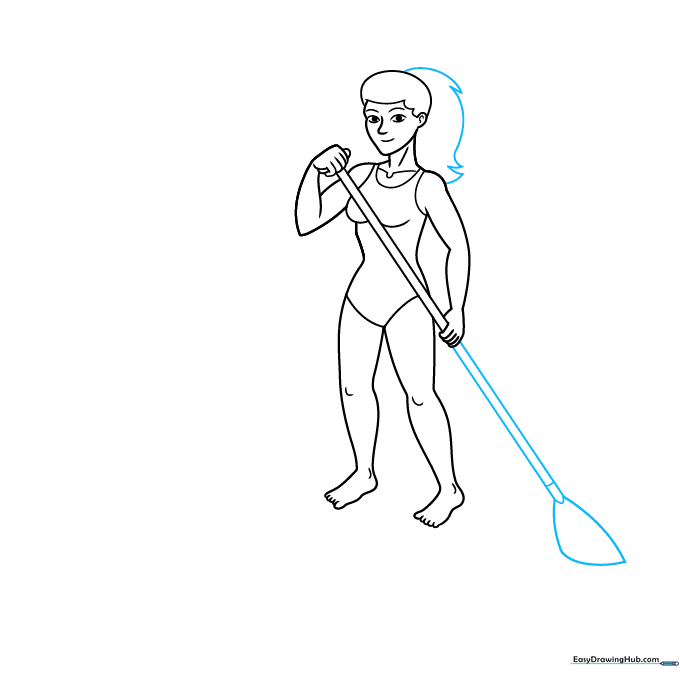
Complete the ponytail and the blade of the paddle. Tip: Use jagged lines for the hair to give it a sense of movement, as if the wind is blowing while they paddle.
Step 8: Drawing the Board and Water
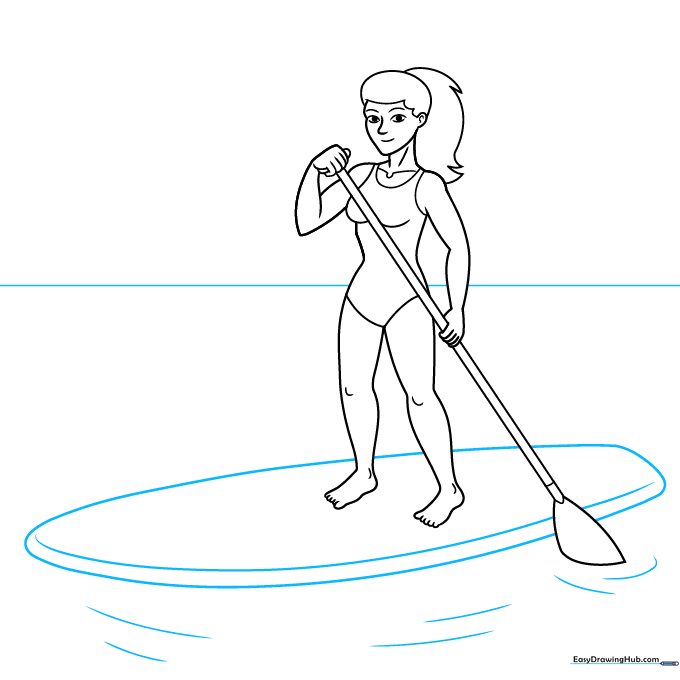
Enclose the board with a long, curved shape and add ripples to the water. Tip: Draw the board slightly wider than you think—it helps the character look stable on the water.
Step 9: Adding Background Details
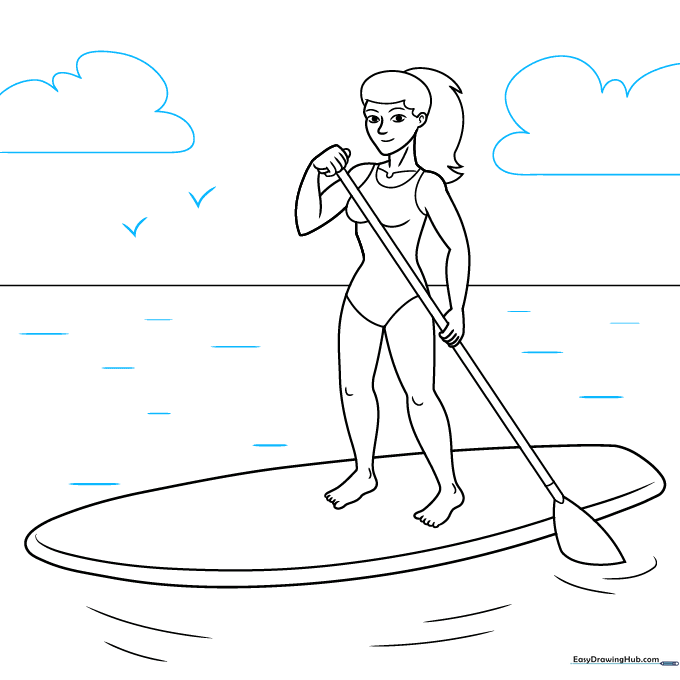
Finish your scene with distant waves, clouds, and birds in the sky. Tip: Use 'V' shapes for birds to keep the background simple and clean.
Step 10: Bring It to Life with Color
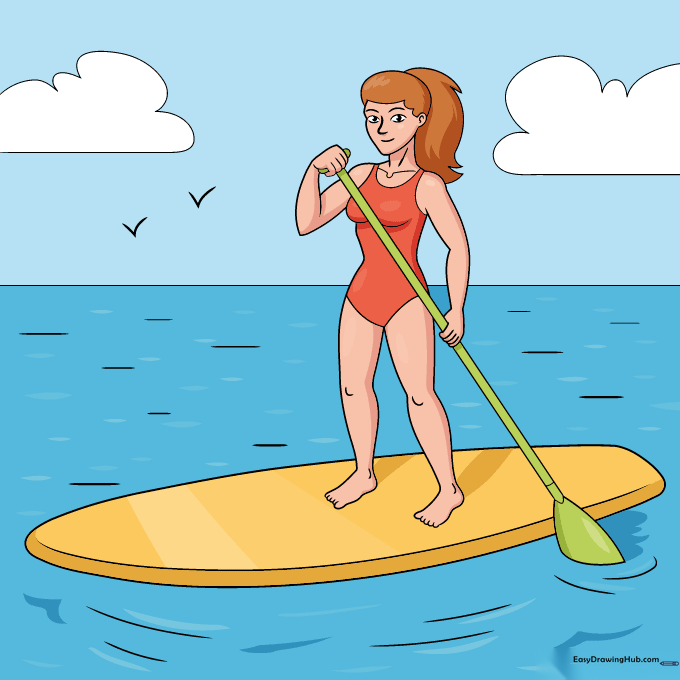
Now for the fun part! Use bright blues for the water and your favorite colors for the board and outfit. Tip: Use light blue for the water and darker blue for the ripples to create depth.
More Tutorials


