How to Draw a St. Patrick’s Day Puppy: Easy 10-Step Guide
Celebrate the luck of the Irish by drawing your very own St. Patrick's Day puppy! This activity is perfect for artists ages 5 and up, requiring only a pencil, paper, and your favorite markers. Follow these simple steps to build confidence in your drawing skills while creating a charming, holiday-themed character.
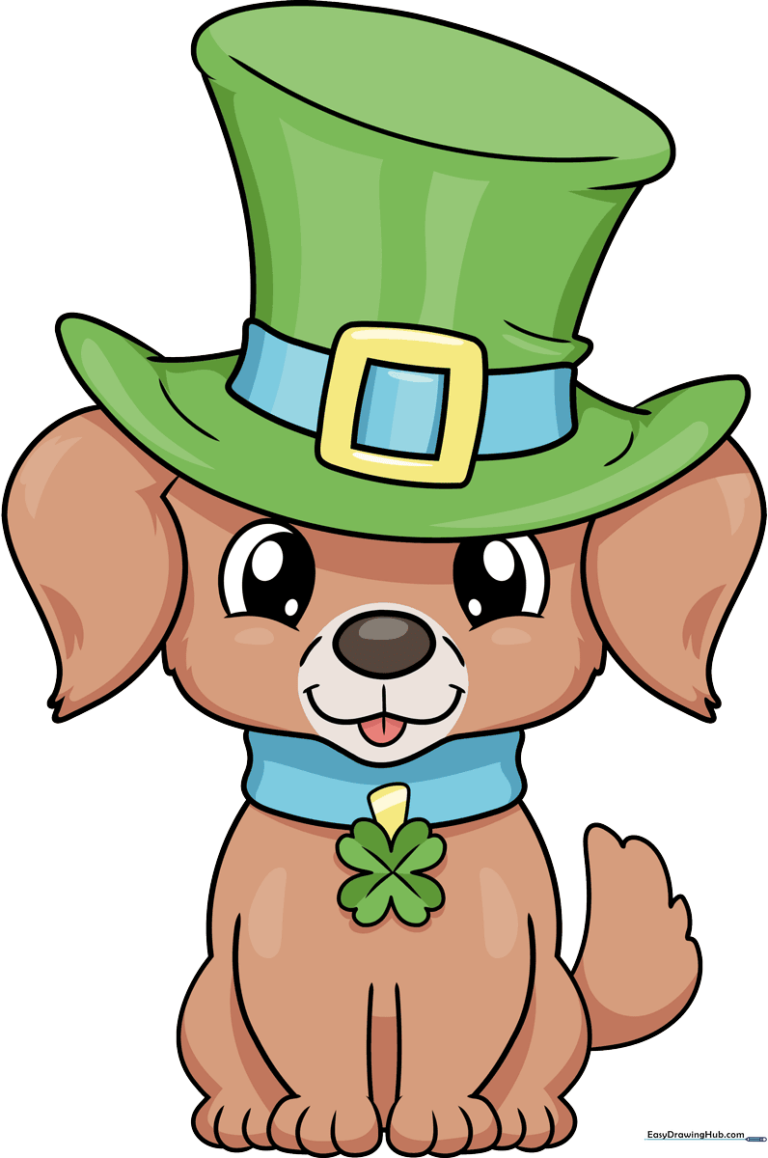
🎯 Final Result
Step-by-Step Instructions
Step 1: Sketching the Expressive Eyes

Start by drawing two curved lines for the upper eyelids, then enclose a partial oval beneath each. Add smaller ovals inside for the pupils and shade them in. Teacher's Tip: Keep your pencil lines light and soft here so you can easily adjust the puppy's expression later.
Step 2: Adding the Nose and Mouth

Draw a small oval for the nose, then add a wide 'W' shaped line underneath to create a happy puppy smile. Add tiny vertical lines at the corners of the mouth for extra character. Teacher's Tip: A centered nose helps keep the puppy's face symmetrical and balanced.
Step 3: Defining the Face and Hat Brim
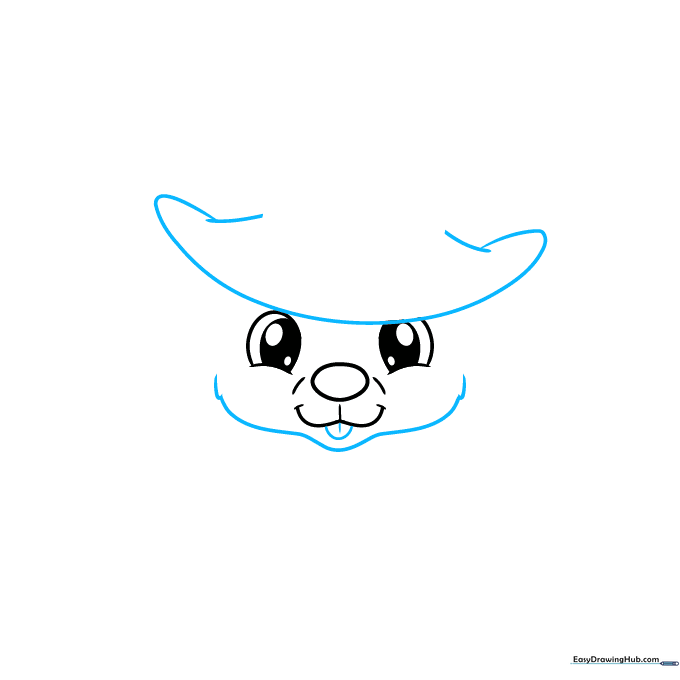
Draw a 'U' shape for the tongue and outline the bottom of the face with short, jagged lines to mimic fur. Above the eyes, draw a long curved line to start the hat brim. Teacher's Tip: Use short, quick pencil strokes for the fur to give it a soft, fluffy appearance.
Step 4: Constructing the Hat
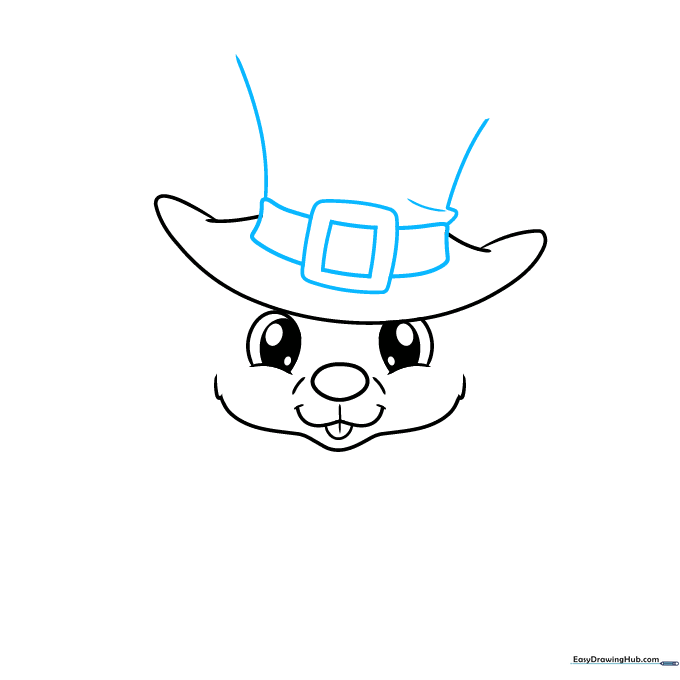
Draw a square-within-a-square on the hatband to create a buckle, then extend two vertical lines upward for the crown of the hat. Teacher's Tip: Don't worry about perfect straight lines; a slightly wobbly line can actually make the hat look more like fabric.
Step 5: Finishing the Hat and Ears
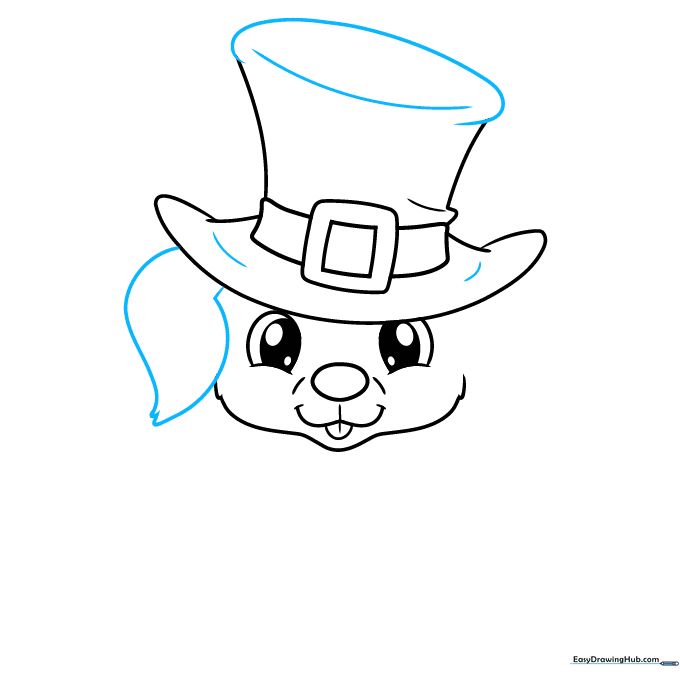
Close the top of the hat with a curved line and add floppy ears extending from the brim. Use jagged lines at the tips of the ears to show texture. Teacher's Tip: Make the ears hang down low to give the puppy a sweet, friendly look.
Step 6: Adding the Lucky Clover
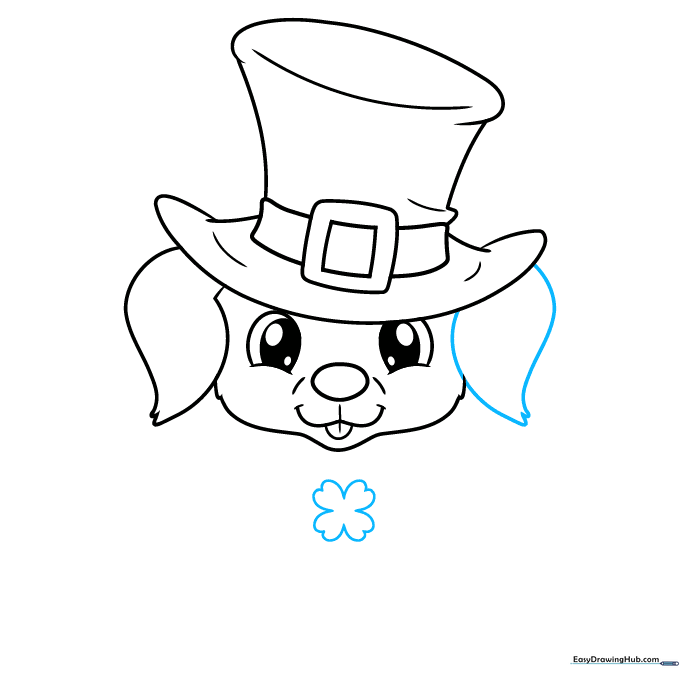
Draw the second ear to match the first, then sketch a four-leaf clover below the chin using heart-shaped petals. Teacher's Tip: If the clover is tricky, draw four small hearts pointing toward a center point.
Step 7: Drawing the Collar and Legs
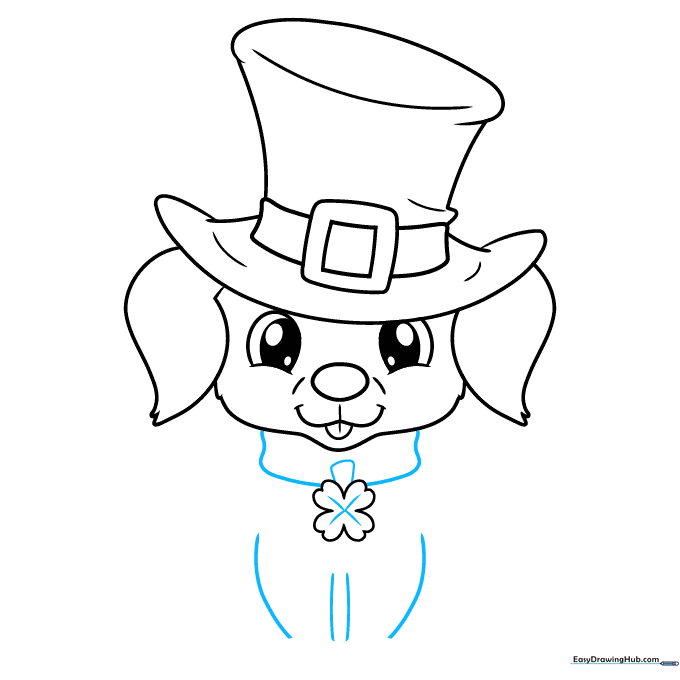
Add an 'X' to the clover for detail. Draw a rounded rectangle for the collar, then sketch the beginning of the front legs. Teacher's Tip: Keep the legs simple—two parallel lines will do for now!
Step 8: Shaping the Body

Use smooth, curved lines to connect the head to the body and define the front paws. Teacher's Tip: Think of the body as a soft, rounded bean shape to keep the puppy looking cuddly.
Step 9: Adding the Tail and Final Touches
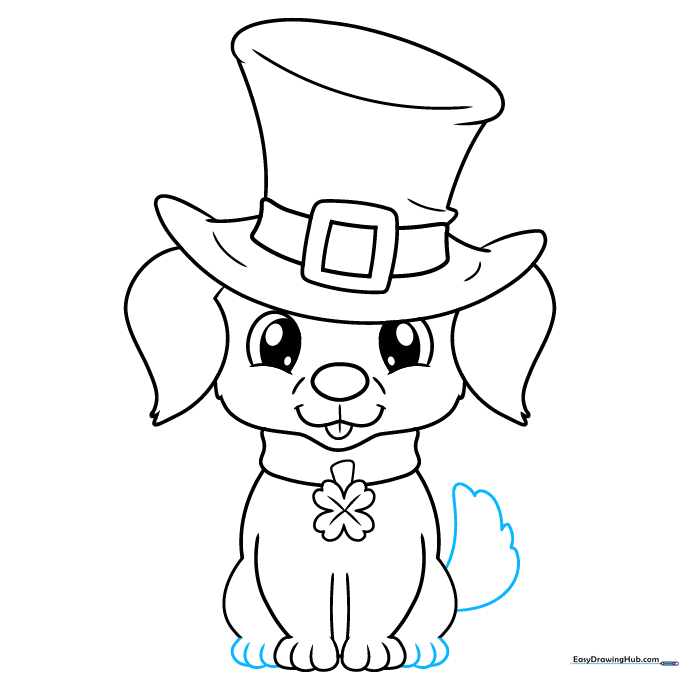
Draw the back paws and a fluffy, wagging tail using quick, overlapping curved lines. Teacher's Tip: A tail that curves upward suggests the puppy is happy and excited!
Step 10: Bring Your Puppy to Life with Color
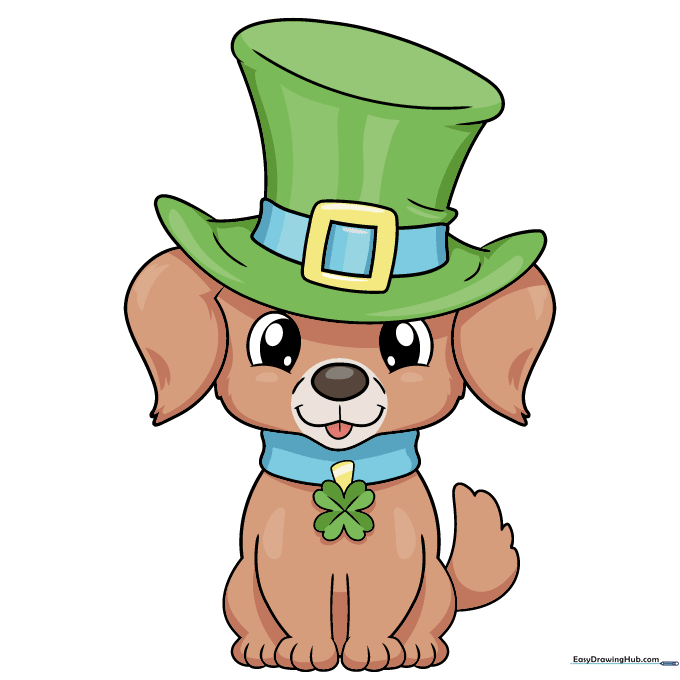
Now for the fun part! Color your puppy using your favorite shades. Use bright green for the hat and clover to celebrate St. Patrick's Day. Teacher's Tip: Try using light brown for the fur and adding a little pink to the tongue for a vibrant finish.
More Tutorials


