How to Draw a Squishmallow: Easy 10-Step Guide
Perfect for young artists and Squishmallow fans, this tutorial breaks down how to draw a cozy, winter-themed plushie. All you need is a pencil, an eraser, and your favorite markers to bring this character to life. Follow along to practice basic shapes and build your confidence in character design.
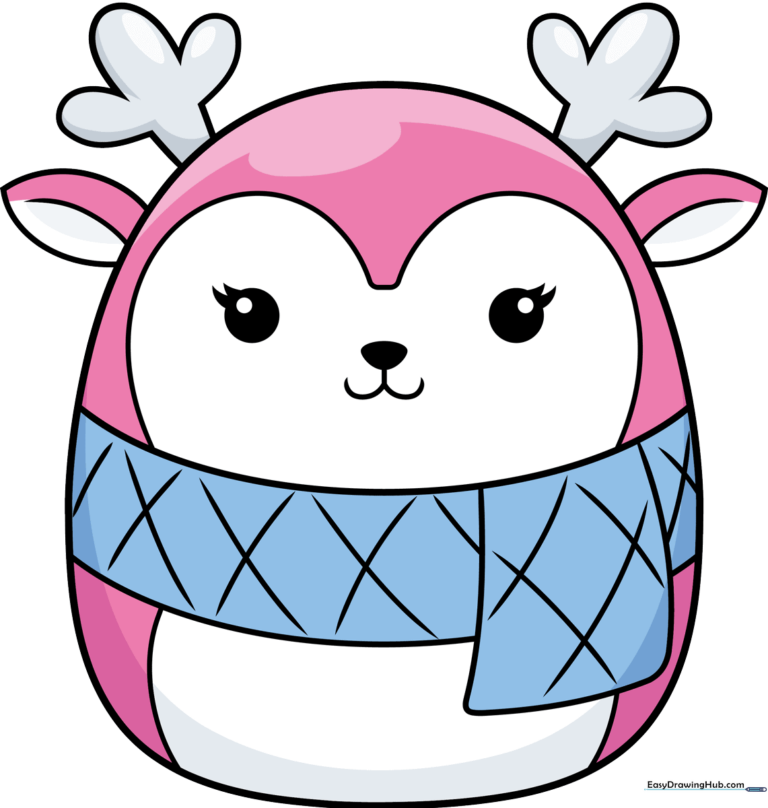
🎯 Final Result
Step-by-Step Instructions
Step 1: Sketching the Main Body
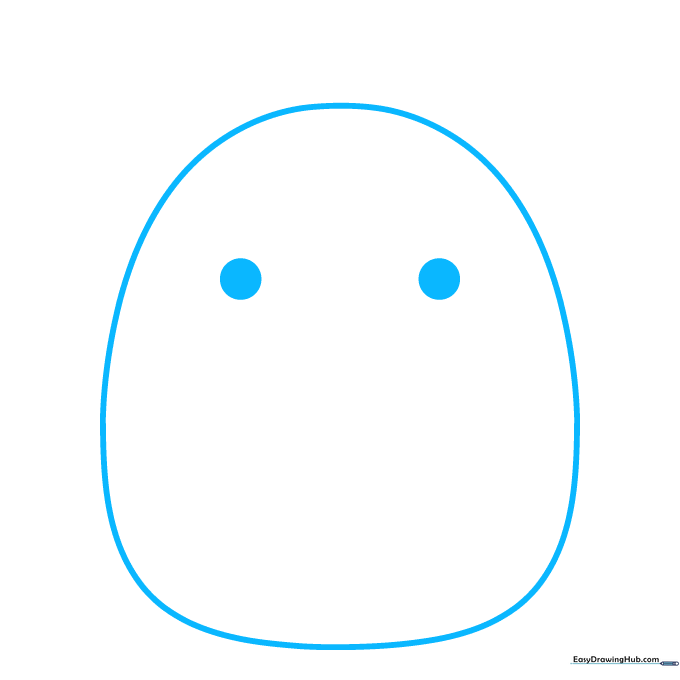
Draw a large, soft oval that is slightly flattened at the bottom to give your plushie a stable base. Add two small circles inside for the eyes. Teacher's Tip: Keep your pencil lines light so you can easily erase any mistakes later!
Step 2: Adding Facial Features
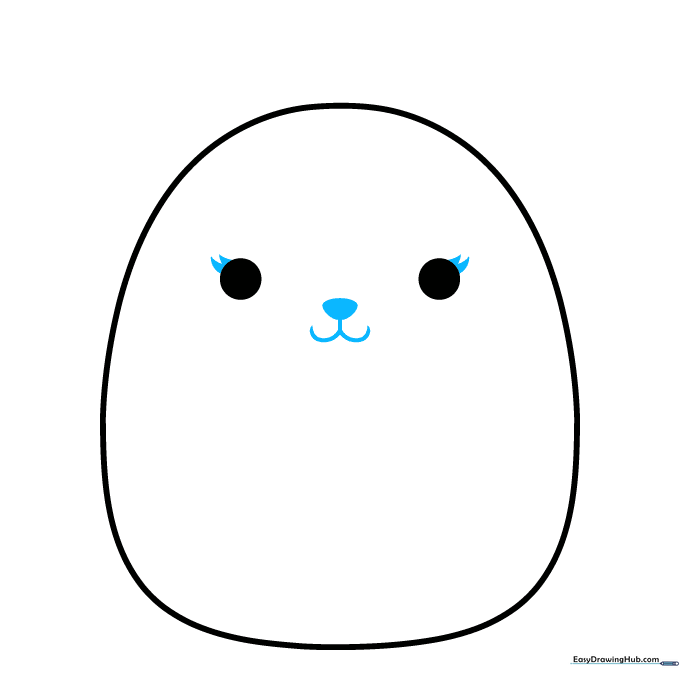
Add tiny triangles above the eyes for eyelashes. Draw a small, rounded triangle for the nose and a gentle 'W' shape below it for a happy mouth. Teacher's Tip: Use a light touch for the mouth to keep the expression sweet and friendly.
Step 3: Drawing the First Antler
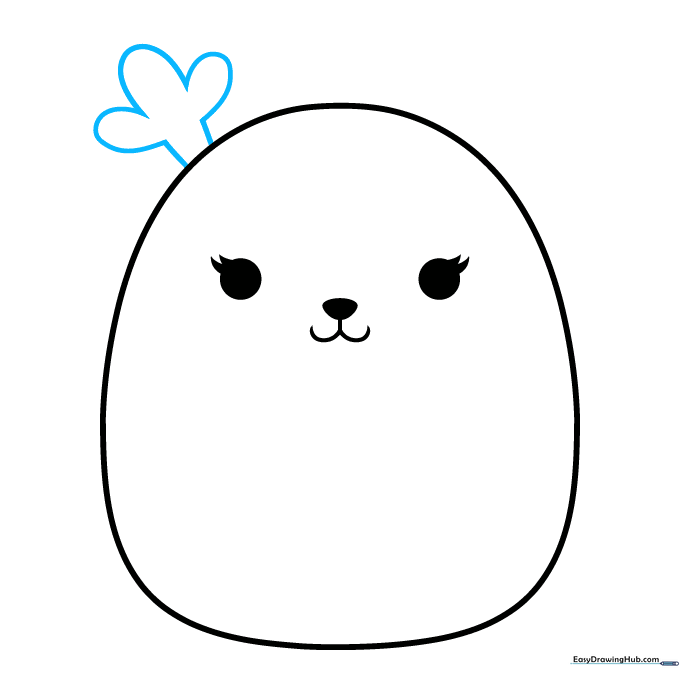
Draw two short vertical lines on the side of the head. Connect them with three 'U' shaped lines to create the first antler. Teacher's Tip: Think of these as little clouds sitting on top of the head.
Step 4: Drawing the Second Antler

Mirror the process on the opposite side to create the second antler. Teacher's Tip: Symmetry can be tricky, so take your time to make sure both antlers are roughly the same size.
Step 5: Adding Ears

Draw a pointed ear below each antler by connecting two curved lines. Add a small line down the center of each ear for depth. Teacher's Tip: Keep the ears small so they look cute and proportional to the large body.
Step 6: Sketching the Scarf
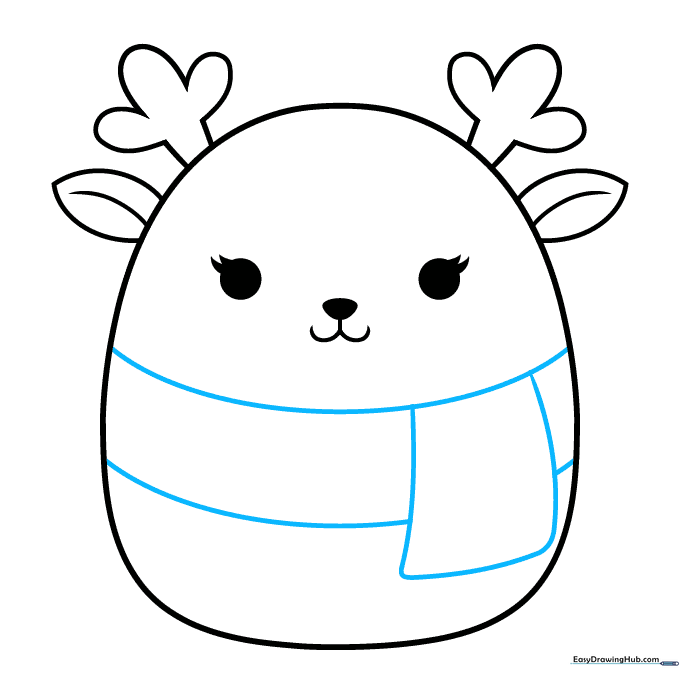
Draw a rounded rectangle across the chest area and connect it to the sides of the body with curved lines. Teacher's Tip: This creates the illusion that the scarf is wrapped snugly around the character.
Step 7: Defining the Belly
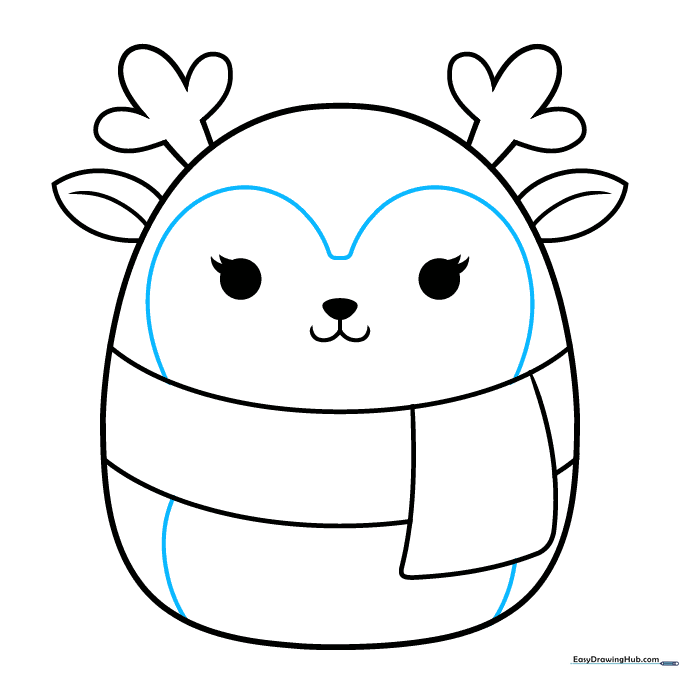
Use a soft, curved line to outline the belly area. Teacher's Tip: Make this line nice and round to emphasize the 'squishy' nature of the plushie.
Step 8: Adding Scarf Texture
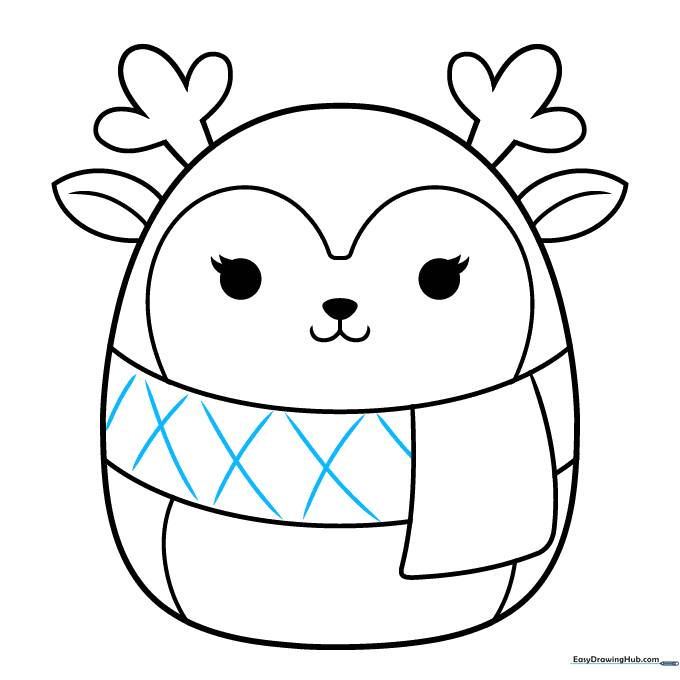
Add 'X' shaped marks across the scarf to give it a knitted texture. Teacher's Tip: Don't worry about making them perfect; a little variation makes the scarf look more realistic.
Step 9: Finalizing the Scarf
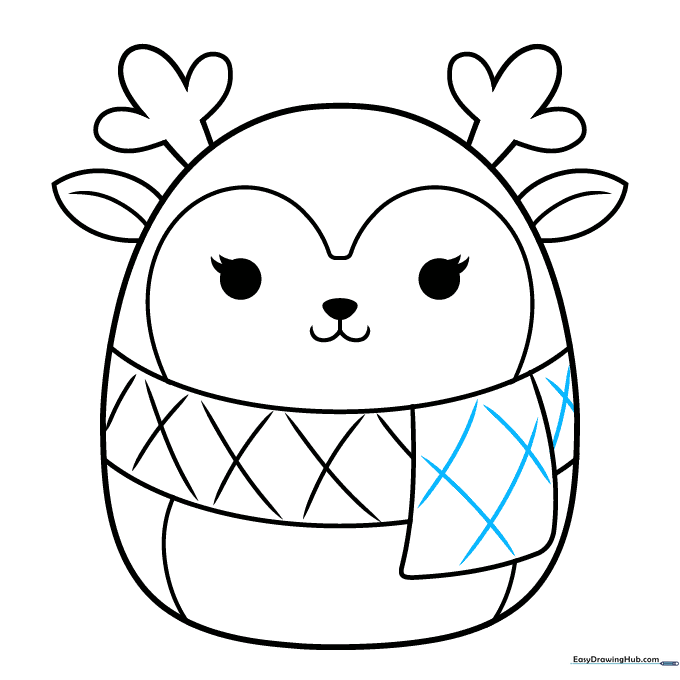
Continue adding 'X' patterns across the entire scarf. Teacher's Tip: This is a great time to practice your patience and steady hand control.
Step 10: Color and Finish
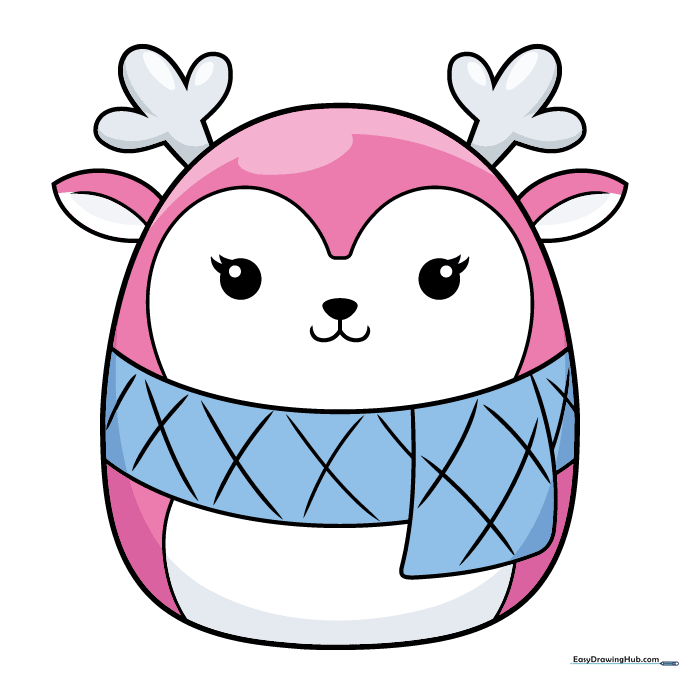
Your outline is complete! Now, bring your character to life with your favorite colors. Whether you choose soft browns for a reindeer or bright colors for a custom design, make it your own. Teacher's Tip: Use light pressure with your colored pencils to keep the colors soft and plush-looking.
More Tutorials


