How to Draw a Squid: Easy 10-Step Guide for Kids
Bring the wonders of the deep sea to your sketchbook! This tutorial is designed for young artists ages 5 and up. All you need is a pencil, an eraser, and some paper to start building your own cephalopod masterpiece.
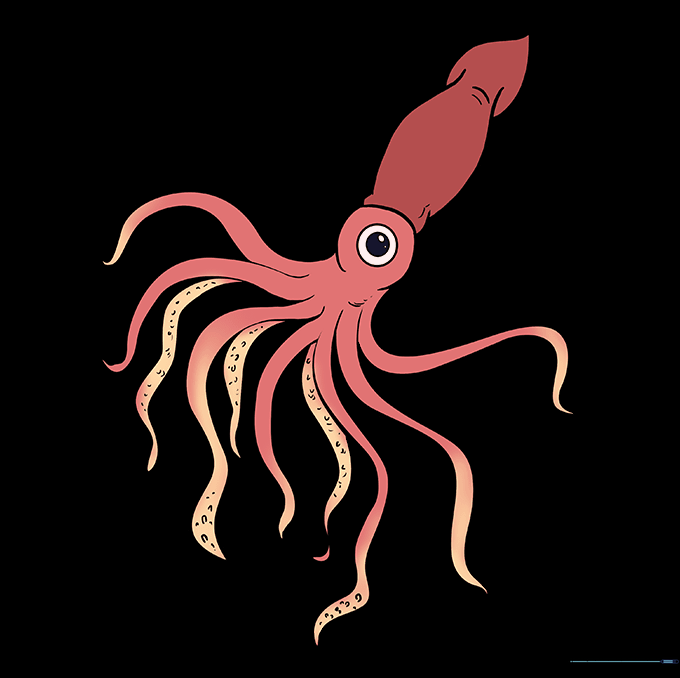
🎯 Final Result

Step-by-Step Instructions
Step 1: Sketching the Mantle

Draw two long, slightly curved lines that face each other but do not touch. Tip: Keep these lines soft and light; they form the squid's mantle, or main body, which acts as the anchor for the rest of your drawing.
Step 2: Closing the Body

Connect the top of your lines into a point to create a teardrop shape, then close the bottom with a gentle curve. Tip: Don't worry if it looks a bit like a balloon; squids have very fluid, organic shapes!
Step 3: Adding the Eye
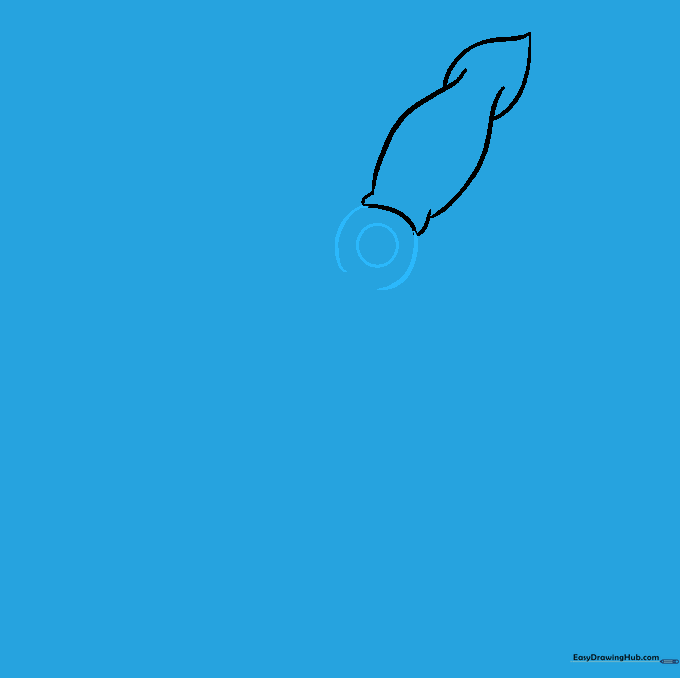
Draw a small circle just below the mantle, then add a curved line around it to create the eye socket. Tip: Placing the eye slightly off-center gives your squid a more natural, inquisitive look.
Step 4: Starting the Tentacles

Extend two long, flowing curved lines downward from the base of the head. Tip: Think of these like ribbons dancing in the water—keep your wrist loose to get that wavy, organic motion.
Step 5: Adding More Tentacles
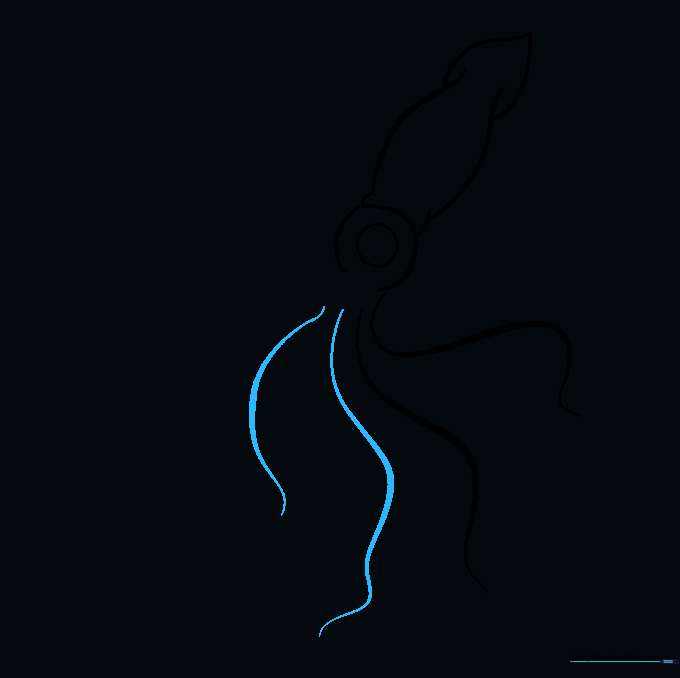
Add more curved lines around the first two to create the appearance of multiple tentacles. Tip: Vary the length of each line so the tentacles look like they are reaching out in different directions.
Step 6: Defining Tentacle Shape

Close the ends of your tentacle lines and add small circles along one side to represent suction cups. Tip: Vary the size of the circles—smaller ones near the tip and larger ones near the head look more realistic.
Step 7: Adding Detail to Tentacles
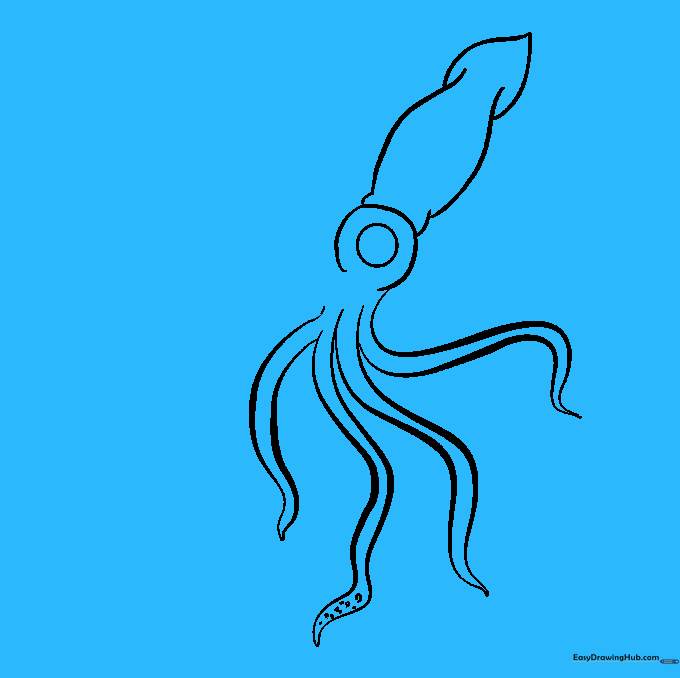
Continue adding more tentacles and suction cups to fill out the bottom of your squid. Tip: If you make a mistake, use your eraser to lift the graphite gently—don't scrub, or you'll damage the paper!
Step 8: Adding Texture
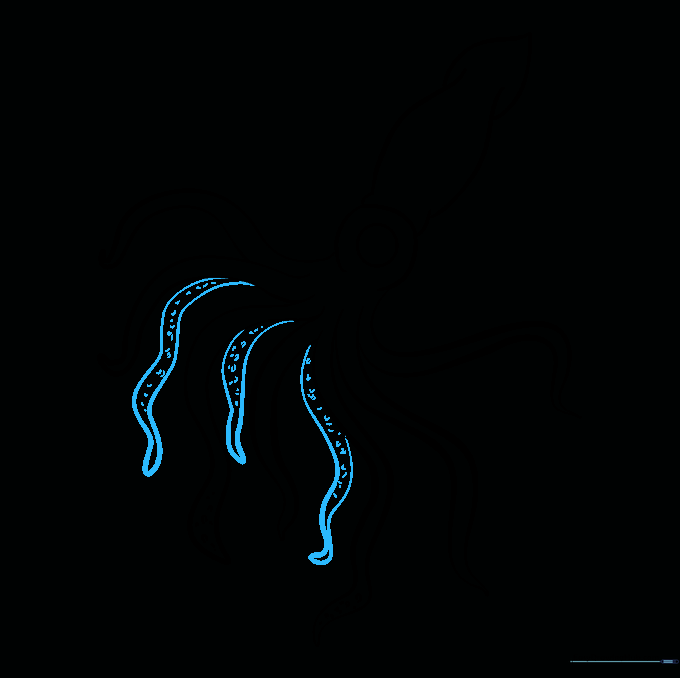
Add small dots and tiny circles along the tentacles to create texture. Tip: This creates a 'bumpy' look that makes your drawing look more professional and interesting.
Step 9: Final Touches

Add a pupil inside the eye and a few small curved lines on the mantle to show depth. Tip: A tiny white dot left uncolored in the pupil creates a 'glint' that makes the eye look alive.
Step 10: Bring Your Squid to Life with Color
Time to color! Use bright reds, oranges, or even purples. Tip: Squids are masters of camouflage, so don't be afraid to use patterns or spots to make your squid unique.
More Tutorials


