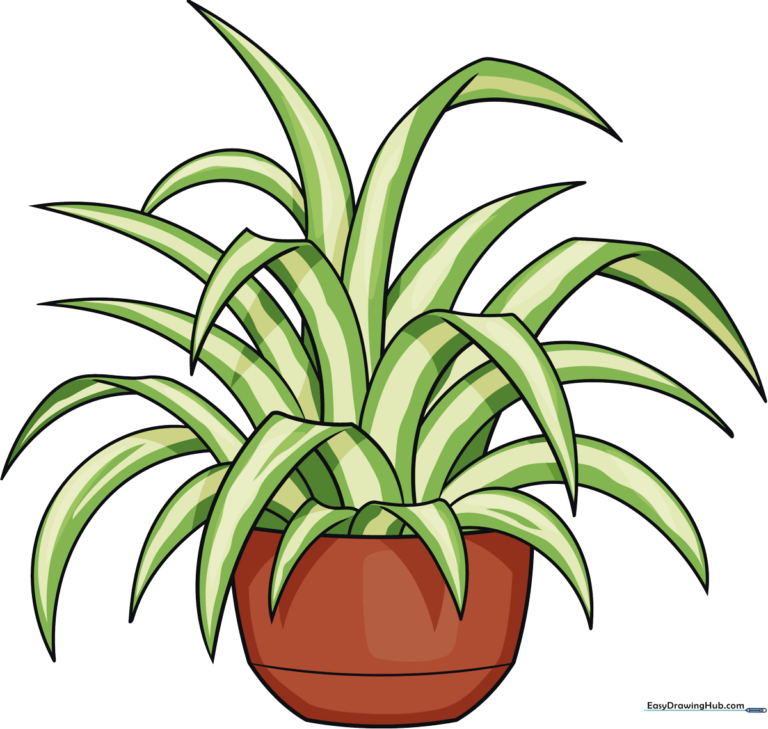
How to Draw a Spider Plant: Easy 10-Step Guide
Bring a touch of nature to your sketchbook with this beginner-friendly spider plant tutorial. Designed for ages 5 and up, this activity uses basic shapes to build confidence and coordination. All you need is a pencil, an eraser, and your favorite markers to bring your botanical drawing to life.
🎯 Final Result
Step-by-Step Instructions
Step 1: Sketching the Pot Base
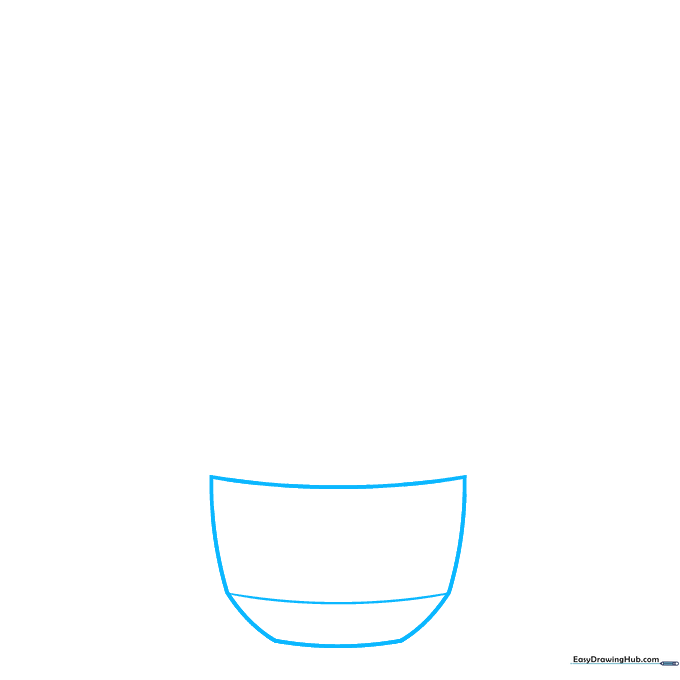
Start by drawing the pot. Use two curved lines to create a trapezoid shape, then add a curved line across the bottom. Teacher's Tip: Keep your pencil pressure light so you can easily adjust the shape if it looks a bit wobbly.
Step 2: Drawing the First Leaves
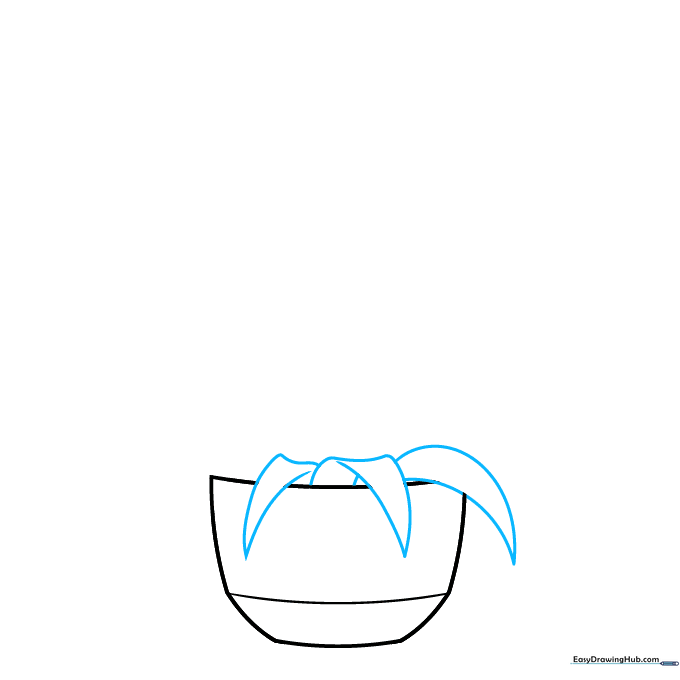
Draw the first three leaves by extending long, curved lines that double back to a sharp point. Teacher's Tip: Think of these as long, thin ribbons; making the tips extra pointy gives the plant a realistic, spiky look.
Step 3: Adding Leaf Depth
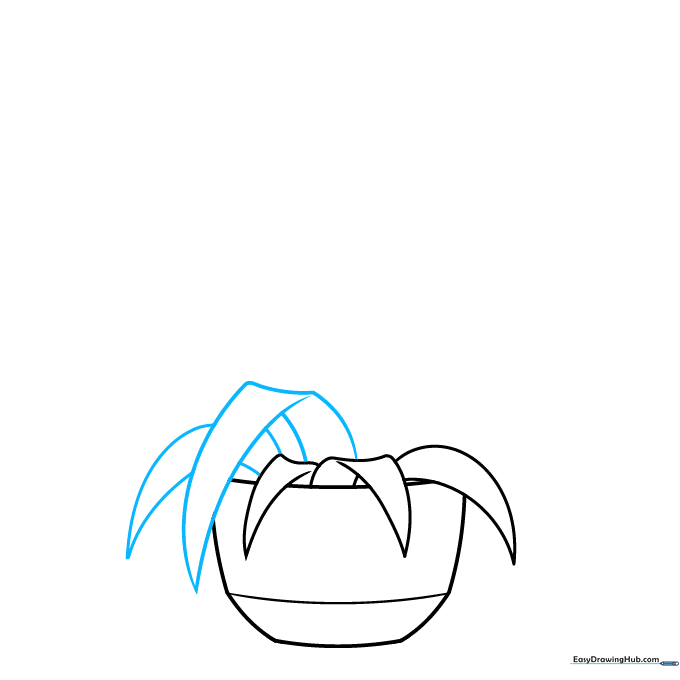
Add two more blades by overlapping your lines. Teacher's Tip: When lines cross over each other, it creates 'depth'—this is a secret trick artists use to make flat drawings look 3D!
Step 4: Creating Longer Foliage
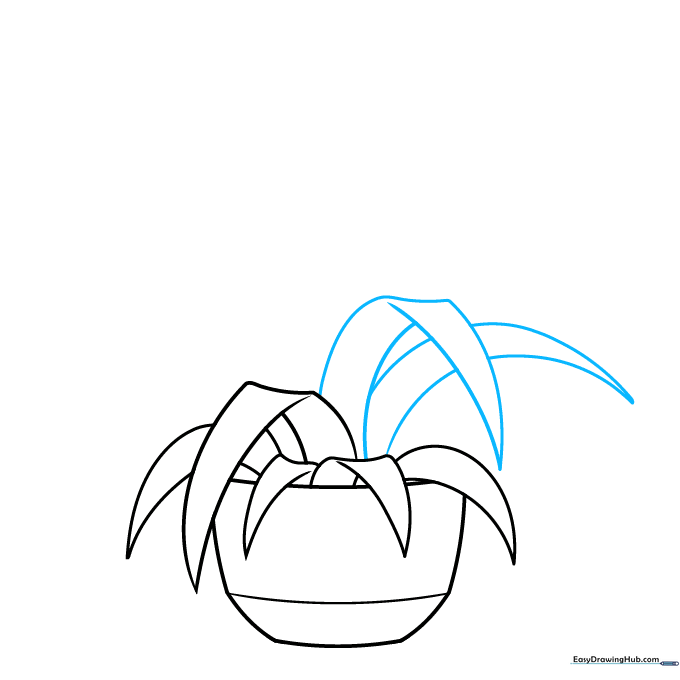
Use pairs of long, sweeping curved lines to create larger leaves. Teacher's Tip: Vary the height of your leaves so the plant looks full and natural rather than perfectly symmetrical.
Step 5: Layering the Leaves
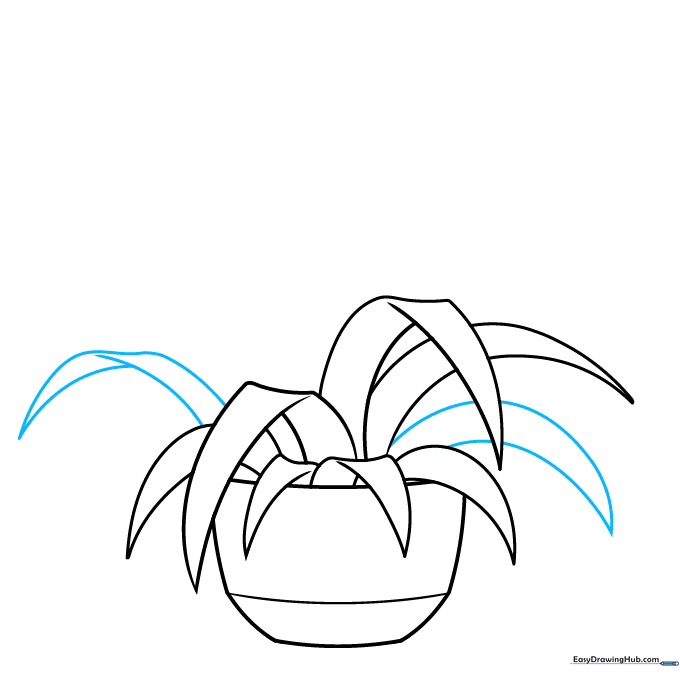
Continue adding leaves, ensuring some pass behind the existing ones. Teacher's Tip: If you get confused, just imagine the leaves are growing out of a center point inside the pot.
Step 6: Filling the Pot
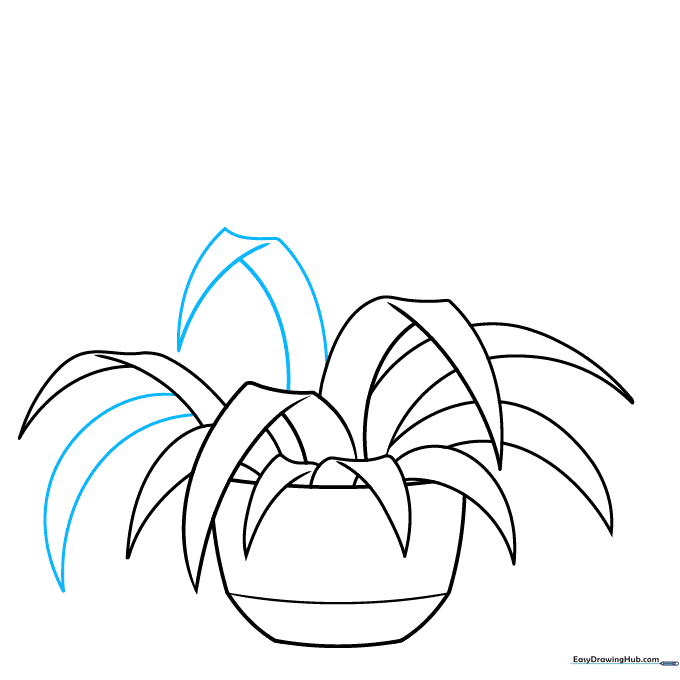
Add more curved leaves to fill in the gaps. Teacher's Tip: Don't worry about making every leaf identical; nature is full of unique shapes and sizes!
Step 7: Adding Volume
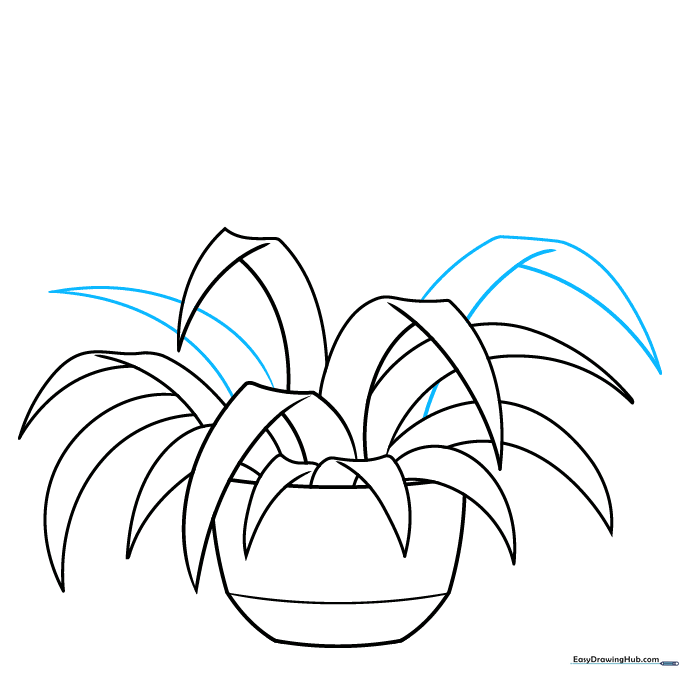
Continue adding leaves to the sides. Teacher's Tip: Use long, sweeping strokes to give the plant a sense of movement, as if it's swaying in a gentle breeze.
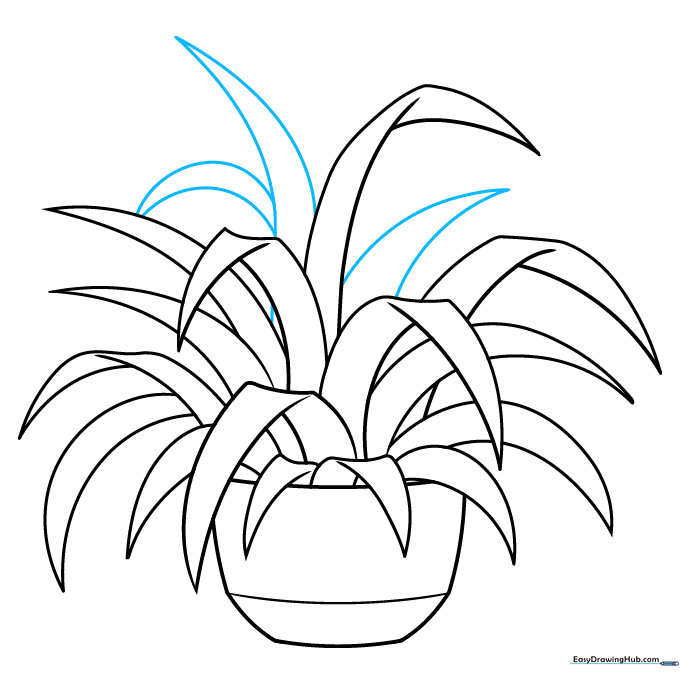
Step 8: Final Foliage Details
Add a few more leaves to finish the shape. Teacher's Tip: Check your drawing—if it looks too sparse, add one or two small, thin leaves near the center.
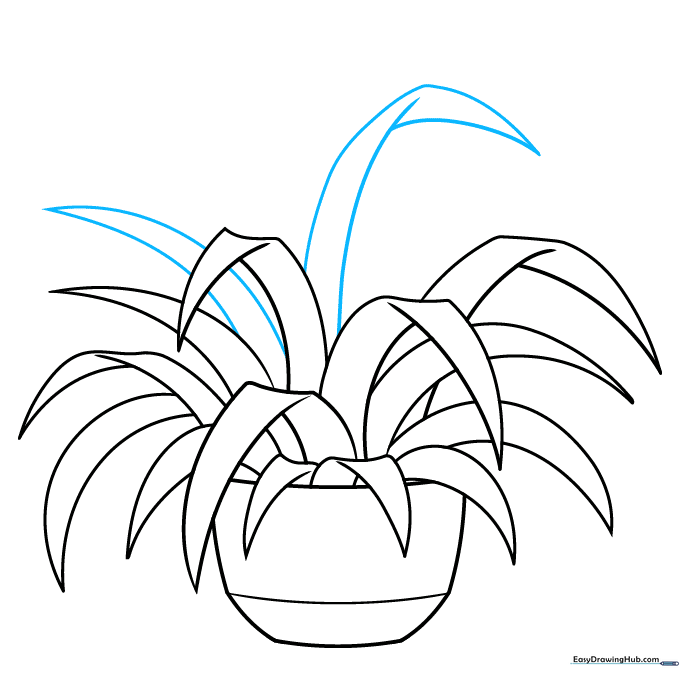
Step 9: Final Touches
Add any final bladelike leaves to complete the outline. Teacher's Tip: Before you start coloring, take your eraser and gently clean up any overlapping lines you don't want to see.
Step 10: Coloring Your Masterpiece
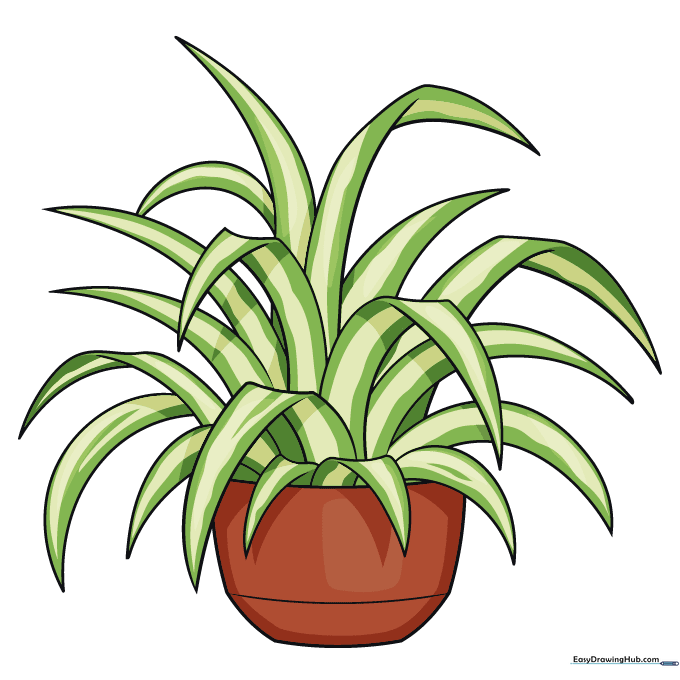
Bring your plant to life with color! Use vibrant greens for the leaves, and consider adding a white stripe down the center of each leaf for that classic spider plant look.
More Tutorials


