How to Draw a Spartan Helmet: Easy 10-Step Guide
Ready to channel your inner warrior? This tutorial is perfect for young artists ages 7+ looking to draw a legendary Spartan helmet. You only need a pencil, an eraser, and a sheet of paper to bring this historical icon to life.
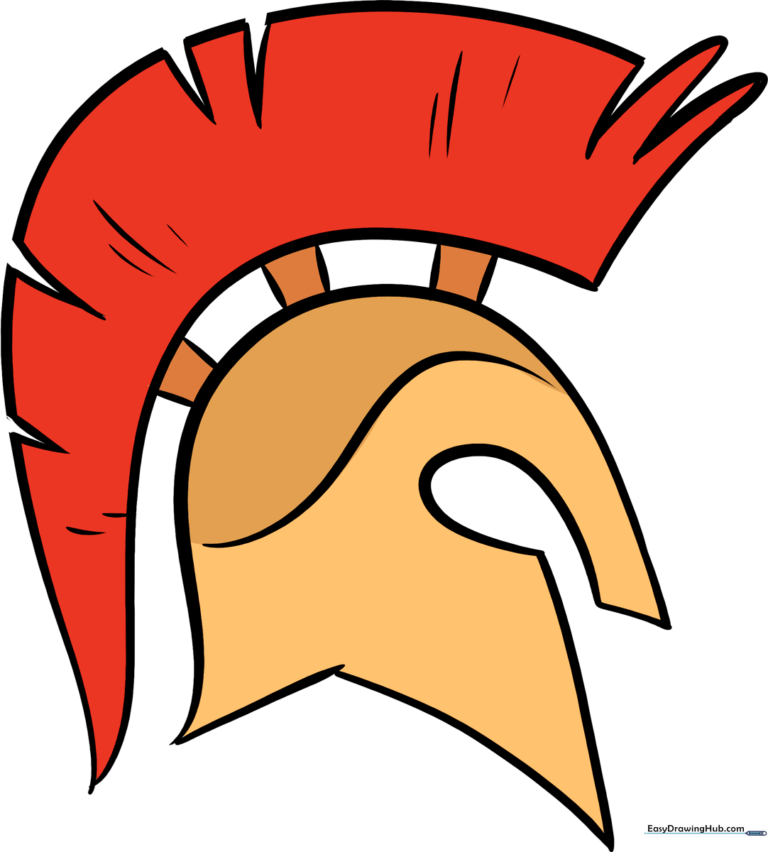
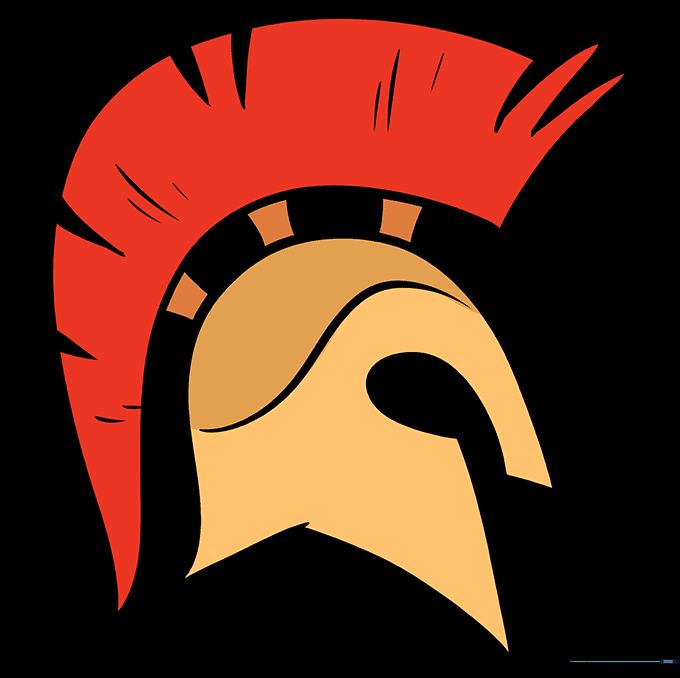
🎯 Final Result
Step-by-Step Instructions
Sketching the Main Helmet Dome

Draw a large, wide inverted 'U' shape. Teacher's Tip: Keep your pencil pressure light so you can easily adjust the shape if it looks a bit lopsided.
Defining the Face Guard
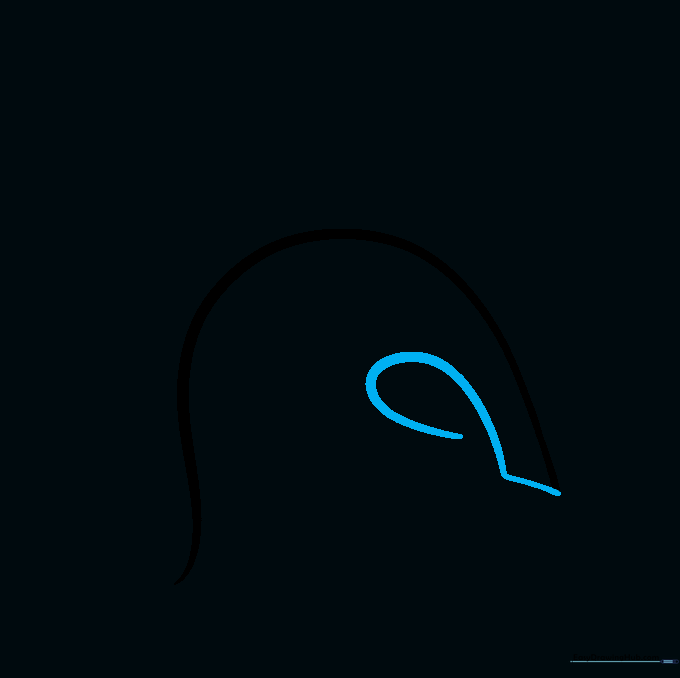
Draw a short horizontal line inward from the side, then add a small spiral to create the eye opening. Teacher's Tip: The spiral acts as a guide for the T-shaped visor typical of ancient Greek armor.
Adding the Neck Guard
Use curved lines to enclose triangular shapes at the back and sides. Teacher's Tip: These curves add depth, making the helmet look like it wraps around the wearer's head.
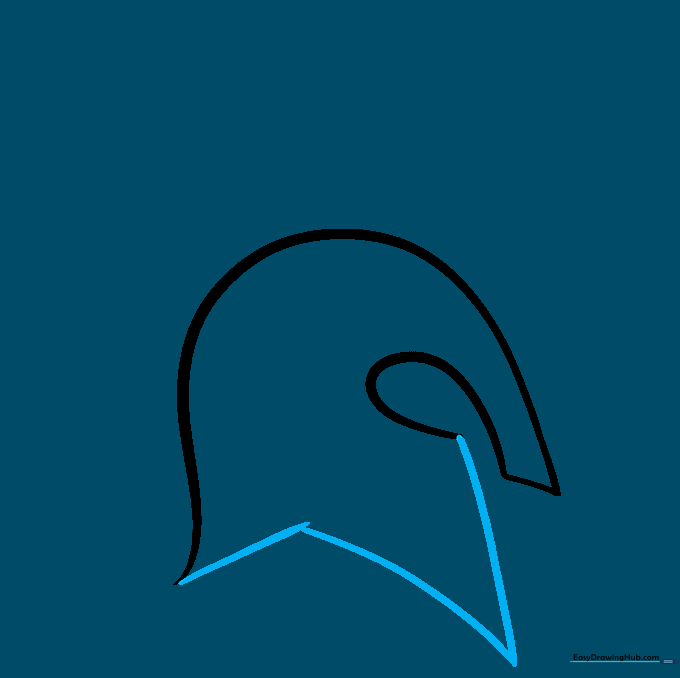
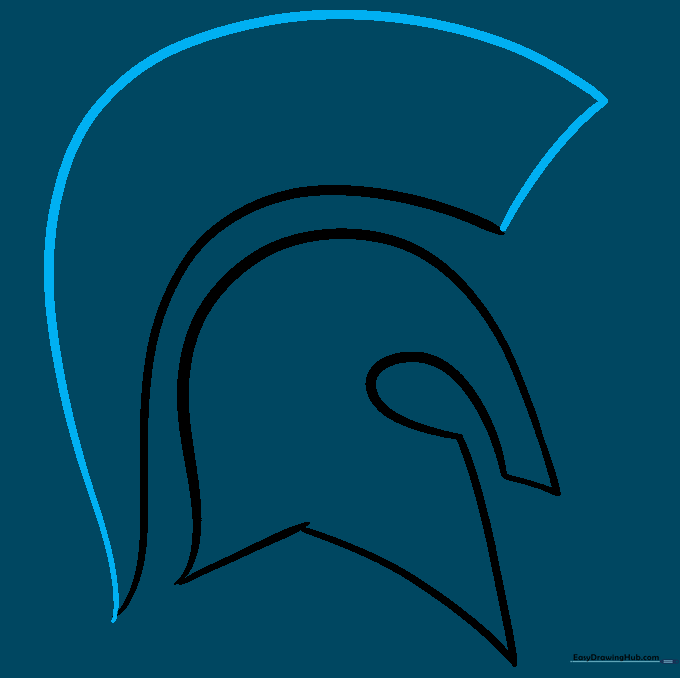
Outlining the Plume Base
Draw a long curved line parallel to the top of the helmet. Teacher's Tip: This line acts as the foundation for the iconic horsehair crest.
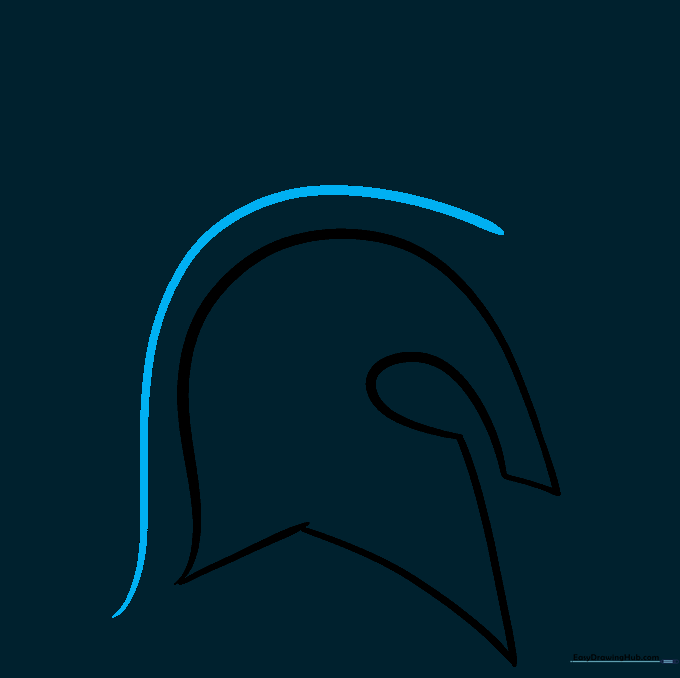
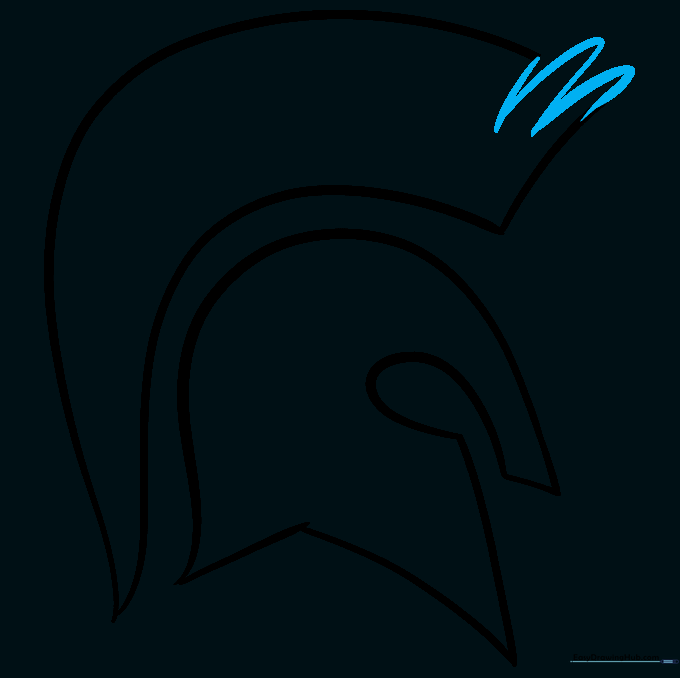
Forming the Crest
Extend a curved line upward and connect it back to the neck area. Teacher's Tip: Make this shape bold—it's the most recognizable part of the Spartan look!
Adding Texture to the Plume
Erase the top edge of the crest and replace it with small 'U' shapes. Teacher's Tip: These little bumps mimic the look of individual horsehair bristles.
Refining the Crest Details
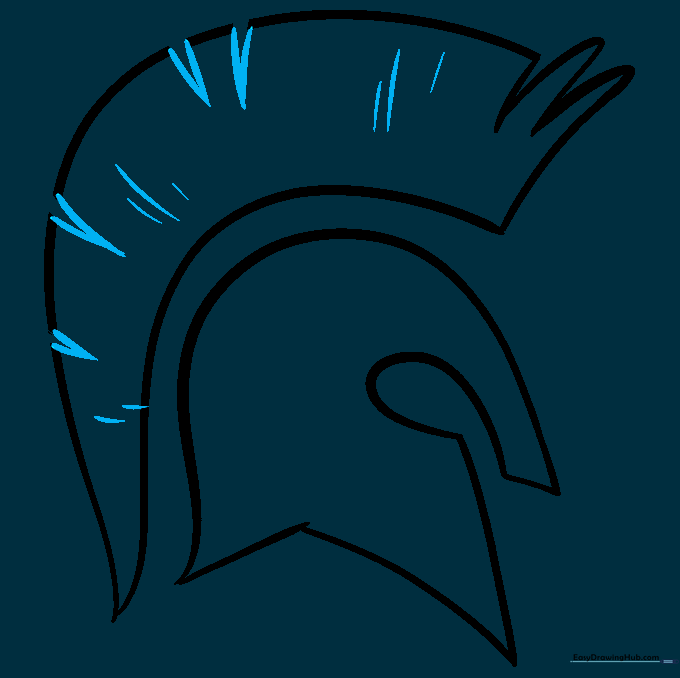
Add 'V' shaped lines and extra curves to the plume. Teacher's Tip: Vary the length of your lines to make the plume look natural and flowing.
Connecting the Crest
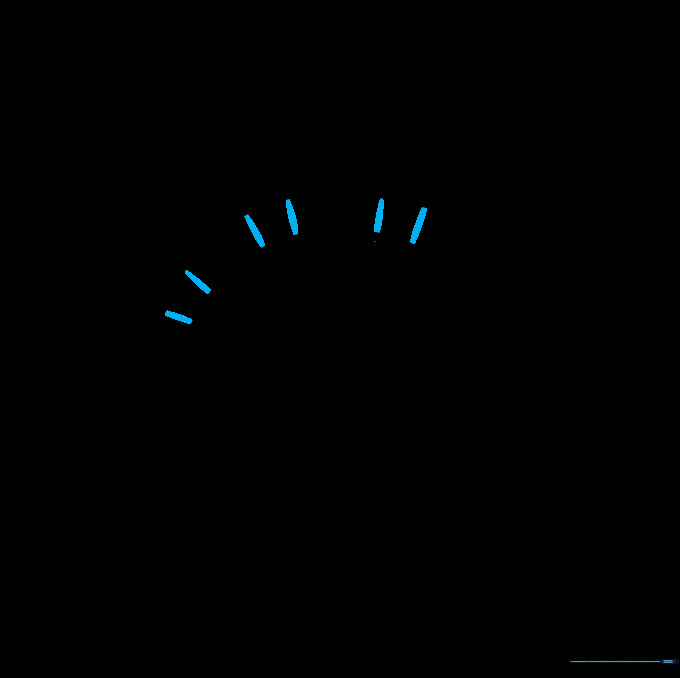
Draw three pairs of short lines connecting the plume to the helmet. Teacher's Tip: These represent the metal brackets that held the crest in place.
Final Contouring
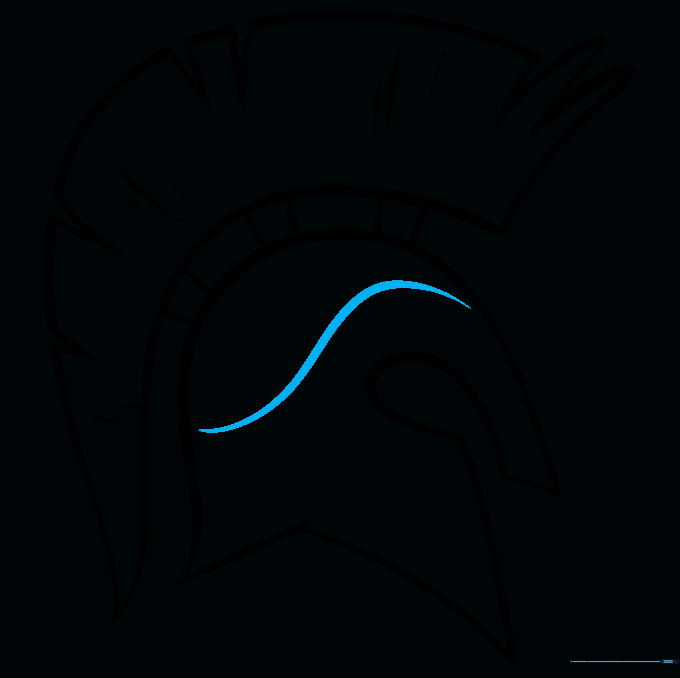
Add a sweeping 'S' shaped line to define the helmet's contour. Teacher's Tip: This final line gives the helmet a sleek, professional look.
Adding Color
Time to color! Use metallic greys for iron or warm yellows and browns for bronze. Teacher's Tip: Add a little white highlight to the curved surfaces to make the metal look shiny.
More Tutorials


