How to Draw a Sombrero: Easy 9-Step Guide for Kids
Bring a touch of celebration to your sketchbook with this easy sombrero drawing tutorial. Designed for ages 5 and up, this activity requires only a pencil, paper, and your favorite markers. Follow these simple steps to master the iconic shape and vibrant patterns of this classic hat.
🎯 Final Result

Step-by-Step Instructions
Step 1: Sketching the Brim and Crown
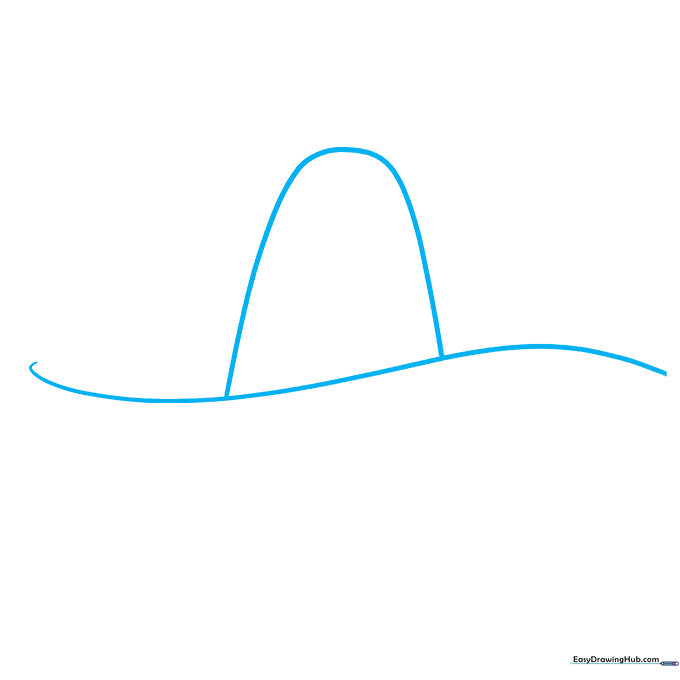
Start by drawing a long, gentle wavy line for the wide brim. Above it, draw a 'U' shape to create the crown of the hat. Teacher's Tip: Keep the crown centered so your hat looks balanced!
Step 2: Defining the Brim's Edge
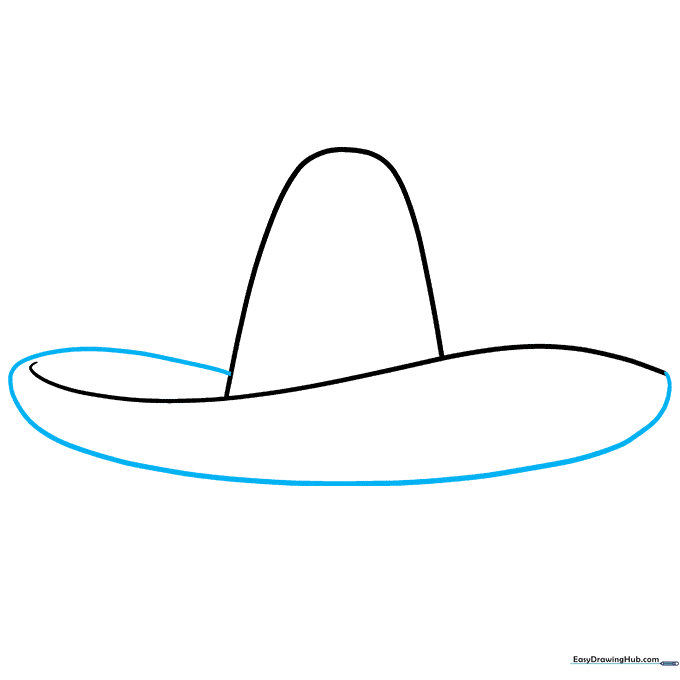
Extend a curved line from the base of the crown, looping it under the brim to connect on the other side. This adds depth to the hat. Tip: Use a smooth, continuous motion to keep the curve looking natural.
Step 3: Adding Crown Stripes
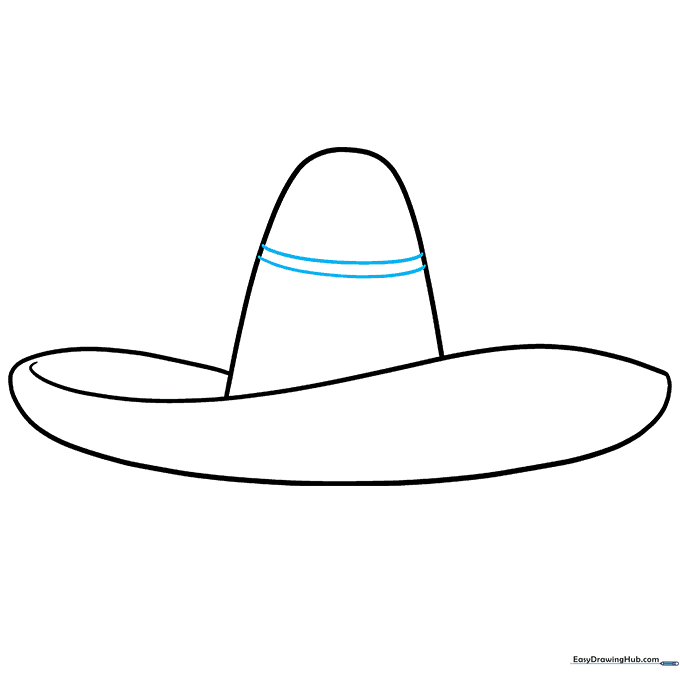
Draw two parallel curved lines across the crown of the hat. These will serve as the guide for your decorative patterns. Tip: Keep the space between the lines even for a professional look.
Step 4: Creating Geometric Patterns
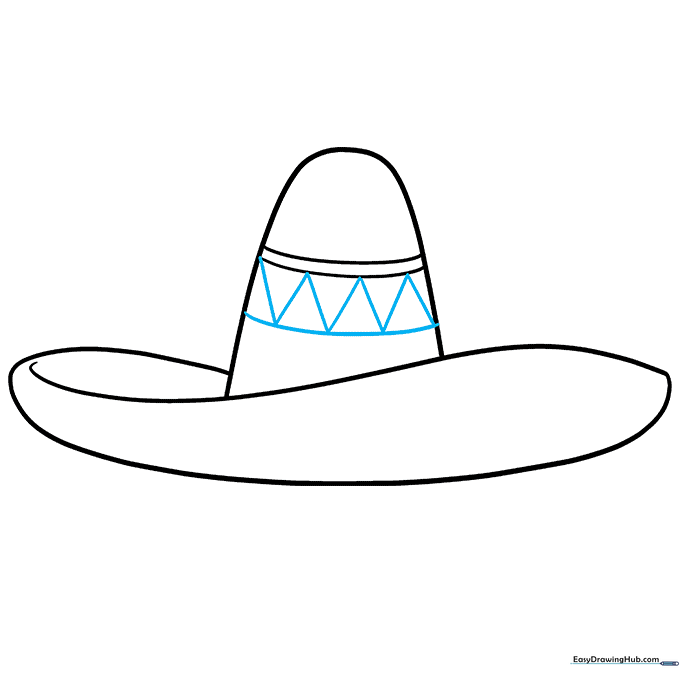
Draw a zig-zag line between your two guide lines to create a series of triangles. This is the base for your sombrero's embroidery. Tip: Don't worry if the triangles aren't perfect; handmade art has character!
Step 5: Detailing the Crown
Add a smaller triangle inside each inverted triangle and a small circle inside each upright one. This creates a beautiful, intricate design. Tip: Use a fine-tip pen for these small details.
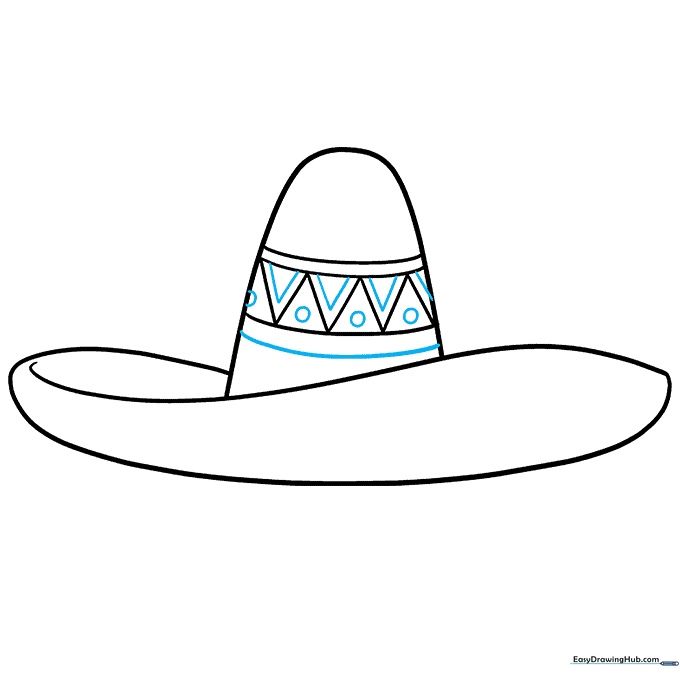
Step 6: Outlining the Brim
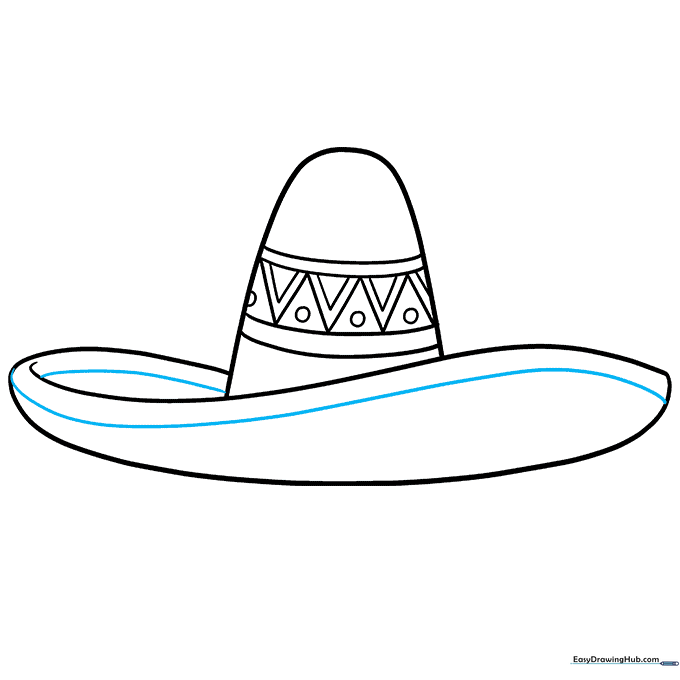
Draw curved lines parallel to the edge of the brim to define the border. This helps separate the brim from the rest of the hat. Tip: Follow the curve of the brim closely for a clean look.
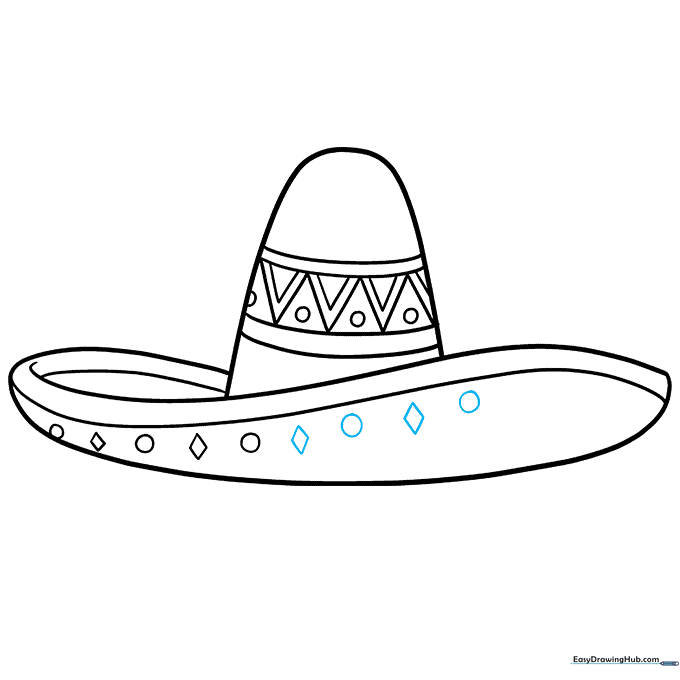
Step 7: Adding Brim Decorations

Below the brim stripe, draw a pattern of alternating circles and diamonds. This adds a festive, traditional flair. Tip: Try to space them evenly across the brim.
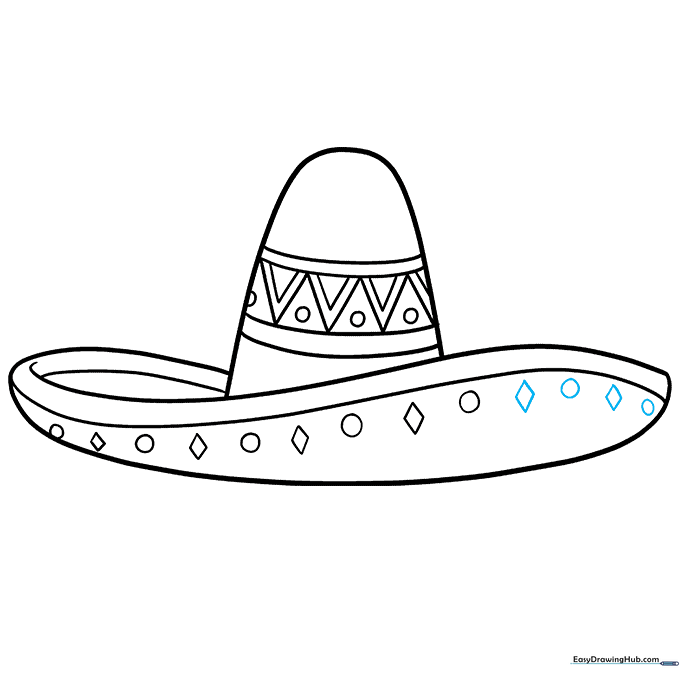
Step 8: Continuing the Pattern
Continue the circle and diamond pattern around the brim. Consistency is key here! Tip: If you make a mistake, gently erase and try again—drawing is all about practice.
Step 9: Finalizing the Design
Complete the pattern on the brim. Your outline is now finished and ready for color! Tip: Check your lines and darken them with a marker before you start coloring.
Step 10: Adding Color

Bring your sombrero to life! Use bright, bold colors for the embroidery and a warm tan or yellow for the hat itself. Tip: Use a variety of colors to make your sombrero look authentic and festive.
More Tutorials


