How to Draw a Soldier: Easy 10-Step Guide for Kids
Ready to create your own hero? This tutorial is perfect for young artists ages 6+ who want to draw a friendly soldier. You’ll only need a pencil, an eraser, and some paper to bring this character to life while practicing basic geometric shapes.
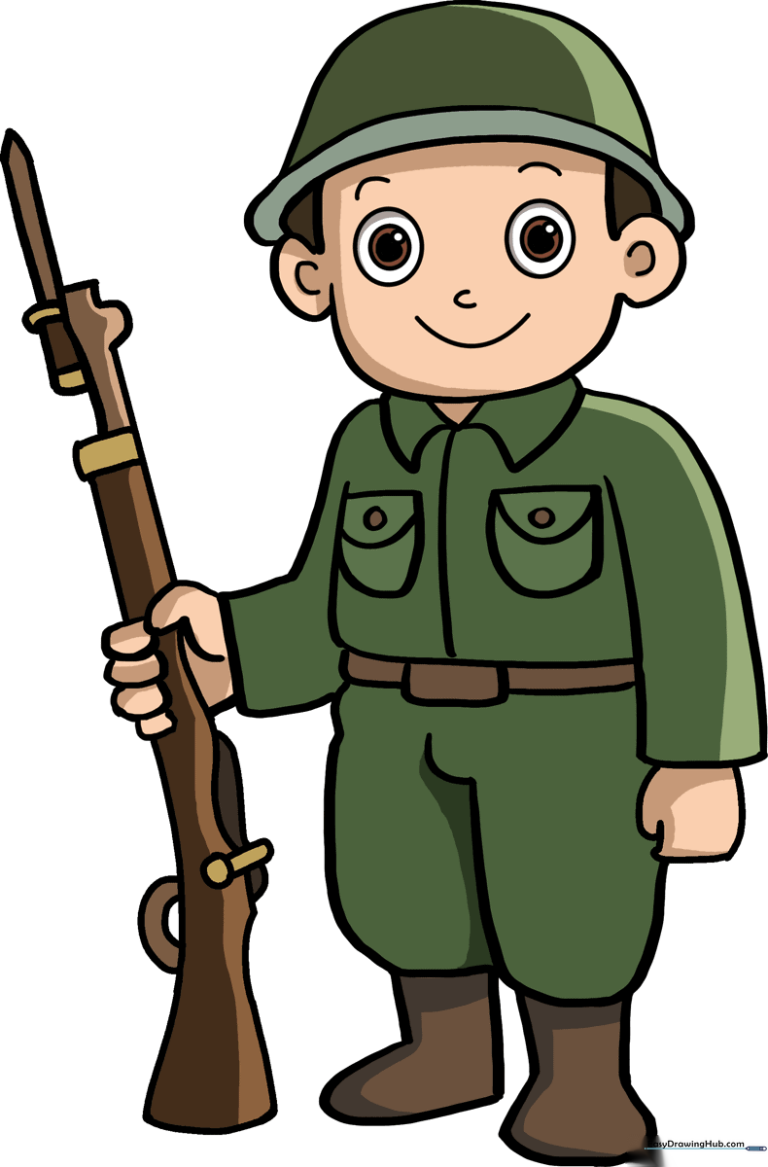
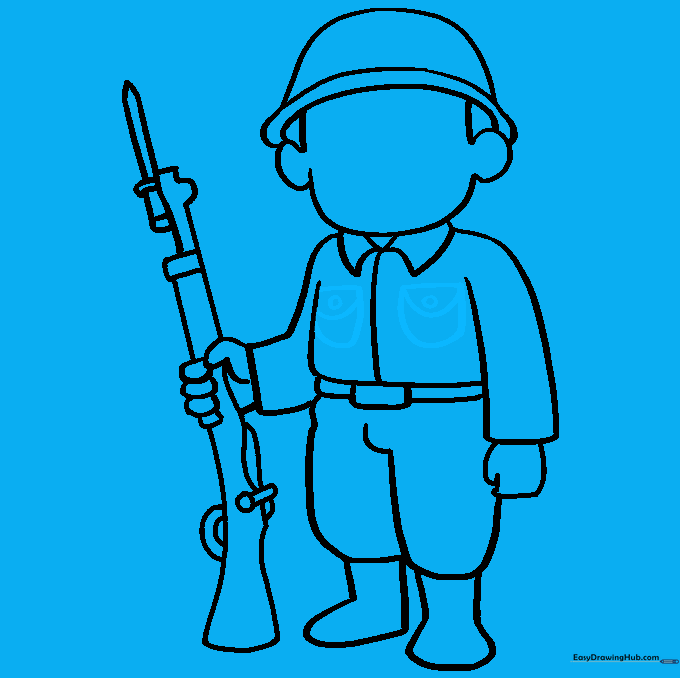
🎯 Final Result
Step-by-Step Instructions
Step 1: Sketching the Face

Draw a wide, curved line for the chin and add two 'C' shapes for the ears. Teacher's Tip: Keep these lines light; they act as a guide for the rest of the head structure.
Step 2: Adding the Helmet

Draw two parallel curved lines across the forehead to create the brim, then cap it with a rounded top. Teacher's Tip: Imagine the helmet is a bowl sitting snugly on the head.
Step 3: Drafting the Uniform
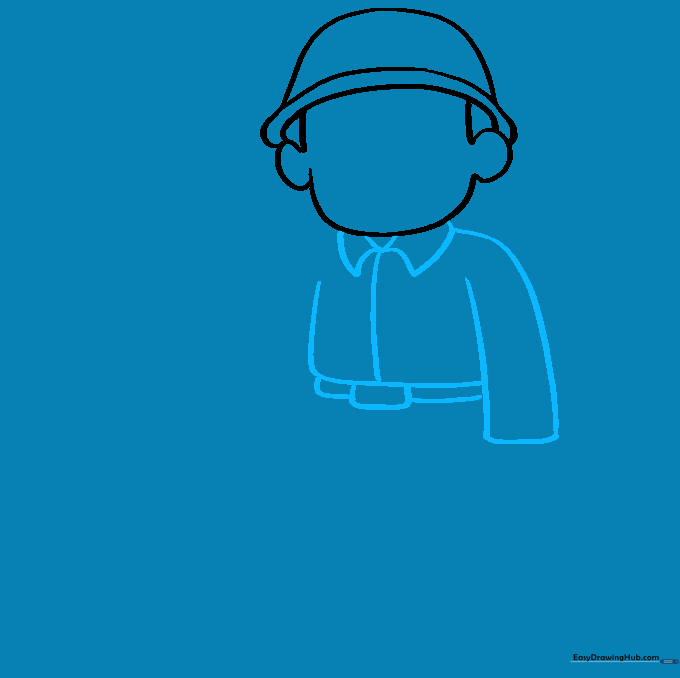
Sketch a triangular collar and the torso outline. Add a belt using small, stacked rectangles. Teacher's Tip: Use a ruler if you struggle to keep the belt rectangles even.
Step 4: Drawing Arms and Gear
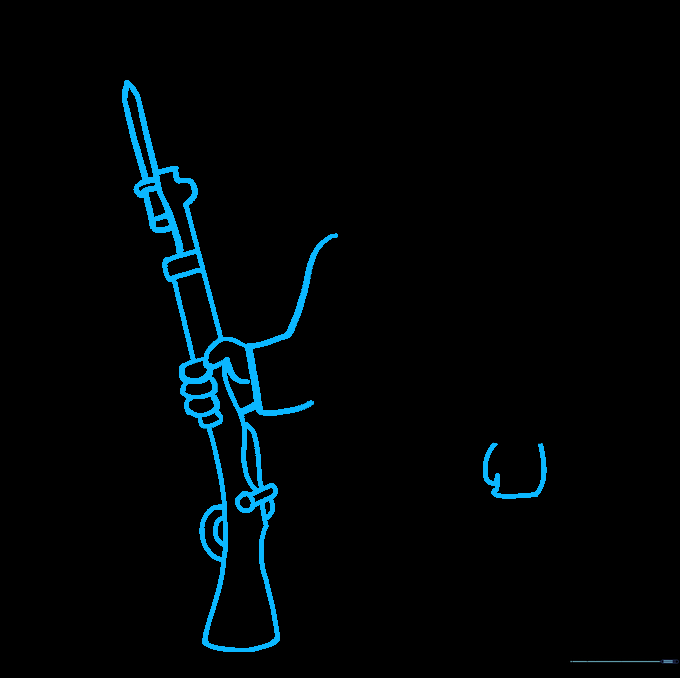
Draw the arms and hands holding a rifle. Use overlapping ovals for the fingers. Teacher's Tip: Focus on the trigger and sight details to make the rifle look realistic.
Step 5: Sketching the Legs
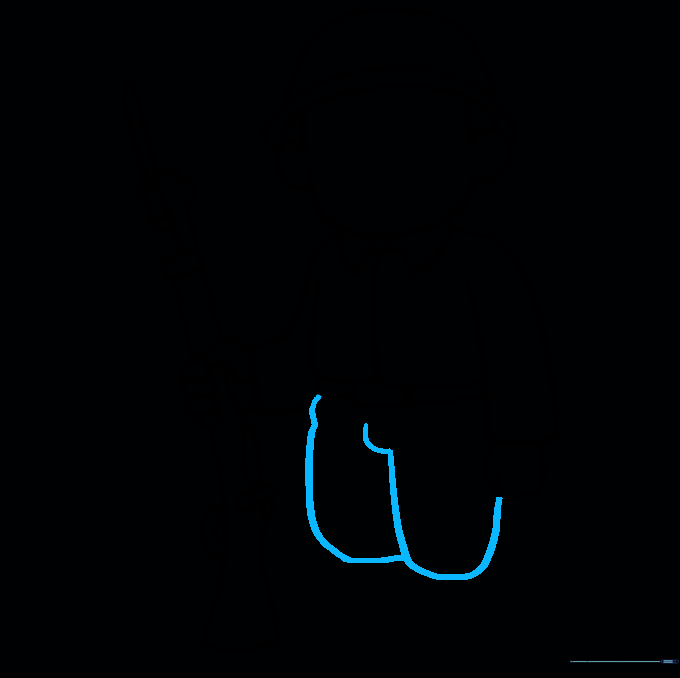
Use long, sweeping curved lines to define the legs. Teacher's Tip: Keep the lines fluid to show the movement of the fabric.
Step 6: Adding Boots
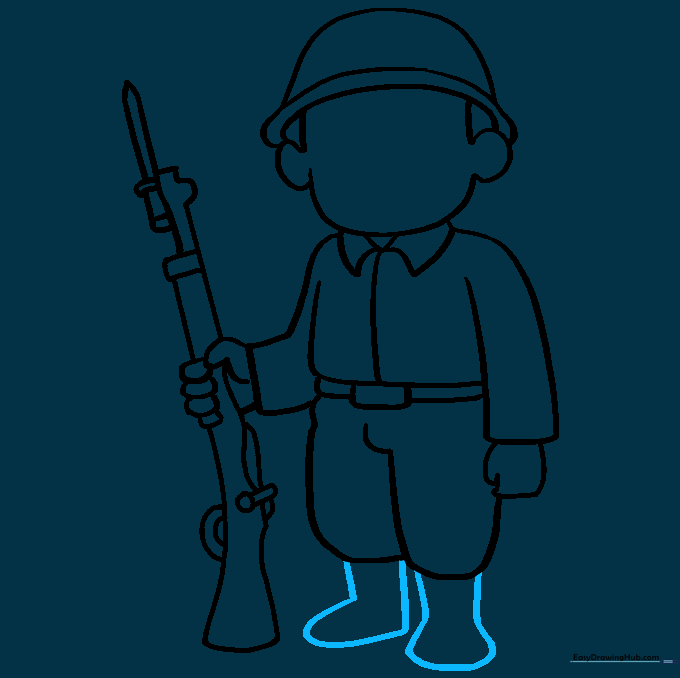
Enclose the bottom of the legs with curved, irregular shapes for the boots. Teacher's Tip: Make the boots look sturdy by adding a flat line at the bottom for the sole.
Step 7: Uniform Details
Add pockets to the shirt using a straight line with a curve underneath, plus a small circle for the button. Teacher's Tip: Symmetry is key here—try to keep the pockets aligned.
Step 8: Facial Features
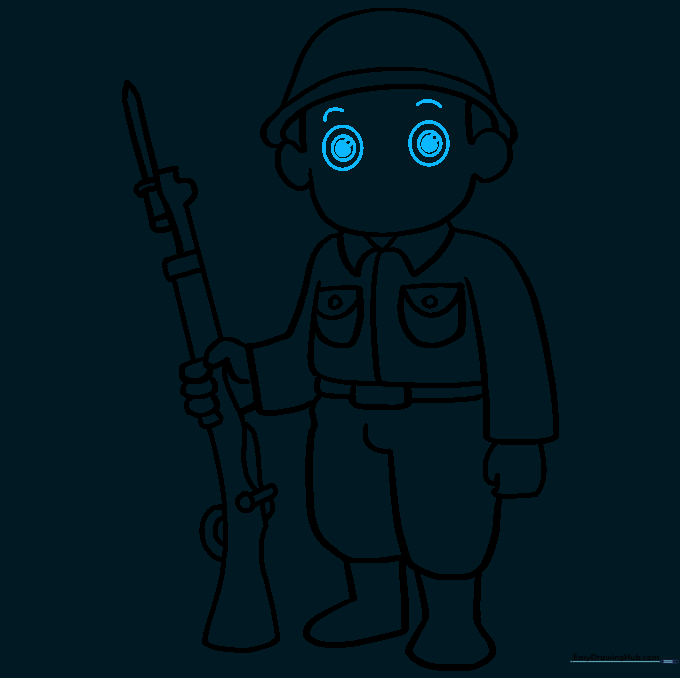
Draw the eyes using three nested circles and shade the center. Add curved lines above for eyebrows. Teacher's Tip: Darkening the pupil helps give the character a focused expression.
Step 9: Final Facial Touches
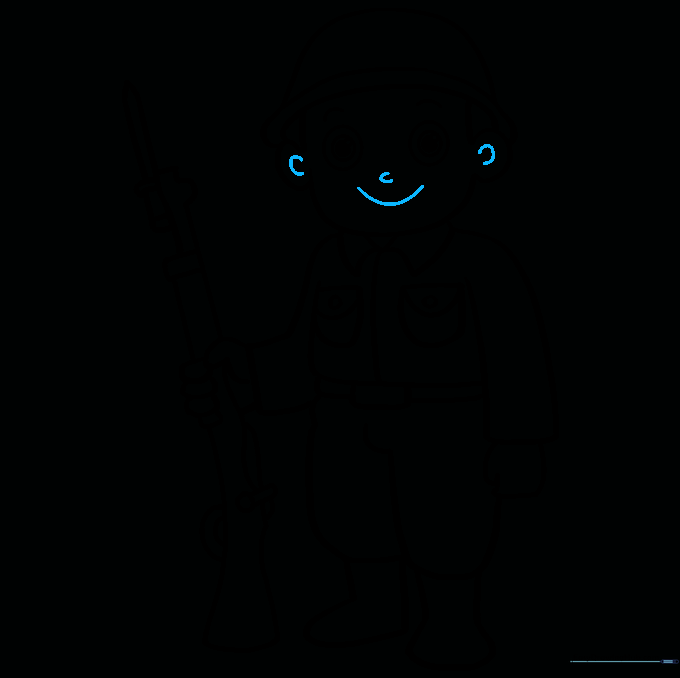
Complete the face with a nose and a friendly smile. Teacher's Tip: A simple 'U' shape for the nose is all you need to maintain the cartoon style.
Step 10: Coloring Your Soldier
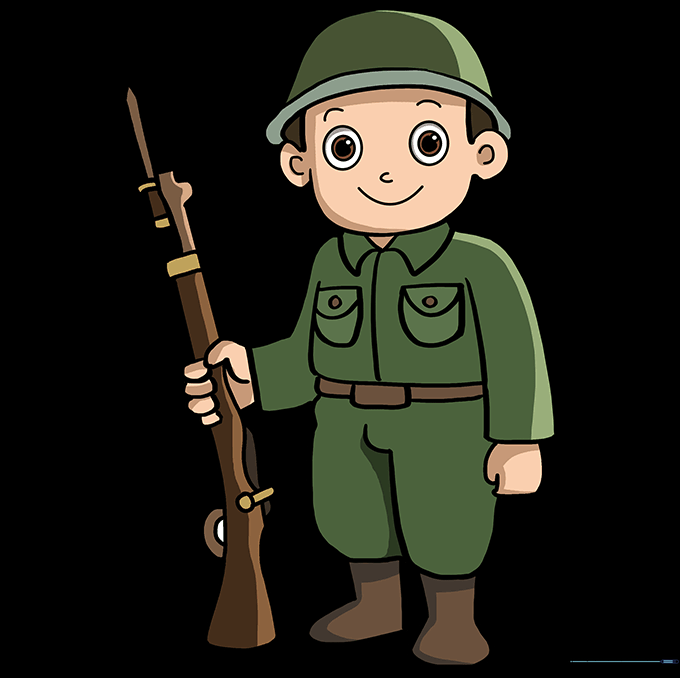
Use olive drab, tan, or brown to color the uniform. Add camouflage patches to help him blend in! Teacher's Tip: Use light pressure with your colored pencils to layer colors for a more realistic texture.
More Tutorials


