How to Draw a Solar Eclipse: Easy Science Art Guide
Bring space science to life with this simple solar eclipse drawing guide, designed for young astronomers ages 6 and up. You only need a pencil, paper, and an eraser to map out the alignment of the Sun, Moon, and Earth. This activity helps children visualize how shadows create an eclipse while building confidence in basic geometric drawing.
🎯 Final Result

Step-by-Step Instructions
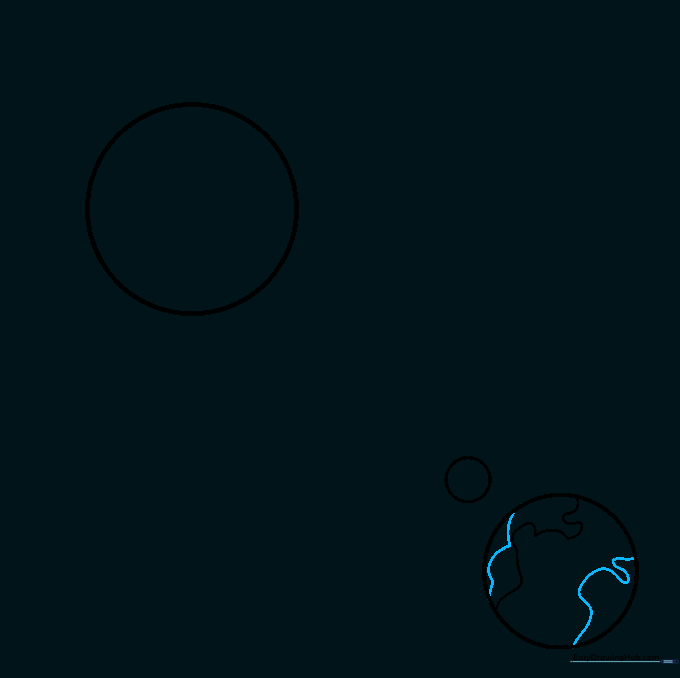
Step 1: Mapping the Celestial Bodies

Draw three circles in a row to represent the Sun, Moon, and Earth. Teacher's Tip: Keep your pencil pressure light so you can easily adjust the sizes; the Sun should be the largest, followed by the Earth, with the Moon as the smallest circle in the center.
Step 2: Sketching Earth's Geography

Add simple, wavy lines inside the Earth circle to represent continents. Tip: Don't worry about perfect accuracy; focus on creating organic, bumpy shapes that look like landmasses floating on the globe.
Step 3: Refining the Continents
Continue adding curved lines to define the shapes of North and South America or Africa. Tip: Use short, confident strokes to make the landmasses look distinct from the surrounding ocean.
Step 4: Adding Solar Rays and Moon Craters
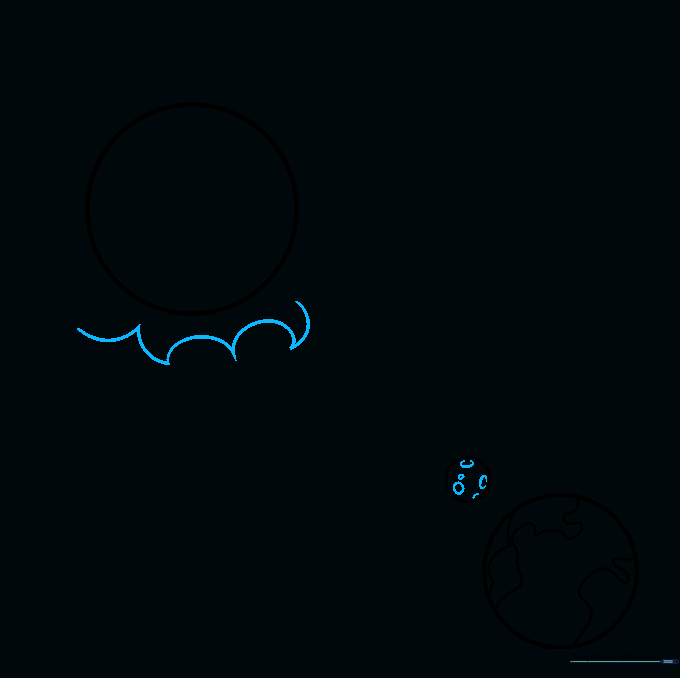
Draw jagged, wave-like rays around the Sun. On the Moon, add small ovals and 'C' shapes to represent craters. Tip: Vary the size of the craters to make the Moon look textured and realistic.
Step 5: Expanding the Sun's Rays
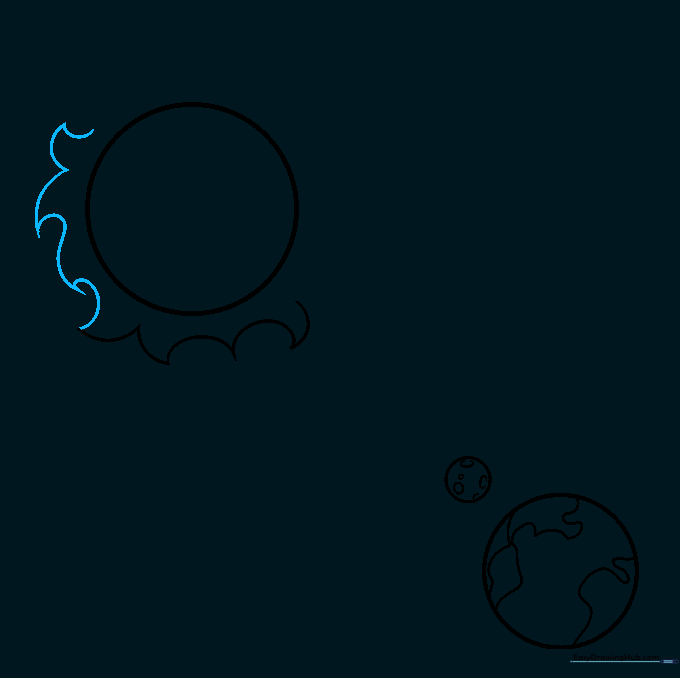
Continue drawing the Sun's rays around the circle. Tip: Keep the rays consistent in length to ensure the Sun looks balanced and bright.
Step 6: Finishing the Solar Rays
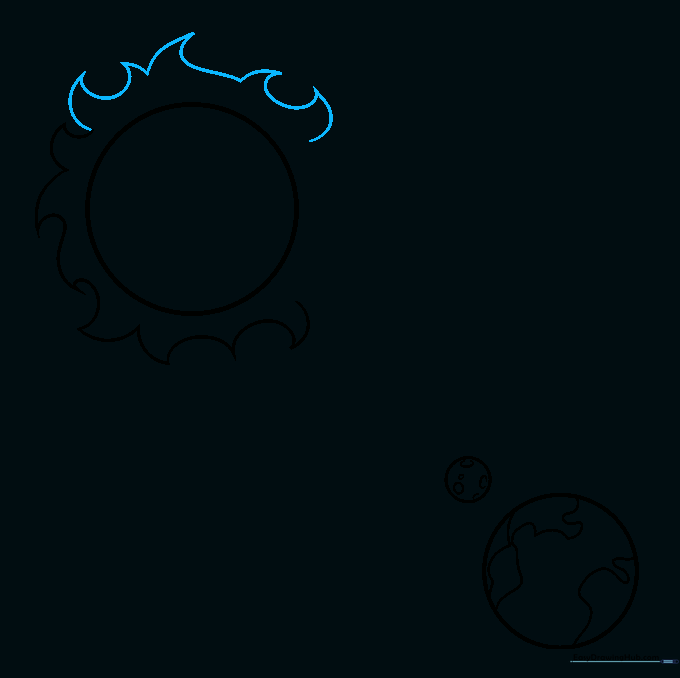
Complete the ring of rays. Tip: Alternate the direction of the points slightly to give the Sun a dynamic, energetic appearance.
Step 7: Illustrating the Penumbra
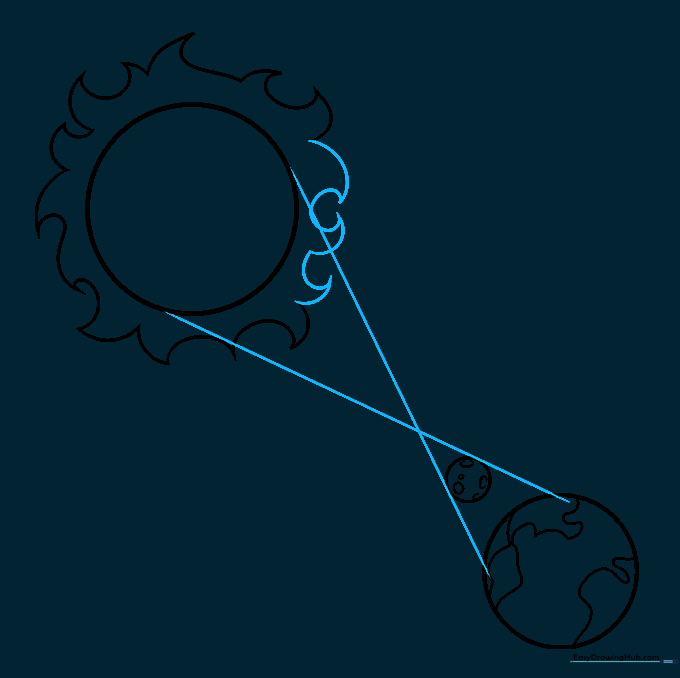
Draw two straight lines crossing between the Sun and Earth to form an hourglass shape. This represents the penumbra. Tip: Use a ruler if you want the lines to be perfectly straight, or freehand them for a more organic, sketch-like feel.
Step 8: Illustrating the Umbra
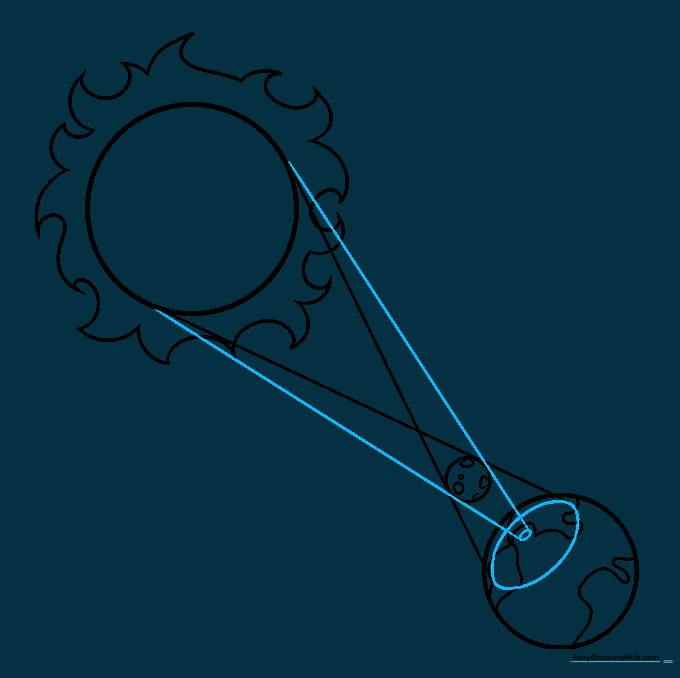
Draw two more lines from the Sun to the Earth that touch the Moon but do not cross. Connect them with a small oval on the Earth to show the umbra. Tip: This is the 'shadow' part of the eclipse, so make this area distinct.
Step 9: Adding Labels
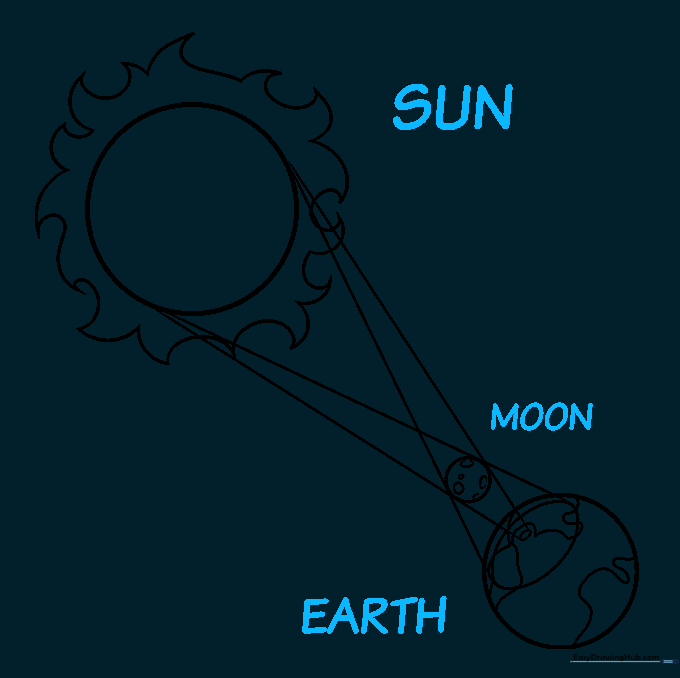
Clearly label your diagram with 'SUN', 'MOON', and 'EARTH'. Tip: Use neat, block lettering to make your scientific diagram look professional and easy to read.
Step 10: Adding Color

Bring your diagram to life with color! Use bright yellow for the Sun, gray for the Moon, and blues and greens for the Earth. Tip: Add a dark blue or black background to make the space scene pop.
More Tutorials


