How to Draw a Soda Can: Easy 10-Step Guide for Kids
Ready to master basic shapes? This soda can tutorial is perfect for young artists ages 5+ to practice symmetry and cylindrical perspective. All you need is a pencil, an eraser, and your favorite markers to bring your design to life.
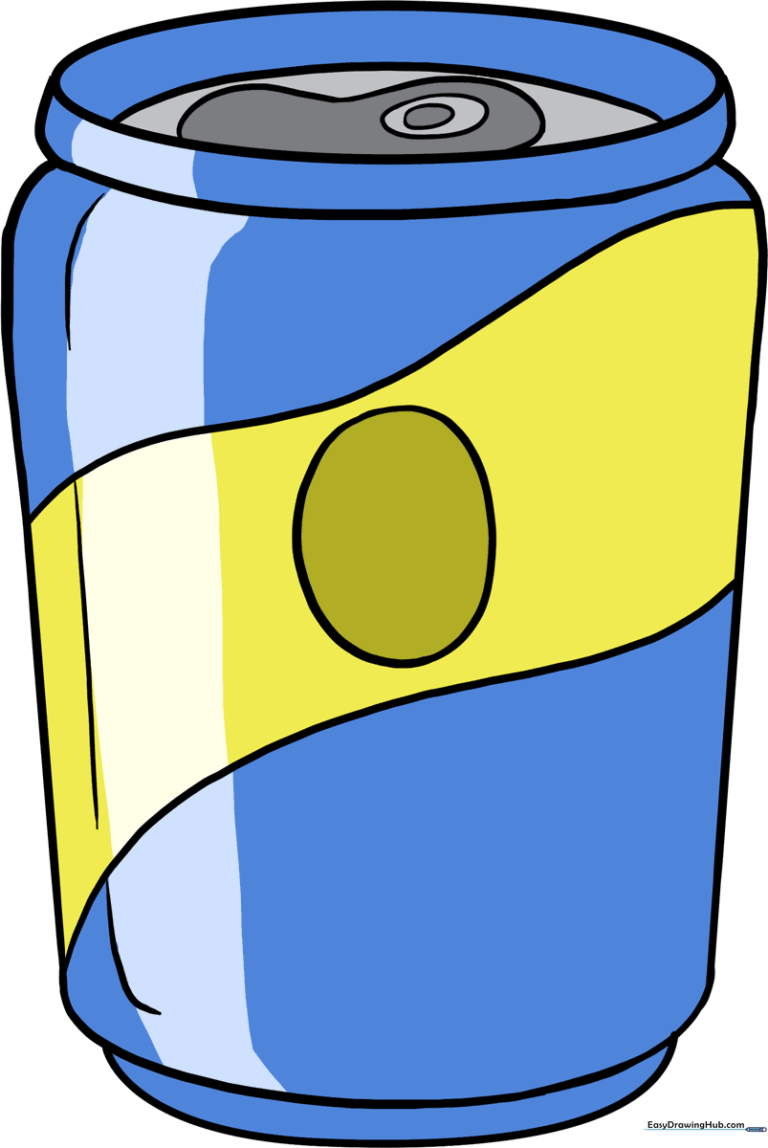
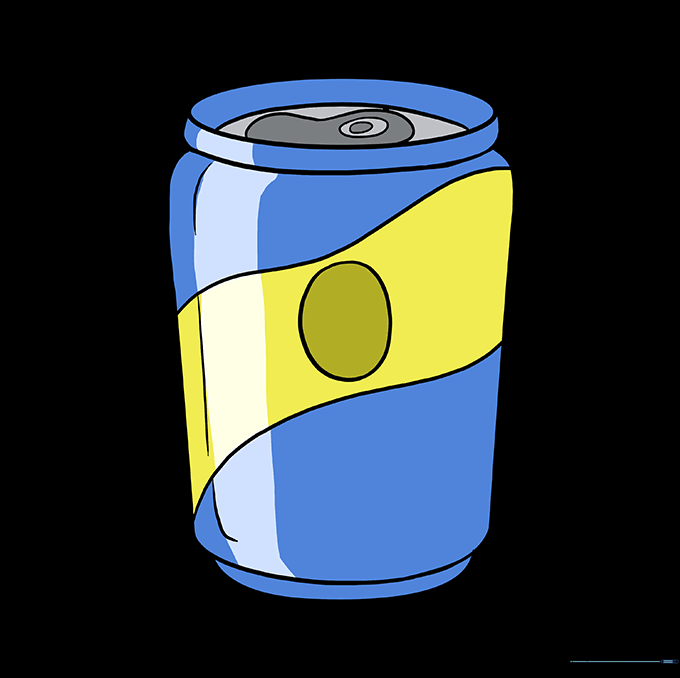
🎯 Final Result
Step-by-Step Instructions
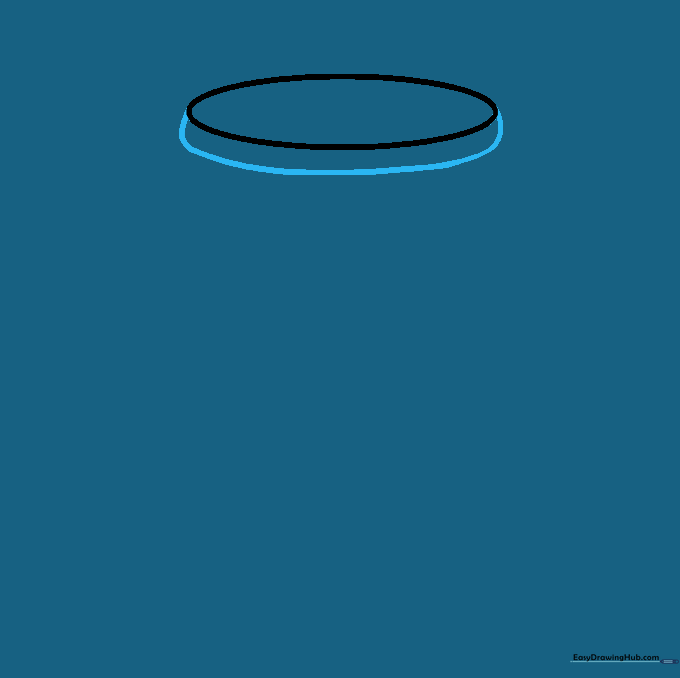
Step 1: Sketching the Top Oval

Draw a small, flattened horizontal oval. Tip: Imagine you are looking at the can from slightly above; this oval represents the top opening.
Step 2: Defining the Can Rim
Draw a curved line downward from the oval, connecting back to the other side. Tip: Keep this rim thin to make the can look realistic.
Step 3: Drawing the Can Body
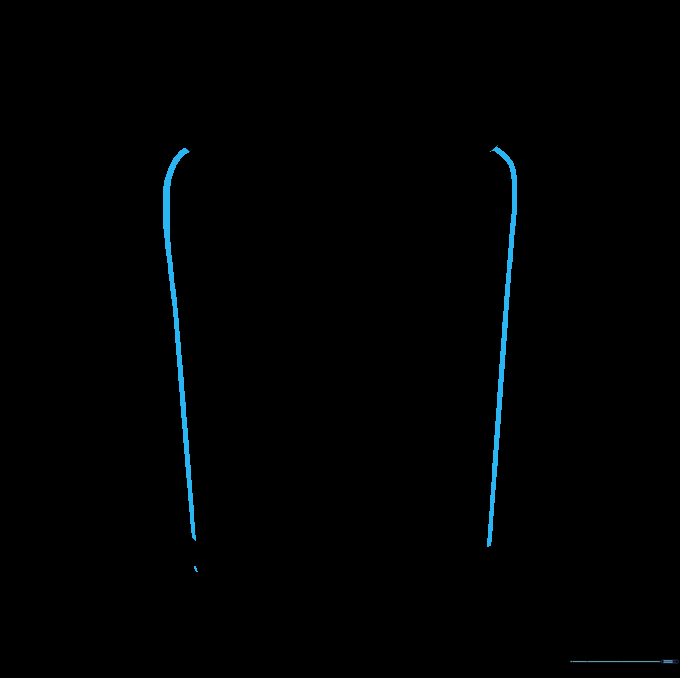
Extend two long, slightly curved lines downward from the rim. Tip: Start with a slight inward curve at the top to mimic the natural taper of a real soda can.
Step 4: Closing the Bottom
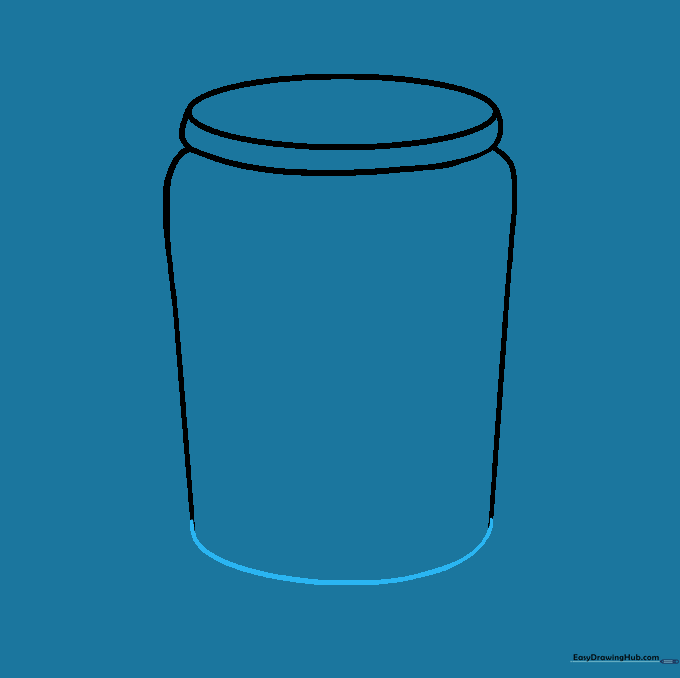
Connect the two vertical lines with a curved line at the bottom. Tip: Make sure the curve matches the angle of the top oval for consistency.
Step 5: Adding the Bottom Ridge
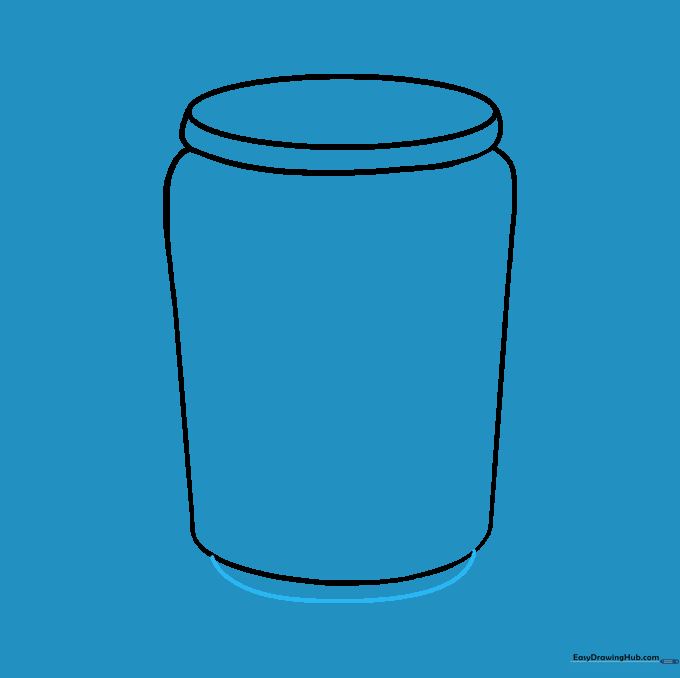
Draw a small, rounded shape at the base to create the ridge. Tip: This small detail adds depth and makes the can look like it's resting on a surface.
Step 6: Creating Label Space
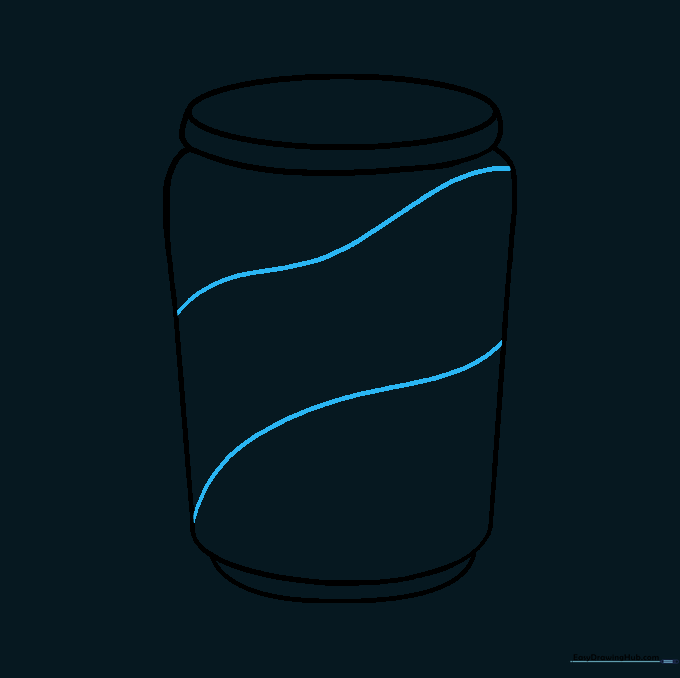
Sketch two wavy lines diagonally across the center of the can. Tip: These lines will serve as the boundaries for your logo or label design.
Step 7: Refining the Top Rim
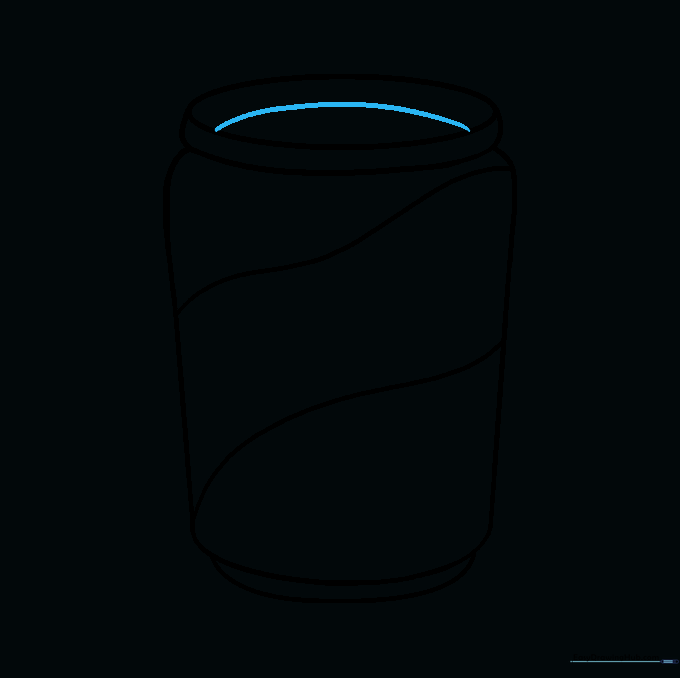
Add a curved line across the top to show the far side of the rim. Tip: This creates a sense of 3D volume.
Step 8: Drawing the Pop Top

Draw an irregular shape on top with a smaller oval inside. Tip: This represents the tab used to open the can.
Step 9: Adding Final Details
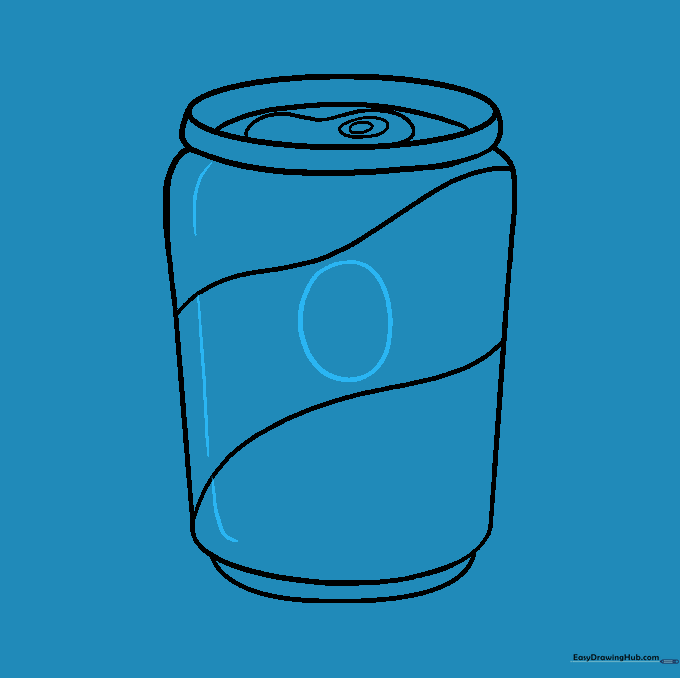
Draw a circle in the label area and add subtle curved lines to the sides. Tip: These lines suggest the metallic curve of the can.
Step 10: Coloring Your Masterpiece
Add vibrant colors to your can. Tip: Use a lighter color on one side to create a 'highlight' effect, making the can look shiny and metallic.
More Tutorials


