How to Draw a Soccer Player: Easy 9-Step Guide for Kids
Ready to hit the field? This tutorial is perfect for young artists ages 5 and up who want to draw their own soccer star. All you need is a pencil, an eraser, and some paper to get started. Follow along to build confidence in your character design and sketching skills.
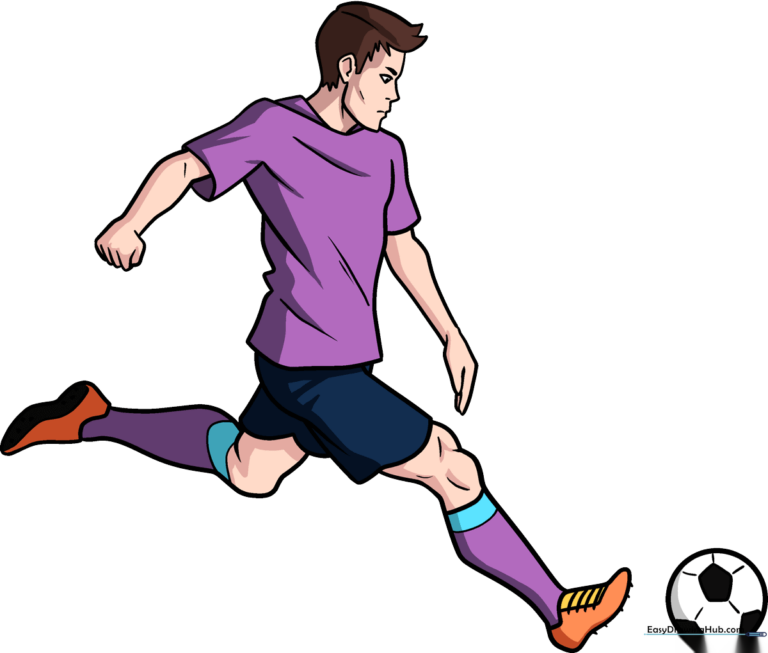
🎯 Final Result
Step-by-Step Instructions
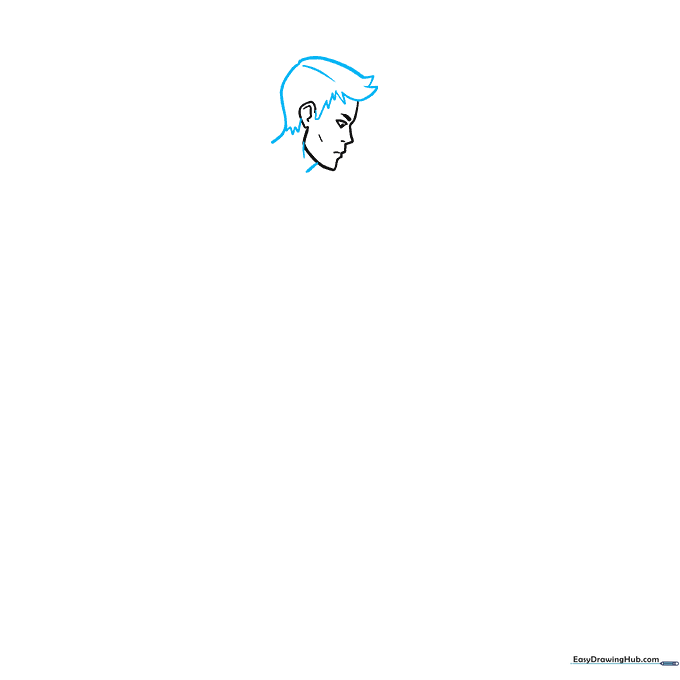
Step 1: Sketching the Face

Start by drawing the profile of the face. Use curved lines to outline the brow, nose, lips, and chin. Teacher's Tip: Keep the eye shape simple—a curved triangle with a small shaded circle inside creates a focused, athletic look.
Step 2: Adding the Neck and Hair
Draw the neck and hair using smooth, curved lines. For the hair, use jagged, overlapping strokes to create a sporty, textured look. Tip: Don't worry about perfection; hair is naturally messy!
Step 3: The Jersey and Arm
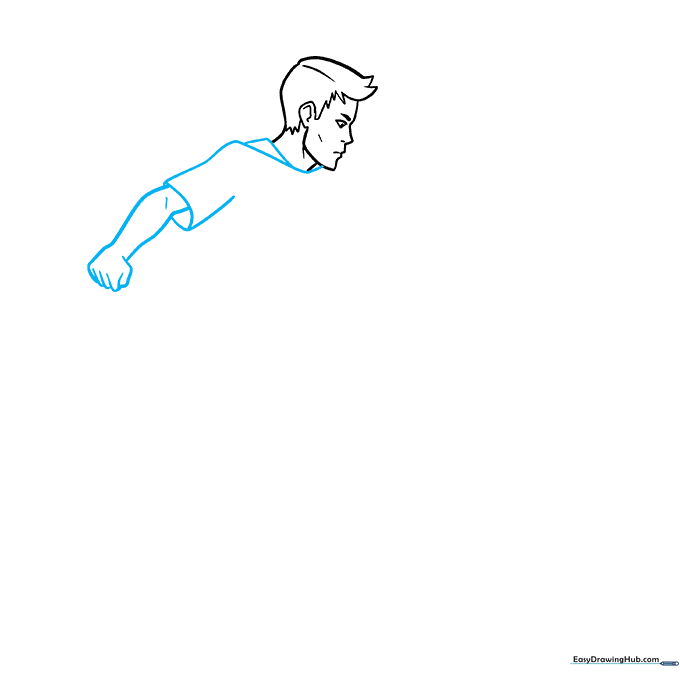
Sketch the collar using a triangle shape, then add the sleeve and arm. Use teardrop shapes for the sleeve opening. Tip: Draw the fingers with small, overlapping curves to make them look natural.
Step 4: Defining the Torso
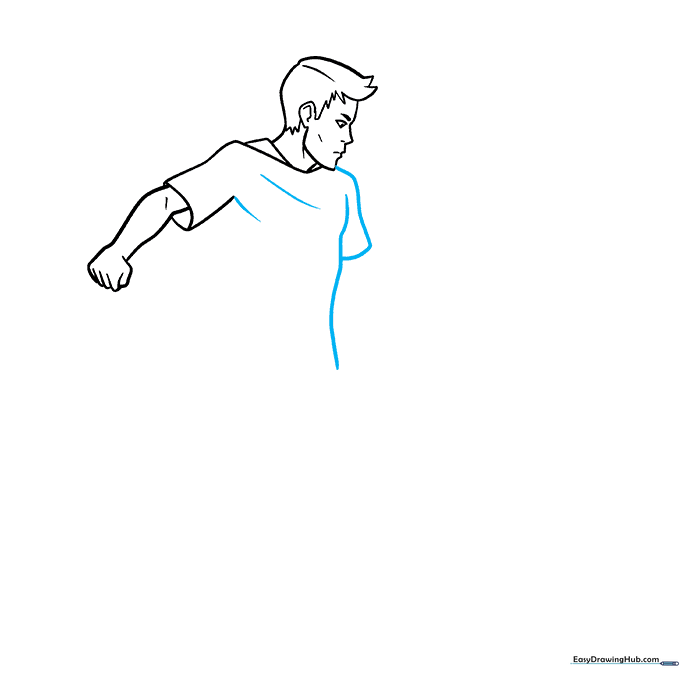
Continue the jersey by drawing the front of the torso. Add a curved line across the chest to represent a fold in the fabric. Tip: Adding these small details makes your drawing look more 3D.
Step 5: Completing the Upper Body
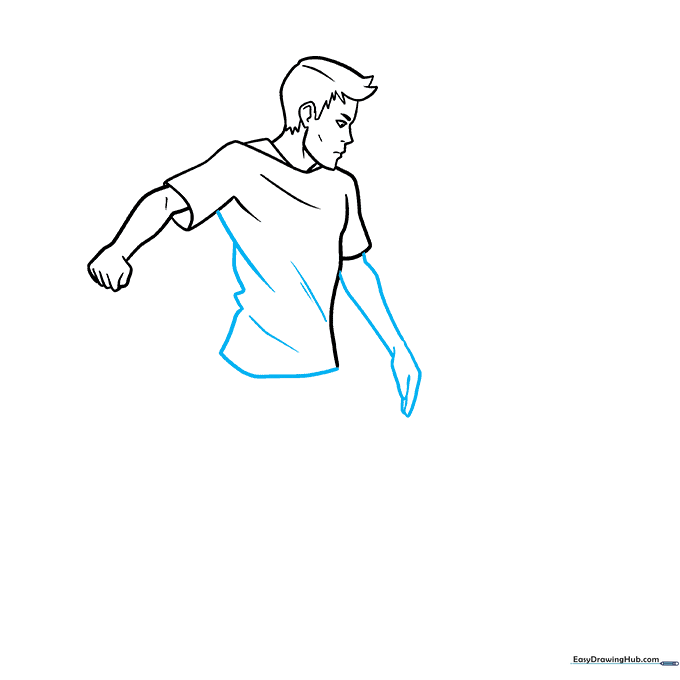
Finish the rectangular shape of the shirt and add the second arm. Ensure the arm matches the proportions of the first one. Tip: Use light, overlapping lines to sketch the arm before darkening your final lines.
Step 6: Drawing the Shorts
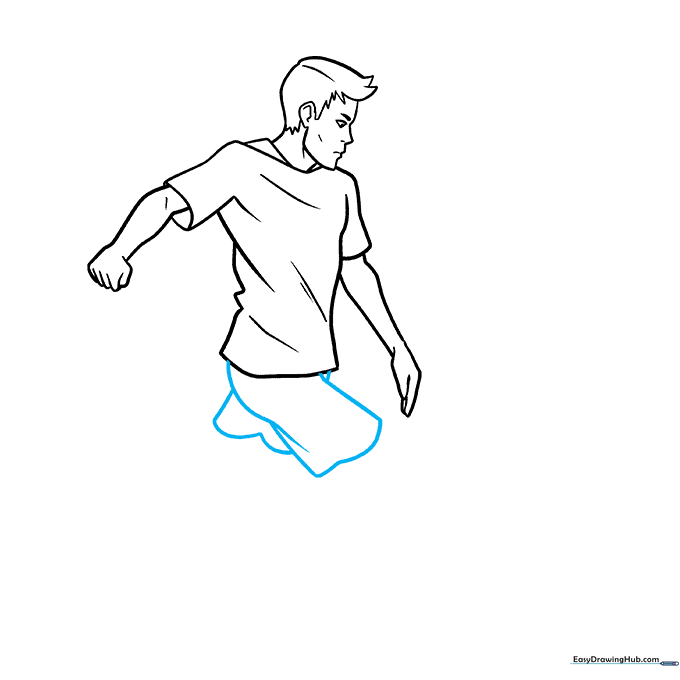
Draw the shorts using overlapping curved lines to create a rectangular shape that sits just below the shirt. Tip: Keep the lines slightly rounded to show the movement of the fabric.
Step 7: The First Leg and Cleat
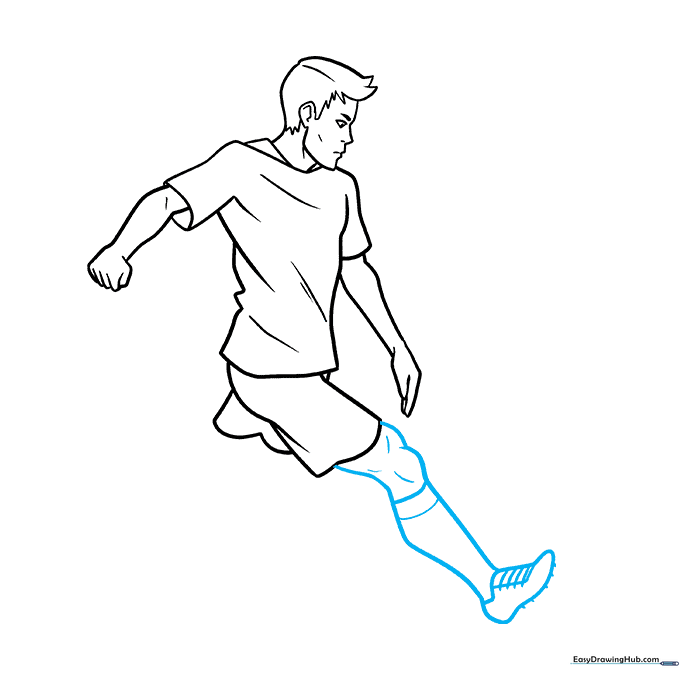
Outline the leg muscles, knee, and the soccer cleat. Add small triangles at the bottom of the shoe for the spikes. Tip: Focus on the curve of the knee to give the leg a natural, bent posture.
Step 8: The Second Leg
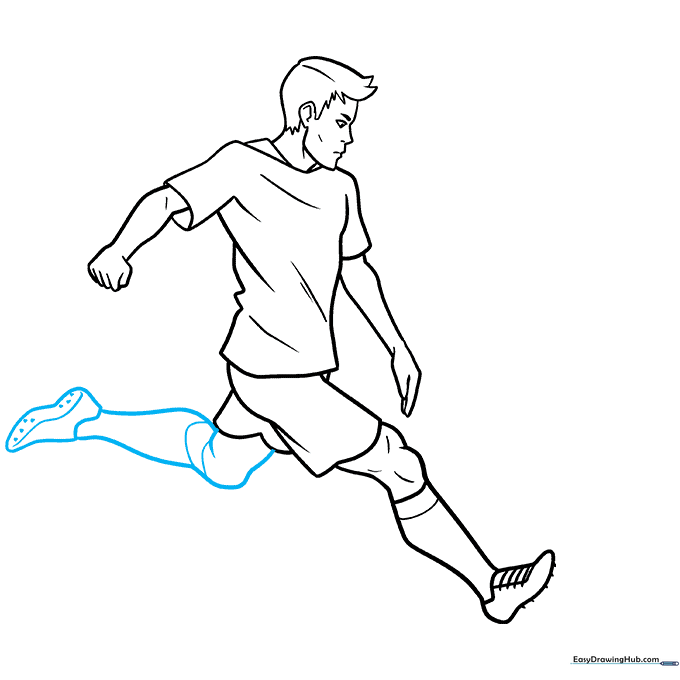
Draw the second leg using the same technique as the first. Make sure the sock and shoe align with the player's stance. Tip: Shading the spikes helps them stand out against the ground.
Step 9: Adding the Soccer Ball
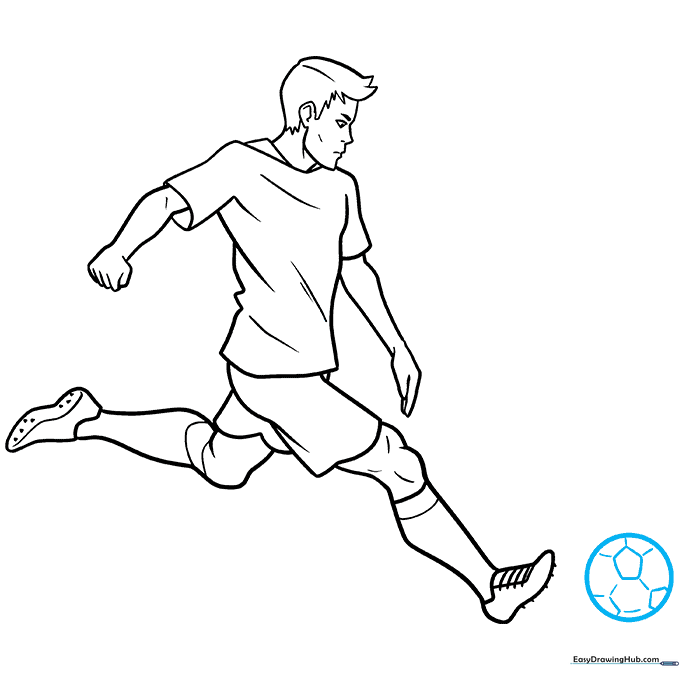
Draw a circle near the player's feet. Add pentagon shapes on the surface and connect them with short lines to create the classic soccer ball pattern. Tip: Use a light touch for the circle so you can easily adjust the shape.
Step 10: Color Your Player
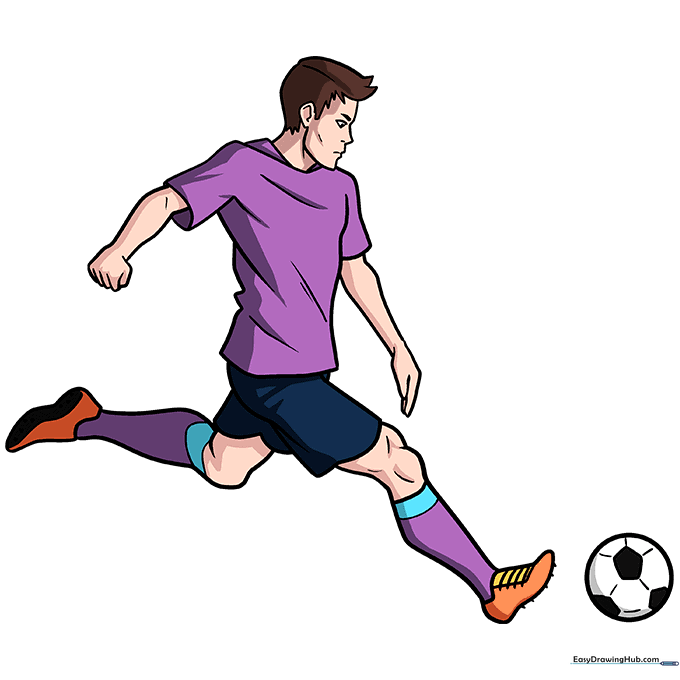
Your outline is complete! Now, bring your player to life by coloring the jersey in your favorite team's colors. Tip: Use bold colors for the jersey and neutral tones for the shorts to make the player pop.
More Tutorials


