How to Draw a Soccer Ball: Easy 10-Step Guide for Kids
Ready to hit the field? This tutorial is perfect for young athletes and budding artists ages 5 and up. You only need a pencil, an eraser, and a piece of paper to create a professional-looking soccer ball. Follow along to learn how to map out the classic pentagon patterns with ease.
🎯 Final Result

Step-by-Step Instructions
Step 1: Sketching the Outer Boundary
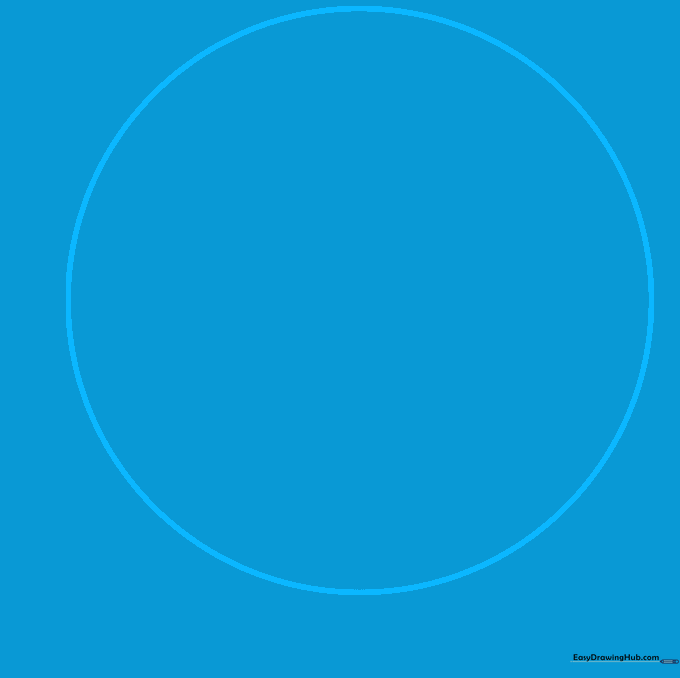
Draw a large, light circle to represent the outer edge of the ball. Teacher's Tip: Use a circular object like a cup to trace if you're struggling to keep it round—it's a great way to practice steady hand control!
Step 2: Establishing the Guide Circle

Draw a smaller circle inside the first one, slightly off-center. This acts as our 'anchor' for the panels. Tip: Keep this line faint, as it's just a map for your shapes.
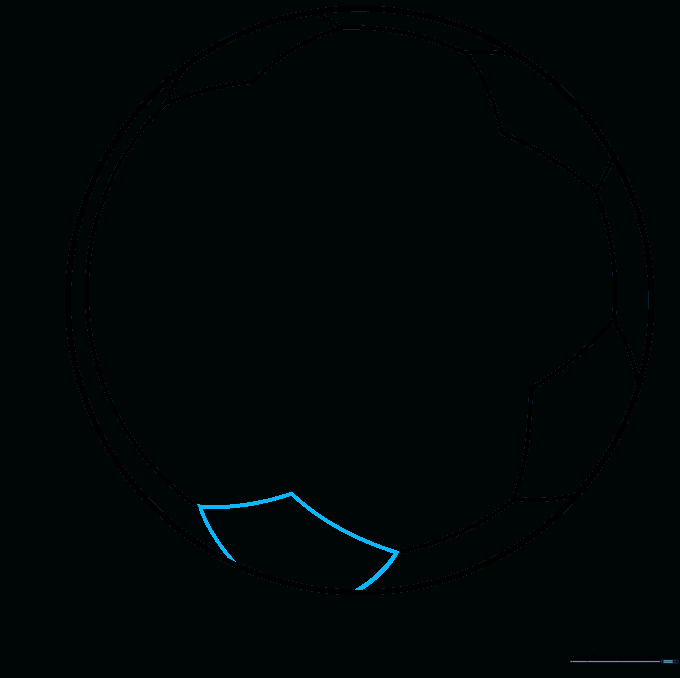
Step 3: Drawing the First Panel
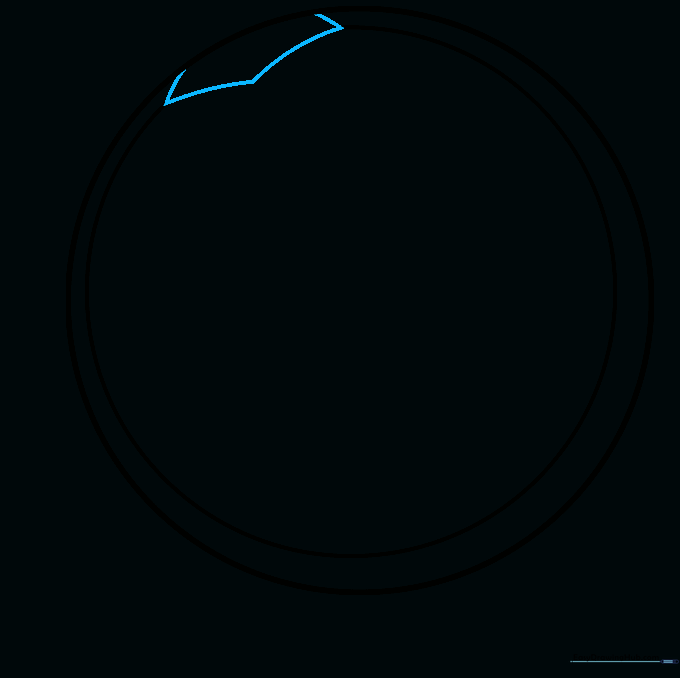
Sketch a small pentagon shape using curved lines along the guide circle. Tip: Think of it like drawing a little house with a pointed roof.
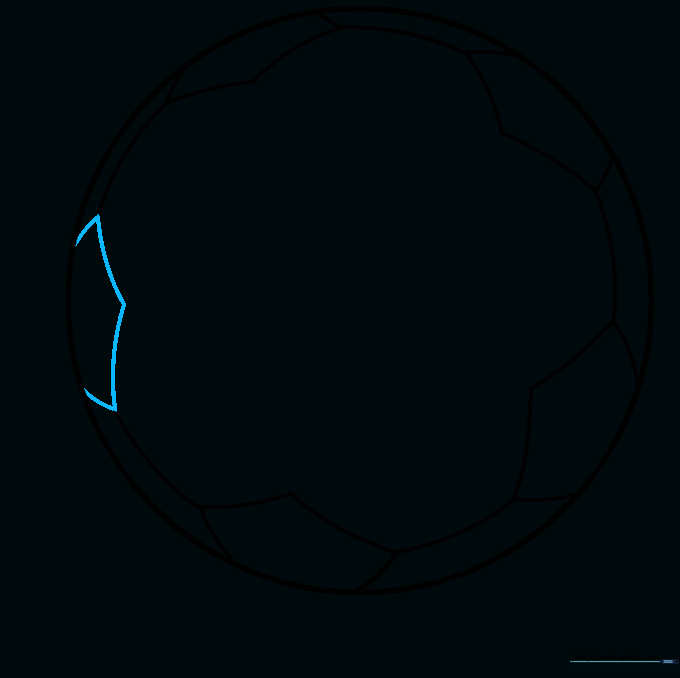
Step 4: Adding the Second Panel
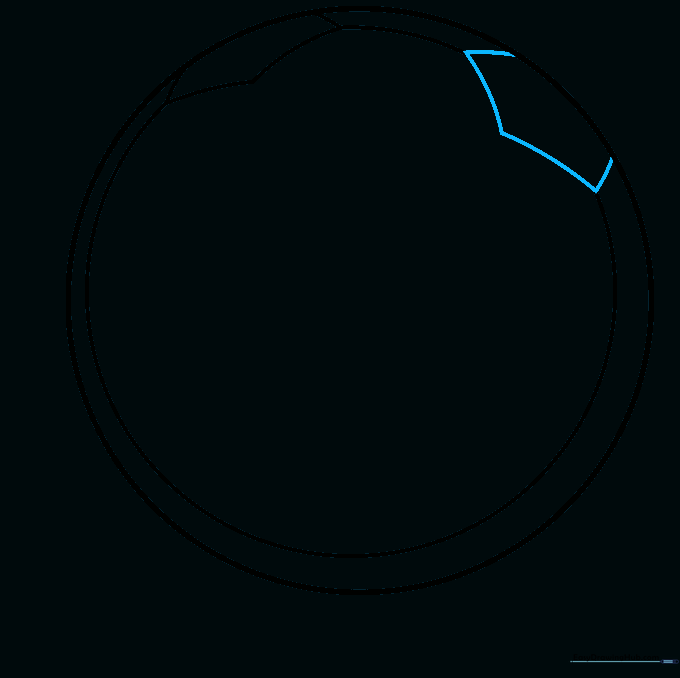
Add a second pentagon nearby, leaving a small gap between it and the first. This gap creates the look of the ball's seams.
Step 5: Placing the Third Panel
Continue adding pentagons along your guide line. Don't worry if they aren't perfect; soccer balls have complex curves!
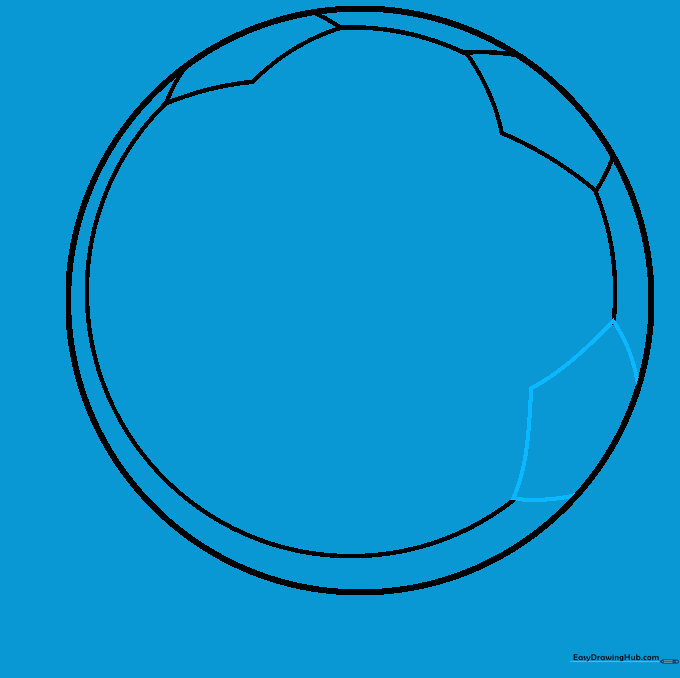
Step 6: Adding the Fourth Panel
Add your fourth pentagon. Tip: Rotate your paper if it helps you draw the curves more comfortably.
Step 7: The Final Edge Panel
Draw the last pentagon along the outer edge of the ball. Erase any extra guide lines that overlap your shapes.
Step 8: Creating the Center
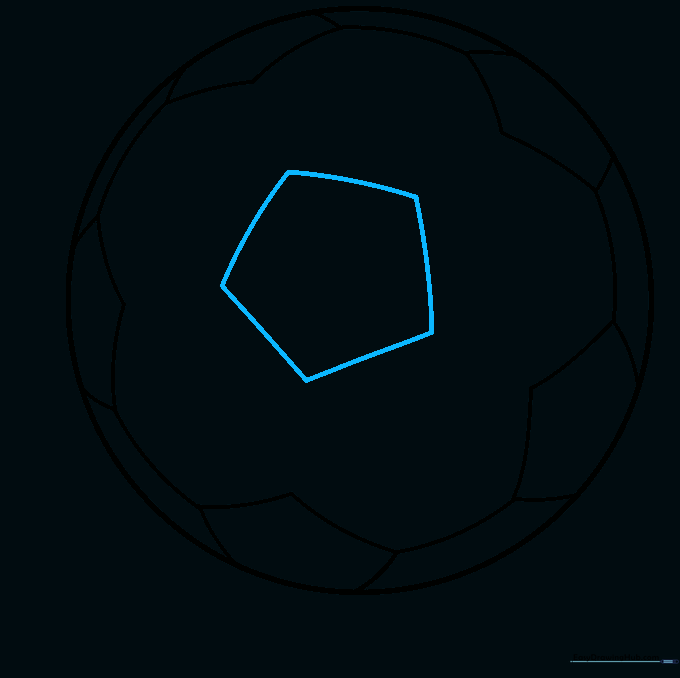
Draw a central pentagon in the middle of the ball. This will be the focal point of your design.
Step 9: Connecting the Panels
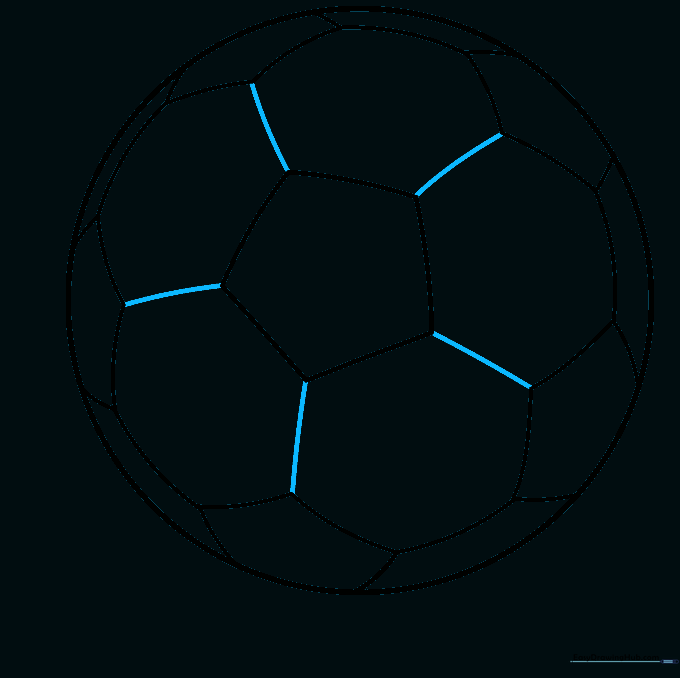
Draw short lines from the corners of the center pentagon to the other shapes. This creates the hexagonal panels that give the ball its realistic look.
Step 10: Adding Color

Color the pentagons black and leave the hexagons white. Tip: Use a ruler or steady hand to keep your coloring inside the lines for a clean finish!
More Tutorials


